
Cash App has become a ubiquitous financial tool, transforming how individuals send, receive, and manage money. From splitting dinner bills to accepting payments for services, understanding the intricacies of this mobile payment application is crucial in today’s digital economy. This comprehensive guide breaks down the core functionalities, advanced features, and essential security practices to help users master Cash App.
Getting Started with Cash App: Your First Steps
Embarking on your Cash App journey begins with a few straightforward setup procedures, designed to get you transacting quickly and securely.
Downloading and Account Creation
The first step is to download the Cash App application from your device’s official app store – either the Apple App Store for iOS or Google Play Store for Android. Once downloaded, open the app, and you’ll be prompted to enter your phone number or email address. This contact information will serve as your primary identifier for logging in and receiving verification codes.
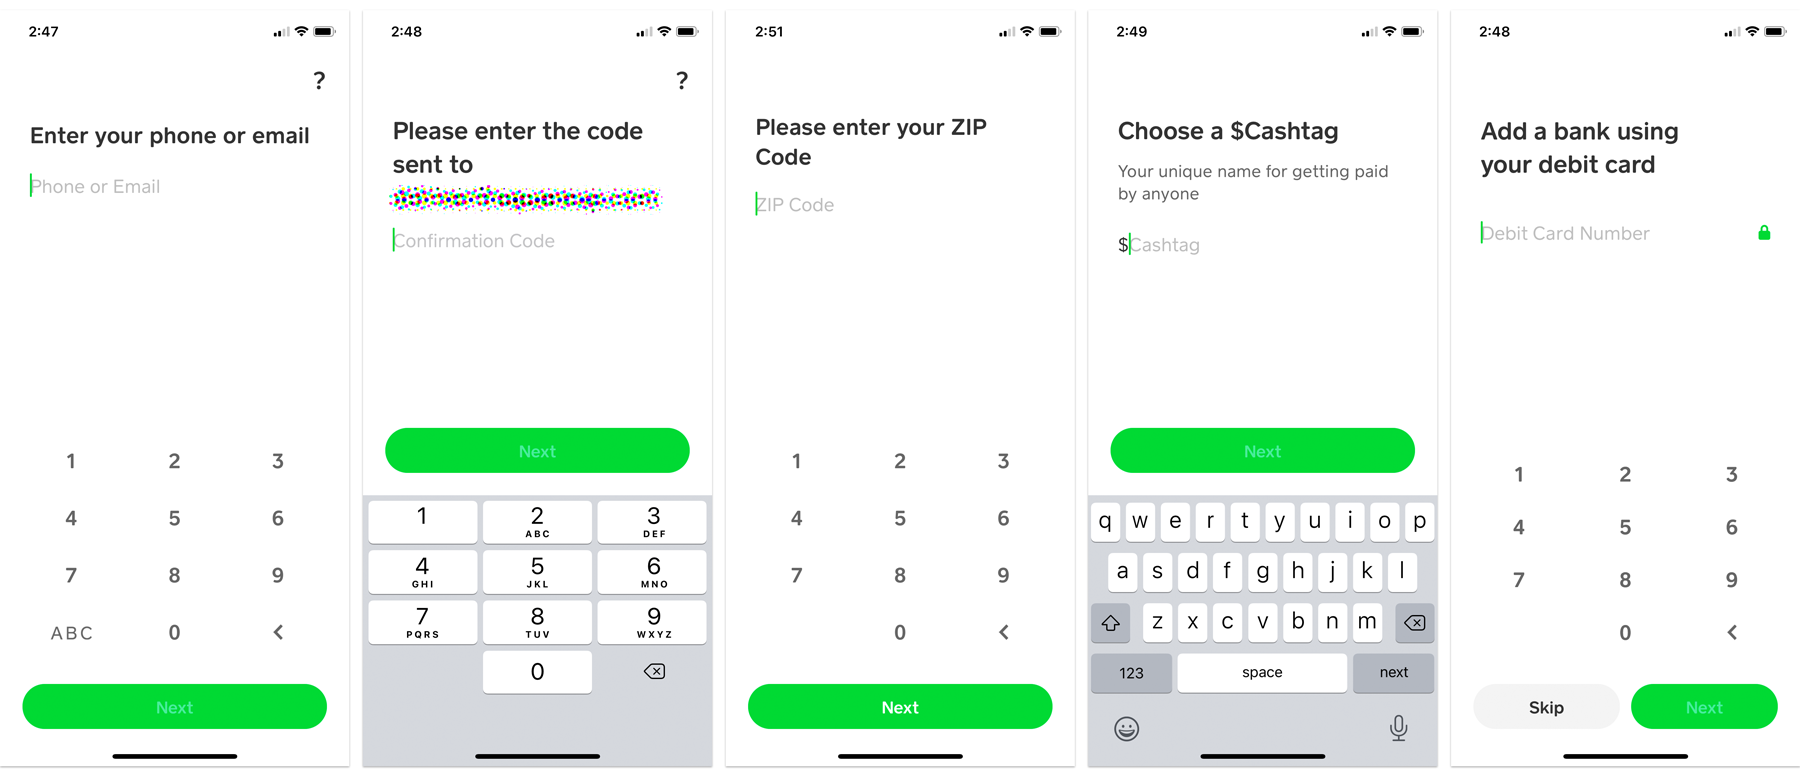
After entering your contact detail, a verification code will be sent to it. Input this code into the app to proceed. Next, you’ll be asked to choose a unique $Cashtag. This alphanumeric identifier is public and allows others to easily send you money without needing your phone number or email. While it can be changed later, choose something memorable and professional if you plan to use Cash App for business or frequent transactions. Finally, you’ll enter your zip code and agree to the terms of service, completing the initial account setup.
Linking Your Bank Account or Debit Card
To facilitate sending and receiving money, you must link a funding source to your Cash App account. This is typically done by connecting a debit card or bank account. During the initial setup, you’ll be prompted to link a debit card. You’ll need to enter the card number, expiration date, CVV, and your billing zip code. This direct link enables instant transactions, pulling funds from your bank account via the debit card when you send money or allowing you to cash out funds to it.
Alternatively, or in addition, you can link a bank account directly. This process usually involves logging into your online banking portal through Cash App’s secure interface (powered by Plaid or similar services) to authorize the connection. Linking a bank account provides a more robust funding option, particularly for larger transactions or direct deposits. It’s important to note that while credit cards can be linked, they often incur a 3% fee for sending money, making debit cards the preferred method for cost-effective transactions.
Key Functions: Sending and Receiving Money
At its core, Cash App excels at peer-to-peer money transfers. Understanding how to efficiently send and receive funds is fundamental to using the application.
Sending Money to Friends and Family
Sending money through Cash App is designed to be quick and intuitive. From the main screen, enter the amount you wish to send. Tap the “Pay” button. You’ll then be asked to identify the recipient. You can do this by entering their $Cashtag, phone number, or email address. It’s crucial to double-check the recipient’s details to ensure the money goes to the correct person, as Cash App transactions are generally instant and irreversible.
After entering the recipient’s details, you can add an optional note to describe the payment (e.g., “Dinner,” “Rent”). Finally, tap the “Pay” button again to confirm the transaction. The funds will be debited from your Cash App balance or linked funding source and sent directly to the recipient’s account. Notifications will confirm the success of the transfer for both parties.
Requesting Payments
If someone owes you money, Cash App simplifies the process of requesting payment. On the main screen, enter the amount you wish to request. Tap the “Request” button. Similar to sending money, you’ll identify the person from whom you are requesting the funds using their $Cashtag, phone number, or email.
Add a note explaining the request (e.g., “Movie tickets,” “Your share of the bill”). Once satisfied, tap the “Request” button. The recipient will receive a notification and a request within their Cash App, giving them the option to pay the specified amount directly from their linked account. This feature streamlines settling debts and managing shared expenses.
Understanding Your $Cashtag
Your $Cashtag is your unique identifier within the Cash App ecosystem. It begins with a dollar sign followed by an alphanumeric string (e.g., $YourName123). This tag makes it incredibly easy for others to find and pay you without needing to exchange sensitive personal information like phone numbers or email addresses. It also allows you to receive payments from anyone, even if they’re not in your phone’s contacts.
You can customize your $Cashtag in the profile section of the app. While choosing a recognizable $Cashtag is beneficial, remember that it is publicly visible and serves as your digital payment handle. You can also link a custom payment link (cash.app/$YourCashtag) which makes it even easier to share your payment information on websites, social media, or business cards.
Managing Your Funds: Cash App Card and Direct Deposit
Beyond simple transfers, Cash App offers features that bridge the gap between digital currency and traditional banking, enhancing accessibility and utility.
Ordering and Activating the Cash App Card
The Cash App Card is a free, customizable Visa debit card linked directly to your Cash App balance. It allows you to spend the funds in your Cash App account anywhere Visa is accepted, online or in physical stores. To order a card, navigate to the “Cash Card” tab on the main screen, tap “Get Free Cash Card,” and follow the prompts to design and confirm your order. The card typically arrives within 5-10 business days.
Once your physical card arrives, you’ll need to activate it within the app. Go to the “Cash Card” tab, tap “Activate Card,” then “Use CVV & Expire Date.” Enter the CVV number and expiration date from your new card. This links the physical card to your digital balance, enabling you to use it for purchases and ATM withdrawals (fees may apply).
Setting Up Direct Deposit
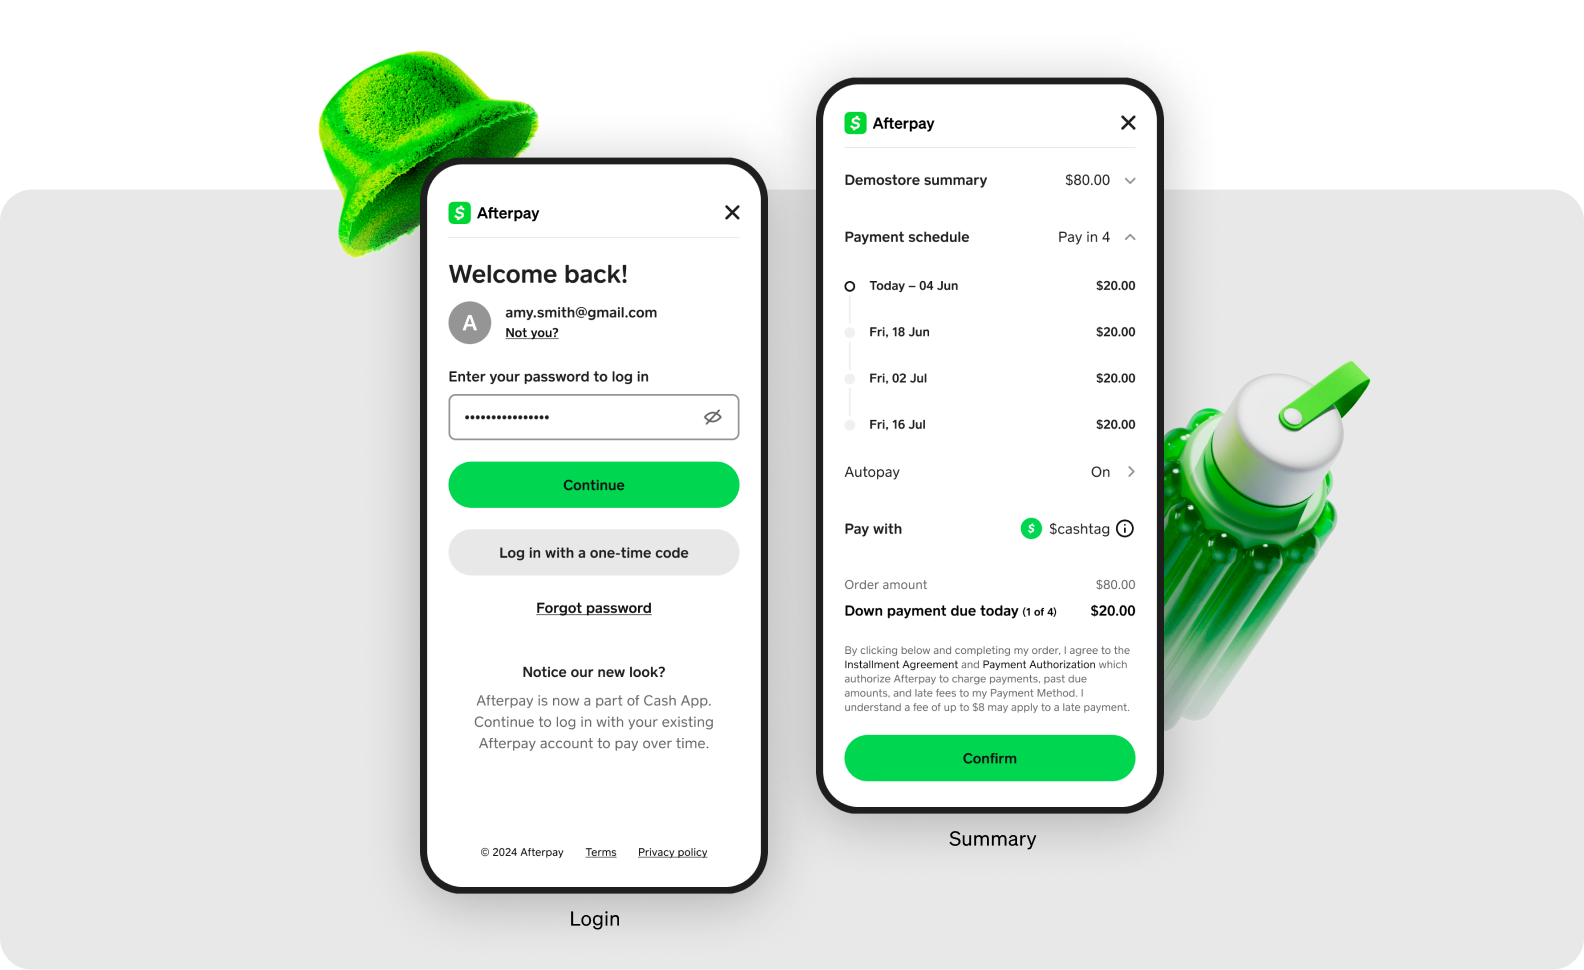
Cash App supports direct deposit, allowing you to receive paychecks, tax refunds, unemployment benefits, and other regular payments directly into your Cash App balance. This feature effectively turns your Cash App account into a pseudo-bank account with a routing and account number.
To set up direct deposit, access the “Banking” tab (represented by a house icon) on your Cash App home screen. You’ll find your Cash App routing and account numbers listed there. You can then provide these details to your employer, government agency, or any other institution that offers direct deposit. Funds typically appear in your Cash App balance on your payday, often up to two days earlier than traditional banks. This can be a significant convenience for managing immediate expenses.
Adding and Cashing Out Funds
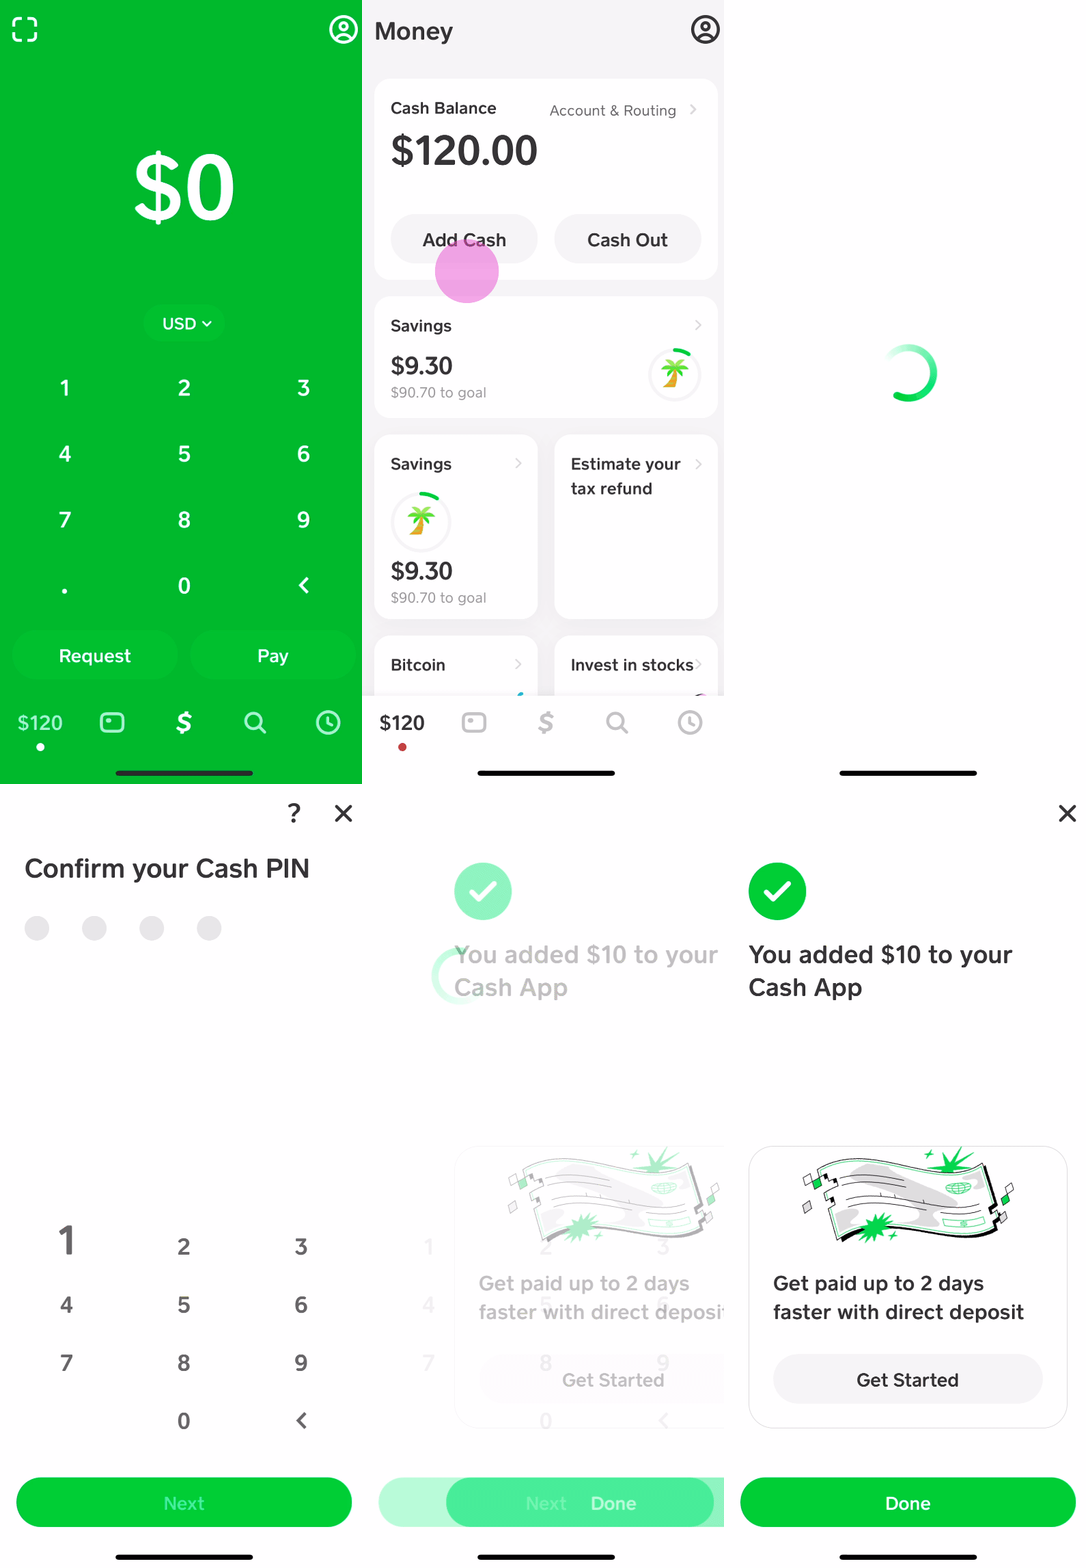
Managing your Cash App balance involves both adding funds to it and cashing out money from it. To add funds, navigate to the “Banking” tab and tap “Add Cash.” You can choose a preset amount or enter a custom sum, then confirm the transfer from your linked debit card or bank account. Funds added this way are usually available instantly.
Cashing out allows you to transfer your Cash App balance to your linked bank account. On the “Banking” tab, tap “Cash Out.” Enter the amount you wish to transfer. You’ll then be given two options: Standard Deposit or Instant Deposit. Standard deposits are free but typically take 1-3 business days to process. Instant deposits transfer funds to your linked debit card almost immediately but usually incur a small fee (typically 0.5% to 1.75% of the transaction amount, with a minimum fee). Choose the option that best suits your urgency and budget.
Exploring Additional Features
Cash App extends beyond basic money transfers, offering integrated functionalities that cater to a broader range of financial activities within a single application.
Investing in Stocks and Bitcoin
Cash App has integrated basic investment capabilities, allowing users to buy and sell fractions of stocks and Bitcoin directly within the app. To access this, navigate to the “Investing” tab (represented by a stock market graph icon). Here, you can browse popular stocks or search for specific companies. For Bitcoin, there’s a dedicated section allowing you to buy, sell, and store the cryptocurrency.
The app provides a streamlined interface for these investments, emphasizing simplicity for new investors. You can purchase as little as $1 worth of a stock or Bitcoin. It’s important to understand that Cash App facilitates the purchase and holding of these assets but does not provide investment advice. Users should conduct their own research or consult with financial professionals before making investment decisions. The technical execution of buying and selling is made straightforward, reflecting the app’s focus on user accessibility.
Boosts and Discounts
The Cash App Card comes with a unique feature called “Boosts.” These are instant discounts applied directly to purchases made with your Cash App Card at specific merchants. Boosts can range from percentages off total purchases to fixed dollar amounts off certain items (e.g., “$1 off at coffee shops,” “10% off at restaurants”).
To use Boosts, go to the “Cash Card” tab and select a Boost to add to your card before making a purchase. Only one Boost can be active at a time, but you can swap them out as often as you like. This feature enhances the value proposition of the Cash App Card, offering tangible savings to users for their everyday spending. It’s a key technological differentiator designed to encourage card usage.
Tax Tools and Reporting
For users who leverage Cash App for income, side hustles, or investment gains, the platform provides some basic tax reporting tools. If you receive over $600 from customers for goods or services in a calendar year, Cash App may issue you a 1099-K form for tax reporting purposes. Similarly, if you engage in Bitcoin or stock trading, your activities are subject to tax regulations, and Cash App provides transaction history that can assist in calculating capital gains or losses.
Users can access their transaction history and statements within the app, which can be exported for tax preparation. While Cash App simplifies the data access, it’s essential to consult with a tax professional to understand your obligations fully and ensure accurate reporting based on your specific financial activities within the app.
Ensuring Digital Security and Support
Maintaining the security of your Cash App account and knowing how to access support are critical for a seamless and safe user experience.
Protecting Your Account
Digital security is paramount when dealing with financial applications. Cash App incorporates several features to help protect your account. Enable a security lock (PIN, fingerprint, or Face ID) within the app’s privacy and security settings. This ensures that even if your phone is lost or stolen, your Cash App account remains inaccessible without your biometric data or PIN.
Always be wary of phishing scams. Cash App will never ask for your sign-in code, PIN, or full debit card number via phone, email, or social media. Legitimate communication from Cash App will typically occur within the app or from verified support channels. Use strong, unique passwords for your email linked to Cash App and consider enabling two-factor authentication on that email account. Regularly review your transaction history for any unauthorized activity.
Common Issues and Troubleshooting
Like any application, users may occasionally encounter issues. Common problems include failed transactions, inability to log in, or issues linking a bank account. For transaction failures, often checking your linked card details, sufficient funds, or ensuring the recipient’s information is correct can resolve the problem. Login issues might require resetting your PIN or verifying your identity through your phone number or email.
The Cash App support section within the app offers a comprehensive FAQ and troubleshooting guides for most common concerns. Before contacting support, it’s often beneficial to explore these resources as they can provide immediate solutions. Ensuring your app is updated to the latest version can also prevent many technical glitches.
Contacting Cash App Support
If you encounter a problem that cannot be resolved through the in-app help section, contacting Cash App support directly is the next step. The most secure way to do this is through the app itself. Navigate to your profile icon on the home screen, scroll down, and tap “Support.” From there, you can browse topics or initiate a chat with a support representative.
Alternatively, you can visit the Cash App website and navigate to their support section. Be cautious of unofficial support numbers or social media accounts, as these are often used by scammers. Always use the official channels provided within the app or on the verified Cash App website to ensure you are communicating with legitimate representatives.
aViewFromTheCave is a participant in the Amazon Services LLC Associates Program, an affiliate advertising program designed to provide a means for sites to earn advertising fees by advertising and linking to Amazon.com. Amazon, the Amazon logo, AmazonSupply, and the AmazonSupply logo are trademarks of Amazon.com, Inc. or its affiliates. As an Amazon Associate we earn affiliate commissions from qualifying purchases.