In the ever-evolving landscape of technology, maintaining a lean, fast, and secure operating system is paramount for productivity and digital peace of mind. Over time, even the most robust Windows installations can accumulate digital clutter, slow down, and become susceptible to performance issues or security vulnerabilities. This is where the power of a “fresh Windows install” comes into play – a complete wipe and reload of your operating system that can breathe new life into an aging machine or provide a pristine foundation for a new build.
This guide will walk you through every critical step of performing a fresh Windows install, from initial preparation to post-installation optimization. Whether you’re a seasoned tech enthusiast or a first-time system rebuilder, understanding this process is a fundamental skill that enhances your digital security, boosts productivity, and ensures your technology serves you efficiently for years to come.
Why a Fresh Start? The Benefits of a Clean Windows Installation
Before diving into the “how-to,” it’s crucial to understand the compelling reasons behind undertaking such a seemingly drastic measure. A fresh Windows install isn’t just about fixing a broken system; it’s a proactive step towards a better computing experience.
Reclaiming Performance and Speed
One of the most immediate and noticeable benefits of a fresh Windows install is the dramatic improvement in system performance. Over months or years of use, a Windows installation accumulates:
- Bloatware and Unnecessary Software: Every application you install, even if uninstalled later, can leave behind registry entries, temporary files, and background services that consume resources.
- Driver Conflicts and Corruptions: Updates, new hardware, or even sudden shutdowns can sometimes lead to driver issues that manifest as system slowdowns or crashes.
- Fragmented System Files: While modern SSDs mitigate the impact of fragmentation, older HDDs can still suffer, and even SSDs can have their performance subtly degraded by an overly complex file system.
- Persistent Malware or Adware: Even with robust security software, some persistent infections can be difficult to fully eradicate without a complete system overhaul.
By starting anew, you eliminate this accumulated digital baggage, allowing Windows to run as efficiently as possible, booting faster, launching applications quicker, and responding more smoothly to your commands. This isn’t just a minor tweak; it’s a fundamental reset that can make your computer feel brand new, directly impacting your daily productivity.
Enhancing Security and Stability
A clean slate offers significant advantages in terms of digital security and system stability. Each piece of software, every browser extension, and every downloaded file introduces a potential attack vector or stability risk.
- Eliminating Hidden Threats: A fresh install is the most effective way to remove deeply embedded malware, rootkits, or other persistent threats that might evade conventional antivirus scans. You start with a known good state, reducing your attack surface significantly.
- Resolving System Instability: Mysterious crashes, frequent blue screens of death (BSODs), or inexplicable application errors can often be traced back to underlying system corruptions. Reinstalling Windows effectively wipes away these inconsistencies, providing a stable foundation.
- Upgrading to a Secure Version: For users still on older, unsupported versions of Windows, a fresh install is often the simplest and most recommended path to upgrade to a more secure and feature-rich version (like Windows 10 or 11), ensuring you receive critical security updates and benefit from modern protections. This aligns directly with digital security best practices in the tech world.
Troubleshooting Persistent Issues
When your computer exhibits chronic problems that defy standard troubleshooting methods – be it sluggishness, network connectivity woes, or application failures – a fresh install serves as the ultimate diagnostic and solution tool. If the problem persists after a clean install, you’ve effectively ruled out software and operating system issues, narrowing the culprit down to hardware failure. This systematic approach saves countless hours of frustrating diagnostics, making it an invaluable technique for any tech enthusiast or professional.
Preparation is Key: Essential Steps Before You Begin
The success of a fresh Windows install hinges on meticulous preparation. Skipping these crucial preliminary steps can lead to lost data, driver headaches, or a frustrating installation process. Think of it as laying a solid foundation before building a house.
Backing Up Your Precious Data
This is arguably the single most important step. A fresh Windows install will, by default, erase everything on the drive where Windows is installed. If you don’t back up your important files, they will be irrevocably lost.
- Identify Critical Files: Go through your Documents, Pictures, Videos, Music, Downloads, and Desktop folders. Don’t forget browser bookmarks, email archives (PST files for Outlook), and saved game data.
- Choose a Backup Method:
- External Hard Drive/SSD: The most common and reliable method. Simply drag and drop files or use backup software.
- Cloud Storage: Services like Google Drive, OneDrive, Dropbox, or iCloud offer convenient syncing and access from anywhere. Ensure you have enough storage space.
- Network Attached Storage (NAS): For those with a home network server, this provides a centralized, robust backup solution.
- Verify Your Backup: After copying, briefly check a few files from your backup to ensure they are accessible and not corrupted. A backup is only good if you can restore from it!
- Application Data: For some applications, specific settings or data might need to be manually exported or copied. For instance, if you have a complex development environment, you might want to back up configuration files.
Gathering Necessary Tools and Information
Once your data is safe, gather everything you’ll need for the installation itself and the immediate aftermath. This foresight prevents mid-installation scrambling.
- Windows Product Key: If you have a retail copy of Windows, you’ll likely need your 25-character product key. For OEM licenses (pre-installed on branded PCs), the key is often embedded in the motherboard’s firmware and Windows will activate automatically upon reinstallation of the same version. For digital licenses tied to your Microsoft account, it will also activate automatically. Nevertheless, it’s always good practice to know where to find it.
- Drivers for Your Hardware: Windows typically includes generic drivers, but for optimal performance and functionality, you’ll need specific drivers for your motherboard (chipset, network, audio), graphics card, and any other specialized peripherals. Visit the manufacturer’s website for your PC (Dell, HP, Lenovo) or individual components (ASUS, MSI, Gigabyte for motherboard; NVIDIA, AMD for GPU) and download the latest Windows 10 or 11 drivers onto a separate USB drive. Crucial drivers include:
- Chipset Driver: Essential for motherboard functionality.
- Network Driver (Ethernet/Wi-Fi): Without this, you won’t be able to connect to the internet to download anything else.
- Graphics Card Driver: For optimal display performance and gaming.
- Audio Driver: For sound output.
- Essential Software Installers: Make a list of all your must-have applications (web browser, office suite, antivirus, media player, etc.). Download their installers to your backup drive or a separate USB drive. This saves time and bandwidth later.
- Stable Internet Connection: For downloading updates and additional software post-install.
Creating Your Windows Installation Media
To install Windows, you need bootable installation media. This is typically a USB flash drive, though a DVD is also an option for older systems.
- Download the Windows Media Creation Tool: Visit the official Microsoft website and download the Media Creation Tool for Windows 10 or Windows 11. This small utility simplifies the process.
- Prepare a USB Flash Drive: You’ll need a USB drive with at least 8GB of storage space. Ensure it’s empty or contains no important data, as the process will format it.
- Run the Media Creation Tool:
- Execute the downloaded tool.
- Accept the license terms.
- Choose “Create installation media (USB flash drive, DVD, or ISO file) for another PC.”
- Select your language, edition (e.g., Windows 10 Home/Pro), and architecture (64-bit is standard).
- Select “USB flash drive” and choose your prepared USB drive from the list.
- The tool will then download the Windows ISO and create the bootable drive. This process can take some time depending on your internet speed.
Alternatively, you can download the ISO file directly and use a tool like Rufus to create a bootable USB, which offers more advanced options for specific scenarios (e.g., MBR vs. GPT partitioning schemes).
The Installation Process: Step-by-Step Walkthrough
With your preparations complete, it’s time to initiate the fresh Windows install. This is where your system truly gets its clean slate.
Booting from the Installation Media

The first challenge is to make your computer start from the USB drive instead of its internal hard drive.
- Insert the USB Drive: Plug your bootable Windows USB drive into an available USB port on your computer.
- Restart Your Computer: As your computer starts up, you need to access either the Boot Menu or the BIOS/UEFI Settings.
- Boot Menu: Most computers have a dedicated key (often F12, F10, F9, or Esc) that, when pressed repeatedly during startup, brings up a temporary boot menu. From here, you can select your USB drive to boot from.
- BIOS/UEFI Settings: If a boot menu isn’t available or doesn’t work, you’ll need to enter the BIOS/UEFI settings (often by pressing Del, F2, F1, or F10 during startup). Navigate to the “Boot Options” or “Boot Order” section and change the boot priority to list your USB drive first. Save your changes and exit.
- Start Windows Setup: If successful, you’ll see a message like “Press any key to boot from USB…” Press a key, and the Windows setup wizard will begin loading.
Navigating the Windows Setup Wizard
The setup wizard is user-friendly, but careful attention to certain steps is crucial for a clean install.
- Language and Keyboard Settings: Select your preferred language, time format, and keyboard layout. Click “Next.”
- Install Now: Click the “Install now” button.
- Product Key: If prompted, enter your Windows product key. If you don’t have one (e.g., digital license tied to your Microsoft account or an OEM key embedded in hardware), click “I don’t have a product key.” Windows will often activate automatically after installation once it connects to the internet.
- Operating System Edition: If your product key covers multiple editions (e.g., Home and Pro), select the correct edition you intend to install. It must match your license.
- License Terms: Read and accept the Microsoft Software License Terms.
- Installation Type: This is a critical step for a fresh install. Choose “Custom: Install Windows only (advanced).” Do NOT choose “Upgrade,” as that will attempt to keep your files and settings, defeating the purpose of a fresh install.
Partitioning Your Drive for a Clean Install
This is where you decide how Windows will utilize your storage space.
- Drive Selection: You’ll see a list of drives and partitions. For a truly fresh install, you want to remove all existing partitions on the target drive.
- Identify the Correct Drive: Be absolutely sure you’re selecting the correct drive, especially if you have multiple drives installed. Look for the drive with the largest capacity that matches your primary system drive.
- Delete Partitions: Select each partition associated with your target drive (e.g., “Drive 0 Partition 1,” “Drive 0 Partition 2,” etc.) and click “Delete.” This will remove all data and consolidate the space into “Unallocated Space.” Again, ensure you are deleting partitions from the correct drive!
- Create New Partition (Optional but Recommended): Once the drive is “Unallocated Space,” select it and click “New.” You can choose to allocate the entire space for Windows (which the installer will typically recommend and create multiple small system partitions itself) or manually create a smaller partition for Windows and leave the rest for a separate data partition (if you want to keep data separate from the OS in the future). For most users, simply clicking “Next” after deleting all partitions is sufficient, letting Windows manage the partitioning.
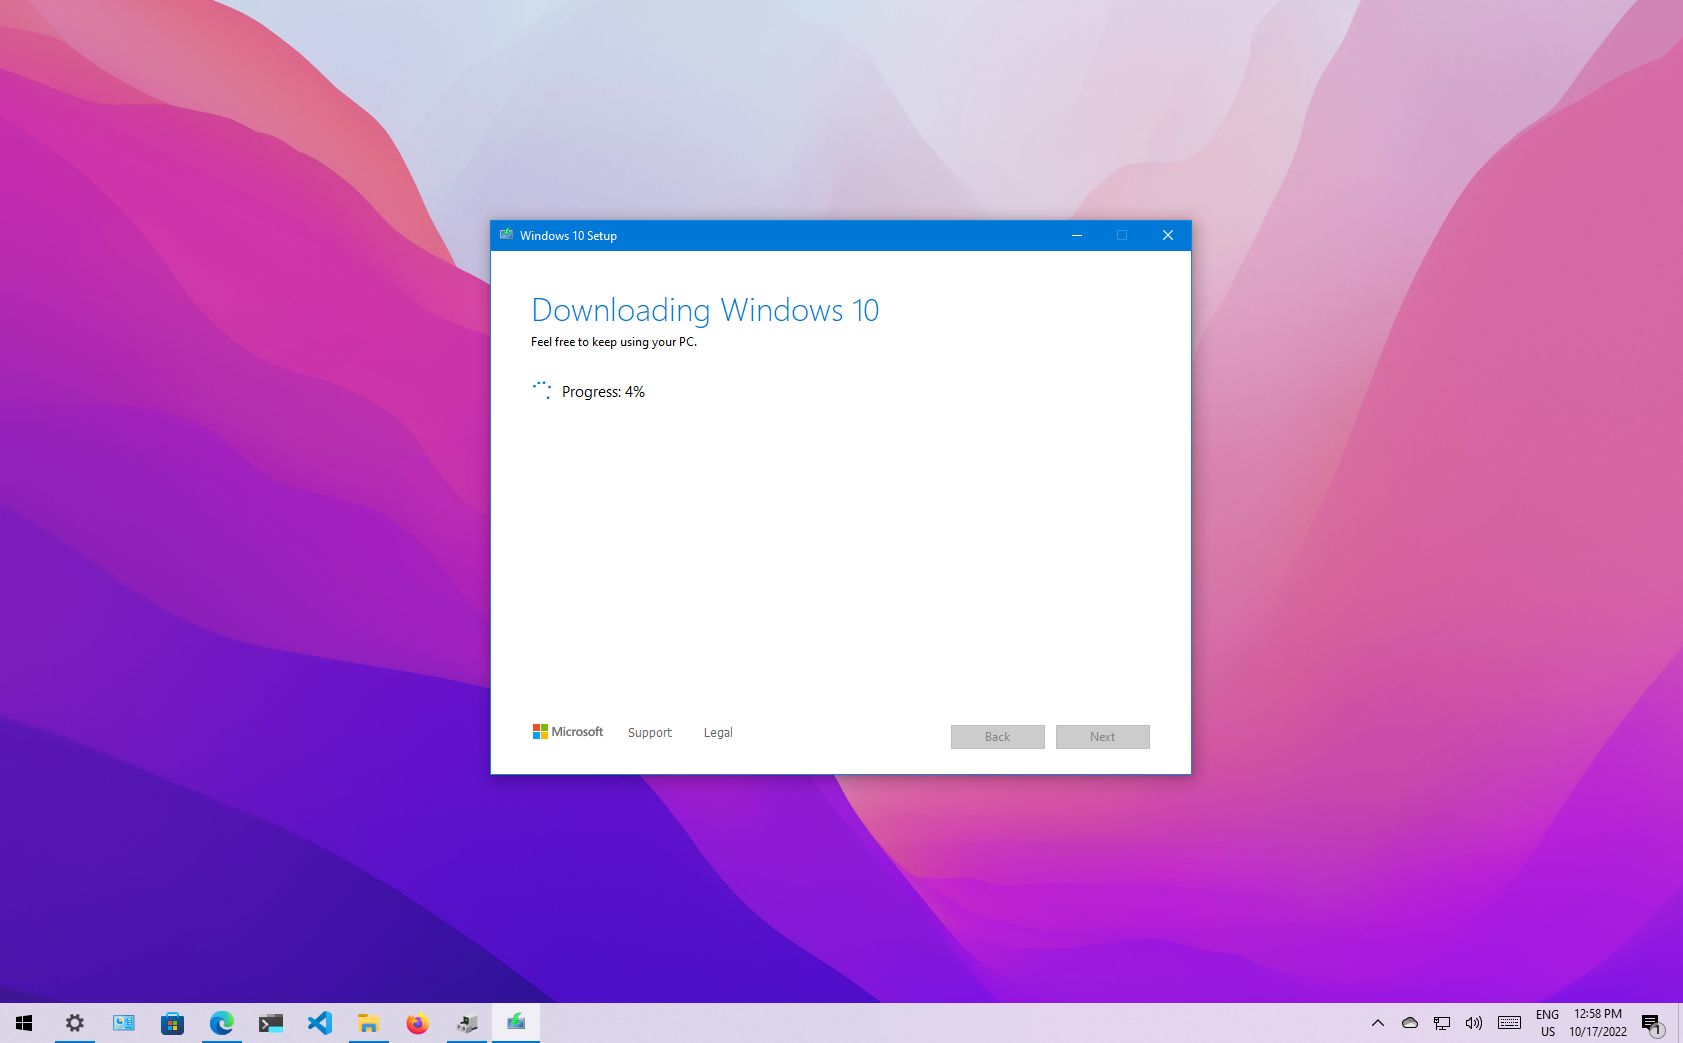
- Installation Begins: Windows will now begin copying files and installing. Your computer will restart multiple times during this process. Do not remove the USB drive until prompted or until you see the Windows welcome screen.
Post-Installation Essentials: Optimizing Your New System
Once Windows is installed and you’ve gone through the initial setup (connecting to Wi-Fi, creating a user account, setting privacy preferences), your work isn’t quite done. These final steps ensure your system is fully functional, secure, and ready for productive use.
Installing Drivers and System Updates
This is the first and most critical step after reaching the Windows desktop.
- Network Connectivity: If Windows didn’t automatically install your network drivers, you’ll need to install the Ethernet or Wi-Fi driver you saved earlier on your USB drive. Once connected, proceed.
- Windows Updates: Go to
Settings > Update & Security > Windows Update(for Windows 10) orSettings > Windows Update(for Windows 11) and click “Check for updates.” Install all available updates. This is crucial for security patches, stability improvements, and often includes updated generic drivers. You might need to check for updates and restart multiple times until no more updates are found. - Hardware Drivers: Install the specific drivers you downloaded from your manufacturers’ websites (chipset, graphics card, audio, etc.). Install them in a logical order (chipset first, then graphics, audio, etc.). Restart your computer after major driver installations. This ensures your hardware is operating at peak performance and stability, a key aspect of tech maintenance.
- Optional Peripherals: Install drivers for any specialized peripherals like printers, scanners, or webcams.
Restoring Your Data and Applications
Now that your system is stable and updated, it’s time to bring back your digital life.
- Restore Data: Copy your backed-up files (documents, pictures, videos, etc.) from your external drive or cloud storage back to their appropriate folders on your new Windows installation.
- Install Applications: Begin installing the essential software you listed and downloaded earlier. Prioritize applications you use daily, such as your preferred web browser, office suite, and antivirus software.
- Antivirus/Security Software: Even though Windows Defender is robust, if you prefer a third-party antivirus, install it early in this stage. Ensure it’s updated and running scans regularly to maintain digital security.
Enhancing Security and Privacy Settings
A fresh install is the perfect opportunity to review and configure your system’s security and privacy settings from scratch.
- Privacy Settings: In
Settings > Privacy & security, review and adjust permissions for apps, location services, diagnostics, and advertising ID settings. Limit data collection to what you’re comfortable with. - User Account Control (UAC): Ensure UAC is enabled (default) to prompt you before making system-wide changes, enhancing security against unauthorized software.
- Firewall: Verify Windows Defender Firewall is active and properly configured.
- Password/PIN/Biometrics: Set up strong passwords, a convenient PIN, or Windows Hello (fingerprint/facial recognition) for quick and secure logins.
- BitLocker (Pro editions): If you have a Pro edition of Windows, consider enabling BitLocker to encrypt your entire drive, providing an excellent layer of data security in case of device loss or theft.
Personalization and Productivity Boosts
Finally, make your new Windows installation truly yours and optimize it for your workflow.
- Desktop Background and Theme: Set your preferred desktop background, accent colors, and theme.
- Taskbar and Start Menu: Customize the taskbar with frequently used apps and arrange your Start menu tiles or shortcuts for quick access.
- Default Apps: Set your preferred default apps for web browsing, email, media playback, and more in
Settings > Apps > Default apps. - Power Settings: Adjust power plans for optimal battery life on laptops or performance on desktops in
Settings > System > Power & battery. - Cloud Sync: Reconnect your OneDrive, Google Drive, or Dropbox accounts to seamlessly sync your cloud files.
- Browser Extensions: Reinstall your essential browser extensions, but be selective to avoid clutter and potential privacy risks.
Common Pitfalls and Troubleshooting Tips
While a fresh install is generally straightforward, issues can arise. Knowing common pitfalls can save you time and frustration.
- Boot Order Issues: If your PC keeps booting into your old Windows installation, double-check your BIOS/UEFI boot order or try the one-time boot menu key again.
- Driver Missing During Install: Sometimes, especially with newer NVMe SSDs, Windows might not see your drive during the partition selection step. You might need to download the storage controller drivers (often from your motherboard manufacturer’s website) onto a separate USB and load them during the setup process.
- “Windows cannot be installed to this disk” Error: This often relates to the partition style (MBR vs. GPT) and the boot mode (Legacy BIOS vs. UEFI). If you get this, during the drive selection, delete all partitions until you have “Unallocated Space,” then try installing again. If it persists, you might need to convert the disk. For modern systems, choose UEFI boot mode and GPT partition style.
- Activation Problems: If Windows doesn’t activate automatically, ensure you’re connected to the internet. If you entered a product key, double-check it. For digital licenses, ensure you’re logged into the Microsoft account associated with the license.
- Slow Download Speeds for Updates: Be patient. After a fresh install, Windows Update can take a long time to download all accumulated patches. Ensure a stable internet connection.
- Missing Functionality: If certain hardware doesn’t work (e.g., specific hotkeys on a laptop, advanced audio features), revisit your manufacturer’s website for utility software or specific drivers that Windows Update might not provide.
In most cases, patience, careful adherence to instructions, and a bit of troubleshooting (often involving a quick search online with the exact error message) will get you through any bumps in the road.

Conclusion
Performing a fresh Windows install is more than just a technical chore; it’s an investment in the longevity, performance, and security of your computer. By meticulously preparing, executing the installation, and diligently following post-installation steps, you transform a potentially sluggish, cluttered, or unstable system into a fast, responsive, and secure digital workstation.
This comprehensive approach not only restores your system to its peak operational efficiency but also reinforces best practices in digital security and productivity. Whether you’re aiming to revitalize an old machine or set up a new one with a pristine foundation, mastering the art of a fresh Windows install empowers you to maintain control over your technology, ensuring it remains a powerful tool that serves your needs effectively in an increasingly digital world. Embrace the clean slate, and enjoy the renewed speed and stability of your optimized Windows environment.
aViewFromTheCave is a participant in the Amazon Services LLC Associates Program, an affiliate advertising program designed to provide a means for sites to earn advertising fees by advertising and linking to Amazon.com. Amazon, the Amazon logo, AmazonSupply, and the AmazonSupply logo are trademarks of Amazon.com, Inc. or its affiliates. As an Amazon Associate we earn affiliate commissions from qualifying purchases.