Embarking on a fresh installation of Windows 10 can breathe new life into your computer, resolving performance issues, clearing out accumulated clutter, and providing a clean slate for all your digital endeavors. Whether you’re a seasoned tech enthusiast or a beginner looking to optimize your system, this guide will walk you through the entire process, ensuring a smooth and successful transition.
In the fast-paced world of technology, where software updates and evolving digital security threats are constant, maintaining a clean and efficient operating system is paramount. A fresh Windows 10 install can be the ultimate solution for sluggish performance, persistent errors, or simply the desire for a pristine computing experience. This process, while seemingly technical, is quite manageable with the right preparation and guidance.

Our focus today lies within the Tech domain of your digital life, specifically in the realm of Tutorials and Software. However, the benefits of a well-maintained system can ripple into Money (through increased productivity and reduced troubleshooting time) and even Brand (by ensuring your digital tools reflect a professional and organized approach).
Understanding the “Why” and “When” of a Fresh Install
Before diving into the “how,” it’s crucial to understand why you might need a fresh install and when it’s the most beneficial course of action. Think of it like decluttering your physical workspace; sometimes, a complete overhaul is more effective than just tidying up.
The Benefits of a Clean Slate
A fresh installation of Windows 10 essentially wipes your primary drive clean and installs a brand-new operating system. This has several significant advantages:
- Performance Boost: Over time, Windows installations can become bogged down by temporary files, registry bloat, fragmented data, and remnants of uninstalled software. A fresh install eliminates all this, often resulting in a noticeably faster and more responsive system. Boot times can be reduced, applications will launch quicker, and multitasking will feel smoother.
- Resolving Persistent Issues: If you’re struggling with recurring errors, system instability, crashes, or malware infections that standard troubleshooting methods can’t fix, a fresh install is often the most effective way to eradicate the problem at its root. It’s like hitting a factory reset button for your operating system.
- Eliminating Bloatware: Many computers come pre-loaded with trialware and manufacturer-specific software (bloatware) that consumes resources and can be difficult to remove entirely. A fresh install ensures you only install the software you truly need and want.
- Getting the Latest Features: Installing a fresh copy of Windows 10 allows you to ensure you’re running the most up-to-date version with the latest security patches and feature updates.
- Preparing for a New Chapter: If you’re selling your old computer or giving it to someone else, a fresh install is essential for wiping your personal data and ensuring privacy.
When is a Fresh Install Necessary?
While a fresh install offers many advantages, it’s not something you should do on a whim. Consider a fresh install when:
- Your computer is consistently slow and unresponsive, and you’ve tried other performance optimization techniques without success.
- You’re experiencing frequent system crashes, blue screens of death (BSODs), or application errors that you can’t resolve through standard troubleshooting.
- You suspect your system is infected with stubborn malware that antivirus software cannot fully remove.
- You’ve recently upgraded major hardware components (like a motherboard or CPU) and are experiencing compatibility issues.
- You want to completely remove all personal data and software before selling, donating, or recycling your computer.
- You’re simply ready for a clean start and want to optimize your system for peak performance.
Important Note: A fresh install will erase all data from the drive where Windows is installed (usually your C: drive). Therefore, backing up your important files is absolutely critical before proceeding.
Preparing for Your Windows 10 Fresh Install
This is arguably the most crucial phase. Rushing through preparation can lead to data loss or a frustrating installation process.
1. Back Up Your Data: The Non-Negotiable First Step
This cannot be stressed enough. Before you do anything else, back up all your important personal files. This includes:
- Documents: Photos, videos, music, personal documents, projects, and any other files you’ve created or saved.
- Desktop Files: Anything you have stored on your Desktop.
- Downloads Folder: Contents of your Downloads folder.
- Browser Bookmarks and Passwords: Most browsers allow you to export your bookmarks and sync passwords to an account.
- Application Settings and Licenses: Some applications have specific backup or export functions for their settings. If you have any software that requires a license key, make sure you have it readily available or backed up.
Where to back up your data:
- External Hard Drive or USB Drive: This is the most common and reliable method.
- Cloud Storage Services: OneDrive, Google Drive, Dropbox, and similar services are excellent for smaller amounts of data or for ongoing backups.
- Network Attached Storage (NAS): For more advanced users, a NAS provides centralized storage for your entire network.
2. Gather Your Windows 10 Installation Media
You’ll need a bootable USB drive or DVD containing the Windows 10 installation files. The easiest way to create this is by using Microsoft’s official Media Creation Tool.
- Download the Media Creation Tool: Search for “Windows 10 Media Creation Tool” on Microsoft’s website.
- Run the Tool: Follow the on-screen instructions. You’ll need a USB flash drive with at least 8GB of space. The tool will download the latest Windows 10 ISO file and create a bootable USB drive for you.
- Select the Correct Edition and Language: Ensure you select the correct edition of Windows 10 (Home, Pro, etc.) and your preferred language.
3. Find Your Windows Product Key (If Applicable)
If you’re installing Windows 10 on a new computer or a system where it wasn’t pre-installed, you’ll need a valid product key to activate it.
- Digital License: If you’ve previously activated Windows 10 on your computer, your license is likely tied to your Microsoft account or hardware. In most cases, Windows 10 will activate automatically after installation once you’re connected to the internet and logged into your Microsoft account.
- Physical Product Key: If you purchased a retail copy of Windows 10, your product key will be on the packaging or in an email confirmation.
- OEM License: If Windows 10 came pre-installed on your computer (OEM license), the product key is usually embedded in your computer’s UEFI firmware and will be automatically detected.
4. Prepare a List of Essential Software and Drivers
Before you wipe your system, make a note of all the essential software you use daily. Having this list ready will streamline the reinstallation process.
- Essential Software: Web browsers, office suites, media players, antivirus programs (though Windows Defender is built-in and robust), communication apps, and any specialized software for work or hobbies.
- Drivers: While Windows 10 usually installs generic drivers automatically, it’s a good idea to download the latest drivers for your specific hardware components from the manufacturer’s website. This typically includes drivers for your graphics card, motherboard chipset, network adapter, and audio. Having these readily available on a separate USB drive can save you from connectivity issues after the initial install.
Performing the Fresh Windows 10 Installation
Now that you’re prepared, it’s time to execute the installation.
1. Boot from Your Installation Media
This is where you’ll tell your computer to start from the USB drive or DVD you created, rather than its existing hard drive.
- Insert the USB Drive/DVD: Make sure your Windows 10 installation media is plugged in or inserted.
- Restart Your Computer: Turn off your computer completely, then turn it back on.
- Access the Boot Menu or BIOS/UEFI: As your computer starts to boot, you’ll see a message on the screen indicating which key to press to enter the “Boot Menu” or “BIOS/UEFI setup.” Common keys include F2, F10, F12, Del, or Esc. You may need to press this key repeatedly.
- Change the Boot Order: In the BIOS/UEFI settings, navigate to the “Boot” or “Boot Order” section. You need to set your USB drive or DVD drive as the first boot device.
- Save and Exit: Save your changes (usually by pressing F10) and exit the BIOS/UEFI. Your computer will restart.
2. The Windows Setup Process
Your computer should now boot from the installation media, and you’ll see the Windows Setup screen.
- Language, Time, and Keyboard Settings: Select your preferred language, time and currency format, and keyboard layout. Click “Next.”
- Install Now: Click the “Install now” button.
- Product Key: If prompted, enter your Windows product key. If you don’t have one or are reinstalling on a machine that previously had Windows 10 activated, you can click “I don’t have a product key” and Windows will activate automatically later if it detects a digital license.
- Select Operating System Version: Choose the edition of Windows 10 you want to install (e.g., Windows 10 Home, Windows 10 Pro). Make sure this matches your product key or digital license.
- Accept License Terms: Read and accept the Microsoft license terms.
- Choose Installation Type: This is a critical step. Select “Custom: Install Windows only (advanced).” This option allows you to perform a clean installation.
3. Partitioning and Formatting Your Drive
In this step, you’ll tell Windows where to install itself.
- Select the Drive: You will see a list of drives and partitions on your computer. Carefully select the drive where you want to install Windows 10. This is typically your primary drive (often labeled “Drive 0”).
- Delete Existing Partitions (Recommended for a True Fresh Install): To ensure a completely clean slate, it’s recommended to delete all existing partitions on the drive where Windows will be installed. WARNING: This will permanently erase all data on that drive. If you have multiple partitions on your main drive and want to preserve some data on another partition, be extremely careful not to delete it.
- Create a New Partition: After deleting existing partitions, you should have “Unallocated Space.” Select this unallocated space and click “New” to create a new partition. Windows will usually recommend a size, or you can specify it. Windows will automatically create system partitions (like the system reserved partition) as needed.
- Format the Partition: Select the primary partition you just created and click “Format.”
- Install Windows: Select the formatted partition and click “Next.”
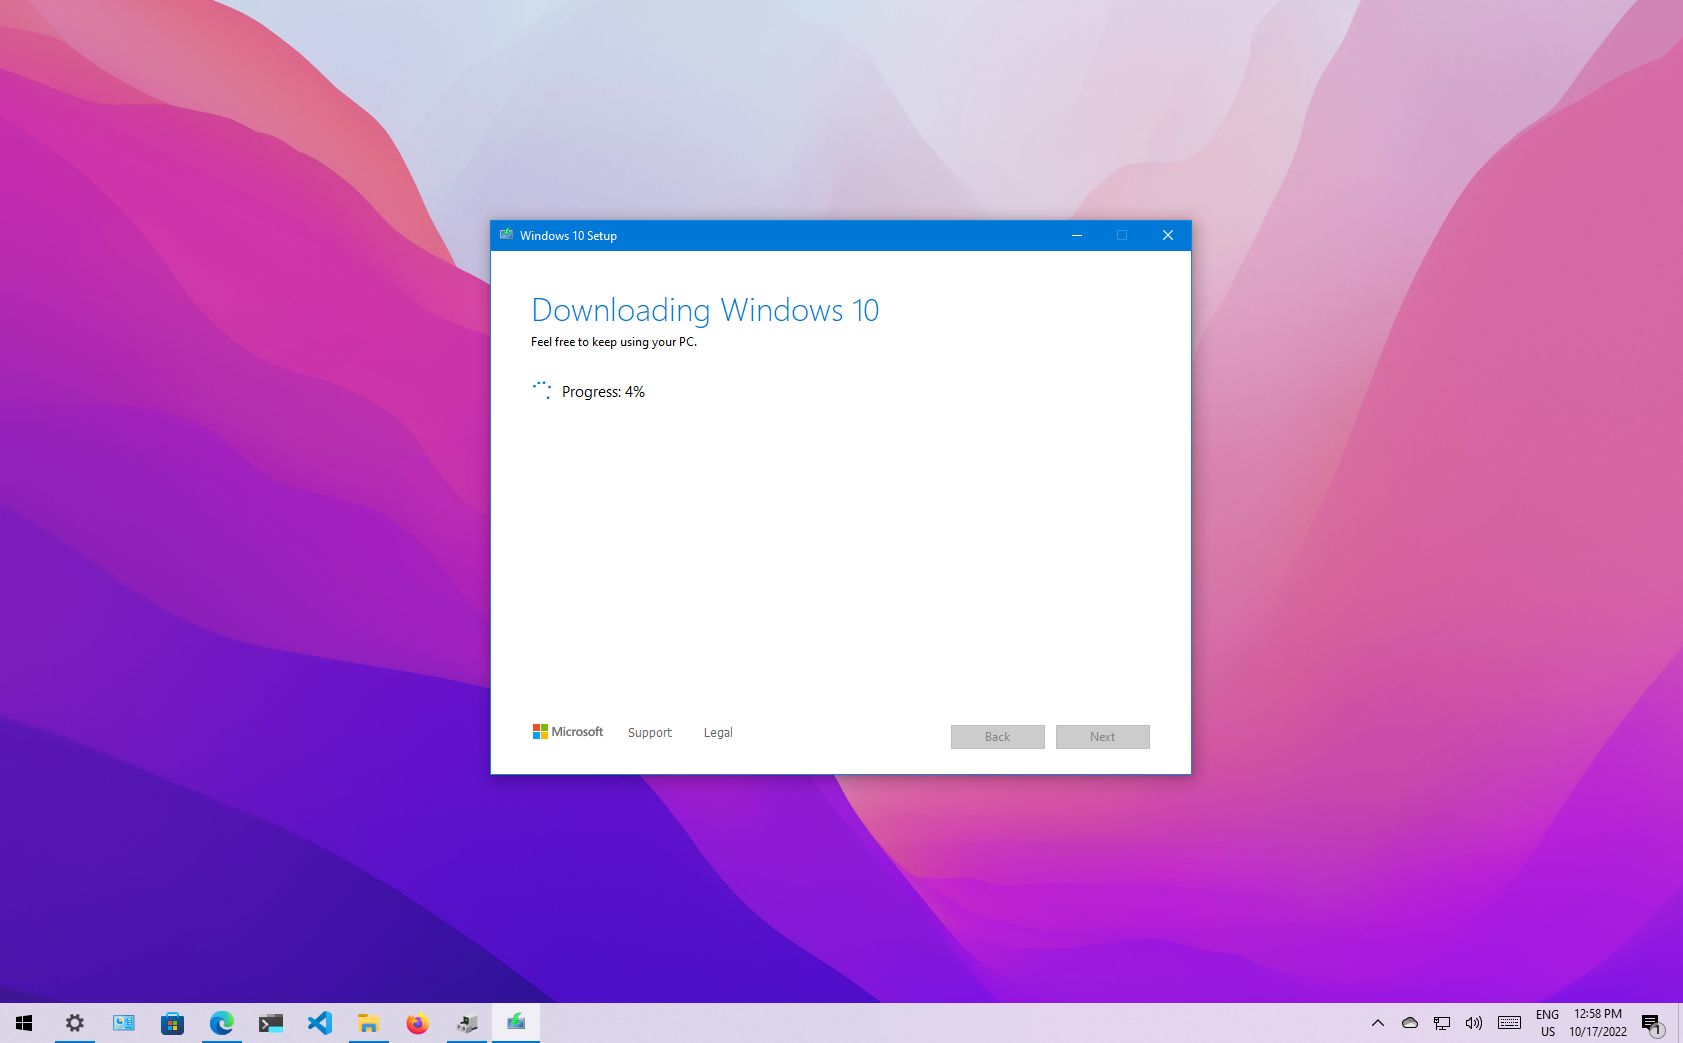
Windows will now begin copying files and installing Windows 10. Your computer will restart several times during this process. Crucially, do NOT press any key to boot from the USB/DVD when prompted during these restarts. Remove the installation media or ensure your boot order is set back to your hard drive after the first restart if you’re unsure.
Post-Installation Configuration and Setup
Congratulations, Windows 10 is now installed! The next steps involve configuring your system and getting it ready for use.
1. Initial Setup and Account Creation
Upon the first boot after installation, Windows will guide you through its Out-of-Box Experience (OOBE).
- Region and Keyboard Layout: Confirm your region and keyboard layout.
- Connect to a Network: Connect to your Wi-Fi or wired network.
- Account Setup:
- Microsoft Account: You can sign in with your existing Microsoft account or create a new one. This is recommended as it syncs settings, provides access to the Microsoft Store, and enables features like OneDrive.
- Offline Account (Local Account): If you prefer not to use a Microsoft account, you can opt for an offline account. Look for options like “Offline account” or “Skip this step.” You’ll be prompted to create a username and password.
- Privacy Settings: Review and adjust your privacy settings. It’s generally recommended to disable unnecessary telemetry and advertising ID options for enhanced privacy.
- Cortana: You can choose whether to enable or disable Cortana, Microsoft’s virtual assistant.
2. Installing Drivers
As mentioned earlier, Windows 10 installs many generic drivers. However, for optimal performance and functionality, it’s essential to install the specific drivers for your hardware.
- Windows Update: The first thing to do is run Windows Update. Go to Settings > Update & Security > Windows Update and click “Check for updates.” Windows Update often finds and installs many essential drivers automatically.
- Manufacturer Websites: For critical components like your graphics card (NVIDIA, AMD, Intel), motherboard chipset, and audio, visit the respective manufacturer’s support website and download the latest drivers. Install them one by one, restarting your computer as prompted.
- Device Manager: You can check for any missing drivers by right-clicking the Start button and selecting “Device Manager.” Devices with a yellow exclamation mark indicate a driver issue.
3. Installing Your Essential Software
Now is the time to reinstall the applications you need.
- Web Browsers: Install your preferred browsers (Chrome, Firefox, Edge, etc.) and sign in to sync your bookmarks, passwords, and extensions.
- Productivity Suite: Install Microsoft Office, LibreOffice, or your chosen productivity software.
- Antivirus Software: While Windows Defender is a capable built-in solution, you might prefer a third-party antivirus.
- Other Applications: Install all other necessary software for work, entertainment, and personal use.
4. Final Touches and Personalization
Your fresh Windows 10 install is nearly complete!
- Windows Updates: Run Windows Update again to ensure you have the latest security patches and feature updates.
- Personalization: Customize your desktop background, theme, and other appearance settings to your liking.
- Configure Power Settings: Adjust your power options to balance performance and energy efficiency.
- Enable File History or Other Backup Solutions: Set up regular backups of your important files to prevent future data loss.

Conclusion: A Renewed Digital Experience
Performing a fresh install of Windows 10 is a powerful way to revitalize your computer, ensuring it runs smoothly, efficiently, and securely. By following these steps meticulously, from thorough data backup to careful driver installation, you can enjoy a clean, optimized system that feels brand new. This process not only enhances your Tech experience but can also indirectly boost your Money by improving productivity and saving you from costly troubleshooting. A well-maintained system reflects a well-managed digital life, contributing positively to your overall Brand image, whether personal or professional. Embrace the clean slate and enjoy the renewed performance of your Windows 10 machine.
aViewFromTheCave is a participant in the Amazon Services LLC Associates Program, an affiliate advertising program designed to provide a means for sites to earn advertising fees by advertising and linking to Amazon.com. Amazon, the Amazon logo, AmazonSupply, and the AmazonSupply logo are trademarks of Amazon.com, Inc. or its affiliates. As an Amazon Associate we earn affiliate commissions from qualifying purchases.