
In the ever-evolving landscape of personal computing, few tasks are as fundamental yet shrouded in as much variability as installing a new operating system. Whether you’re setting up a brand-new machine, performing a clean reinstall to rejuvenate a sluggish PC, or upgrading to the latest version of Windows, the question “how long does installing Windows take?” is a common one. The answer, however, is rarely a simple number. It’s a complex interplay of hardware specifications, installation methods, the specific version of Windows, and even your internet connection speed. For tech enthusiasts and everyday users alike, understanding these factors is crucial for managing expectations and optimizing the process.
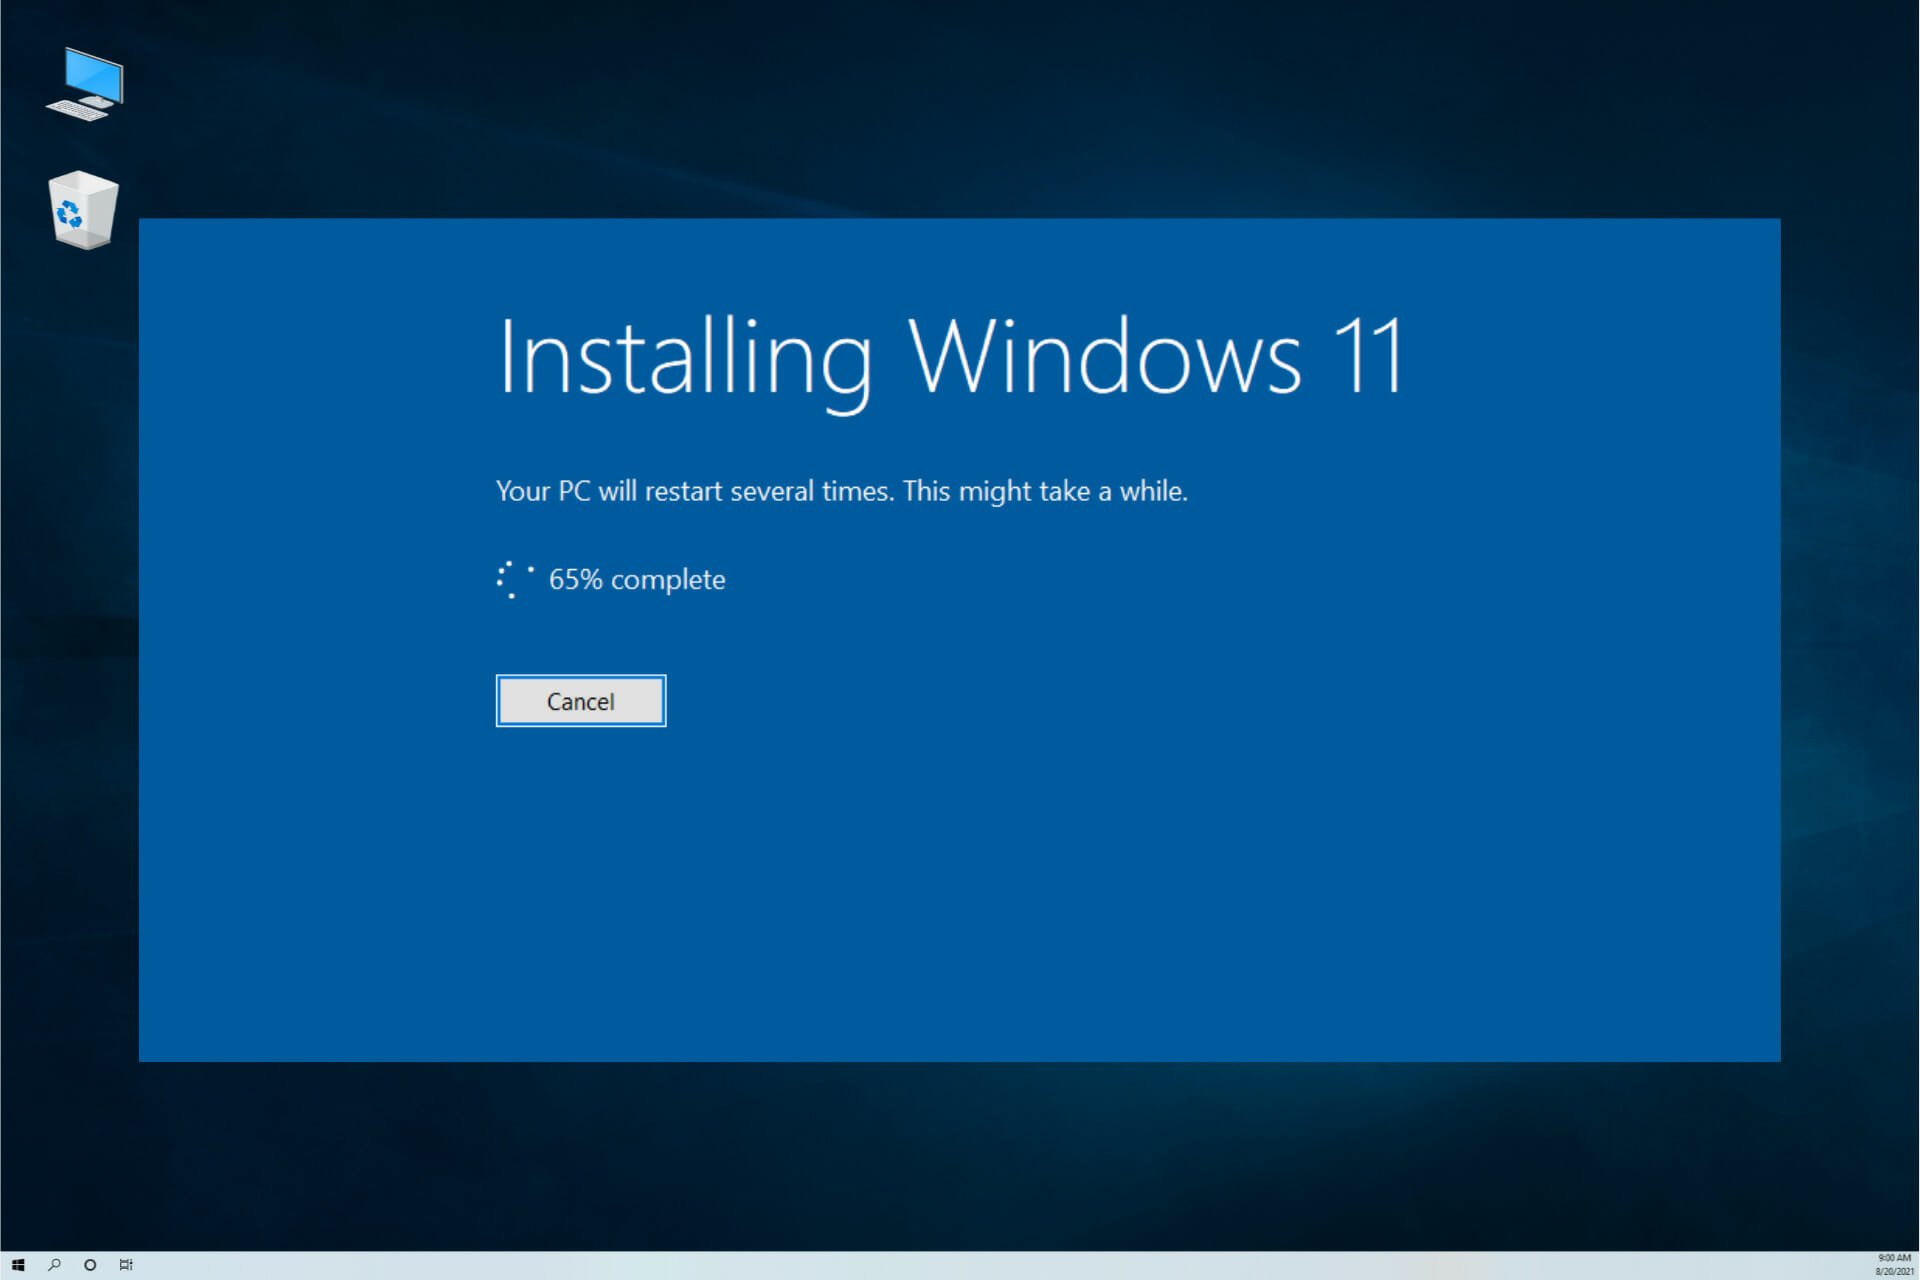
At its core, installing Windows involves copying numerous system files, configuring hardware drivers, setting up user profiles, and integrating a myriad of services that make the operating system functional. This process, while largely automated today, still relies heavily on the underlying components of your computer. From the moment you boot from your installation media to the first time you see your desktop, several distinct phases unfold, each contributing to the overall duration. In this comprehensive guide, we’ll dissect these factors, provide realistic timeframes, and offer actionable tips to ensure your next Windows installation is as swift and seamless as possible, keeping you productive and secure in the digital realm.
The Core Factors Influencing Installation Duration
The time it takes to install Windows isn’t a fixed benchmark; rather, it’s a dynamic equation influenced by several key variables. Understanding these components is the first step in estimating your installation time accurately and even taking steps to speed it up.
Your System’s Hardware: The Speed Equation
Undoubtedly, the most significant determinant of installation speed is your computer’s hardware. Modern machines with powerful components will race through the process, while older or less capable systems will take significantly longer.
- Processor (CPU): The central processing unit is the brain of your computer. A faster CPU with more cores and higher clock speeds can process the installation instructions and decompress files much quicker. Intel Core i5/i7/i9 or AMD Ryzen 5/7/9 processors will outperform older Celeron, Pentium, or early Core/Ryzen chips significantly.
- Random Access Memory (RAM): While Windows installation doesn’t typically demand enormous amounts of RAM, having sufficient memory (8GB or more is ideal for modern Windows versions) allows the system to manage temporary files and execute processes more efficiently, preventing bottlenecks that can occur with insufficient RAM.
- Storage Drive Type (SSD vs. HDD): This is perhaps the single most impactful hardware factor.
- Solid State Drives (SSDs): SSDs, especially NVMe PCIe SSDs, boast incredibly fast read and write speeds compared to traditional hard disk drives. When installing Windows on an SSD, the process of copying files and writing system data can be incredibly rapid, often completing the main file installation phase in mere minutes. A typical clean install on a modern NVMe SSD can see the core OS installed in as little as 10-15 minutes, with full setup taking 20-40 minutes.
- Hard Disk Drives (HDDs): HDDs rely on spinning platters and read/write heads, making them considerably slower. The mechanical nature of HDDs means that copying hundreds of thousands of small system files takes a much longer time. Installing Windows on an older HDD can easily stretch the core OS installation to 30-60 minutes, with total setup time reaching 1.5-2 hours or even more, depending on the drive’s age and RPM.
- Disk Speed and Health: Even within the same category (e.g., two HDDs), their specific speed (e.g., 5400 RPM vs. 7200 RPM for HDDs) and overall health can play a role. A failing or heavily fragmented drive will naturally slow down the installation process.
Installation Method: USB, DVD, or Network?
The medium from which you install Windows also contributes to the overall speed.
- USB Flash Drive: This is generally the fastest and most recommended method for modern PCs. A USB 3.0 or 3.1 flash drive, combined with a compatible USB port on your computer, offers excellent data transfer speeds, making the initial file copying phase very quick. Ensure your USB drive itself is of good quality and speed.
- DVD-ROM: Using a DVD is significantly slower than a USB drive. Optical drives have slower read speeds, and the data transfer rate is constrained by the DVD’s limitations. If you’re using an older PC that only supports DVD installation, expect a longer wait.
- Network Installation (PXE Boot): Primarily used in corporate environments for deploying Windows to multiple machines simultaneously, network installation speed depends heavily on network bandwidth, server performance, and client-side hardware. While efficient for bulk deployments, it’s not a common method for individual home users and can be slower than a good USB drive for a single machine.
- Recovery Partition/Factory Reset: Some pre-built systems come with a recovery partition that can reinstall Windows to its factory state. This method can vary greatly in speed, depending on the manufacturer’s implementation, but generally tends to be slower than a clean USB install, as it often involves restoring a larger image.
Windows Version and Type of Install: Clean Slate vs. Upgrade
The specific version of Windows and whether you’re performing a clean installation or an upgrade are critical factors.
- Windows Version (10 vs. 11): While both Windows 10 and 11 share similar installation mechanisms, Windows 11 often has slightly higher system requirements and can, in some cases, feel a touch more resource-intensive during installation. However, the difference is usually negligible compared to the hardware and storage type factors. Newer versions of Windows generally have larger installation files, which can marginally increase initial copying time.
- Clean Installation: This is the most straightforward and often fastest method. A clean install involves formatting the drive and installing Windows from scratch. Since there are no existing files, applications, or user data to migrate or contend with, the system can lay down the new OS efficiently. This is the ideal scenario for speed.
- In-Place Upgrade: Upgrading from an older version of Windows (e.g., Windows 7/8.1 to Windows 10, or Windows 10 to Windows 11) is a more complex process. The installer needs to preserve your existing files, applications, and settings while integrating the new operating system components. This involves compatibility checks, migrating data, and potentially rolling back if issues arise, making it significantly longer than a clean install. An upgrade can easily take 1-3 hours, sometimes more, depending on the amount of data and applications on the existing system.
Internet Speed and Post-Installation Tasks
The journey doesn’t end when the Windows setup completes. Several post-installation steps rely heavily on your internet connection.
- Windows Updates: Immediately after installation, Windows will almost certainly download and install a slew of critical updates, security patches, and feature improvements. The size and number of these updates can be substantial, especially if your installation media is older. A slow internet connection will prolong this phase considerably, which can add anywhere from 30 minutes to several hours to the total “ready-to-use” time.
- Driver Downloads: While Windows often installs generic drivers, you’ll want to download the latest, optimized drivers for your graphics card, chipset, audio, and other peripherals from the manufacturer’s websites. This again depends on your internet speed.
- Application Installations: The time it takes to download and install your essential software (browser, office suite, antivirus, games) is entirely dependent on your internet bandwidth and the size of the applications.
A Step-by-Step Breakdown of the Windows Installation Process
Understanding the distinct phases of Windows installation can help demystify the process and better gauge progress. While the exact steps might vary slightly between Windows versions, the fundamental sequence remains consistent.
Pre-Installation Preparations (Backups, Boot Media)
Before you even start the installation, a crucial preparation phase takes place, which can save you significant time and headache later.
- Data Backup: This is paramount. If you’re performing a clean install, all data on the target drive will be erased. Backing up personal files, photos, documents, and important software licenses to an external drive or cloud service is non-negotiable. While not part of the “installation time” per se, skipping this can lead to hours of recovery attempts or permanent data loss.
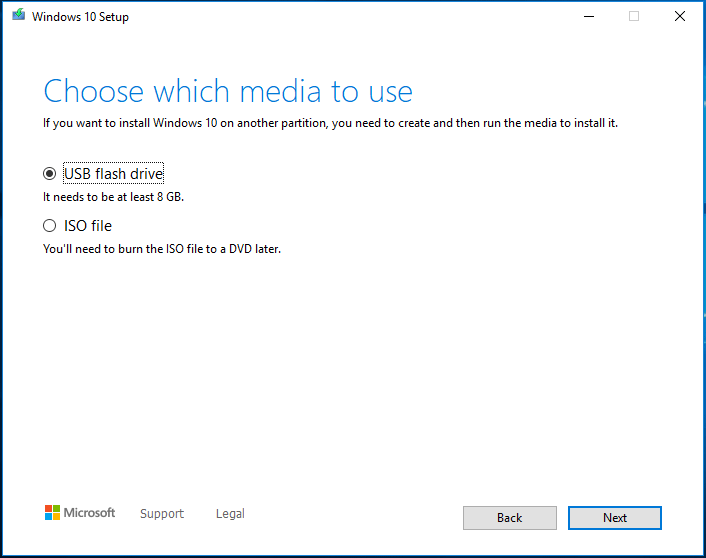
- Creating Bootable Media: Using the Windows Media Creation Tool (downloadable from Microsoft) to create a bootable USB drive is the standard. This involves downloading the Windows ISO file (which can take 15-60 minutes depending on internet speed) and then writing it to a USB drive (typically 5-15 minutes). The quality of your USB drive influences this writing speed.
- Gathering Drivers: While Windows has good built-in driver support, having your network adapter drivers and potentially chipset drivers ready on a separate USB drive can be a lifesaver, especially if Windows doesn’t automatically detect your network card post-installation.
The Initial Setup and File Copying Phase
This is where the actual installation begins, typically after booting from your USB drive and selecting language preferences.
- Boot from Media: Depending on your BIOS/UEFI settings, this can be immediate or require a quick adjustment in the boot menu.
- Regional and Language Settings: A few quick clicks to confirm your preferences.
- Product Key Entry (or Skip): You can enter your product key or choose to do it later.
- License Terms: Accept the Microsoft Software License Terms.
- Installation Type Selection: Choose “Custom: Install Windows only (advanced)” for a clean install or “Upgrade: Install Windows and keep files, settings, and applications” for an in-place upgrade.
- Drive Selection and Formatting: Select the drive or partition where you want to install Windows. For a clean install, you’ll typically delete existing partitions and then create new ones, or simply select the unallocated space.
- Copying Windows Files: This is the most time-consuming part of this phase. The installer copies all necessary system files from the installation media to your hard drive. This is where the speed of your storage drive (SSD vs. HDD) and the read speed of your USB drive are most critical. On an NVMe SSD, this might take 3-7 minutes. On an older HDD, it could be 15-45 minutes.
- Getting Files Ready for Installation: This phase typically follows the copying and involves preparing the copied files for integration.
System Restarts and Configuration
After the initial file copying, Windows begins configuring itself for your specific hardware.
- Installing Features and Updates: The system installs core Windows components and applies some initial updates that are bundled with the installer.
- Multiple Restarts: The installation process involves several automatic restarts. It’s crucial not to interrupt these. Each restart allows the system to apply configurations and move to the next stage.
- Setting Up Devices: Windows detects and begins configuring basic hardware components like your display, input devices, and network adapters.
The Out-of-Box Experience (OOBE) and User Setup
This is the final stretch, where you personalize your Windows experience.
- Regional Settings and Keyboard Layout: Reconfirm your geographical region and keyboard preferences.
- Network Connection: Connect to your Wi-Fi or wired network. This is essential for subsequent updates and online account setup.
- Microsoft Account Sign-in (or Local Account): You’ll be prompted to sign in with or create a Microsoft account. You can usually choose to create a local account if preferred, though this option is sometimes less prominent.
- Privacy Settings: Windows will present various privacy options (location services, diagnostic data, tailored experiences, etc.). Take a moment to review and adjust these according to your preferences.
- Cortana Setup: Option to enable or disable the digital assistant.
- Final Preparations: Windows runs through some last-minute setup steps, often displaying messages like “Hi,” “Getting things ready for you,” or “This might take a few minutes.” This is where it sets up your user profile and finalizes the desktop environment.
- Desktop Appears: Finally, you’ll see your desktop, indicating the primary installation is complete.
Realistic Timeframes for Different Scenarios
Given the multitude of factors, providing exact times is impossible, but we can offer realistic ranges for common scenarios. These assume minimal issues during the process.
Modern PC with SSD: The Speedy Install
- Hardware: Intel Core i5/i7/i9 or AMD Ryzen 5/7/9, 8GB+ RAM, NVMe or SATA SSD (newer generation).
- Installation Method: USB 3.0/3.1 flash drive.
- Clean Install:
- Core OS Installation (from boot to first desktop screen): 15-30 minutes. The initial file copying is incredibly fast.
- Post-Installation (Windows Updates, initial drivers, basic setup): 30-60 minutes, highly dependent on internet speed and the volume of updates.
- Total Time (ready for basic use): 45 minutes to 1.5 hours.
This scenario represents the fastest possible installation, perfect for quickly getting a new machine up and running or refreshing a system.
Older PC with HDD: Patience is Key
- Hardware: Intel Core 2 Duo/Quad, older Core i3/i5, or AMD FX/APU, 4-8GB RAM, traditional 5400/7200 RPM HDD.
- Installation Method: USB 2.0/3.0 flash drive or DVD.
- Clean Install:
- Core OS Installation (from boot to first desktop screen): 45 minutes to 1.5 hours. The HDD is the major bottleneck here, especially during file copying.
- Post-Installation (Windows Updates, initial drivers, basic setup): 1-3 hours, potentially longer if internet is slow or a large cumulative update is pending.
- Total Time (ready for basic use): 2 to 4 hours, possibly more.
For older systems, upgrading to an SSD is the single most impactful upgrade to drastically reduce installation (and overall system) time.
Upgrading from a Previous Version
- Hardware: Any PC meeting the minimum requirements for the new Windows version (e.g., Windows 11).
- Method: In-place upgrade using Windows Update or the Media Creation Tool.
- Upgrade Process:
- Download Phase: 30 minutes to several hours, depending on internet speed and the size of the update package.
- Preparation Phase (compatibility checks, file staging): 30 minutes to 1.5 hours.
- Installation Phase (multiple restarts, configuration, data migration): 1-3 hours. This phase is heavily dependent on the amount of data, applications, and settings that need to be preserved.
- Post-Upgrade (final updates, driver checks): 30 minutes to 1 hour.
- Total Time (system upgraded and ready): 2.5 to 6 hours, or even longer for heavily customized or data-rich systems.
Upgrades are inherently more complex and time-consuming due to the need to preserve existing user data and applications, making them a less predictable process than a clean install.
Troubleshooting Common Installation Delays
Even with optimal hardware, installations can hit snags. Knowing common issues can help diagnose and resolve delays quickly.
Driver Issues and Compatibility Conflicts
- Problem: System freezes, blue screens (BSODs), or failure to detect critical hardware (like network adapters or storage controllers) during or after installation.
- Cause: Missing or incompatible drivers for new hardware, particularly during the initial setup phase.
- Solution: Ensure you have the latest drivers for your motherboard chipset, network card, and graphics card downloaded beforehand on a separate USB drive. If the installation repeatedly fails, try disconnecting non-essential peripherals. Check the PC or component manufacturer’s website for Windows compatibility.
Corrupted Installation Media
- Problem: Installation errors during file copying, “Windows cannot install required files,” or repeated boot loops.
- Cause: The USB drive or DVD used for installation is faulty, the ISO file downloaded was corrupted, or the writing process to the media failed.
- Solution: Re-download the Windows ISO file (from Microsoft’s official website only). Re-create the bootable USB drive using the Media Creation Tool on a different, known-good USB stick. If using a DVD, try burning it to a new, high-quality disc.
BIOS/UEFI Settings and Boot Order
- Problem: The system doesn’t boot from the installation media, or the installation process doesn’t recognize the hard drive.
- Cause: Incorrect boot order in BIOS/UEFI, Secure Boot/CSM settings preventing the installer from loading, or storage controller modes (like RAID/AHCI) not being correctly configured.
- Solution: Enter your computer’s BIOS/UEFI settings (usually by pressing Del, F2, F10, or F12 during startup). Ensure your USB drive or DVD drive is set as the primary boot device. For modern systems, check that Secure Boot is properly configured (sometimes needs to be temporarily disabled for older boot media or specific hardware). Verify that your SATA controller mode is set to AHCI, especially if you’re installing on an SSD, as this is typically the standard for modern drives.
Insufficient Disk Space
- Problem: “Windows needs more space” error during installation.
- Cause: The target drive or partition does not have enough free space for the Windows installation (typically 20GB+ for Windows 10/11, though more is recommended).
- Solution: If performing a clean install, delete existing partitions on the target drive and create new ones, or select unallocated space. If performing an upgrade, free up significant space on your current C: drive by deleting unnecessary files, uninstalling large applications, or moving data to another drive.
Tips for a Faster and Smoother Windows Installation
While hardware is a major determinant, there are several proactive steps you can take to optimize your Windows installation experience, minimizing downtime and maximizing productivity.
Prioritize SSD Storage
If your PC still relies on a traditional HDD, upgrading to an SSD (even a budget SATA SSD) is the single most effective way to dramatically speed up not just Windows installation, but the overall performance of your entire system. The cost-to-performance ratio for an SSD upgrade is arguably the best investment you can make for an older machine. For new builds, always opt for an NVMe SSD if your motherboard supports it.
Use High-Quality USB Media
When creating your bootable USB drive, use a reliable, fast USB 3.0 or 3.1 flash drive with at least 8GB (preferably 16GB) of storage. Cheap, unbranded USB drives can have slow read/write speeds, prolonging the installation process. Ensure the USB drive is empty or has been backed up, as the creation tool will erase its contents.
Disconnect Unnecessary Peripherals
Before starting the installation, disconnect any non-essential peripherals such as external hard drives, printers, webcams, or extra monitors. This helps prevent potential driver conflicts or unexpected issues during the initial setup phase, allowing Windows to focus on installing core components. Reconnect them once the basic installation is complete and you’re at the desktop.
Have Drivers Ready
While Windows usually installs basic drivers, having the latest chipset, graphics, and especially network card drivers downloaded and saved on a separate USB stick is a smart move. If Windows doesn’t automatically detect your network adapter, you won’t be able to connect to the internet to download anything. Having these critical drivers offline ensures you can get online and then download all other necessary updates.
Optimize Your Internet Connection
The post-installation phase relies heavily on your internet speed for Windows Updates and driver downloads. If possible, use a wired Ethernet connection during this period rather than Wi-Fi, as it’s generally more stable and faster. If you must use Wi-Fi, ensure you have a strong signal. Consider scheduling your installation for a time when your internet usage is low to maximize bandwidth.
Prepare for Post-Installation
Think beyond just the OS installation. What essential software do you need immediately? Have the installers for your web browser, antivirus, office suite, and other critical applications ready. Some users even use tools like Ninite to automate the installation of multiple common applications after a fresh Windows install, saving significant time.
In conclusion, while “how long does installing Windows take” might seem like a simple question, the answer is nuanced and depends on a variety of factors. By understanding your hardware, choosing the right installation method, and taking proactive steps for preparation and post-installation, you can significantly streamline the process. A modern, well-prepared system can be up and running in under an hour, while an older, unprepared machine might demand several hours of your time. Armed with this knowledge, you can approach your next Windows installation with confidence, ensuring a smooth transition to your optimized digital workspace.
aViewFromTheCave is a participant in the Amazon Services LLC Associates Program, an affiliate advertising program designed to provide a means for sites to earn advertising fees by advertising and linking to Amazon.com. Amazon, the Amazon logo, AmazonSupply, and the AmazonSupply logo are trademarks of Amazon.com, Inc. or its affiliates. As an Amazon Associate we earn affiliate commissions from qualifying purchases.