In the modern digital landscape, data is the lifeblood of both personal and professional computing. Whether you are a creative professional handling massive 4K video files, a gamer with an ever-expanding library, or a power user seeking to breathe new life into an aging workstation, upgrading your storage is one of the most impactful hardware interventions you can perform. Installing a new hard drive—whether a traditional Mechanical Hard Disk Drive (HDD) or a lightning-fast Solid State Drive (SSD)—is a fundamental skill that bridges the gap between basic troubleshooting and advanced system building. This guide provides a comprehensive, professional walkthrough of the process, ensuring your hardware integration is seamless, secure, and optimized for peak performance.
Pre-Installation: Understanding Your Hardware Requirements
Before opening your computer case, it is critical to understand the technical specifications of both your motherboard and the storage device you intend to install. Not all drives are created equal, and compatibility is the cornerstone of a successful upgrade.
Choosing the Right Drive: HDD vs. SSD
The first technical decision involves selecting the medium. HDDs utilize spinning magnetic platters and are preferred for high-capacity, budget-friendly bulk storage (e.g., 8TB+ for archives). SSDs, conversely, use NAND flash memory with no moving parts, offering drastically higher read/write speeds. In the current tech ecosystem, an SSD is the standard for boot drives (where the operating system resides), while HDDs are relegated to secondary storage for cold data.
Identifying Connection Interfaces: SATA and NVMe
Modern hardware primarily uses two interfaces:
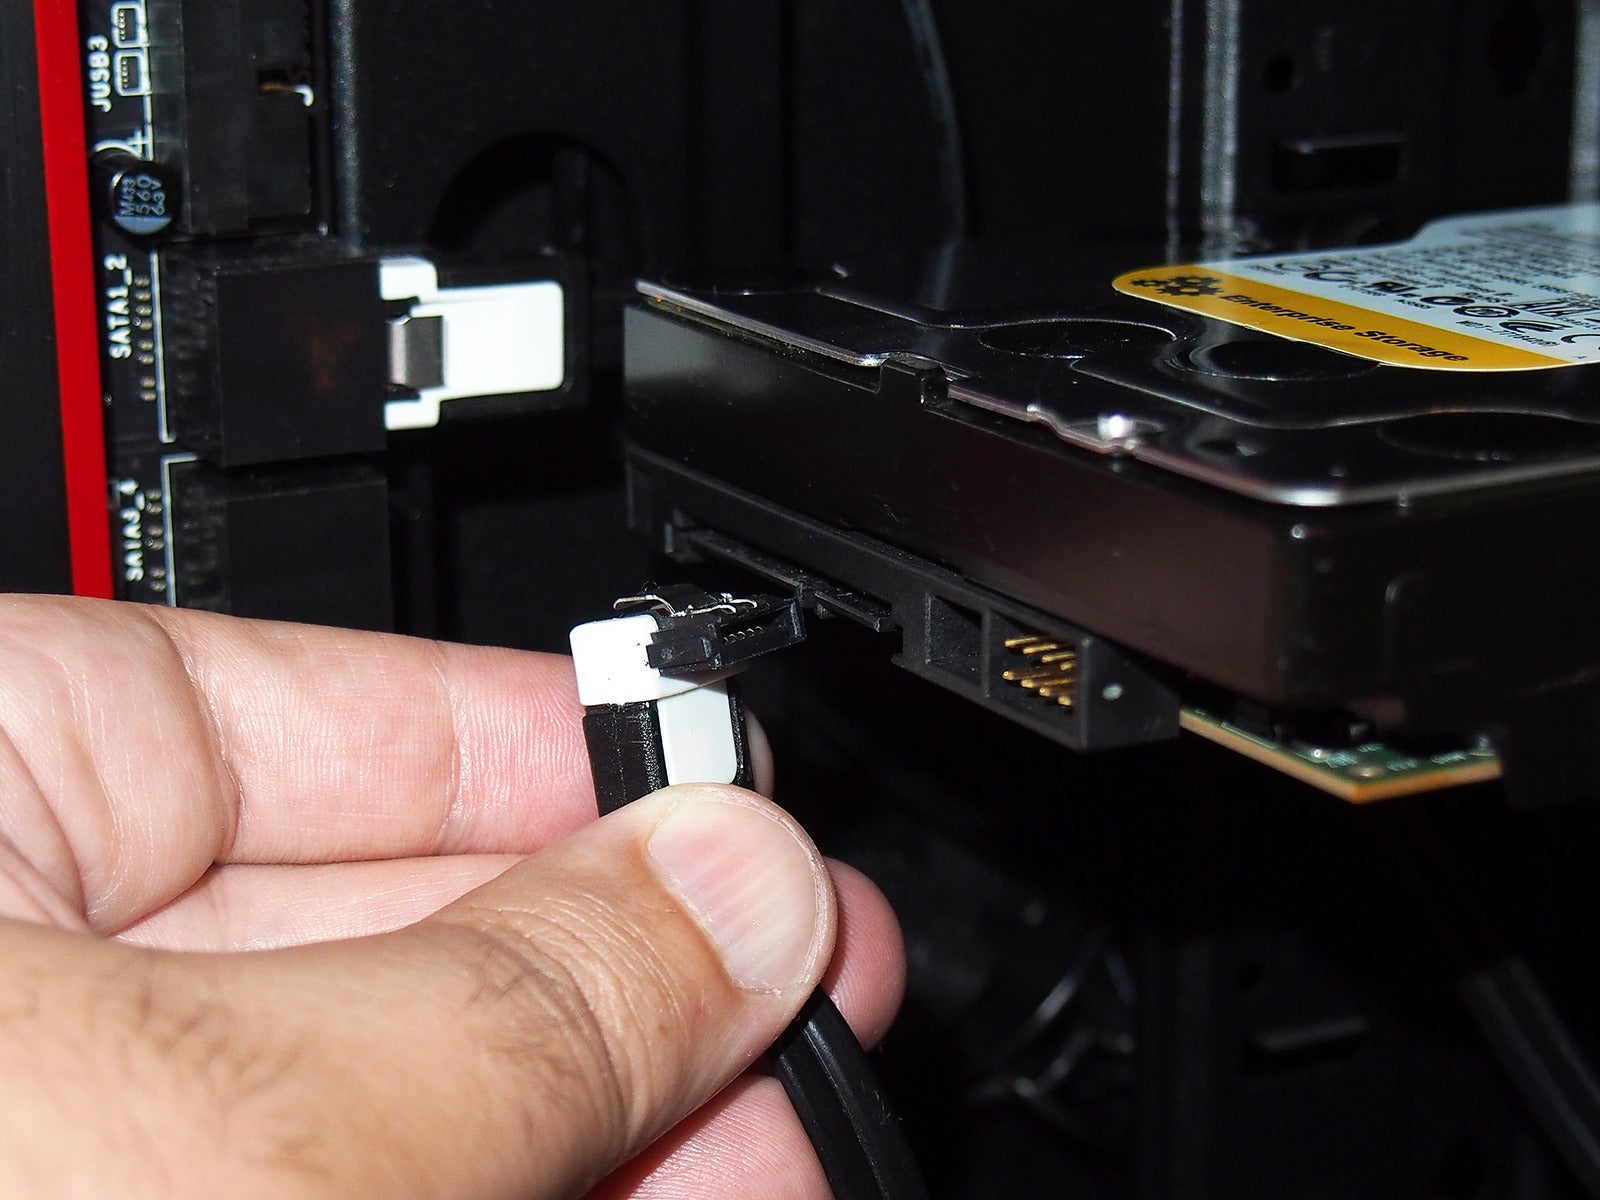
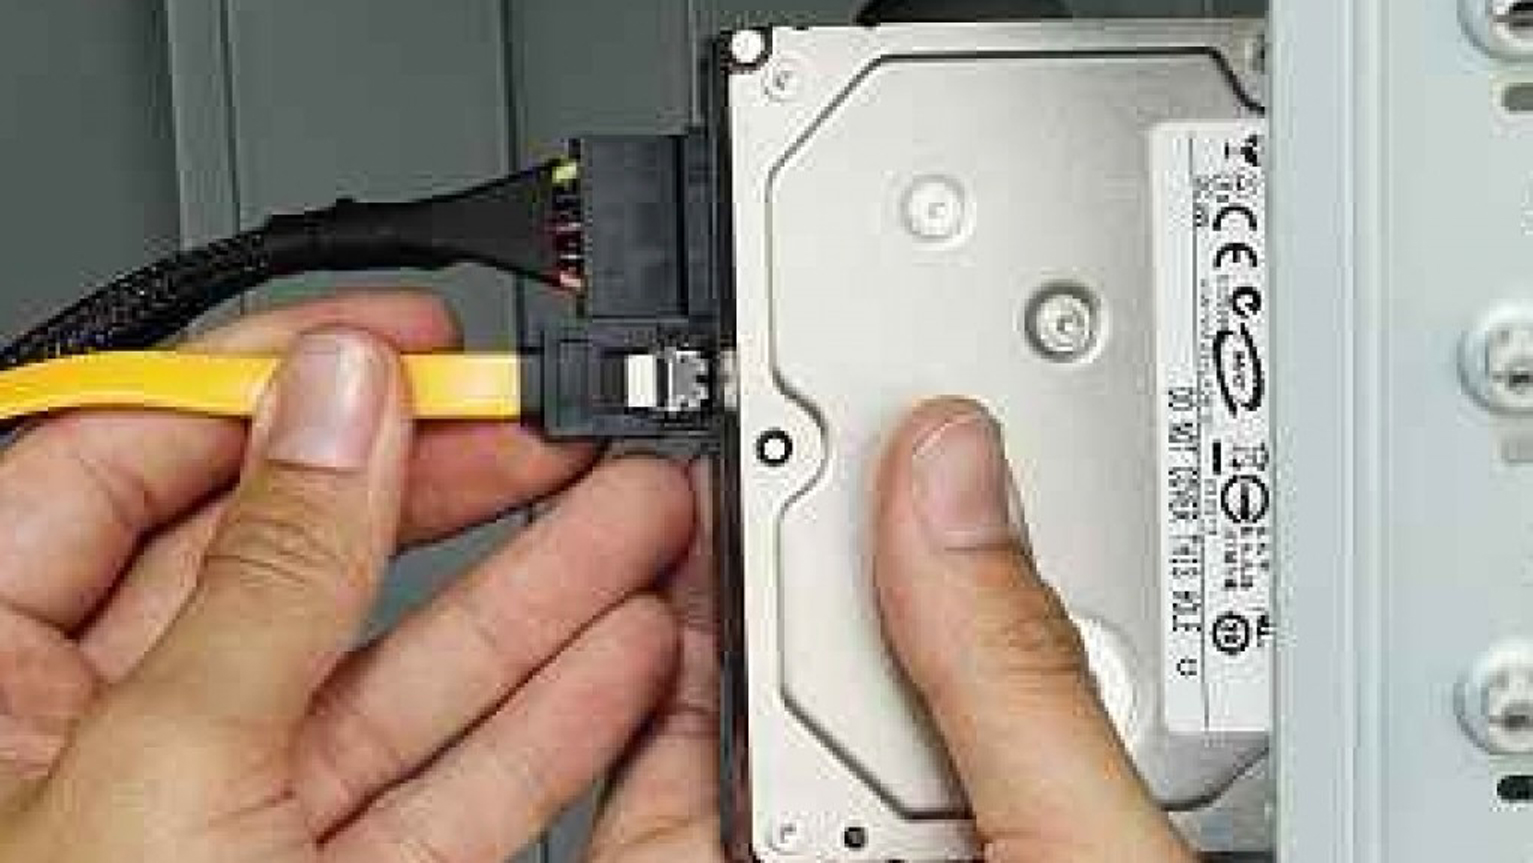
- SATA (Serial ATA): The legacy standard used by both 3.5-inch HDDs and 2.5-inch SSDs. It requires two cables: a data cable connecting to the motherboard and a power cable from the Power Supply Unit (PSU).
- M.2 NVMe (Non-Volatile Memory express): The contemporary standard for high-performance computing. These drives look like sticks of gum and plug directly into a dedicated slot on the motherboard, communicating via the PCIe lanes for unparalleled bandwidth.
Essential Tools and Safety Precautions
Hardware installation requires precision. You will typically need a Phillips #0 or #2 screwdriver. Most importantly, you must mitigate the risk of Electrostatic Discharge (ESD), which can catastrophically damage sensitive silicon components. Utilizing an anti-static wrist strap or frequently grounding yourself by touching the metal chassis of the plugged-in (but powered off) PSU is a vital safety protocol.
Step-by-Step Physical Installation for Desktops and Laptops
Once you have secured the correct hardware, the physical integration process begins. This stage requires a delicate balance of firm pressure and cautious handling of delicate pins and connectors.
Preparing Your Workstation
Begin by shutting down your system completely. Flip the switch on the back of the PSU and unplug the power cable. Press and hold the power button for five seconds to discharge any remaining electricity in the capacitors. Place the chassis on a clean, non-conductive surface with ample lighting.
Installing a 3.5-inch or 2.5-inch SATA Drive
For desktop installations, locate the drive bays.
- Mounting: Slide the drive into an available bay. Many modern cases use tool-less trays, while older models require securing the drive with four screws through the side or bottom.
- Cabling: Connect the L-shaped SATA data cable from the drive to an available SATA port on the motherboard (preferably Port 0 or 1 for boot drives). Next, connect the wider SATA power connector from your PSU. Ensure both connections are “clicked” into place; loose cables are the leading cause of “Disk Not Found” errors.
Integrating M.2 NVMe Modules
Installing an M.2 drive is a more streamlined process but requires attention to detail regarding the mounting screw.
- Location: Locate the M.2 slot on your motherboard (refer to your manual, as some slots may be hidden under heat sinks).
- Insertion: Insert the drive into the slot at a 30-degree angle. It will naturally stay propped up.
- Securing: Gently press the drive down and secure it with the tiny M.2 screw. Do not over-tighten, as the PCB (Printed Circuit Board) is fragile. If your motherboard includes a thermal pad or heat sink for the M.2 slot, ensure the plastic film is removed before re-installing the sink over the drive.
Software Initialization: Making the Drive Usable
Plugging in the hardware is only half the battle. When you boot your computer, the new drive will likely not appear in “This PC” or “File Explorer.” This is because the drive is “unallocated” and lacks a file system.
Accessing Windows Disk Management
Once back in your operating system, right-click the Start button and select Disk Management. Upon opening, Windows will likely detect the new hardware and prompt you to “Initialize Disk.”
Selecting Partition Styles: GPT vs. MBR
You will be asked to choose between MBR (Master Boot Record) and GPT (GUID Partition Table).
- GPT: This is the modern standard. It supports drives larger than 2TB and is required for systems using UEFI firmware. Always choose GPT unless you are working with legacy hardware from over a decade ago.
- MBR: An older standard with significant limitations, including a 2TB partition limit and a maximum of four primary partitions.
Formatting and Assigning Drive Letters
After initialization, your drive will appear as a black bar labeled “Unallocated Space.” Right-click this area and select New Simple Volume. Follow the wizard to:
- Assign Volume Size: Usually the maximum available.
- Assign Drive Letter: Choose any available letter (D:, E:, etc.).
- Choose File System: For Windows, select NTFS. For drives intended to be shared between Mac and Windows, choose exFAT.
- Perform a Quick Format: This sets up the internal “map” for data storage without scanning every sector for errors (which is unnecessary for new drives).
Data Management: Cloning vs. Fresh Installations
If you are replacing an old drive rather than simply adding a second one, you must decide how to handle your existing data and operating system.
Using Migration Software for Seamless Transitions
If your goal is to move your entire Windows installation to a new, faster SSD without reinstalling your apps, you will need cloning software. Many manufacturers (like Samsung, Crucial, and Western Digital) provide free “Acronis” or proprietary migration tools. This software creates a bit-for-bit copy of your old drive onto the new one. Note that you may need a USB-to-SATA adapter or an external enclosure if you are performing this on a laptop with only one drive slot.
Managing Boot Priorities in BIOS/UEFI
After cloning or installing a fresh OS, your computer needs to know which drive to “look at” first during startup. Restart your computer and tap the BIOS entry key (usually F2, F12, or Del). Navigate to the Boot tab and move your new drive to the top of the priority list. This ensures the system bypasses the old, slower drive or empty slots and loads the OS from your high-performance hardware.
Long-Term Maintenance and Performance Optimization
To ensure your investment lasts and maintains its speed, you must implement specific digital maintenance routines tailored to the type of drive you installed.
Enabling TRIM and Monitoring Drive Health
If you installed an SSD, ensure that the TRIM command is active. TRIM allows the operating system to inform the SSD which blocks of data are no longer in use, allowing the drive to wipe them internally and maintain high write speeds over time. You can check this in the Windows command prompt or via the manufacturer’s “SSD Toolkit” software. Additionally, use tools like CrystalDiskInfo to monitor S.M.A.R.T. (Self-Monitoring, Analysis, and Reporting Technology) attributes. This provides early warnings of drive degradation before data loss occurs.
Troubleshooting Common Detection Issues
If the drive does not appear in the BIOS or Disk Management, follow this technical checklist:
- Physical Check: Re-seat the SATA or M.2 cables. Power cycles can sometimes loosen connections.
- BIOS Settings: Ensure the SATA port is “Enabled” in the BIOS. Some motherboards disable certain SATA ports if an M.2 NVMe drive is installed due to shared bandwidth.
- Driver Updates: Check the motherboard manufacturer’s website for the latest Chipset or AHCI/NVMe drivers.
By following these professional protocols, you transform a hardware upgrade from a daunting task into a structured technical success. Properly installing and configuring a hard drive not only expands your digital horizons but also ensures your system architecture remains robust, efficient, and ready for the data demands of tomorrow.
aViewFromTheCave is a participant in the Amazon Services LLC Associates Program, an affiliate advertising program designed to provide a means for sites to earn advertising fees by advertising and linking to Amazon.com. Amazon, the Amazon logo, AmazonSupply, and the AmazonSupply logo are trademarks of Amazon.com, Inc. or its affiliates. As an Amazon Associate we earn affiliate commissions from qualifying purchases.