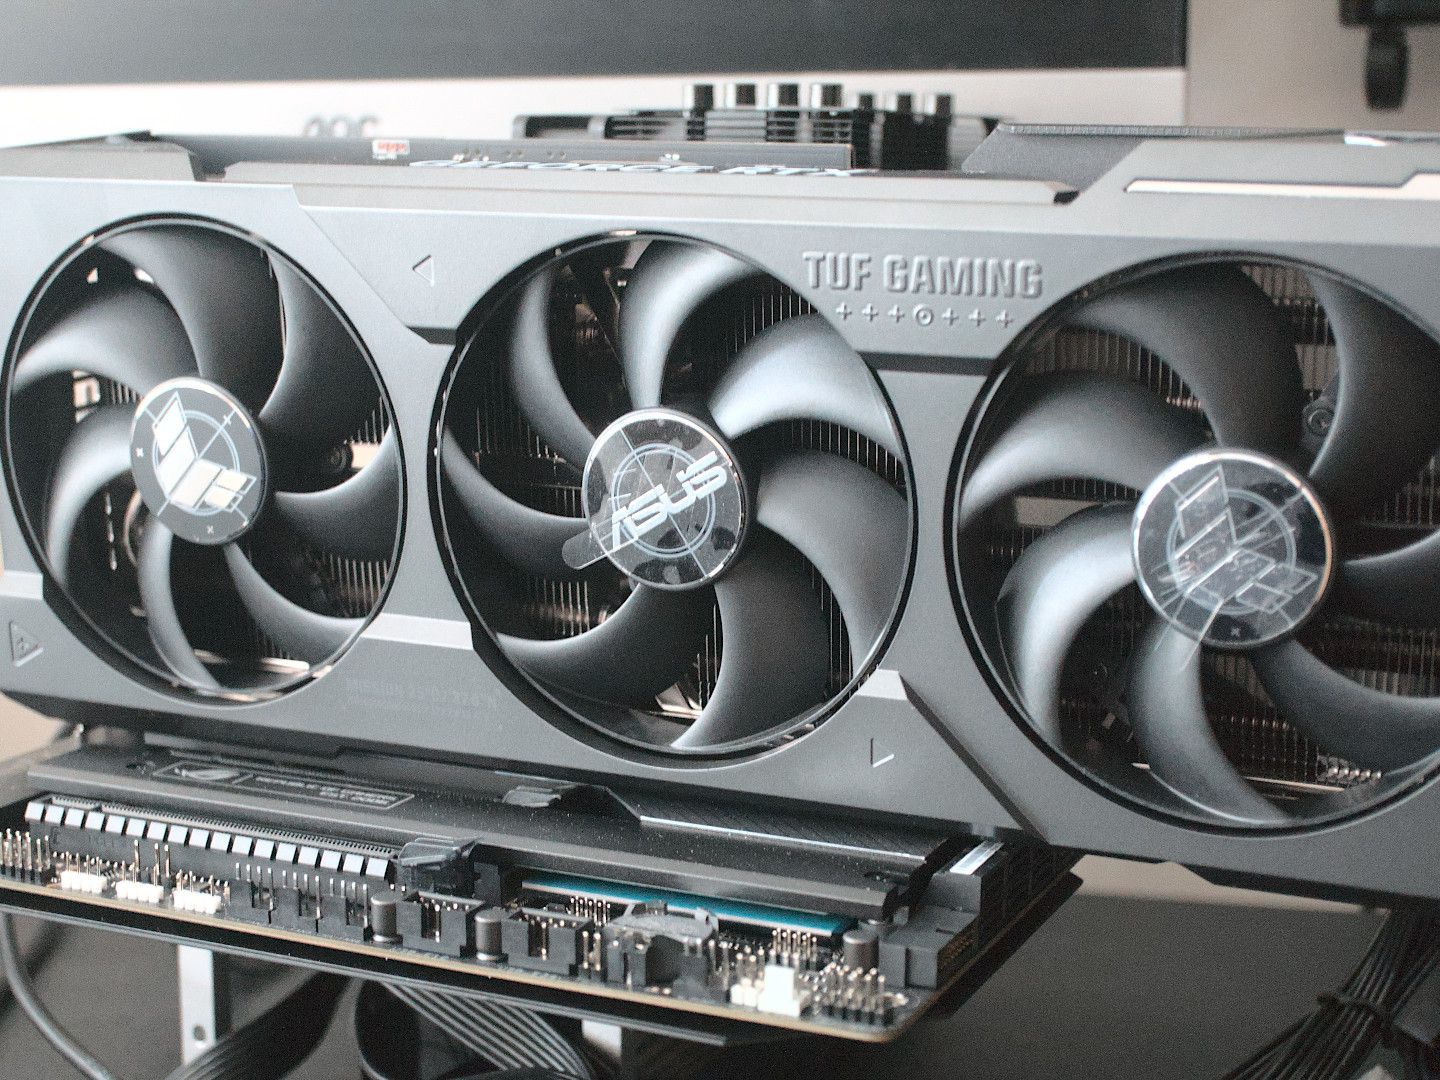
Upgrading your PC is a journey, and few components offer as dramatic a transformation as a new graphics card. Whether you’re a hardcore gamer chasing the latest framerates, a creative professional rendering complex 3D models, or simply looking to breathe new life into an aging system, a Graphics Processing Unit (GPU) upgrade is often the most impactful change you can make. This guide will walk you through every step of the process, from understanding why an upgrade matters to the intricate details of installation and post-setup optimization, ensuring a smooth and successful transition to enhanced visual performance.
Why Upgrade Your Graphics Card? Understanding the Impact
The decision to invest in a new graphics card isn’t just about keeping up with the Joneses; it’s about unlocking new levels of performance and productivity. The GPU is the engine that drives your system’s visual output, influencing everything from the fluidity of your games to the speed of your professional applications.
Enhanced Gaming Performance
For gamers, the benefits are immediately obvious. A new graphics card can elevate your gaming experience from choppy slideshows to buttery-smooth, high-resolution visuals. Modern games demand significant graphical horsepower, and an outdated GPU can quickly become a bottleneck, preventing you from enjoying titles at their intended fidelity. Upgrading allows you to crank up settings like texture quality, anti-aliasing, and shadow detail, immersing you more deeply into virtual worlds. Furthermore, it enables access to advanced rendering technologies such as ray tracing, which simulates light more realistically, and DLSS/FSR, which intelligently upscales resolutions for improved performance without sacrificing image quality. The return on investment (ROI) for gamers, in terms of sheer enjoyment and competitive edge, can be substantial. Choosing a reputable brand like NVIDIA or AMD not only guarantees performance but also offers a robust ecosystem of drivers and support, safeguarding your financial outlay.
Boosted Content Creation and Professional Workloads
Beyond gaming, professional applications heavily leverage the GPU for tasks ranging from video editing and 3D rendering to graphic design and scientific simulations. A powerful graphics card can drastically reduce render times, accelerate video encoding, and provide a smoother, more responsive experience in demanding software like Adobe Premiere Pro, Blender, AutoCAD, and various AI development environments. For content creators and professionals, time is money. Faster processing directly translates to increased productivity and the ability to take on more complex projects, enhancing your personal brand and potentially leading to higher income. The right GPU becomes a critical business tool, not just a gaming accessory, making its selection and proper installation an investment in your career.
Future-Proofing Your System
While no piece of technology is truly “future-proof,” a robust graphics card upgrade can significantly extend the usable lifespan of your PC. As software and games become more graphically intensive, a capable GPU ensures your system remains relevant for years to come, delaying the need for an entirely new build. This strategic upgrade can save you considerable money in the long run by allowing you to maximize the value of your existing components. It’s a smart financial decision that prevents premature obsolescence, giving you more time to save for future, more substantial upgrades.
Essential Pre-Installation Steps: Preparing for a Smooth Upgrade
Before you even think about opening your PC case, thorough preparation is paramount. Skipping these vital steps can lead to compatibility issues, damaged components, or a frustrating installation experience.
Compatibility Checks: Ensuring a Perfect Fit
This is arguably the most critical step. Not all graphics cards are compatible with all systems. You need to consider several factors:
- Motherboard Slot: Most modern GPUs use a PCIe x16 slot. Ensure your motherboard has an available slot of this type.
- Case Size: Graphics cards vary significantly in length, height, and thickness. Measure the available space in your PC case to ensure your chosen card will physically fit without obstruction. Brands often provide detailed dimensions.
- Power Supply Unit (PSU): This is non-negotiable. Your new GPU will likely require more power than your old one, and it will also need specific PCIe power connectors (6-pin, 8-pin, or 12-pin). Check the wattage rating of your current PSU and ensure it can meet the minimum recommended wattage for your new card, with some headroom. Insufficient power can lead to system instability or even component damage, negating your investment. Look for PSUs from reputable brands like Corsair, Seasonic, or EVGA for reliability.
- CPU Bottleneck: While less about physical compatibility, an older or weaker CPU might “bottleneck” a powerful new GPU, preventing it from performing at its full potential. Research potential CPU/GPU bottlenecks to ensure you’re getting the most out of your upgrade budget.
Gathering Your Tools and Workspace Setup
A well-prepared workspace makes the installation process much smoother and safer. You’ll need:
- Phillips Head Screwdriver: The most common tool for PC work. Magnetic tips are a bonus for holding small screws.
- Anti-Static Wrist Strap: Crucial for preventing electrostatic discharge (ESD), which can permanently damage sensitive components. If you don’t have one, frequently touch a grounded metal object (like your PC case’s bare metal) to discharge static.
- Flashlight or Headlamp: For illuminating tight spaces inside the PC case.
- Zip Ties or Velcro Straps: For cable management, making your build tidier and improving airflow.
- A Clean, Flat Surface: To work on, free from clutter.
- Small Container: To keep track of screws.
Driver Management: The Crucial First Step
Before installing the new card, it’s highly recommended to uninstall your old graphics card drivers. This prevents potential software conflicts that can lead to crashes or performance issues.
- For NVIDIA cards, use DDU (Display Driver Uninstaller) in Windows Safe Mode for a clean sweep.
- For AMD cards, their uninstall utility or DDU can also be used.
- Once uninstalled, your system might revert to a basic display driver, which is perfectly fine for the installation process.
Power Supply Unit (PSU) Considerations
As mentioned in compatibility, the PSU is critical. Even if your current PSU meets the minimum wattage requirement for your new GPU, consider the age and efficiency of your unit. An older PSU might not deliver power as reliably or efficiently as a newer one. Investing a little extra in a higher-wattage, higher-efficiency (e.g., 80 Plus Gold rated) PSU can enhance system stability, improve longevity, and even save a small amount on electricity bills over time. This is a subtle money-saving tip that contributes to the long-term health of your system.
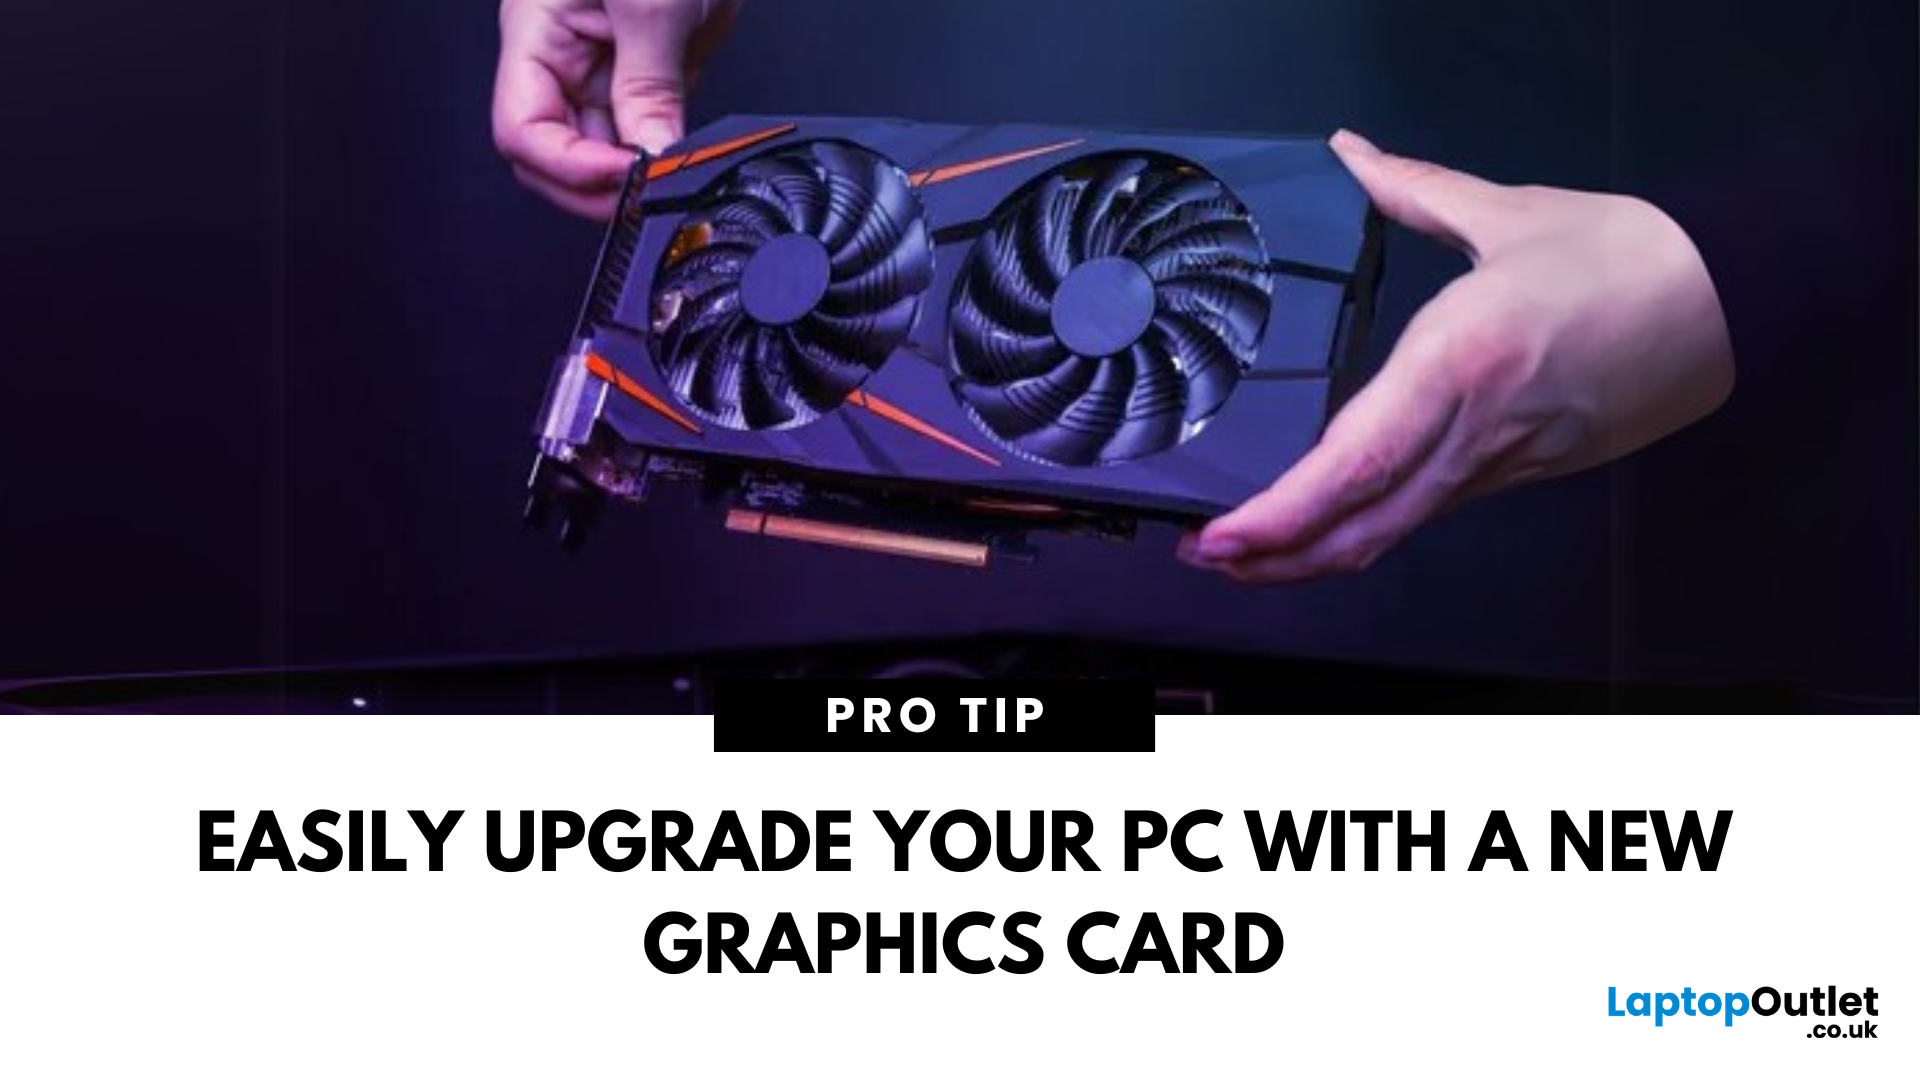
The Step-by-Step Graphics Card Installation Process
With all preparations complete, it’s time for the physical installation. Take your time, be gentle, and follow these steps carefully.
Disconnecting and Opening Your PC Case
- Power Down and Unplug: Completely shut down your PC, turn off the power switch on the back of the PSU, and unplug the power cable from the wall outlet and the PSU.
- Disconnect Peripherals: Disconnect all cables connected to your PC (monitor, keyboard, mouse, USB devices, Ethernet, etc.).
- Move to Workspace: Carefully move your PC to your prepared, clean workspace.
- Open the Case: Remove the side panel(s) of your PC case, typically held by thumbscrews or regular screws. Lay the case on its side for easier access to the motherboard.
- Ground Yourself: Put on your anti-static wrist strap and attach it to an unpainted metal part of your PC case. If you don’t have one, regularly touch a metal part of the case to discharge any static electricity from your body.
Removing the Old Graphics Card
- Locate Old GPU: Identify your existing graphics card plugged into the PCIe x16 slot.
- Disconnect Power Cables: If your old GPU has dedicated PCIe power connectors (usually 6-pin or 8-pin), carefully unclip and pull them out.
- Unscrew Retention Bracket: Graphics cards are typically secured to the PC case with one or two screws on the expansion slot bracket. Unscrew these.
- Release PCIe Clip: At the end of the PCIe x16 slot, there’s a small plastic or metal retention clip that holds the card in place. Gently push or pull this clip (depending on its design) to release the card. Do not force the card out without releasing this clip, as it can damage the motherboard slot.
- Carefully Remove Card: With the screw and clip released, gently pull the old graphics card straight out of the PCIe slot. Place it in an anti-static bag or its original packaging if you plan to resell it (a good way to recoup some of your upgrade costs).
Installing the New Graphics Card
- Prepare the Slot: If necessary, remove any metal covers or “breakout” tabs from your PC case’s expansion slots that correspond to the size of your new GPU. Many modern GPUs are 2-slot or even 3-slot wide.
- Position the New Card: Carefully align your new graphics card with the PCIe x16 slot on your motherboard. Ensure the PCIe connector on the card lines up perfectly with the slot.
- Insert the Card: Gently but firmly push the card straight down into the PCIe slot until it’s fully seated. You should hear a click as the retention clip at the end of the slot locks into place. Double-check that it’s fully seated on both ends.
- Secure the Card: Screw the new graphics card’s retention bracket(s) to the PC case using the screws you removed earlier. This prevents the card from sagging or becoming dislodged.
Connecting Power and Reassembling Your PC
- Connect PCIe Power: This is critical. Connect the appropriate PCIe power cables from your PSU to your new graphics card. Your card may require one, two, or even three 6-pin, 8-pin, or 12-pin connectors. Ensure all required connectors are securely plugged in. Never mix and match different types of power cables from different PSUs or use incorrect adapters, as this can lead to serious damage.
- Cable Management (Optional but Recommended): Route your cables neatly, using zip ties or Velcro straps. Good cable management improves airflow, making your system run cooler and potentially extending component lifespan, thus protecting your investment.
- Close the Case: Carefully put the side panel(s) back on your PC case and secure them with screws.
- Reconnect Peripherals: Reconnect your monitor (ensuring it’s plugged into the new graphics card’s ports, not the motherboard’s integrated graphics ports!), keyboard, mouse, and all other peripherals.
- Plug in Power: Reconnect the PSU power cable to the wall outlet and turn on the PSU switch.
Post-Installation Procedures: Optimizing Your New Hardware
The physical installation is just one part of the equation. Software setup and optimization are equally important to unleash your new GPU’s full potential.
Driver Installation and Updates
- Boot Up Your PC: Turn on your computer. Your system should boot up using a basic display driver, and the resolution might be low.
- Download Latest Drivers: Go to the official website of your graphics card manufacturer (NVIDIA or AMD) and download the very latest drivers for your specific GPU model and operating system. Avoid using drivers from third-party sites or outdated discs.
- Install Drivers: Run the driver installer. Follow the on-screen prompts. It’s often recommended to perform a “clean installation” if the option is available, even if you uninstalled old drivers previously.
- Restart: Once the installation is complete, restart your PC. Your display resolution should now correct itself, and you should see the full benefits of your new card.
- Keep Drivers Updated: Regularly check for driver updates. Manufacturers frequently release new drivers that offer performance improvements, bug fixes, and support for the latest games and applications. These updates are free performance boosts and crucial for long-term satisfaction with your purchase.
Testing and Benchmarking Your New GPU
Once drivers are installed, it’s time to confirm everything is working correctly and to see what your new GPU can do.
- Run a Game or Application: Launch a graphically intensive game or professional application you frequently use. Monitor performance, framerates, and stability.
- Benchmarking Software: Use popular benchmarking tools like 3DMark, Unigine Heaven, or FurMark to put your GPU through its paces. Compare your scores to online databases for your specific card model to ensure it’s performing as expected. This also offers valuable data for future comparisons or troubleshooting.
- Monitor Temperatures: Keep an eye on your GPU’s temperatures during strenuous tasks. Tools like MSI Afterburner or HWMonitor can display this information. High temperatures can lead to throttling and reduced performance. If temperatures are consistently high, ensure adequate airflow in your case.
Troubleshooting Common Issues
Even with careful planning, issues can arise.
- No Display/Black Screen:
- Ensure the monitor is plugged into the new GPU, not the motherboard.
- Check all power cables to the GPU and PSU are fully seated.
- Reseat the graphics card in the PCIe slot.
- Clear your motherboard’s CMOS (refer to your motherboard manual).
- System Instability/Crashes:
- Revisit driver installation, ensuring it was clean.
- Check PSU wattage. Is it sufficient?
- Monitor temperatures for overheating.
- Poor Performance:
- Ensure the correct drivers are installed.
- Check for CPU bottlenecking.
- Verify the card is running at its expected speeds (monitoring software can help).
Maximizing Your Investment: Beyond the Installation
Your new graphics card is a significant investment, both in terms of money and system performance. Ensuring its longevity and continued optimal operation is key to getting the most out of it.
Regular Maintenance and Monitoring
Just like any high-performance component, a GPU benefits from regular maintenance.
- Dust Removal: Periodically (every 3-6 months), open your PC case and use compressed air to gently blow dust out of your GPU’s heatsink and fans. Dust acts as an insulator, trapping heat and reducing cooling efficiency.
- Temperature Monitoring: Regularly check your GPU temperatures, especially during intensive tasks. Abnormal spikes could indicate a cooling issue or accumulating dust.
- Software Updates: Beyond drivers, ensure your operating system and game launchers are also updated. These often contain optimizations that can indirectly benefit GPU performance.

Understanding GPU Longevity and Upgrade Cycles
A well-maintained graphics card can last many years, often outliving its competitive relevance for bleeding-edge gaming. Understanding the typical upgrade cycle (usually every 2-4 years for significant performance gains) helps you plan future investments. When considering the next upgrade, evaluate the potential resale value of your current GPU. A card from a reputable brand, kept in good condition, can often fetch a decent price on the second-hand market, helping to offset the cost of your next high-performance component. This strategic approach to technology acquisition ensures you maximize your financial outlay while consistently enjoying top-tier performance.
By following this comprehensive guide, you’re not just installing a piece of hardware; you’re strategically upgrading your entire PC experience, safeguarding your investment, and unlocking new capabilities for both work and play. Enjoy the enhanced performance!
aViewFromTheCave is a participant in the Amazon Services LLC Associates Program, an affiliate advertising program designed to provide a means for sites to earn advertising fees by advertising and linking to Amazon.com. Amazon, the Amazon logo, AmazonSupply, and the AmazonSupply logo are trademarks of Amazon.com, Inc. or its affiliates. As an Amazon Associate we earn affiliate commissions from qualifying purchases.