In the vast and ever-evolving landscape of personal computing, few tasks offer as profound a reset and performance boost as a clean installation of your operating system. For Windows 10 users, this process involves completely wiping your computer’s hard drive and installing a fresh, unblemished copy of the OS. While the idea of erasing everything might seem daunting, it’s a powerful procedure often preferred over simple upgrades due to its comprehensive nature, leading to a faster, more stable, and inherently more secure system. This guide will walk you through every step, from preparation to post-installation, ensuring a smooth transition to a revitalized Windows 10 experience.

The Compelling Case for a Fresh Start: Why Clean Install Windows 10?
Over time, even the most meticulously maintained computer can accumulate digital clutter that degrades performance and stability. A clean install is akin to spring cleaning for your PC, offering a definitive solution to a host of common issues. Understanding these benefits underscores why many tech enthusiasts and professionals opt for this method.
Unlocking Peak Performance and System Stability
Every interaction with your computer – installing software, downloading files, browsing the web – leaves a trace. Over months or years, these traces can accumulate into a tangled web of junk files, redundant registry entries, and remnants of uninstalled programs. This digital detritus acts like a persistent drag on your system, slowing down boot times, application launches, and overall responsiveness. A clean install provides an immediate and dramatic performance improvement by literally wiping the slate clean, returning your operating system to its factory-fresh speed and efficiency. It’s the ultimate antidote to sluggishness, restoring the snappy responsiveness you enjoyed when your PC was new.
Essential Troubleshooting and Malware Removal
Persistent software bugs, inexplicable system crashes, and stubborn malware infections can turn a productive computing experience into a frustrating ordeal. When conventional troubleshooting methods, such as system restore points, antivirus scans, or driver updates, fail to resolve deep-seated issues, a clean install often emerges as the most effective, albeit last-resort, solution. By completely eradicating the existing OS environment, you remove the root cause of many software conflicts and eliminate even the most tenacious malware, providing a pristine foundation upon which to rebuild. This approach offers unparalleled peace of mind, knowing that your system is free from hidden vulnerabilities and performance bottlenecks.
A Secure Foundation: Eliminating Bloatware and Preparing for Resale
Modern computers, particularly pre-built desktops and laptops, frequently come bundled with pre-installed applications known as “bloatware.” While some of these might be useful, many are unnecessary trialware, proprietary utilities, or third-party apps that consume valuable system resources, hog storage space, and can even introduce potential security vulnerabilities. A clean install allows you to sidestep this issue entirely, giving you full control over what software resides on your machine. You start with a lean, efficient Windows 10 installation, adding only the applications you genuinely need.
Furthermore, if you ever plan to sell, donate, or recycle your computer, protecting your personal privacy is paramount. Simply deleting files from your desktop or emptying the recycle bin is not enough; data can often be recovered with specialized tools. A clean install, particularly when combined with proper drive wiping techniques (which the partition deletion step inherently does to a significant extent), ensures that your personal data is thoroughly erased, safeguarding your privacy and preventing unauthorized access to sensitive information. It’s an indispensable step for responsible device decommissioning.
Pre-Installation Checklist: Gathering Your Tools and Protecting Your Data
Embarking on a clean install journey requires foresight and careful preparation. The actions taken before you even touch the installation media are crucial for a successful and stress-free process. Skipping these preparatory steps can lead to lost data, driver headaches, or frustrating delays.
The Golden Rule: Comprehensive Data Backup
This is, without a doubt, the single most critical step in the entire process. A clean install will erase everything on your primary storage drive. If it’s not backed up, it will be gone forever. Don’t underestimate the importance of this. Dedicate ample time to copy all your documents, photos, videos, music libraries, work files, and any other essential data to a secure external location. This could be an external hard drive, a large USB drive, or a reliable cloud storage service like OneDrive, Google Drive, or Dropbox.
Beyond just personal files, remember to back up less obvious but equally important items:
- Browser Bookmarks and Settings: Export your browser’s bookmarks, saved passwords, and custom settings.
- Email Archives: If you use a desktop email client (like Outlook or Thunderbird), back up your email data files (PST, OST, or similar).
- Game Saves: Many modern games save progress to the cloud, but for older titles or specific configurations, you might need to manually locate and back up save files.
- Application Settings: For specialized software, check if there are options to export custom settings or configurations.
It’s often a good practice to create a dedicated “Backup” folder on your external drive, meticulously organizing everything so that restoration is straightforward.
Securing Your Windows 10 License and Essential Drivers
While Windows 10’s activation system is quite robust, it’s always wise to be prepared. If you previously activated Windows 10 on the same machine, it likely has a digital entitlement linked to your hardware or Microsoft account, meaning it should activate automatically once connected to the internet post-installation. However, having your Windows 10 product key (a 25-character alphanumeric code) handy is good practice. You might find it on a sticker on your PC, in your purchase confirmation email, or even retrieve it using third-party software before the wipe.
Equally important is gathering necessary hardware drivers. While Windows 10 boasts excellent generic driver support, especially for common components, manufacturer-specific drivers often unlock full functionality and optimal performance for devices like graphics cards, network adapters (especially Wi-Fi), chipsets, and specialized peripherals. Before you wipe your drive, visit your PC manufacturer’s support website (e.g., Dell, HP, Lenovo, ASUS) or the individual component manufacturer’s site (e.g., NVIDIA, AMD, Intel). Download the latest Windows 10 drivers for your specific model and save them to a separate USB drive or external hard drive (distinct from your backup drive, if possible). Having your network adapter driver ready is particularly crucial, as you won’t be able to download anything post-install without internet access. Additionally, make a list of all the essential software you’ll need to reinstall, perhaps even downloading the installers for frequently used programs beforehand.
Preparing Your Installation Media: The USB Drive and Internet Connection
To perform a clean install, you’ll need bootable installation media. A USB flash drive is the most common and convenient option.
- USB Flash Drive: You’ll need a USB flash drive with at least 8GB of storage capacity. Crucially, all data on this drive will be erased during the creation of the installation media, so ensure it contains no important files or back them up beforehand.
- Internet Connection: An active internet connection is essential to download the Windows 10 Media Creation Tool and the Windows 10 ISO file itself. You’ll also need it post-installation for updates and activation.
Crafting Your Windows 10 Installation Media
With your data backed up and drivers secured, the next major step is to create the bootable USB drive that will house your fresh Windows 10 operating system. Microsoft provides a simple, official tool for this purpose.
Utilizing the Official Microsoft Media Creation Tool
The Windows 10 Media Creation Tool is Microsoft’s official utility designed to download the latest version of Windows 10 and transform a USB drive into bootable installation media. It streamlines a process that might otherwise be complex, ensuring you get a legitimate and up-to-date installer.
- Download the Tool: Open your web browser and navigate to Microsoft’s official Windows 10 download page. Look for the section titled “Create Windows 10 installation media” and click the “Download tool now” button. This will download a small executable file, typically named
MediaCreationTool.exe. - Run the Tool: Once downloaded, locate and double-click
MediaCreationTool.exeto launch it. You may be prompted by User Account Control (UAC); click “Yes” to allow it to run. - Accept License Terms: Read through the applicable notices and license terms. To proceed, you’ll need to click “Accept.”
- Choose Your Action: On the “What do you want to do?” screen, select the option “Create installation media (USB flash drive, DVD, or ISO file) for another PC.” This is the correct choice for a clean install. Click “Next.”
Navigating the Media Creation Tool Steps
- Select Language, Edition, and Architecture: The tool will typically auto-select the recommended options based on your current PC’s configuration. This usually includes your system’s language, the Windows 10 edition (e.g., Home or Pro), and the architecture (32-bit or 64-bit). For most modern PCs, 64-bit is the standard. If you need to change any of these settings (for instance, if you’re creating media for a different PC), uncheck the “Use the recommended options for this PC” box and make your selections. Then click “Next.”
- Choose Media Type: On the “Choose which media to use” screen, select “USB flash drive.” Ensure your empty 8GB+ USB drive is plugged into your computer before proceeding. Click “Next.”
- Select the USB Drive: The tool will display a list of connected USB drives. Carefully select the correct USB drive from the list. Double-check that you’re choosing the right one, as all data on the selected drive will be erased. Click “Next.”
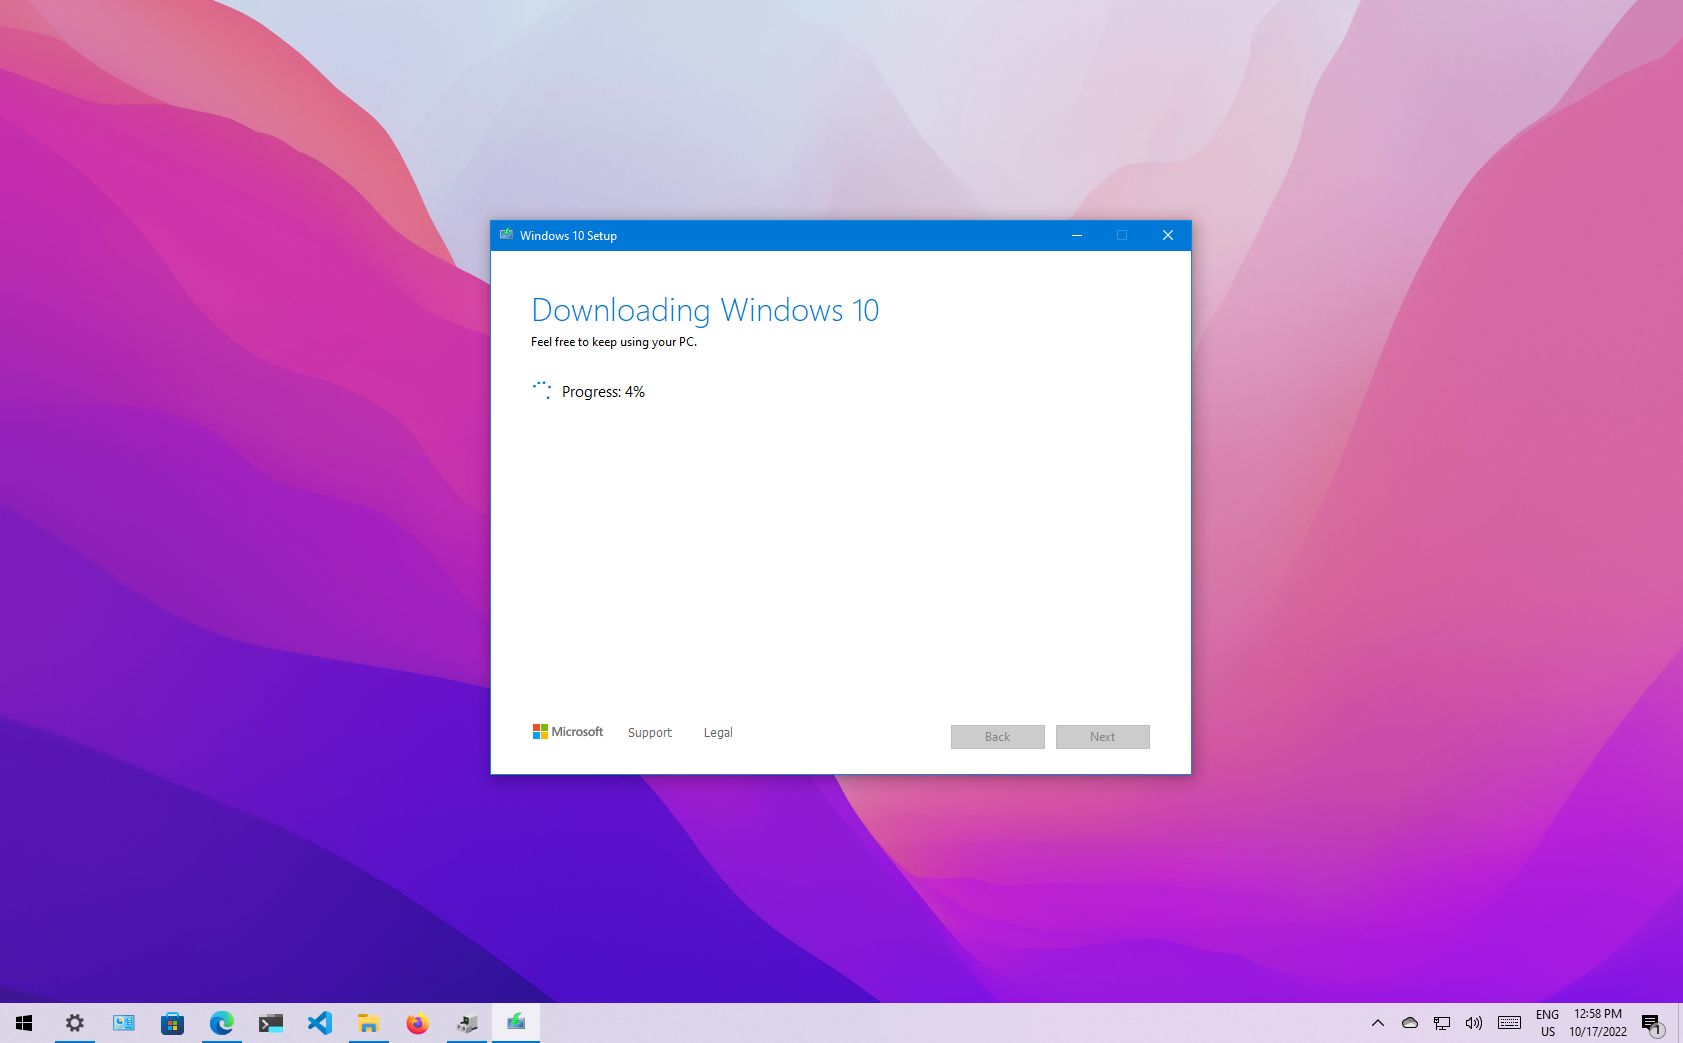
- Wait for the Process to Complete: The Media Creation Tool will now begin downloading the Windows 10 installation files and then write them to your selected USB drive, making it bootable. This process can take a significant amount of time, depending on your internet speed and the speed of your USB drive. Do not remove the USB drive or shut down your computer until the tool reports that the process is complete. Once finished, you’ll see a confirmation message, and you can click “Finish.” Your bootable Windows 10 installation USB is now ready.
The Installation Journey: From Boot to a Brand-New System
With your bootable USB in hand, you’re ready to initiate the clean install. This phase involves configuring your PC to boot from the USB and then navigating the Windows Setup wizard.

Initiating the Boot Process from Your USB Drive
- Insert the USB Drive: Ensure your newly created bootable USB drive is securely plugged into an available USB port on the computer where you intend to install Windows 10.
- Restart Your PC: Restart your computer. As it begins to boot up, you’ll need to quickly and repeatedly press a specific key to enter your computer’s BIOS/UEFI settings or a dedicated boot menu. The exact key varies by manufacturer but is commonly one of F2, F12, Del, or Esc. Look for a prompt on your screen during startup, or consult your PC’s manual or the manufacturer’s website if you’re unsure.
- Change Boot Order: Once in the BIOS/UEFI settings, navigate to the “Boot” tab or section. Here, you’ll see a list of boot devices. You need to change the boot order to prioritize your USB drive (it might be listed by its brand name, “USB HDD,” or similar) as the primary boot device. Save your changes (often by pressing F10) and exit the BIOS/UEFI. Your computer should now restart and boot directly from the USB drive. If it boots into your old Windows installation or a blank screen, you may need to re-enter BIOS/UEFI and verify the boot order.
Guiding Through the Windows Setup Wizard
- Windows Setup Screen: The Windows Setup screen will appear, signaling that you’ve successfully booted from the USB. Select your preferred language, time and currency format, and keyboard or input method. Click “Next.”
- Click “Install now”: On the subsequent screen, click the prominent “Install now” button to begin the installation process.
- Enter Product Key: If prompted, you can enter your Windows 10 product key. If you have a digital license and have previously activated Windows 10 on this machine, you can usually click “I don’t have a product key.” Windows will automatically activate itself once it’s installed and connected to the internet.
- Accept License Terms: Read through the Microsoft Software License Terms. If you agree, check the “I accept the license terms” box and click “Next.”
- Choose Installation Type: This is a crucial step for a clean install. Select “Custom: Install Windows only (advanced).” Do not choose “Upgrade,” as this will attempt to keep your old files and defeat the purpose of a clean install.
The Critical Step: Deleting Partitions and Clean Drive Preparation
This is the part where you truly “wipe” your hard drive. Proceed with caution here, especially if you have multiple physical drives installed in your system.
- Delete Partitions: You’ll see a list of drives and their associated partitions. Your primary drive (where Windows was previously installed) will usually be labeled something like “Drive 0 Partition 1,” “Drive 0 Partition 2,” etc. Select each partition associated with your primary drive (including any “System Reserved,” “Recovery,” or OEM partitions) and click the “Delete” button. Confirm the deletion when prompted. Be absolutely certain you’re deleting partitions only from the drive you intend to wipe. If you have a second data drive you wish to keep intact, ensure you do not select its partitions. Your goal is to reduce your primary drive to a single entry labeled “Drive 0 Unallocated Space.”
- Create New Partition: Once you have “Drive 0 Unallocated Space,” select it and click the “New” button. Windows will typically suggest using the maximum available space for a new partition. Click “Apply.” Windows may inform you that it needs to create additional system partitions for proper functioning (e.g., a recovery partition, EFI system partition). Click “OK” to allow this.
- Select Main Partition and Start Installation: You should now see a main partition (e.g., “Drive 0 Partition 4: Primary”) with most of the available space. Select this partition and click “Next.”
- Installation Begins: Windows will now begin the core installation process. It will copy files, install features, install updates, and prepare the operating system. Your PC will restart multiple times during this phase. Allow the process to complete without interruption.
Finalizing the Installation and Initial OS Setup
After the final restart, your PC will enter the Out-of-Box Experience (OOBE). This is where you configure basic settings for your new Windows 10 environment:
- Region and Keyboard Layout: Select your country/region and confirm your keyboard layout.
- Network Connection: Connect to a Wi-Fi or wired network. This is crucial for activation and updates.
- Account Setup: You’ll be prompted to sign in with or create a Microsoft account. Using a Microsoft account is highly recommended as it enables full Windows functionality, cloud synchronization, and digital license activation. You can choose to set up a local account if preferred, but some features may be limited.
- Privacy Settings: Review and adjust your privacy settings according to your preferences. Microsoft offers granular control over location, diagnostic data, tailored experiences, and advertising ID.
- Cortana: Choose whether to enable or disable Cortana, Microsoft’s virtual assistant.
Once these steps are complete, Windows 10 will finalize its setup, and you’ll be greeted by your brand-new desktop!
Post-Installation Optimization: Polishing Your New Windows 10 Environment
Your computer now boasts a fresh copy of Windows 10, but the journey isn’t quite over. Several critical steps remain to ensure your system is fully functional, secure, and tailored to your needs.
Installing Drivers and Essential System Updates
The very first thing you should do upon reaching the desktop is to install the drivers you diligently gathered in the preparation phase. Start with your network adapter driver (if Windows didn’t automatically detect it), as this is essential for internet access. Once online, proceed to install your graphics card drivers, chipset drivers, and any other critical hardware-specific drivers. These specialized drivers ensure that your components operate at peak performance and stability.
Immediately after drivers, run Windows Update. Navigate to Settings > Update & Security > Windows Update and click “Check for updates.” Install all available updates, including cumulative updates, feature updates, and any additional driver updates Windows Update might provide. This is vital for security, patching vulnerabilities, improving compatibility, and ensuring overall system stability. Expect several restarts during this process.
Restoring Your Digital Life: Software and Data Integration
With drivers and updates handled, you can begin the satisfying task of restoring your personal digital environment.
- Reinstall Software: Start by reinstalling your essential applications. Prioritize productivity suites (e.g., Microsoft Office, LibreOffice), web browsers, communication tools, and any specialized software you rely on. Download official installers directly from the developers’ websites to ensure authenticity and avoid bundled adware.
- Restore Data: Now is the time to copy your backed-up files from your external storage back to your computer. Recreate your personal folders (Documents, Pictures, Videos, Music) and populate them with your precious data. Restore browser bookmarks, email archives, and any other customized settings you backed up.
Beyond the Basics: Enhancing Security and Productivity
A clean install provides a fantastic opportunity to re-evaluate your digital habits and implement best practices.
- Antivirus Software: While Windows Defender provides robust basic protection, consider a reputable third-party antivirus solution if you prefer additional features or layers of security.
- Password Manager: Integrate a password manager into your workflow to generate strong, unique passwords and securely store them.
- Cloud Sync: Re-establish synchronization with cloud services like OneDrive or Google Drive for ongoing file backup and accessibility across devices.
- Productivity Tools: Explore new apps or reconfigure existing ones to optimize your workflow. With a fresh system, you have the ideal platform to build an efficient and organized digital workspace.
Navigating Potential Hurdles: Troubleshooting Common Installation Issues
While the clean install process is generally straightforward, you might occasionally encounter a few bumps. Knowing how to address them can save significant frustration.
Addressing Drive Detection Challenges
One common issue, particularly with newer systems featuring NVMe SSDs or specific RAID configurations, is the installer failing to detect any drives for installation. You might see a message like “We couldn’t find any drives. To get a storage driver, click Load driver.” This indicates that Windows 10’s built-in drivers don’t support your storage controller.
Solution: You’ll need to download the appropriate storage controller drivers (often called “IRST” drivers for Intel systems) from your motherboard or PC manufacturer’s website. Save these drivers to a separate USB drive. During the Windows Setup, when you encounter the “Where do you want to install Windows?” screen and see no drives, click “Load driver,” browse to the USB drive containing your downloaded drivers, and select them. Once loaded, your drives should become visible, allowing you to proceed with partition management.
Resolving Boot-Related Problems and Activation Glitches
- Boot Loop or Failure to Boot: If your PC gets stuck in a boot loop or fails to boot from the USB drive or after installation, first double-check your BIOS/UEFI boot order. Ensure it’s set to the USB drive initially, and then, after installation, switch it back to your primary hard drive (or “Windows Boot Manager”). A corrupted installation media can also cause this; try recreating the bootable USB drive using the Media Creation Tool on a different USB stick.
- Windows Won’t Activate: If Windows 10 doesn’t activate automatically after connecting to the internet, first double-check your product key if you entered one. If you have a digital license, ensure you’re logged in with the Microsoft account associated with that license. If issues persist, Microsoft’s activation troubleshooter (found in
Settings > Update & Security > Activation) can often resolve common problems. For more persistent issues, direct contact with Microsoft support may be necessary.
Conclusion: Reaping the Rewards of a Revitalized System
A clean install of Windows 10, though requiring careful preparation and execution, is a profoundly effective method for maintaining your PC’s health, boosting its performance, and fortifying its security. It’s a powerful tool that empowers you to shed accumulated digital baggage, resolve intractable issues, and start fresh with a lean, responsive, and secure operating environment.
By diligently following this comprehensive guide, from the critical initial backup to the final post-installation refinements, you can confidently navigate the process. The effort invested will be richly rewarded with a computer that feels brand new, enhancing your productivity, safeguarding your data, and providing a stable foundation for all your digital endeavors. Remember, the golden rule remains: always prioritize data backup before beginning. With a fresh Windows 10 installation, your computer isn’t just restored; it’s revitalized, ready to tackle any task you throw its way with renewed vigor.
aViewFromTheCave is a participant in the Amazon Services LLC Associates Program, an affiliate advertising program designed to provide a means for sites to earn advertising fees by advertising and linking to Amazon.com. Amazon, the Amazon logo, AmazonSupply, and the AmazonSupply logo are trademarks of Amazon.com, Inc. or its affiliates. As an Amazon Associate we earn affiliate commissions from qualifying purchases.