
For many users, the allure of the Apple ecosystem is undeniable. The sleek design, intuitive user interface, and robust performance of macOS have earned it a loyal following. However, there are compelling reasons why someone might need to run Windows on their Mac. Perhaps you’re a creative professional who relies on specific Windows-only design software, a gamer whose favorite titles are exclusively on PC, or a developer who needs to test applications across different operating systems. Whatever your motivation, the good news is that installing Windows on your Mac is a perfectly achievable task, offering you the best of both worlds. This guide will walk you through the primary methods for achieving this, providing you with the knowledge to seamlessly integrate the Windows experience into your macOS environment.
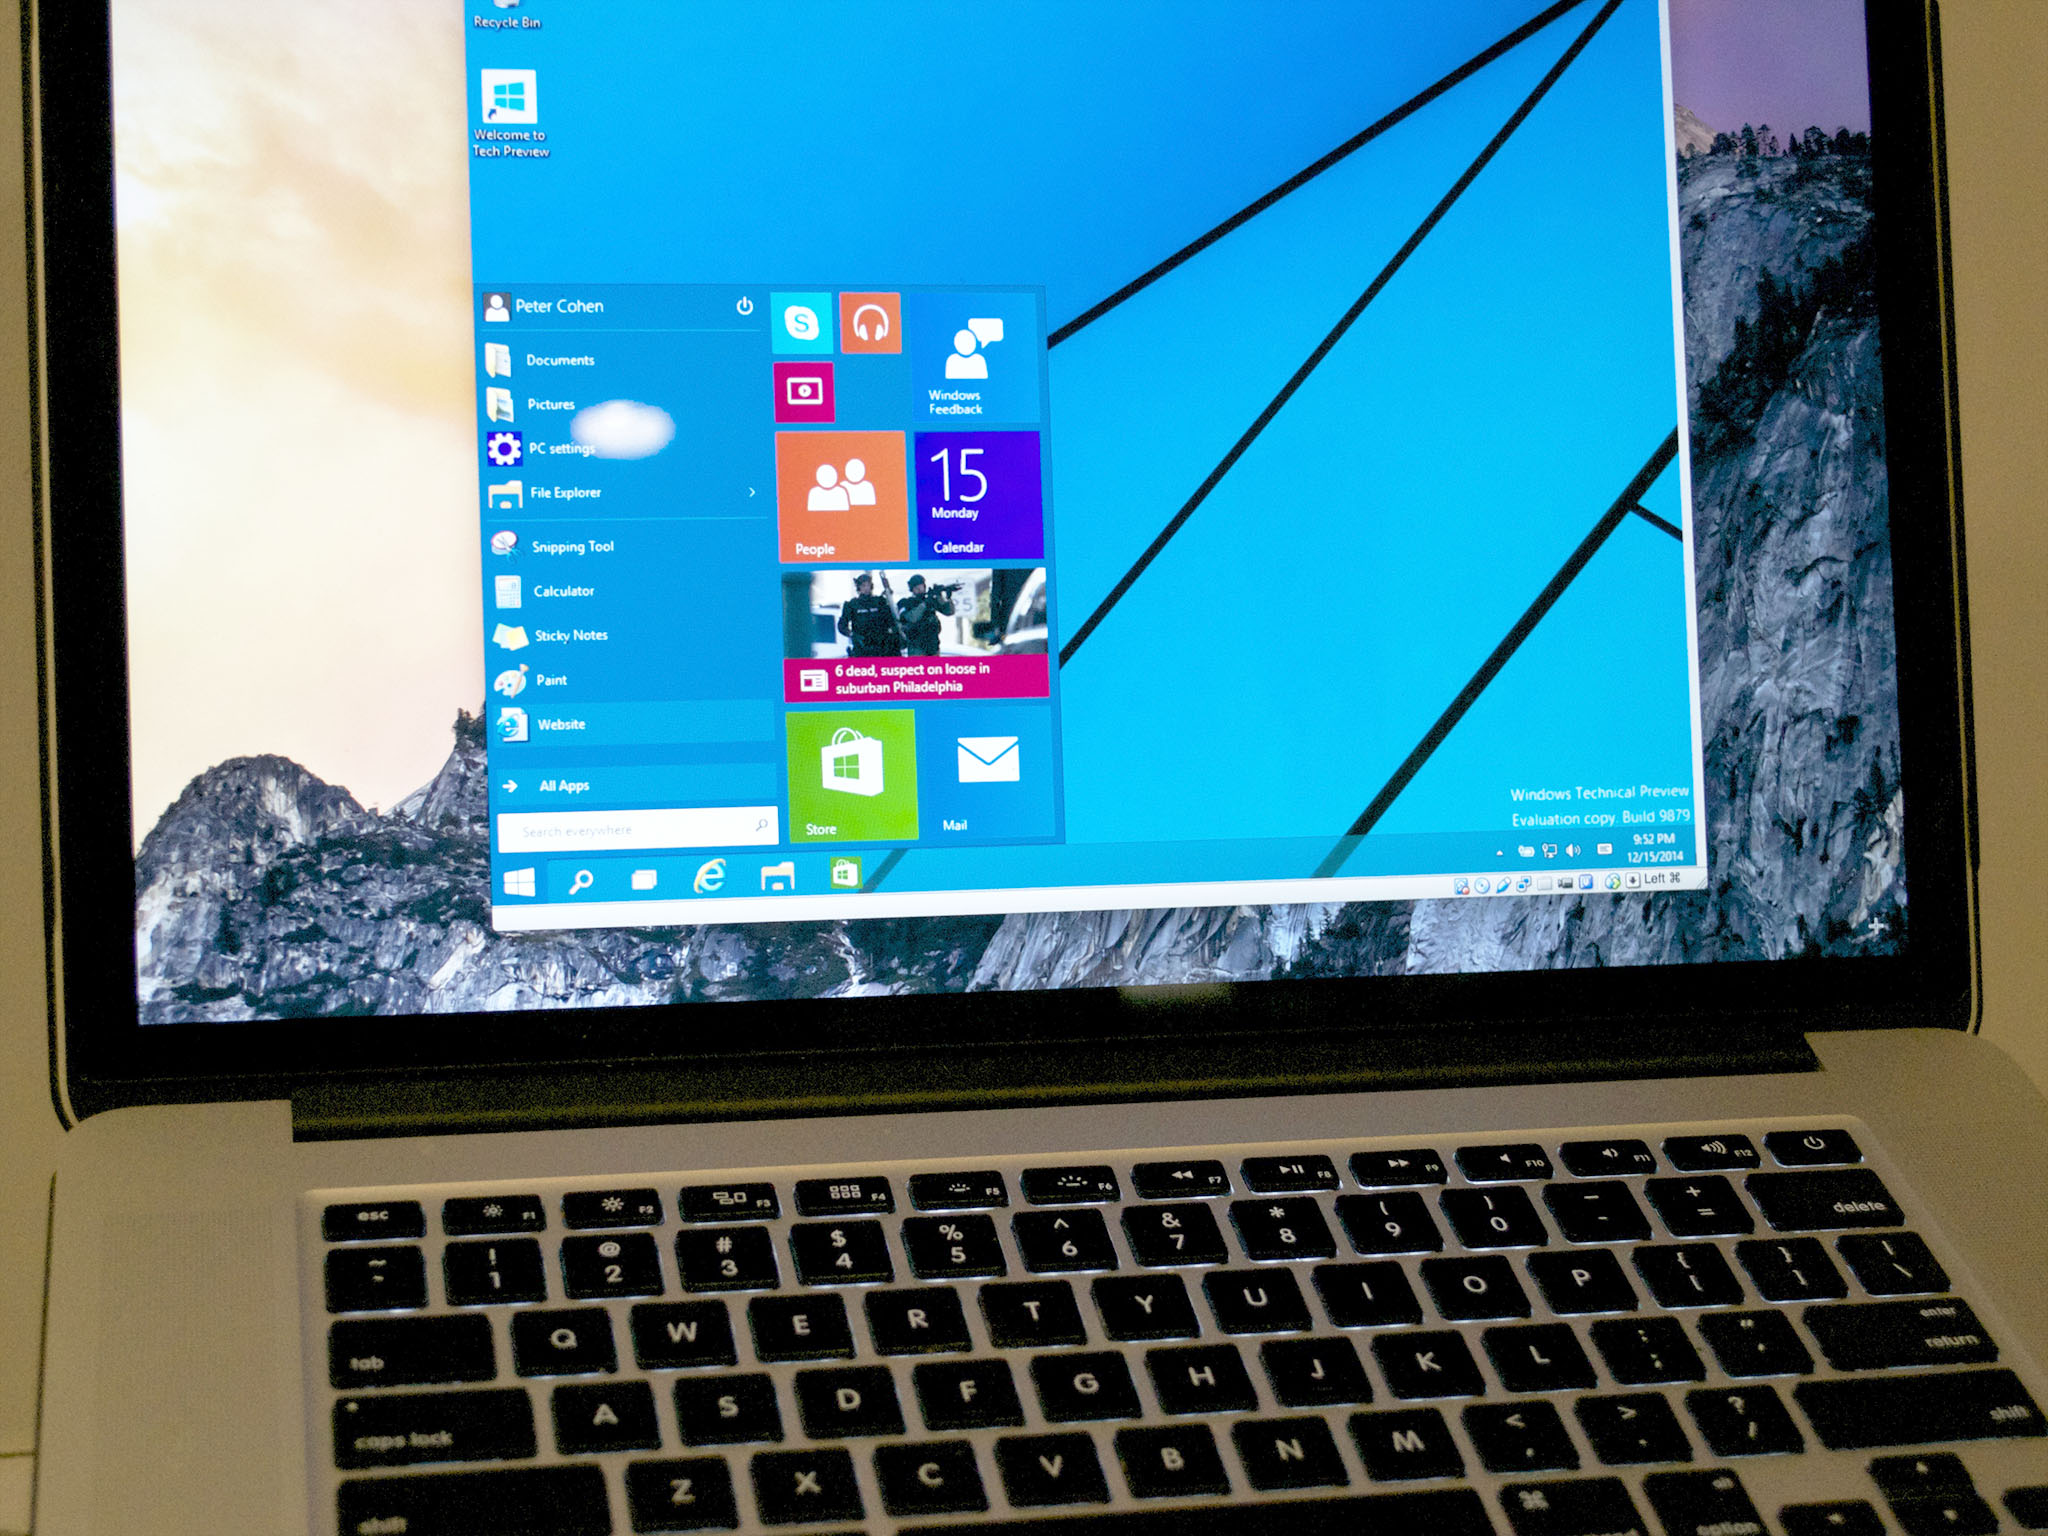
The decision to install Windows on your Mac isn’t about choosing one operating system over the other; it’s about expanding your capabilities. While macOS excels in many areas, the sheer breadth of software availability on Windows remains a significant advantage for many. From specialized engineering tools to legacy business applications, there are instances where Windows is simply the more practical or even the only viable option. Furthermore, for those who switch between the two platforms frequently, having a consolidated solution on a single machine eliminates the need for multiple devices, streamlining your workflow and potentially saving you money.
This article will delve into the two primary methods for installing Windows on a Mac: Boot Camp, Apple’s native solution for dual-booting, and virtualization software, which allows you to run Windows as an application within macOS. Each method has its own set of advantages and disadvantages, making one a better fit for certain scenarios than the other. We’ll explore the technical requirements, the installation process for each, and the key considerations to help you make an informed decision about the best approach for your needs.
Understanding Your Options: Boot Camp vs. Virtualization
Before we dive into the step-by-step instructions, it’s crucial to understand the fundamental differences between Boot Camp and virtualization. This understanding will help you determine which method aligns best with your usage patterns and performance expectations.
Boot Camp: The Native Dual-Boot Solution
Boot Camp Assistant is a utility built directly into macOS by Apple. Its primary function is to partition your Mac’s hard drive, creating a separate space for Windows to be installed. Once Windows is installed, you’ll have a true dual-boot setup. This means that when you start your Mac, you can choose whether to boot into macOS or Windows.
Key Advantages of Boot Camp:
- Native Performance: Because Windows runs directly on your Mac’s hardware without any intermediary software, it has full access to your Mac’s resources. This results in the best possible performance for demanding applications, games, and graphics-intensive tasks. You won’t experience any performance degradation often associated with running an operating system within another.
- Full Hardware Access: Boot Camp drivers ensure that all of your Mac’s hardware, including the trackpad, keyboard, Wi-Fi, graphics card, and audio, functions seamlessly in Windows.
- Ideal for Demanding Workloads: If you need to run Windows-only software that requires significant processing power, high frame rates in games, or intensive graphics rendering, Boot Camp is generally the superior choice.
Key Disadvantages of Boot Camp:
- Reboot Required for Switching: The most significant drawback of Boot Camp is that you must restart your Mac to switch between macOS and Windows. This can be inconvenient if you need to frequently access applications or files on both operating systems.
- Disk Space Allocation: You need to dedicate a specific portion of your hard drive to the Windows partition. This space cannot be easily adjusted later without reformatting, so it’s important to allocate sufficient space for Windows and your applications upfront.
- Installation Complexity: While Boot Camp Assistant simplifies the process, it still involves partitioning a drive and requires a Windows installation media (USB drive or ISO file).
Virtualization: Running Windows Within macOS
Virtualization software, such as Parallels Desktop, VMware Fusion, or VirtualBox (a free, open-source option), allows you to create a “virtual machine” (VM) on your Mac. This virtual machine acts like a self-contained computer within your macOS environment. You install Windows inside this VM, and it runs as an application.
Key Advantages of Virtualization:
- Seamless Switching: The primary benefit of virtualization is the ability to run Windows and macOS simultaneously. You can switch between them with a simple click, copy and paste files between the two operating systems, and even drag and drop them.
- Flexible Disk Space: Virtual machines typically use dynamic disk files. This means the virtual hard drive can grow as needed, up to a pre-defined limit, so you’re not permanently allocating a fixed chunk of your Mac’s storage. You can also easily resize these virtual disks later.
- Snapshots and Sandboxing: Many virtualization tools offer snapshotting capabilities. This allows you to save the state of your virtual machine at a particular point in time. If something goes wrong during an installation or update, you can easily revert to a previous snapshot. VMs also provide a degree of isolation, meaning that any issues within the Windows VM are unlikely to affect your macOS installation.
- Ease of Use (for some tasks): For less demanding tasks or occasional use of Windows applications, virtualization can be simpler to set up and manage than Boot Camp, especially with user-friendly interfaces of paid software like Parallels.
Key Disadvantages of Virtualization:
- Performance Overhead: Running an operating system within another inevitably incurs some performance overhead. The virtual machine shares your Mac’s resources (CPU, RAM, GPU) with macOS. This means that graphically intensive applications, demanding games, or resource-heavy software might not perform as well as they would under Boot Camp.
- Hardware Limitations: While virtualization software has improved dramatically, full access to certain hardware features, particularly high-end graphics capabilities, might be limited compared to Boot Camp.
- Resource Consumption: Running a virtual machine requires a significant amount of RAM and CPU power, which can impact the performance of your macOS system if your Mac doesn’t have ample resources.
- Cost (for some options): While VirtualBox is free, professional-grade virtualization software like Parallels Desktop and VMware Fusion come with a cost.
Installing Windows Using Boot Camp Assistant
Boot Camp is the most straightforward method for installing Windows on Intel-based Macs. For Macs with Apple silicon (M1, M2, M3 chips and beyond), Boot Camp is not supported, and you’ll need to rely on virtualization.
Before You Begin (Boot Camp):
- Backup Your Mac: It’s always wise to back up your Mac before making significant changes to your storage. Time Machine is an excellent option.
- Windows ISO File: You’ll need a 64-bit version of Windows 10 or Windows 11. You can download a Windows ISO file directly from Microsoft’s website.
- Sufficient Disk Space: Ensure you have at least 64GB of free space on your Mac’s startup drive, though 128GB or more is recommended for a better experience.
- USB Drive (Optional, depending on Mac model): Some older Macs may require a USB drive (at least 16GB) to create a bootable Windows installer. Newer Macs often download Windows support software directly.
- Windows License Key: You will need a valid Windows product key to activate Windows after installation.
Step-by-Step Installation with Boot Camp Assistant:
- Open Boot Camp Assistant: Navigate to
Applications>Utilities>Boot Camp Assistant. - Prepare the Partition: Click “Continue.” Boot Camp Assistant will guide you through the process. You’ll be asked to select the Windows ISO file and then to adjust the size of the Windows partition. Drag the divider to allocate the desired amount of space for Windows. Remember, you can’t easily change this later.
- Install Windows: Click “Install.” Boot Camp Assistant will download necessary Windows support software, partition your drive, and then restart your Mac into the Windows installer.
- Windows Setup: Follow the on-screen instructions for installing Windows. When prompted to choose an installation location, select the partition labeled “BOOTCAMP.” Do not format or delete any other partitions.
- Complete Windows Installation: Windows will install. Your Mac may restart several times during this process.
- Install Boot Camp Drivers: Once Windows has successfully installed, the Boot Camp installer should automatically launch. If it doesn’t, navigate to the USB drive (if you used one) or the “BOOTCAMP” partition and run the
Setup.exefile within theBootCampfolder. These drivers are essential for your Mac’s hardware to function correctly in Windows. Follow the prompts to install them. - Switching Between macOS and Windows: To choose which operating system to boot into, restart your Mac. As it boots up, immediately press and hold the Option (⌥) key. You will see a startup manager appear, allowing you to select either “Macintosh HD” (for macOS) or “Windows” (for Windows).
Running Windows with Virtualization Software
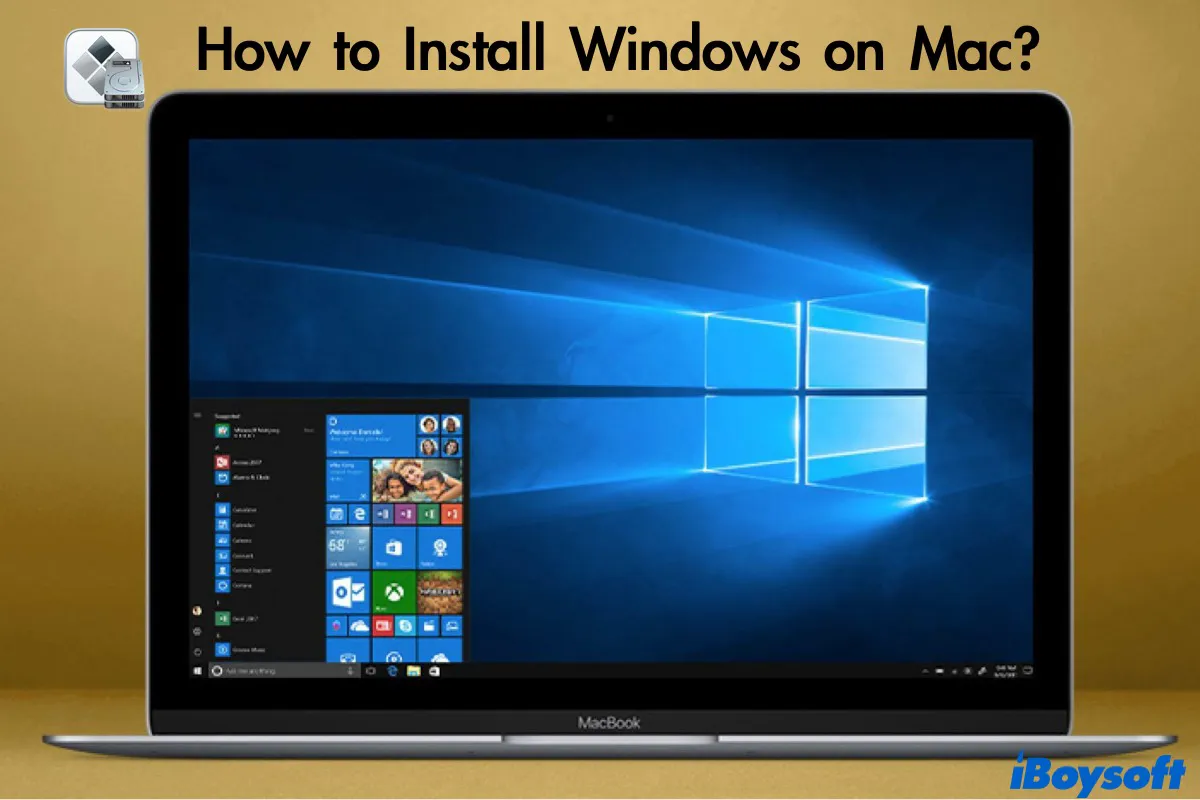
Virtualization offers a more integrated experience, allowing you to run Windows side-by-side with macOS. This is the recommended approach for Macs with Apple silicon.
Popular Virtualization Software:
- Parallels Desktop: A popular, user-friendly, and powerful paid option known for its excellent performance and seamless integration with macOS.
- VMware Fusion: Another robust and feature-rich paid option, favored by many IT professionals for its stability and advanced features.
- VirtualBox: A free and open-source hypervisor. While it may require a bit more technical configuration than its paid counterparts, it’s a capable solution for many users.
Before You Begin (Virtualization):
- Windows ISO File: You’ll need a 64-bit version of Windows 10 or Windows 11.
- Virtualization Software: Download and install your chosen virtualization application.
- Sufficient RAM and Storage: Ensure your Mac has enough RAM (16GB or more is ideal) and free storage space to comfortably allocate to your virtual machine.
General Steps for Setting Up a Virtual Machine:
- Create a New Virtual Machine: Open your virtualization software and select the option to create a new virtual machine.
- Select the Windows Installation Media: The software will prompt you to select your Windows ISO file. It may also offer an option to download Windows directly.
- Configure the Virtual Machine: You’ll be asked to allocate resources to your virtual machine, such as RAM, CPU cores, and hard disk space. The software will often suggest default settings. Pay attention to the disk space allocation; you can usually choose between a fixed-size disk (which pre-allocates space) or a dynamically expanding disk (which grows as needed).
- Install Windows: The virtual machine will start, and the Windows installer will launch within the virtualization window. Follow the standard Windows installation process.
- Install Virtualization Tools/Guest Additions: After Windows is installed inside the VM, the virtualization software will prompt you to install its specific tools (e.g., “Parallels Tools,” “VMware Tools,” “VirtualBox Guest Additions”). These are crucial for optimal performance, enabling features like seamless mouse integration, shared folders, better graphics drivers, and copy-paste functionality between macOS and Windows.
- Activate Windows: Once Windows is running, use your Windows license key to activate it.
Using Your Virtual Machine:
With the virtual machine set up, you can launch it from within macOS. Windows will appear in a window on your desktop, allowing you to run your Windows applications alongside your Mac applications. You can often expand the virtual machine to full-screen mode for a more immersive experience.
Choosing the Right Method for You
The decision between Boot Camp and virtualization hinges on your specific needs and how you plan to use Windows on your Mac.
When to Use Boot Camp:
- Maximum Performance is Paramount: You need to run demanding games, professional-grade design software, video editing suites, or any application that pushes your hardware to its limits.
- You Primarily Use One OS at a Time: You don’t frequently need to switch between macOS and Windows.
- You Have an Intel-Based Mac: Boot Camp is not available on Apple Silicon Macs.
- You’re Comfortable with Rebooting: The requirement to restart your Mac to switch operating systems is not a significant inconvenience for you.
When to Use Virtualization:
- Seamless Integration is Key: You need to run Windows applications and access files on both operating systems without frequent reboots.
- Occasional Windows Use: You only need Windows for specific applications or tasks that aren’t performance-critical.
- You Have an Apple Silicon Mac: Virtualization is the only viable option for running Windows on M1, M2, M3, and newer Macs.
- Testing and Development: Developers often use VMs to test applications in different environments.
- You Value Convenience and Flexibility: The ability to run both OSes simultaneously, copy/paste, and use snapshots offers a more fluid workflow.
Managing Your Dual-OS Setup
Once you have Windows installed on your Mac, whether via Boot Camp or virtualization, there are a few best practices to keep in mind for a smooth experience.
Disk Space Management
- Boot Camp: Be mindful of the partition size you allocated. If you find yourself running out of space in Windows, your options are limited without reformatting. Consider using external storage for large files.
- Virtualization: If using a dynamically expanding disk, monitor your Mac’s available storage. While the VM disk grows as needed, it will eventually consume a significant portion of your Mac’s drive. You can often adjust the maximum size of the virtual disk within your virtualization software settings.
Software Licensing and Activation
- Windows License: Remember that you’ll need a valid Windows license for each installation.
- Application Licenses: Ensure you have the necessary licenses for any software you install on your Windows partition or within your virtual machine.
Performance Tuning
- Boot Camp: Ensure you have installed the latest Boot Camp drivers. Keeping your Windows installation clean and uninstalling unnecessary software can also help maintain performance.
- Virtualization: Allocate sufficient RAM and CPU cores to your virtual machine. Close unnecessary applications on both macOS and within the VM to free up resources. Some virtualization software offers graphics acceleration settings that can be tweaked.

Security Considerations
- Keep Both Systems Updated: Regularly update both macOS and Windows with the latest security patches and operating system updates.
- Antivirus Software: Install reputable antivirus software on your Windows installation, just as you would on a physical PC.
By carefully considering your needs and following the steps outlined in this guide, you can successfully install and run Windows on your Mac, unlocking a new level of versatility and productivity. Whether you choose the raw power of Boot Camp or the seamless integration of virtualization, you’ll be well-equipped to leverage the vast software library of Windows on your beloved Mac.
aViewFromTheCave is a participant in the Amazon Services LLC Associates Program, an affiliate advertising program designed to provide a means for sites to earn advertising fees by advertising and linking to Amazon.com. Amazon, the Amazon logo, AmazonSupply, and the AmazonSupply logo are trademarks of Amazon.com, Inc. or its affiliates. As an Amazon Associate we earn affiliate commissions from qualifying purchases.