The world of technology is constantly evolving, and with it, the tools and software we rely on for everything from creative projects to professional endeavors. For 3D printing enthusiasts who also leverage the simplicity and security of Chromebooks, the question of how to get FlashPrint, a popular slicing software, up and running on their Linux environment often arises. This guide aims to provide a comprehensive walkthrough, demystifying the process and empowering you to seamlessly integrate FlashPrint into your 3D printing workflow on a Linux-enabled Chromebook.
Chromebooks, once perceived as limited devices, have transformed into versatile computing platforms thanks to the integration of Linux. This feature unlocks a vast ecosystem of powerful applications, and FlashPrint is a prime example of software that can significantly enhance your 3D printing experience. Whether you’re a hobbyist eager to bring your digital designs to life or a professional seeking efficient slicing capabilities, understanding how to install and utilize FlashPrint on your Chromebook is a valuable skill.
Understanding the Linux Environment on Chromebooks
Before diving into the installation process, it’s crucial to understand what the Linux environment on a Chromebook entails. Google’s Chrome OS has evolved to include a built-in Linux container, often referred to as “Crostini.” This feature allows you to run Linux applications directly alongside your Chrome OS applications. It’s important to note that this is not a full dual-boot installation; rather, it’s a virtualized environment that provides compatibility with many Linux applications.
To enable this feature, you typically need to navigate to your Chromebook’s settings and find the “Linux (Beta)” option. Once enabled, a Debian-based Linux distribution will be installed and ready to use. This Linux environment is essentially a command-line interface, but it provides the foundation for installing graphical applications like FlashPrint.
Enabling Linux on Your Chromebook
The first step in our journey to install FlashPrint is to ensure that the Linux environment is properly set up on your Chromebook.
Step-by-Step Guide to Enabling Linux
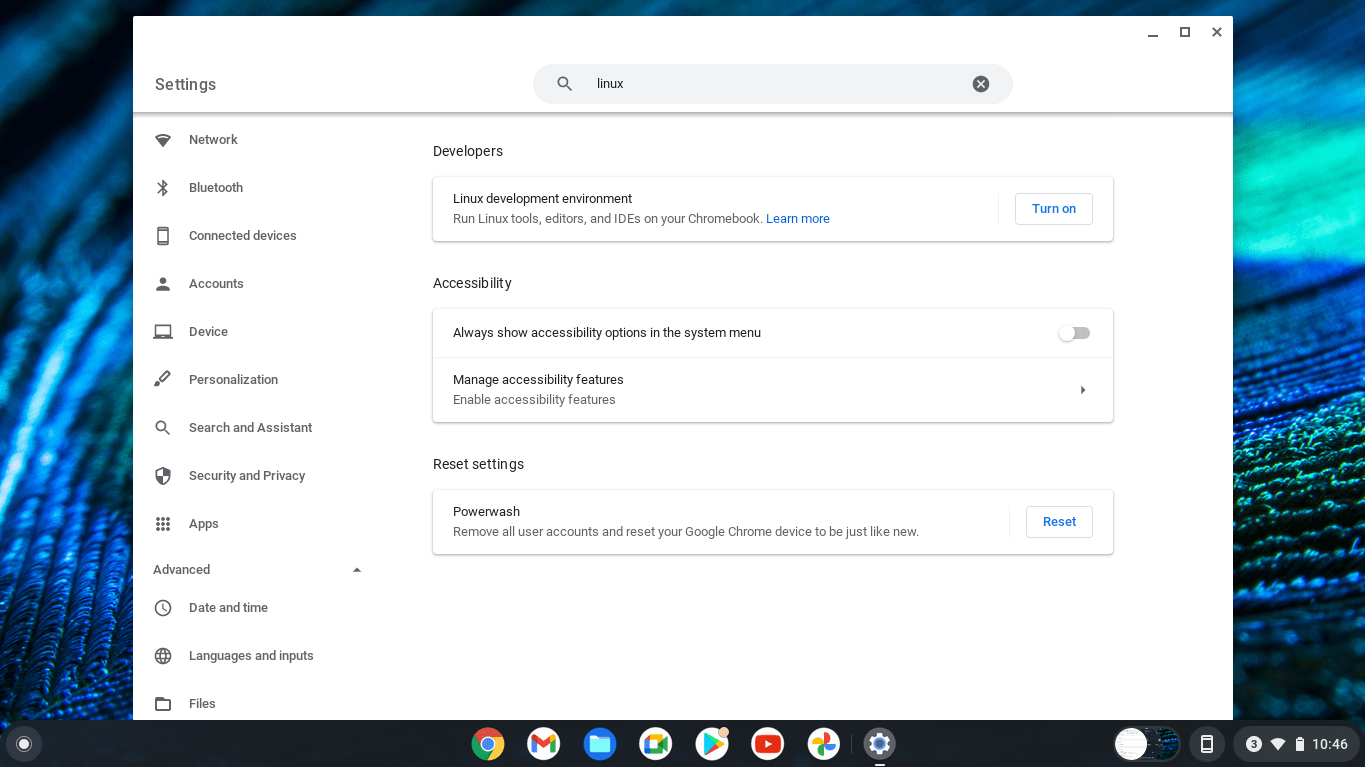
- Access Settings: Click on the time in the bottom-right corner of your screen, then click the gear icon to open the Settings menu.
- Find “Advanced”: Scroll down and click on “Advanced” to expand the options.
- Locate “Linux (Beta)”: Under the “Developers” section, you should see an option for “Linux (Beta).” Click on “Turn on.”
- Follow On-Screen Prompts: A setup window will appear. Click “Next” and follow the instructions. You’ll be prompted to choose a username and allocate disk space for your Linux environment. The default settings are usually sufficient for most users.
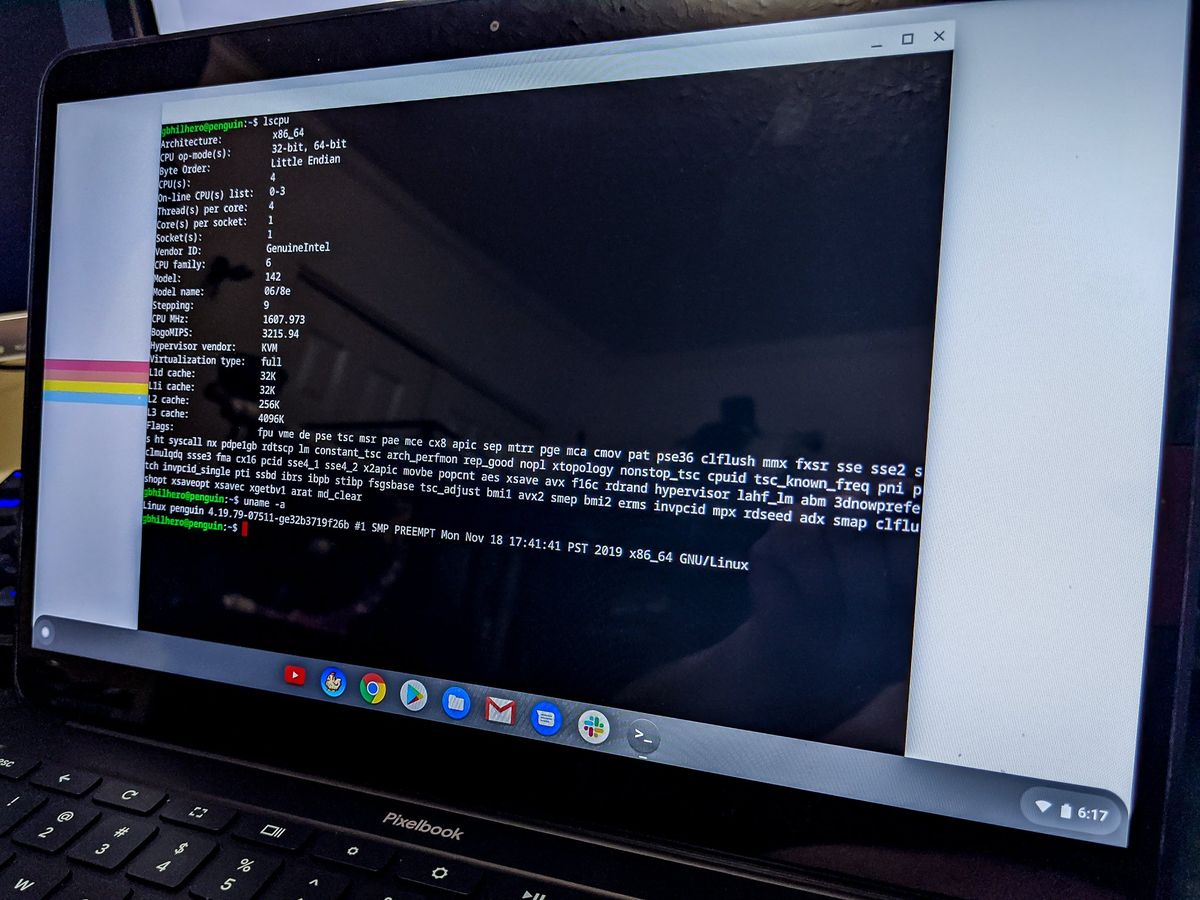
- Installation: Linux will begin installing. This process can take a few minutes, depending on your Chromebook’s specifications and internet connection. Once complete, a Linux terminal window will open.
Congratulations! You now have a functional Linux environment on your Chromebook, ready to accept new software.
Installing FlashPrint on Your Linux Chromebook
With the Linux environment prepared, we can now proceed to the core task: installing FlashPrint. FlashPrint is the official slicing software from Flashforge, designed to prepare your 3D models for printing on their various FDM printers. While it’s primarily developed for Windows and macOS, its Linux compatibility is often achieved through a .deb package or a generic Linux installer.
Method 1: Using the .deb Package (Recommended)
Flashforge often provides a .deb file for their software, which is the standard package format for Debian-based Linux distributions like the one used in Chromebooks. This is generally the most straightforward and recommended installation method.
Downloading the FlashPrint .deb File
- Visit the Official Flashforge Website: Navigate to the official Flashforge website. Look for the “Support” or “Download” section.
- Locate FlashPrint: Find the download link for FlashPrint. Ensure you are selecting the Linux version. It will likely be a file ending with
.deb. - Download to Your Chromebook: Download the
.debfile directly to your Chromebook’s “Downloads” folder.
Installing the .deb Package via the Terminal
Once you have the .deb file, you’ll need to use the Linux terminal to install it.
- Open the Linux Terminal: If the terminal isn’t already open, search for “Terminal” in your Chromebook’s app launcher.
- Navigate to the Downloads Folder: In the terminal, type the following command and press Enter:
bash

cd ~/Downloads
This command changes your current directory to the “Downloads” folder. - Install FlashPrint: Now, use the
dpkgcommand to install the package. ReplaceFlashPrint-x.x.x.debwith the actual name of the downloaded file. You can usually tab-complete the filename by typingFlashPrintand pressing the Tab key.
bash

sudo dpkg -i FlashPrint-x.x.x.deb
You will be prompted to enter your Linux password (the one you set up during the Linux installation). - Resolve Dependencies (If Necessary): Sometimes, the
dpkgcommand might report dependency errors. If this happens, run the following command to fix broken packages:
bash

sudo apt --fix-broken install
This command will attempt to download and install any missing dependencies required for FlashPrint to run. After this, you might need to rerun thesudo dpkg -i FlashPrint-x.x.x.debcommand if it didn’t fully complete the installation.
Launching FlashPrint
After a successful installation, FlashPrint should appear in your Chromebook’s app launcher, usually under a “Linux apps” folder. You can then click on its icon to launch it.
Method 2: Building from Source (Advanced)
In some cases, a pre-compiled .deb package might not be available, or you might prefer to build from source for the latest features or specific configurations. This method is more advanced and requires familiarity with compiling software.
Prerequisites for Building from Source
- Development Tools: You’ll need to install essential development tools like
build-essential,cmake, and potentially others. You can install these using:
bash

sudo apt update

sudo apt install build-essential cmake git
- Source Code: You’ll need to download the FlashPrint source code. This is typically done via Git from a repository provided by Flashforge or a community project.
Compiling and Installing
The exact steps for building from source can vary significantly depending on the software’s build system. Generally, it involves:
- Cloning the Repository:
bash

git clone <repository_url>

cd <flashprint_source_directory>
- Configuring the Build:
bash

mkdir build

cd build

cmake ..
- Compiling:
bash

make
- Installing:
bash

sudo make install
Note: Building from source is generally more complex and time-consuming. Unless you encounter issues with the .deb package method or have a specific need, it’s recommended to stick with the .deb installation.
Configuring FlashPrint for Your 3D Printer
Once FlashPrint is installed and running on your Linux Chromebook, the next crucial step is to configure it to work with your specific 3D printer model. This involves selecting the correct printer profile, setting up material properties, and defining print parameters.
Setting Up Your Printer Profile
- Open FlashPrint: Launch the FlashPrint application.
- Access Printer Settings: Look for a “Printer” or “Settings” menu. Within this menu, you should find an option to manage printer profiles.
- Add New Printer: If your printer isn’t listed, you’ll need to add it manually. This usually involves selecting your printer model from a dropdown list or entering its specifications. Flashforge printers are generally well-supported, so you might find your model readily available.
- Import Printer Profile: Sometimes, Flashforge provides specific
.jsonor.profilefiles for their printers. If you have such a file, you can import it into FlashPrint to automatically configure all the necessary settings. - Manual Configuration: If you cannot find your printer or an import option, you’ll need to manually input details such as:
- Build Volume: The maximum dimensions (X, Y, Z) of your printer’s build plate.
- Nozzle Diameter: The diameter of your 3D printer’s nozzle.
- Bed Temperature: The recommended bed temperature for different materials.
- Extruder Temperature: The recommended nozzle temperature for different materials.
- Print Speed: Default printing speeds for various stages (e.g., outer walls, infill).
Material and Print Settings
After setting up your printer, you’ll need to define the material properties and print settings for each print job.
- Material Selection: Choose the type of filament you are using (e.g., PLA, ABS, PETG). FlashPrint will then apply default temperature and speed settings appropriate for that material.
- Layer Height: This determines the resolution of your print. Smaller layer heights result in more detailed prints but take longer.
- Infill: The internal structure of your print. Higher infill percentages make the object stronger but use more filament and increase print time.
- Supports: If your model has overhangs, you’ll need to enable support structures. FlashPrint offers various support types and generation options.
- Raft/Brim: These are options to improve bed adhesion. A raft is a flat layer printed beneath the model, while a brim is a single layer extending from the base of the model.
By carefully configuring these settings, you can ensure optimal print quality and successful prints from your Chromebook.
Troubleshooting Common Issues
Even with a straightforward installation process, you might encounter a few hiccups. Here are some common issues and their solutions when installing and running FlashPrint on a Linux Chromebook.
Application Not Launching
- Check Dependencies: As mentioned earlier, missing dependencies are a common cause. Ensure you’ve run
sudo apt --fix-broken installafter any initial installation attempts. - Permissions: Verify that the FlashPrint executable has execute permissions. You can do this in the terminal with
chmod +x /path/to/flashprint_executable. - Graphics Drivers: While less common in the standardized Linux container, ensure your system is up-to-date. Run
sudo apt update && sudo apt upgradein the terminal.
Printer Not Detected or Recognized
- USB Connection: If you’re connecting your printer via USB, ensure the connection is stable and recognized by the Linux environment. Sometimes, unplugging and replugging the USB cable can help.
- Driver Issues: Although FlashPrint should handle most Flashforge printers, ensure you have the correct drivers installed if your printer is not a standard Flashforge model or if it requires specific Linux drivers. This might involve downloading drivers from the printer manufacturer’s website and installing them in the Linux environment.
- Configuration Errors: Double-check your printer profile settings within FlashPrint. Incorrect build volume or nozzle diameter can sometimes prevent the software from functioning correctly.

Performance Issues
- Chromebook Specifications: Older or lower-spec Chromebooks might struggle with demanding slicing tasks. Close unnecessary applications running in both Chrome OS and Linux to free up resources.
- Large Models: Very complex or large 3D models can consume significant processing power. Consider simplifying your models if possible or being patient during the slicing process.
By understanding these potential issues and their resolutions, you can maintain a smooth and productive 3D printing experience on your Linux Chromebook.
In conclusion, installing FlashPrint on a Linux Chromebook is an achievable goal that significantly enhances your 3D printing capabilities. By leveraging the Linux (Beta) feature and following the recommended installation steps, you can unlock the power of this essential slicing software and bring your creative visions to life directly from your versatile Chromebook. Remember to always refer to the official Flashforge documentation for the most up-to-date information and support. Happy printing!
aViewFromTheCave is a participant in the Amazon Services LLC Associates Program, an affiliate advertising program designed to provide a means for sites to earn advertising fees by advertising and linking to Amazon.com. Amazon, the Amazon logo, AmazonSupply, and the AmazonSupply logo are trademarks of Amazon.com, Inc. or its affiliates. As an Amazon Associate we earn affiliate commissions from qualifying purchases.