
The whirring hum of a well-functioning PC is often music to a technophile’s ears. But what happens when that hum turns into a frantic buzz, or worse, a concerning silence? Overheating is the silent killer of computer components, and one of the most effective ways to combat it is by ensuring your PC has adequate cooling. This often translates to installing or upgrading PC fans. For many, the idea of opening up their precious machine and fiddling with internal components can be daunting. So, the burning question arises: are PC fans easy to install?

This article aims to demystify the process of PC fan installation, breaking it down into manageable steps and addressing common concerns. We’ll explore the different types of fans, the tools you might need, and a step-by-step guide that even a novice can follow. Whether you’re a seasoned gamer seeking optimal performance, a creative professional looking to prevent thermal throttling, or simply someone who wants to keep their everyday computer running smoothly, understanding PC fan installation is a valuable skill in the tech landscape.
Understanding Your Cooling Needs: More Than Just Airflow
Before we dive into the “how,” let’s briefly touch on the “why” and “what.” PC fans aren’t just generic spinning blades; they play a crucial role in maintaining the optimal operating temperature of your computer’s vital components, such as the CPU, GPU, and motherboard.
The Importance of Airflow and Thermal Management
Heat is the enemy of electronics. When components work hard, they generate heat. If this heat isn’t dissipated effectively, temperatures rise, leading to reduced performance (thermal throttling), instability (crashes and freezes), and in the worst-case scenario, permanent damage to hardware. PC fans are the primary mechanism for moving air within your computer case, either drawing cooler air in from the outside or expelling hot air out. This constant circulation, known as airflow, is fundamental to effective thermal management.
Types of PC Fans and Their Roles
When we talk about PC fans, we’re generally referring to case fans, which are installed in various locations within your computer’s chassis. However, it’s worth noting other critical cooling components that might involve fans:
- Case Fans: These are the most common fans you’ll be installing. They are mounted on the front, rear, top, bottom, or side panels of your PC case. Their primary job is to create an intake of cool air and an exhaust of hot air, establishing a positive or negative air pressure system within the case for optimal cooling.
- CPU Cooler Fans: While many CPU coolers come pre-assembled with their own fans, some aftermarket coolers allow for the addition of a second fan for even more robust cooling. The CPU is arguably the most heat-generating component, so its cooling is paramount.
- GPU Fans: Graphics cards have their own integrated cooling solutions, typically involving heatsinks and fans. While you generally don’t “install” GPU fans separately, understanding their role in overall system cooling is important. In some extreme enthusiast builds, custom water-cooling solutions might involve radiator fans, which function similarly to case fans.
For the scope of this article, our primary focus will be on installing case fans, as this is the most common DIY upgrade for improving airflow and temperature control.
Gathering Your Arsenal: Essential Tools and Components
Installing PC fans is a relatively straightforward process, but having the right tools and components on hand will make the job smoother and more efficient. Unlike complex electronic repairs, you won’t need an extensive array of specialized equipment.
What You’ll Need: The Minimalist Toolkit
- Your New PC Fan(s): Ensure the fans you purchase are compatible with your case’s mounting points and your motherboard’s fan headers. Most standard case fans are 120mm or 140mm in size, but check your case specifications.
- Screwdriver Set: A Phillips head screwdriver is usually all you need. Many PC cases come with screws that can be tightened by hand, but a magnetic tip screwdriver can be incredibly helpful for dropping screws into the abyss of your PC.
- Zip Ties or Velcro Straps: Cable management is crucial for good airflow. These will help you neatly route and secure fan power cables and other wires, preventing them from obstructing fan blades or airflow.
- Anti-Static Wrist Strap (Recommended): While not strictly essential for fan installation, it’s a good practice to use one to prevent electrostatic discharge (ESD) from damaging sensitive electronic components. You can pick these up for a few dollars online or at most electronics stores.
- Your PC Case Manual: This will be invaluable for understanding the specific mounting locations for fans in your case, as well as for identifying motherboard fan headers.
- Motherboard Manual: This will help you locate and identify the different fan headers on your motherboard.
Choosing the Right Fan: Performance, Noise, and Aesthetics
The market offers a dizzying array of PC fans, each with its own set of specifications. Here are a few key considerations when making your purchase:
- Size: As mentioned, 120mm and 140mm are the most common. Ensure the fan size matches the mounting brackets in your case.
- Airflow (CFM – Cubic Feet per Minute): This measures how much air the fan can move. Higher CFM generally means better cooling, but can also lead to more noise.
- Static Pressure: This is important for fans that push air through restrictive obstacles, like radiators or dense dust filters. For general case fan use, CFM is often the primary metric.
- Noise Level (dBA – Decibels): Measured in decibels, this indicates how loud the fan is. If your PC is in a living space or your bedroom, a quieter fan might be preferable. Look for fans with lower dBA ratings.
- Bearing Type: Fans use different bearing types, which affect their lifespan and noise. Fluid Dynamic Bearings (FDB) and Rifle Bearings are generally considered more durable and quieter than Sleeve Bearings.
- PWM (Pulse Width Modulation): PWM fans have a 4-pin connector and allow for variable speed control by the motherboard. This is highly recommended as it allows the fans to ramp up when needed and slow down when idle, balancing cooling and noise. Non-PWM fans (3-pin) typically run at a constant speed.
- RGB Lighting: For those who prioritize aesthetics, many fans come with customizable RGB lighting. This doesn’t affect performance but can greatly enhance the visual appeal of your build.
The Installation Process: Step-by-Step Guide to Cooler Airflow
Now that you’re armed with the right tools and knowledge, let’s get to the hands-on part. Installing PC fans is surprisingly accessible, and with careful attention, you can significantly improve your system’s thermal performance.
Step 1: Preparation and Safety First
Before you begin, it’s crucial to prepare your workspace and take safety precautions.
- Power Down and Unplug: Turn off your computer completely and unplug the power cord from the wall outlet.
- Ground Yourself: If you have an anti-static wrist strap, put it on and connect it to a bare metal part of your computer case. If you don’t have one, touch a metal object (like your case) before touching any internal components to discharge any static electricity.
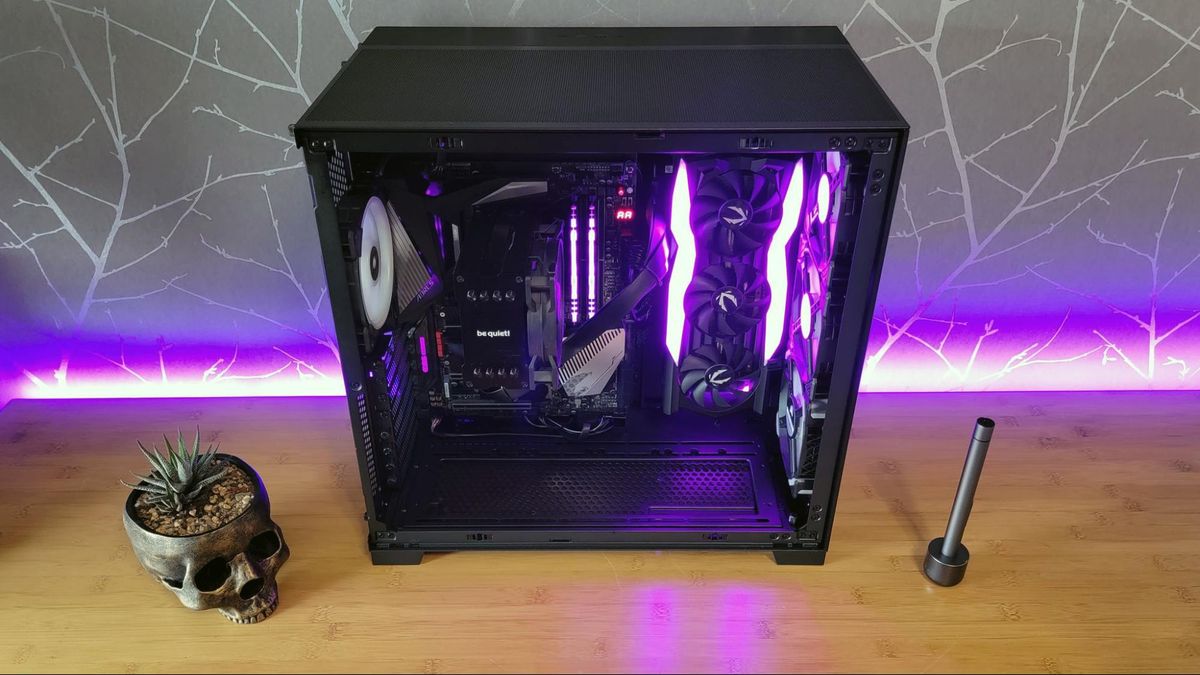
- Open Your Case: Remove the side panel(s) of your PC case. This usually involves unscrewing a few thumb screws on the back of the case.
- Clear Your Workspace: Ensure you have enough space to work comfortably and that all your tools and the new fan are within reach.
Step 2: Locating Mounting Points and Removing Old Fans (If Applicable)
Your PC case will have designated mounting points for fans. These are typically pre-drilled holes or brackets on the front, rear, top, and sometimes bottom or side panels.
- Identify Mounting Locations: Consult your PC case manual to understand where fans are meant to be installed to create optimal airflow. Common configurations include intake fans at the front and bottom, and exhaust fans at the rear and top.
- Removing Existing Fans: If you are replacing an old fan, carefully unscrew it from its mounting bracket. Be mindful of the cables connected to the motherboard. Gently unplug the fan’s power connector from the fan header.
Step 3: Mounting the New Fan
This is where your new fan finds its home.
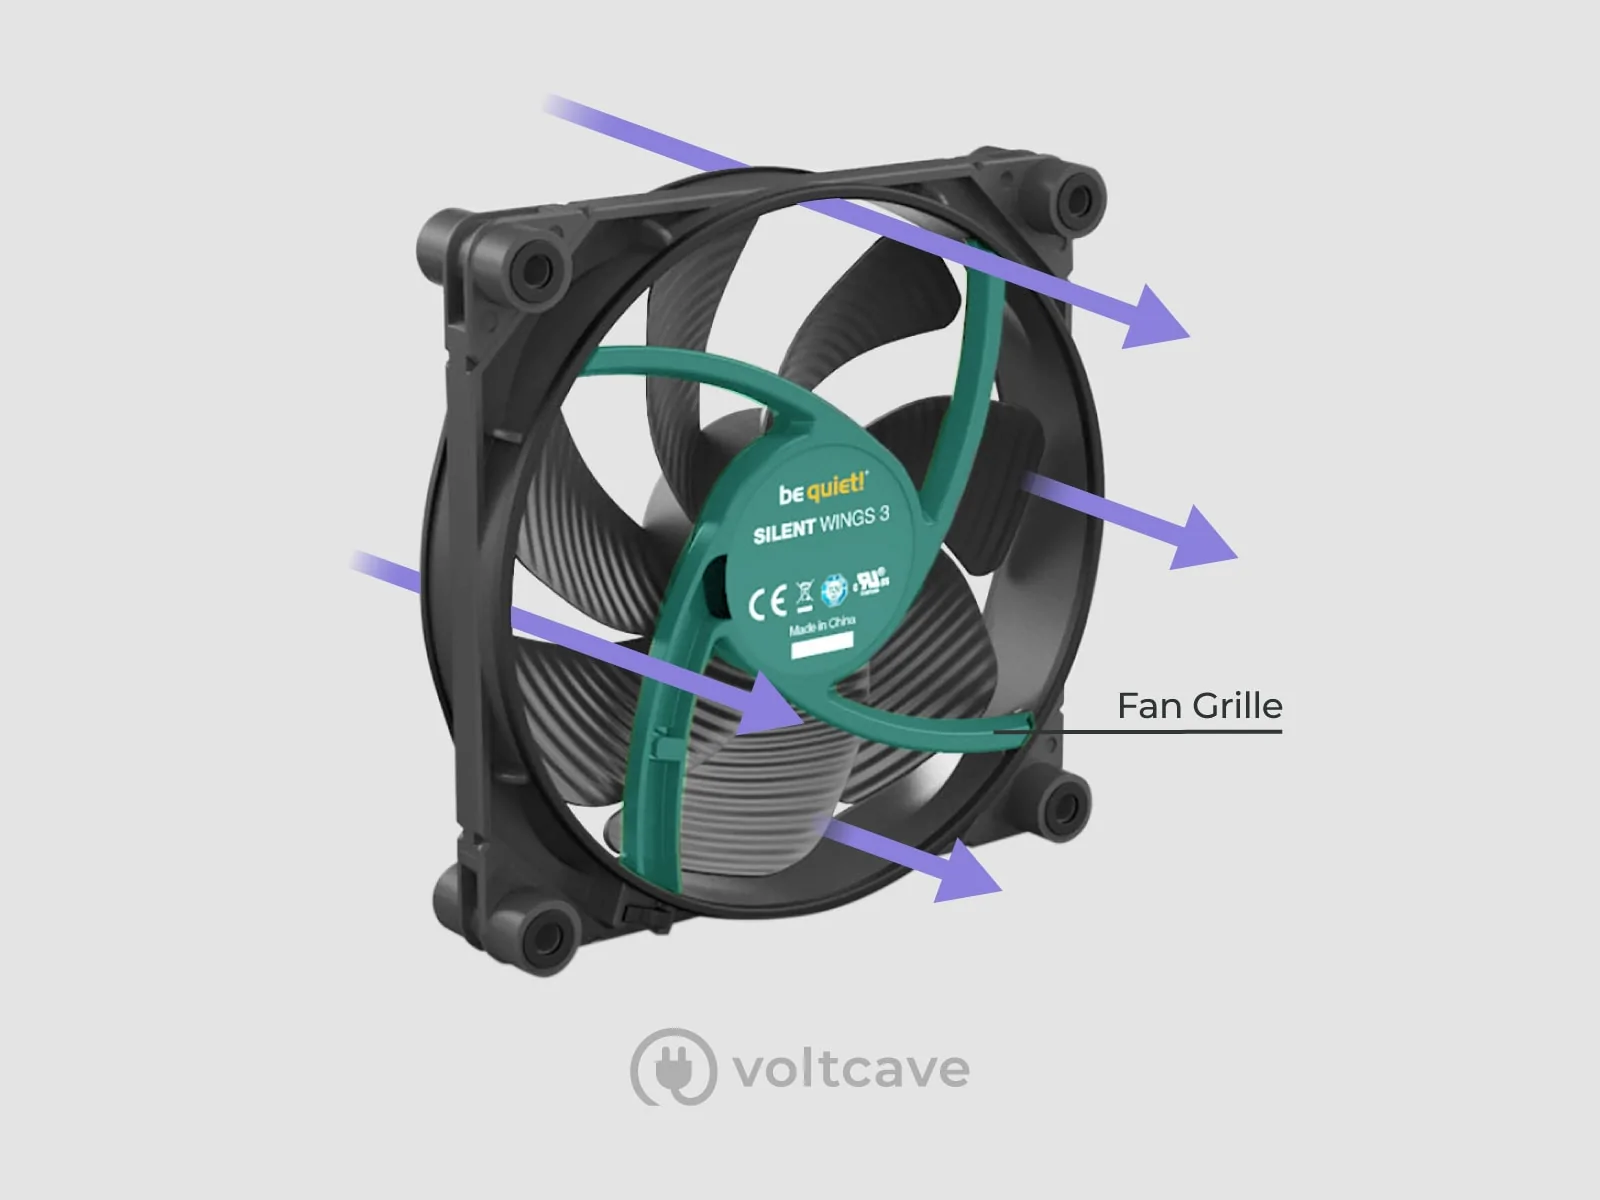
- Orient the Fan Correctly: Most fans have arrows on the side indicating the direction of airflow and the direction of rotation. You want to ensure the air is flowing in the direction that complements your case’s overall airflow strategy (e.g., intake fans blowing air in, exhaust fans blowing air out).
- Align and Screw In: Place the new fan against the mounting bracket, aligning its screw holes with the pre-drilled holes in the case. Use the screws that came with your fan or your case to secure it. Tighten them firmly but avoid overtightening, which can strip the threads.
Step 4: Connecting the Fan to the Motherboard
This is a critical step that ensures your fan can be powered and, if it’s a PWM fan, controlled by your system.
- Locate Fan Headers: On your motherboard, you’ll find clusters of pins labeled “CPUFAN,” “SYSFAN,” or “CHA_FAN.” These are your fan headers. Consult your motherboard manual to identify them and determine how many you have available.
- Connect the Power Cable: Plug the fan’s power cable into an available fan header.
- 3-pin fans: These only fit one way into a 3-pin header.
- 4-pin PWM fans: These also only fit one way into a 4-pin header. They offer more sophisticated speed control.
- Cable Management: Use zip ties or Velcro straps to neatly route the fan’s power cable. Tuck it away so it doesn’t interfere with other components or airflow. This step is vital for both aesthetics and cooling efficiency.
Step 5: Final Checks and Power Up
Before sealing up your case, it’s time for a final review.
- Double-Check Connections: Ensure all fan power cables are securely plugged into the motherboard headers.
- Verify Fan Orientation: Confirm that your fans are oriented for the desired airflow direction.
- Clear Obstructions: Make sure no cables are dangling in the path of the fan blades.
- Reattach Side Panel: Carefully put the side panel back on your case and secure it with the screws.
- Plug In and Boot Up: Connect the power cord, turn on your PC, and listen for the satisfying hum of your new, cooler system.
Beyond the Install: Monitoring and Maintenance
Congratulations! You’ve successfully installed your new PC fan. However, the process doesn’t end here. To ensure your cooling system remains effective, regular monitoring and maintenance are essential.
Monitoring Your Temperatures: The Proof is in the Readings
After installation, it’s wise to monitor your system’s temperatures to confirm the effectiveness of your new fan. Several free software tools can help you do this:
- HWMonitor: A popular and comprehensive tool that displays temperatures, voltages, and fan speeds for various components.
- Core Temp: Specifically designed to monitor CPU temperatures.
- MSI Afterburner: While primarily for GPU overclocking, it also provides excellent system monitoring capabilities, including fan speeds and temperatures.
Compare your new temperature readings to your previous ones (if you were experiencing overheating). You should see a noticeable improvement. Idle temperatures and load temperatures (when your CPU or GPU is working hard, like during gaming) are the most important metrics.
Maintaining Optimal Airflow: Keeping Your Fans Running Smoothly
Over time, dust can accumulate on your PC fans and heatsinks, hindering their performance. Regular cleaning is key:
- Dusting: Periodically (every few months, or more often if you live in a dusty environment), open your PC case and gently dust the fan blades and heatsinks using a soft brush or compressed air. Ensure the PC is powered off and unplugged before doing this.
- Filter Cleaning: If your case has dust filters, remove and clean them according to the manufacturer’s instructions. This is crucial for preventing dust from reaching your internal components.
Conclusion: A Rewarding and Accessible Upgrade
So, are PC fans easy to install? For the vast majority of users, the answer is a resounding yes. With a few basic tools, a little patience, and by following these straightforward steps, you can significantly enhance your computer’s cooling efficiency. This upgrade not only contributes to a more stable and reliable system but can also prolong the lifespan of your valuable hardware.
Investing a small amount of time and effort into understanding and performing PC fan installation can yield substantial rewards. It’s a tangible way to improve your tech experience, prevent costly repairs, and gain a deeper appreciation for the inner workings of your digital companion. Whether you’re a beginner looking to perform your first PC modification or an experienced builder seeking to optimize thermals, the process of installing PC fans is an accessible and highly rewarding endeavor within the world of technology.
aViewFromTheCave is a participant in the Amazon Services LLC Associates Program, an affiliate advertising program designed to provide a means for sites to earn advertising fees by advertising and linking to Amazon.com. Amazon, the Amazon logo, AmazonSupply, and the AmazonSupply logo are trademarks of Amazon.com, Inc. or its affiliates. As an Amazon Associate we earn affiliate commissions from qualifying purchases.