
The Engineering of the Ideal Blue Flame: Peak Performance and Efficiency
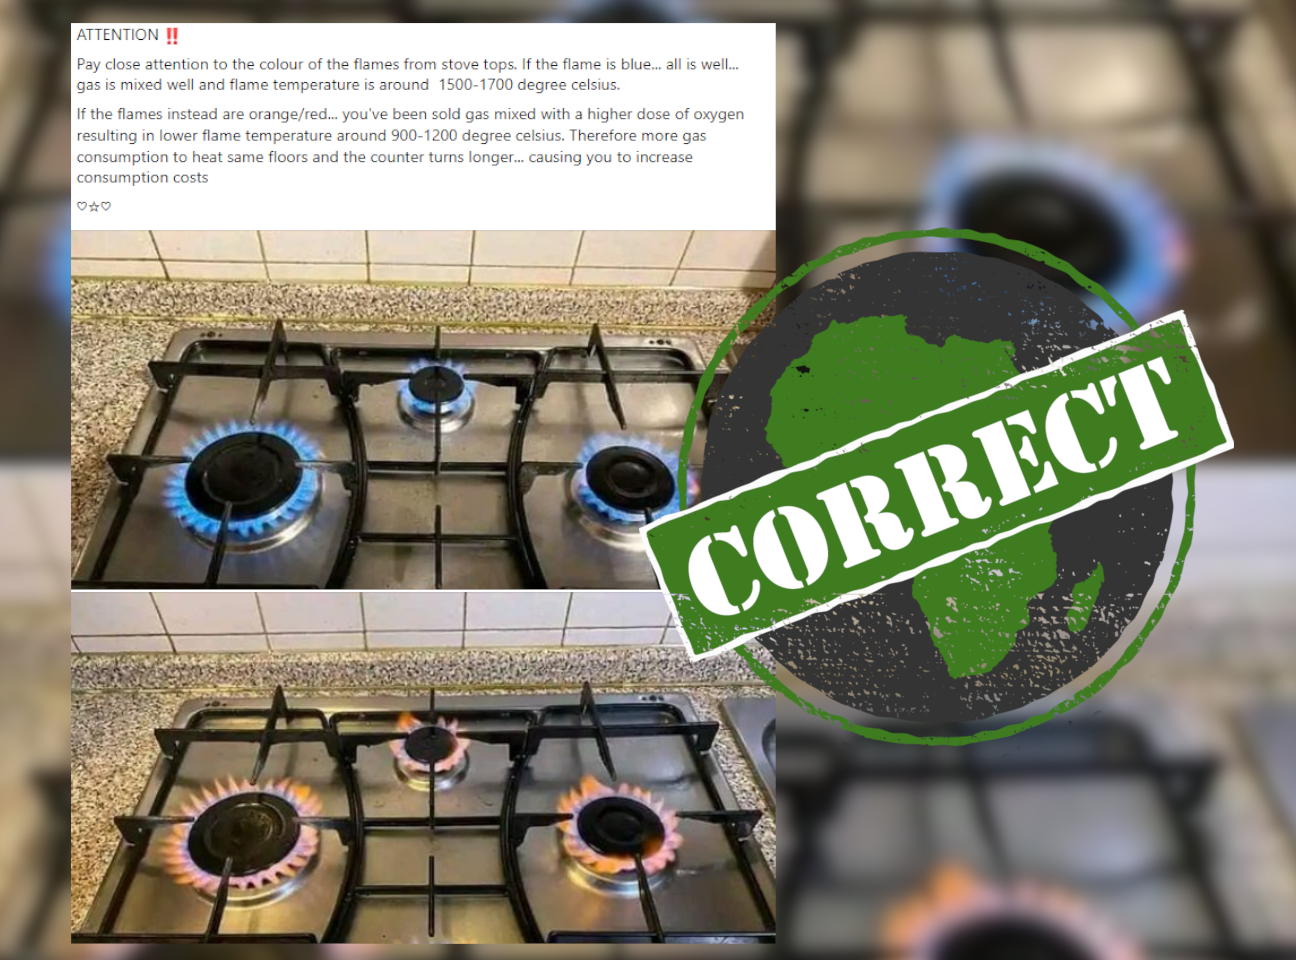
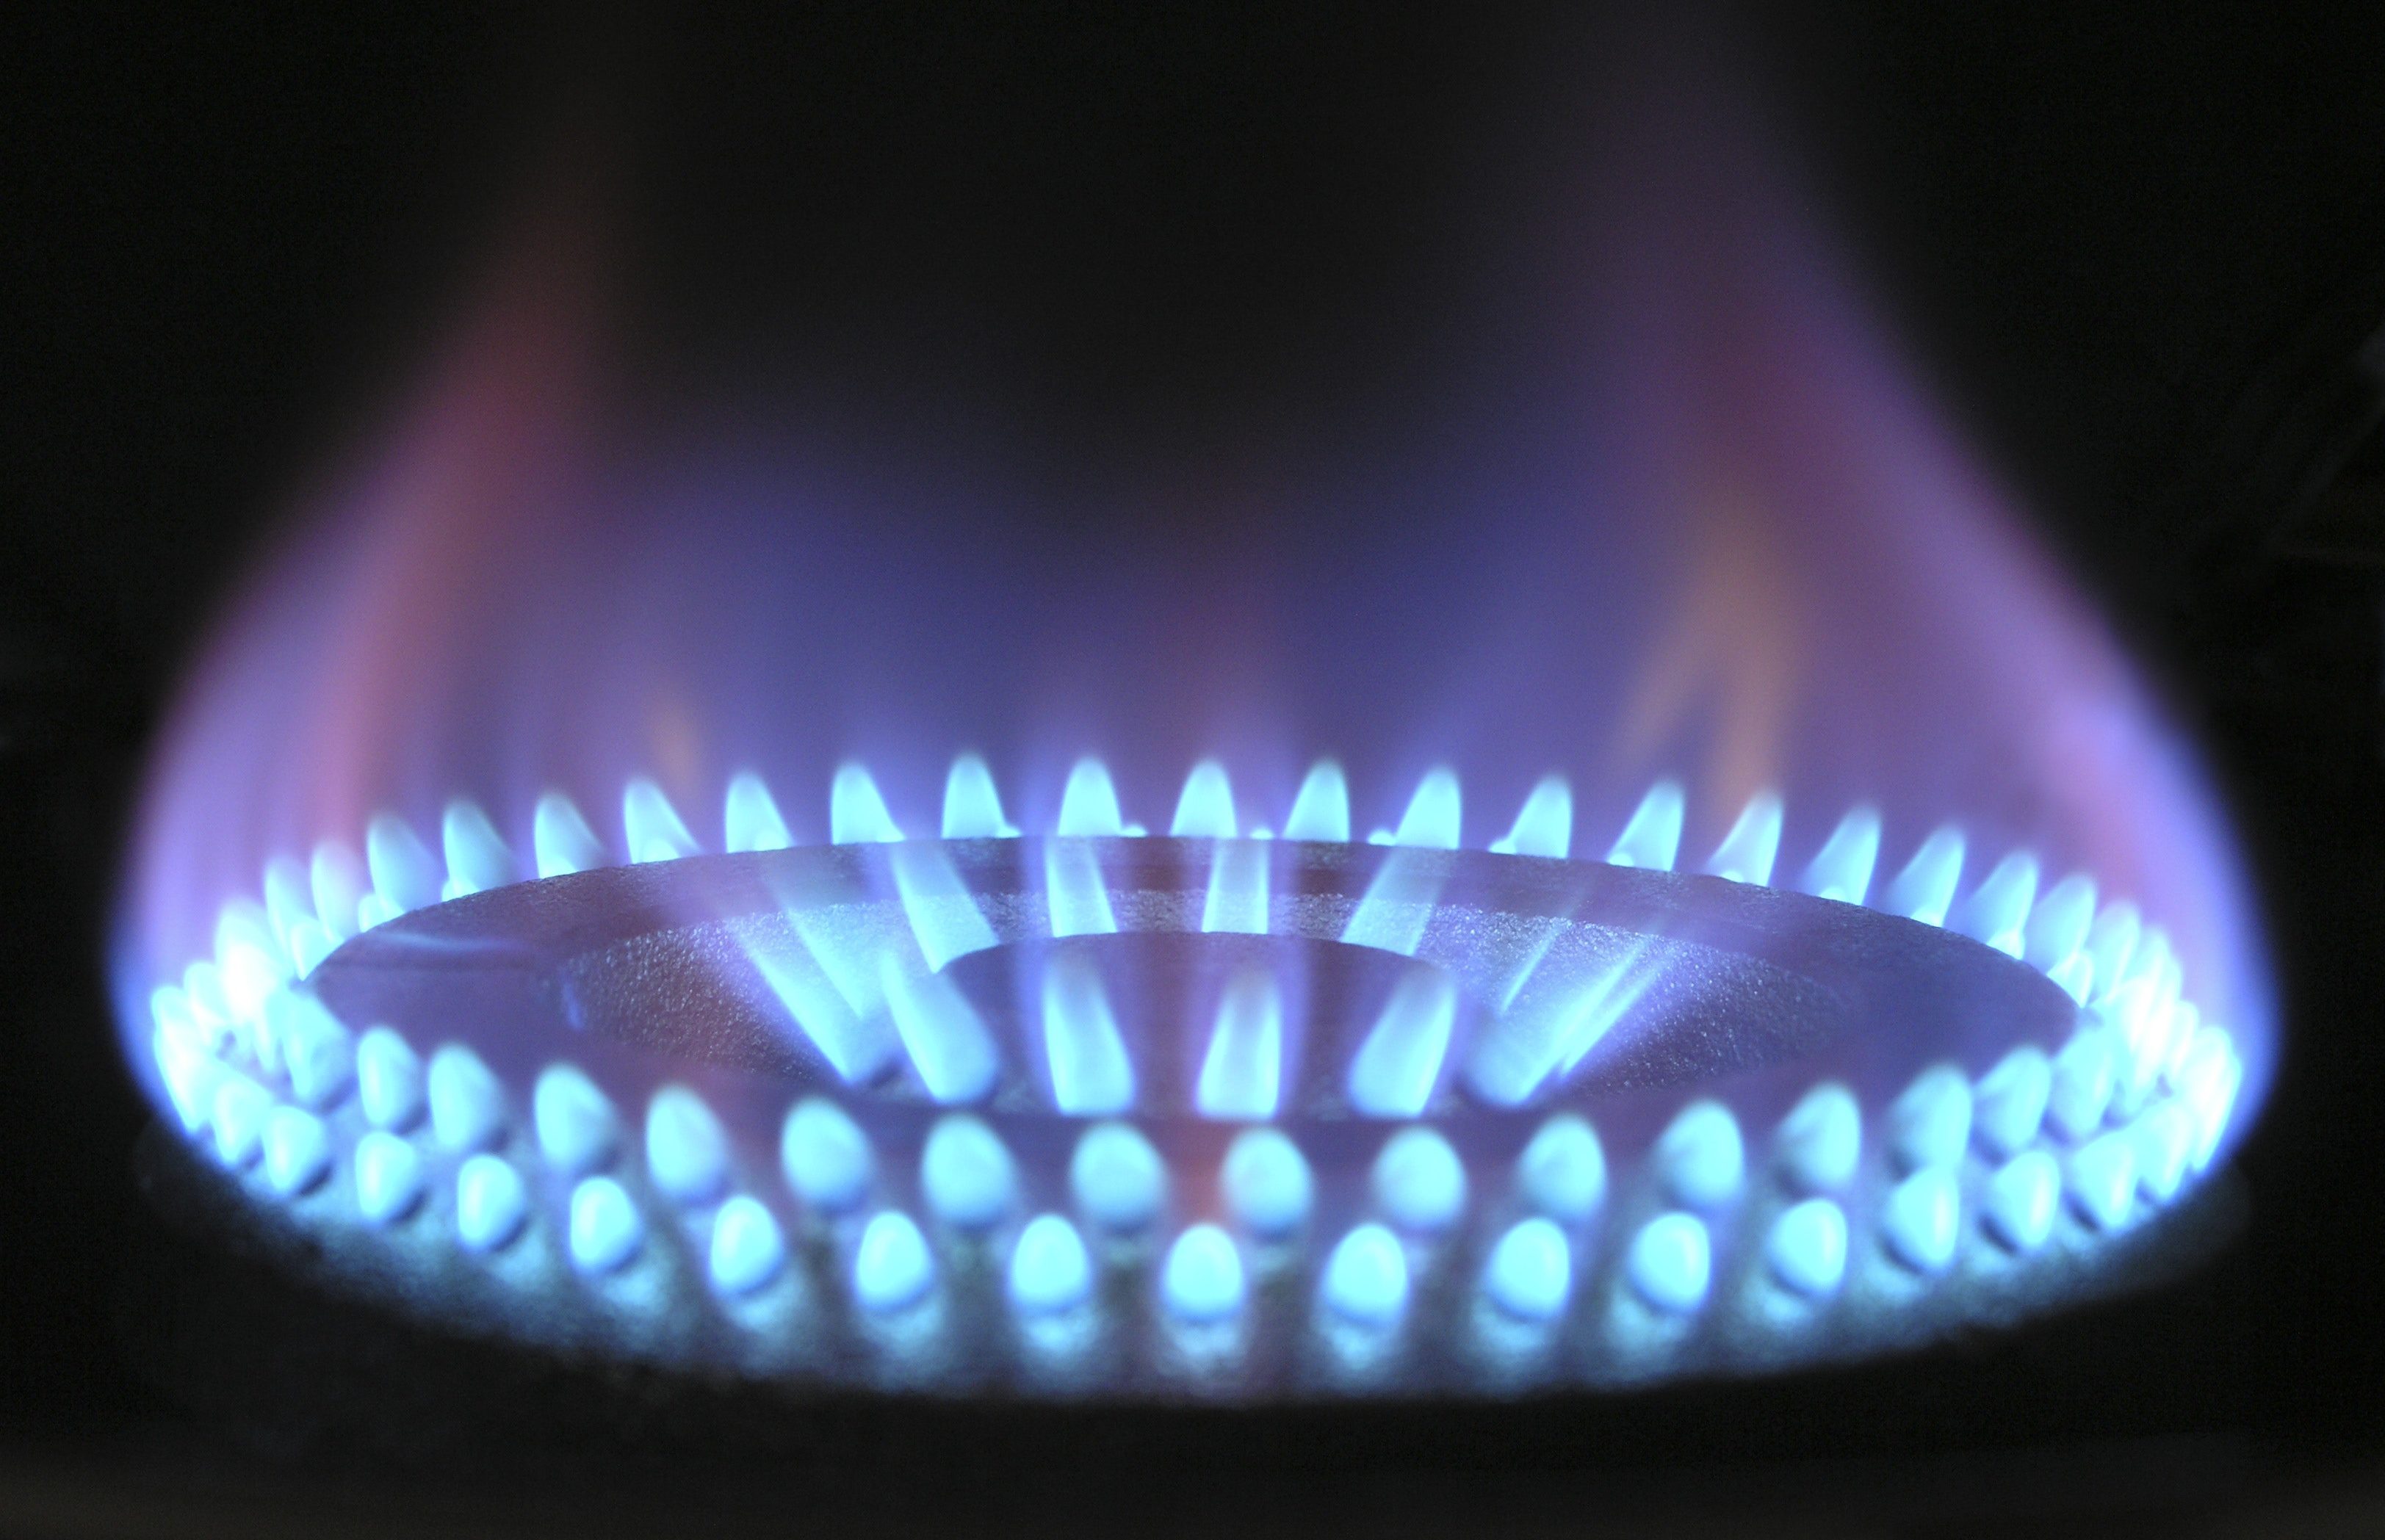
For any user of a gas stove, observing the flame is often the first interaction when initiating cooking. While seemingly simple, the color of that flame is a sophisticated indicator of the appliance’s internal mechanics, combustion efficiency, and overall operational health. From an engineering standpoint, the optimal flame color on a gas stove is a consistent, clear blue. This uniform blue hue, often with a slightly darker blue inner cone and a lighter blue outer cone, signifies what engineers refer to as complete combustion.
The Science of Complete Combustion
Complete combustion is the process where natural gas (primarily methane) or propane mixes perfectly with sufficient oxygen from the surrounding air to burn cleanly and efficiently. In this ideal scenario, the hydrocarbon fuel (e.g., CH₄) reacts with oxygen (O₂) to produce primarily carbon dioxide (CO₂) and water vapor (H₂O), along with heat and light. The blue color arises from the excitation of specific molecules and radicals (like CH and C₂ radicals) formed during the combustion of hydrocarbons at high temperatures, which emit light in the blue-green spectrum. The absence of visible yellow or orange light indicates that virtually all the carbon in the fuel is being fully oxidized, preventing the formation of soot (unburnt carbon particles) and carbon monoxide (CO), a dangerous byproduct of incomplete combustion. This efficiency translates directly into optimal energy transfer to cookware, faster cooking times, and minimized waste of fuel.
Optimizing Fuel-to-Air Ratios
The key to achieving this perfect blue flame lies in the precise fuel-to-air ratio maintained within the stove’s burner system. Gas stoves are designed with a Venturi effect mechanism, where the flow of high-pressure gas from the burner orifice draws in a specific amount of primary air through adjustable or fixed air shutters before the mixture reaches the burner ports. This pre-mix ensures that the gas is already partially mixed with air before ignition, facilitating a more controlled and complete burn. Too little air, and combustion becomes incomplete, leading to yellow flames. Too much air can cause the flame to lift off the burner, become unstable, or even blow out. Appliance manufacturers meticulously calibrate these systems to deliver the optimal ratio, typically around 10 parts air to 1 part natural gas by volume, to guarantee consistent blue flames under normal operating conditions. Deviations from this precise calibration, whether due to blockages, environmental factors, or mechanical wear, directly impact flame color and stove performance.
Diagnosing Flame Anomalies: Deciphering the Burner’s Signals
While a vibrant blue is the hallmark of a healthy gas stove, various deviations in flame color can act as critical diagnostic indicators, signaling underlying technical issues that require attention. Understanding these signals is crucial for maintaining both appliance performance and household safety.
The Yellow/Orange Flicker: Incomplete Combustion and Soot
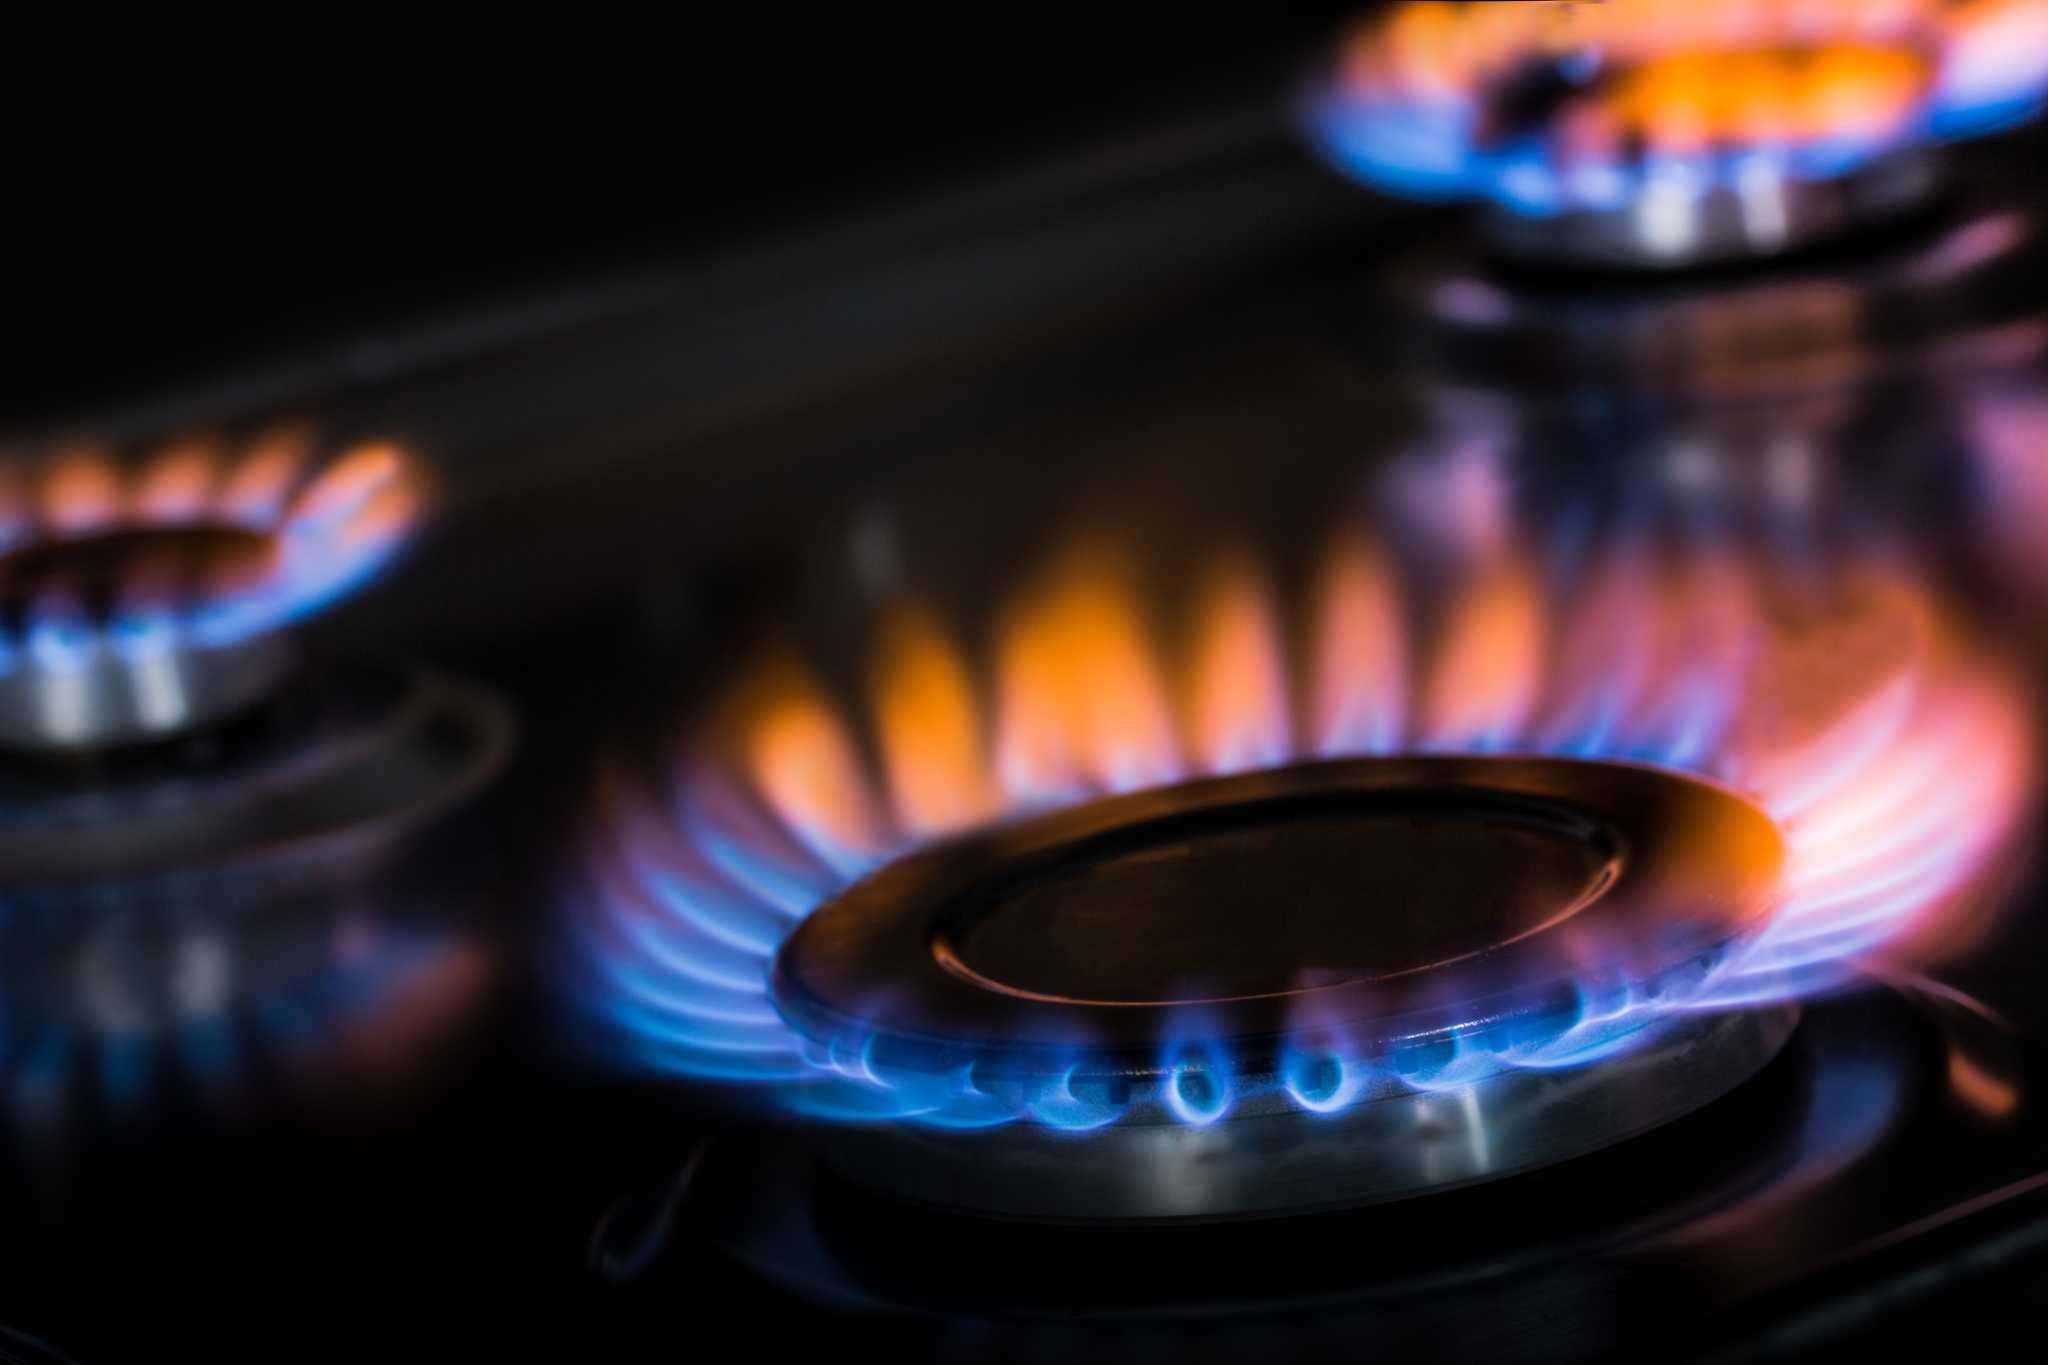
The most common deviation from the ideal blue is the appearance of yellow or orange streaks or an entirely yellow/orange flame. This coloration is a direct indicator of incomplete combustion. When there isn’t enough oxygen to fully oxidize the hydrocarbon fuel, some carbon particles remain unburnt and become incandescent in the flame, emitting yellow or orange light. This phenomenon is similar to how a candle flame produces a yellow glow from soot particles. Technically, incomplete combustion is problematic for several reasons:
- Reduced Efficiency: Less heat is generated for the same amount of fuel, leading to longer cooking times and wasted energy.
- Soot Production: These unburnt carbon particles deposit as soot on cookware, walls, and inside the appliance, requiring more cleaning and potentially damaging surfaces.
- Carbon Monoxide Risk: Most importantly, incomplete combustion significantly increases the production of carbon monoxide (CO). CO is a colorless, odorless, and highly toxic gas that can be lethal. While modern stoves are designed to operate safely, a persistent yellow flame is a strong warning sign for elevated CO levels in the immediate vicinity.
Common causes for yellow flames include clogged burner ports (food debris, grease), an improperly adjusted or blocked air shutter reducing primary air intake, or even issues with gas pressure or purity.
Red or Green Hues: Contaminants and Component Wear
Less common but equally indicative are red or green tints in the flame. These unusual colors typically suggest the presence of contaminants or foreign substances interacting with the flame.
- Red Flames: A reddish tint can occur if dust, dirt, or rust particles are present in the air or within the gas supply line. The metallic ions in these particles, when heated by the flame, can emit light in the red spectrum. While often benign if sporadic, a persistent red flame might indicate corrosion within the gas lines or burner components, warranting investigation.
- Green Flames: Green flames are rarer and usually point to the presence of metallic compounds, particularly copper or brass, being introduced into the flame. This could happen if a burner component made of these materials is corroding or if residues from certain types of cookware or cleaning agents are burning off. A strong green flame could also indicate that certain chemical contaminants are present in the gas supply itself, though this is highly unusual for residential natural gas. While aesthetically intriguing, any unusual color other than blue should be taken as a signal that the combustion process is not as clean as intended and could signify material degradation within the appliance.
Lifted or Fluttering Flames: Pressure and Airflow Imbalances
Beyond color, the stability and appearance of the flame itself offer further diagnostic clues.
- Lifted Flames: If the flame appears to “lift” off the burner ports, detaching slightly from the metal, it indicates an excess of primary air or excessively high gas pressure. When too much air is introduced, the mixture becomes lean, and the flame front can accelerate beyond the speed at which it can anchor to the burner, causing it to lift. This reduces heating efficiency and can make the flame unstable, prone to blowing out.
- Fluttering Flames: Flames that dance, flicker excessively, or are otherwise unstable suggest inconsistent gas flow or problematic airflow around the burner. This could be due to drafts, partially blocked burner ports causing uneven gas distribution, or fluctuations in gas pressure from the supply line or regulator. Both lifted and excessively fluttering flames indicate that the precise fuel-to-air mixture or the mechanical integrity of the burner system is compromised, impacting uniform heat distribution and potentially leading to less efficient cooking.
Tech Troubleshooting: Addressing Common Flame Irregularities
Addressing flame color inconsistencies on a gas stove often involves straightforward technical troubleshooting steps that users can perform. These actions focus on restoring the optimal air-to-gas mixture and ensuring clear pathways for both fuel and oxygen.
Regular Burner Maintenance: Cleaning Ports and Caps
The most frequent culprit behind yellow or orange flames is clogged burner ports. Over time, spills, food debris, grease, and even cleaning solution residue can accumulate in the tiny holes (ports) through which the gas exits the burner head. This blockage obstructs the uniform flow of gas, disrupting the ideal air-to-gas mixture and leading to incomplete combustion.
To address this:
- Safety First: Ensure the stove is completely off and cool. Disconnect the appliance from its power source if possible, or at least ensure all control knobs are in the “off” position.
- Remove Components: Lift off burner grates, burner caps, and burner heads. These are typically designed for easy removal without tools.
- Clean Ports: Use a small, stiff wire brush (like a toothbrush or a specialized burner port brush) or a straightened paper clip to carefully clear out each burner port. Avoid using toothpicks, as they can break off and create further blockages. Ensure the gas supply tube openings beneath the burner head are also clear of debris.
- Wash and Dry: Wash burner caps and heads with warm, soapy water to remove grease and residue. Rinse thoroughly and allow them to dry completely before reassembling. Moisture inside burner components can cause ignition issues or rust.
Adjusting the Air Shutter: Fine-Tuning the Mix
Some gas stoves, particularly older models or professional ranges, feature an adjustable air shutter located near the Venturi tube, typically beneath the cooktop or behind the kick plate. This shutter controls the amount of primary air mixed with the gas before it reaches the burner.
- Identifying the Need: If, after thorough cleaning, the flame remains persistently yellow (indicating too little air) or lifts off the burner (indicating too much air), the air shutter may need adjustment.
- The Process: Consult your stove’s user manual for the exact location and adjustment procedure. Generally, you’ll need to locate the air shutter – often a metal band or plate with an opening that can be rotated or slid. With the burner lit (exercise extreme caution), slowly adjust the shutter.
- For Yellow Flames: Slowly open the shutter (increasing air intake) until the flame turns blue.
- For Lifted Flames: Slowly close the shutter (decreasing air intake) until the flame settles back onto the burner and becomes stable blue.
- Caution: This adjustment should be done incrementally and carefully. If you are unsure or uncomfortable, it’s best to call a qualified technician.
Inspecting for Obstructions: From Debris to Spiderwebs
Beyond burner ports, other obstructions can impact flame quality.
- Venturi Tube Blockages: Spiders are known to build webs inside the Venturi tubes (the metal tube leading from the gas orifice to the burner head), especially in appliances that have been dormant for a while. These webs restrict airflow, leading to incomplete combustion and yellow flames. Disassembling the burner assembly further may be necessary to inspect and clear the Venturi tube.
- Gas Orifice Obstructions: The tiny gas orifice where gas enters the Venturi tube can also become partially blocked by debris. This requires careful inspection and possibly using a small, specialized tool to clear it without enlarging the opening, which would permanently alter gas flow.
- Clogged Vent Hood/Fan Filters: While not directly affecting the burner’s internal combustion, poor kitchen ventilation can lead to an accumulation of airborne grease and particulate matter, which can then settle on burner components or be drawn into the primary air intake. Ensure range hood filters are clean and ventilation is adequate.
Beyond the Burner: The Gas Supply and Appliance Infrastructure
While localized burner issues are common, the flame’s behavior can also be influenced by broader technical aspects of the gas supply system and the overall appliance infrastructure. These factors require a more systemic understanding of how the stove integrates with your home’s utilities.
Gas Pressure Regulation: Ensuring Consistent Fuel Delivery
The consistency and volume of gas reaching your stove are critical for optimal flame performance. Your home’s gas supply operates under a certain pressure, which is then regulated down to a much lower, constant pressure suitable for household appliances by a gas pressure regulator, typically located near your gas meter or directly on the stove itself (especially for modern units).
- Under-Pressure: If the gas pressure is too low, perhaps due to a faulty regulator, a partially closed gas valve elsewhere in the line, or issues with the utility supply, the flames will appear weak, small, and potentially orange/yellow due to insufficient fuel flow to sustain complete combustion. They might also struggle to ignite consistently.
- Over-Pressure: Conversely, excessively high gas pressure, often a sign of a malfunctioning regulator, can cause flames to be too large, noisy, lift off the burner, or be unstable. While less common, this can also pose a safety risk if the appliance isn’t designed to handle such pressure.
Any persistent issue with flame size or strength that isn’t resolved by burner cleaning could point to a gas pressure problem, which requires professional diagnosis and adjustment.
Venting and Air Circulation: Maintaining a Safe Operating Environment
Beyond the primary air mixed at the burner, the general air circulation in your kitchen plays a role in sustaining complete combustion and safely dissipating combustion byproducts.
- Adequate Oxygen: A gas stove requires a continuous supply of fresh air for combustion. In very tightly sealed homes or during periods of heavy stove use without ventilation, the oxygen levels in the kitchen can slightly deplete, potentially leading to less efficient combustion and hints of yellow in the flame.
- Exhaust Management: Properly functioning range hoods or exhaust fans are vital for removing heat, moisture, cooking odors, and more importantly, combustion byproducts like carbon dioxide and trace amounts of carbon monoxide. While an ideal blue flame produces minimal CO, any incomplete combustion amplifies this risk. A well-maintained ventilation system ensures these gases are effectively evacuated from your living space, contributing to indoor air quality and safety. Issues with venting, such as clogged filters or an underpowered fan, don’t directly change the flame color but create an environment where the consequences of even minor combustion imperfections become more significant.
Appliance Age and Component Degradation: When Technology Wears
Like all technology, gas stoves are subject to wear and tear. Over time, various components can degrade, impacting flame quality.
- Burner Head Deformation: Repeated heating and cooling cycles can cause burner heads, especially those made from cast iron or aluminum, to warp or corrode. This can alter the shape and size of the burner ports, leading to uneven gas distribution and inconsistent flames.
- Igniter Issues: While not directly affecting flame color, a faulty igniter can cause delays in ignition, leading to gas accumulation before lighting, which can result in a sudden burst of flame that may initially appear orange due to the rapid, uncontrolled combustion of a larger gas volume.
- Gas Valves and Orifices: Internal wear in gas control valves can lead to inconsistent flow rates. The tiny brass or steel orifices that meter gas to each burner can also become worn or slightly enlarged over many years, subtly altering the air-to-gas ratio and potentially making fine-tuning more difficult.
- Seals and Gaskets: Over time, seals and gaskets within the gas supply lines or appliance connections can degrade, potentially leading to minor gas leaks or ingress of air into the gas stream, though significant issues are usually detected by smell.
Recognizing that an older appliance might simply be showing its age through persistent flame issues is important. While some components are replaceable, significant degradation might signal that the stove’s technical life cycle is nearing its end.
When to Engage Professional Tech Support: Prioritizing Gas Safety
While many minor flame irregularities can be resolved with DIY cleaning and simple adjustments, it is paramount to recognize when a technical issue with a gas appliance warrants the expertise of a certified professional. Gas appliances carry inherent risks, and improper handling can lead to dangerous situations, including gas leaks, fires, or carbon monoxide poisoning.
Persistent Irregularities and Gas Odors
The most critical indicators that professional help is needed are:
- Persistent Yellow/Orange Flames After Cleaning: If you’ve thoroughly cleaned the burner ports, ensured proper air shutter adjustment (if applicable), and checked for obvious obstructions, yet the flames remain predominantly yellow or orange, it suggests a more complex issue. This could involve an internal gas pressure problem, a faulty regulator, or a deeper obstruction within the appliance’s gas manifold or supply lines that is beyond superficial cleaning.
- Any Smell of Gas: This is the absolute highest priority. If you ever smell natural gas (often described as rotten eggs or sulfur), whether or not accompanied by unusual flame colors, immediately turn off the stove, open windows for ventilation, evacuate the premises, and call your gas utility provider or emergency services from a safe location. Do NOT attempt to locate the leak yourself, operate any electrical switches, or use phones inside the building.
- Audible Hissing or Whistling Sounds: These sounds can indicate a gas leak, especially if heard near the stove or gas connections.
- Difficulty Lighting or Frequent Extinguishing: If burners are consistently hard to light, require multiple attempts, or the flame frequently goes out on its own, it points to an issue with gas flow, ignition system, or the air-gas mixture that requires professional diagnosis.
- Soot Accumulation: Excessive soot deposits on cookware or surrounding surfaces after cooking with a seemingly blue flame can indicate that combustion isn’t as clean as it appears, potentially producing invisible carbon monoxide.
The Role of Certified Technicians and Specialized Tools
Certified gas appliance technicians possess specialized training, knowledge, and tools to safely and accurately diagnose and repair complex gas stove issues.
- Advanced Diagnostics: They can use manometer gauges to precisely measure gas pressure at various points in the system, ensuring the regulator is functioning correctly and gas flow is within specifications.
- Leak Detection Equipment: Technicians employ electronic gas leak detectors to pinpoint even minute leaks that might not be detectable by smell alone.
- Combustion Analysis: For more advanced troubleshooting, some technicians can perform combustion analysis to measure carbon monoxide levels and combustion efficiency, providing definitive data on the appliance’s safety and performance.
- Safe Component Replacement: They have the expertise to safely disassemble internal components, replace faulty regulators, gas valves, burner assemblies, or igniters, ensuring all connections are secure and gas-tight.
Avoiding DIY for Complex Gas System Malfunctions
Attempting to repair complex gas system components without proper training and tools is extremely dangerous. Tampering with gas lines, regulators, or internal valves can lead to:
- Gas Leaks: Creating a new leak or worsening an existing one, leading to explosion hazards.
- Improper Combustion: Incorrect repairs can lead to persistently high carbon monoxide production, a silent killer.
- Appliance Damage: Causing further damage to the stove, voiding warranties, and leading to more expensive professional repairs.
Always prioritize safety. When faced with persistent, unexplained, or potentially dangerous flame anomalies or gas odors, the most responsible and technically sound action is to immediately shut off the appliance and contact a qualified, licensed gas appliance technician. Their expertise is invaluable in maintaining the safety and efficiency of your gas stove.