SQLite is a remarkably powerful, yet incredibly lightweight, relational database management system. Unlike many other database systems that require a separate server process, SQLite embeds itself directly into applications. This makes it an ideal choice for a wide range of scenarios, from mobile applications and embedded systems to desktop software and rapid prototyping. If you’re embarking on a new tech project, exploring AI tools, or simply looking to enhance your digital toolkit, understanding how to install and use SQLite is a valuable skill. This guide will walk you through the installation process for various operating systems, ensuring you can seamlessly integrate SQLite into your workflow.
Understanding SQLite: Beyond Just a Database
Before diving into the installation, it’s crucial to grasp what makes SQLite so special and why you might choose it over more complex database solutions. SQLite is serverless, self-contained, zero-configuration, and transactional. This means:
- Serverless: There’s no client-server architecture to manage. The database is a simple file on your disk.
- Self-contained: It has minimal dependencies, making it easy to deploy.
- Zero-configuration: You don’t need to install or administer a separate database server.
- Transactional: It adheres to ACID properties (Atomicity, Consistency, Isolation, Durability), ensuring data integrity even in the event of power failures or system crashes.
This simplicity and robustness have made SQLite the most widely deployed database engine in the world. It powers a vast array of applications, from the macOS operating system and Android devices to web browsers like Chrome and Firefox, and even in financial trading platforms.
The applications of SQLite extend across the Tech category, particularly in areas like:
- Software Development: As a local data storage solution for desktop and mobile apps.
- AI Tools: For storing and managing datasets or configuration files.
- Productivity Apps: Enabling offline functionality and efficient data handling.
- Digital Security: In some applications for secure local data storage.
While SQLite is primarily a technical tool, its efficient data management can indirectly impact Money-related applications by improving the performance and reliability of financial software, and it plays a role in the underlying infrastructure that supports Brand-building through reliable digital experiences.
Installing SQLite: A Platform-Specific Approach
The installation process for SQLite varies slightly depending on your operating system. We’ll cover the most common platforms: Windows, macOS, and Linux.
Installing SQLite on Windows
For Windows users, there are a couple of primary methods to get SQLite up and running: downloading the pre-compiled binaries or using a package manager like Chocolatey.
Method 1: Downloading Pre-compiled Binaries
This is the most straightforward method for Windows.
- Visit the Official SQLite Download Page: Navigate to the official SQLite website’s download section. You can usually find this by searching “SQLite download” on your preferred search engine or directly visiting
sqlite.org/download.html. - Locate the “Precompiled Binaries for Windows” Section: On the download page, scroll down to find the section dedicated to Windows. You’ll typically see several options.
- Choose the Appropriate Download: You’ll usually want to download the “sqlite-tools-win64-x64-xxxxxx.zip” (for 64-bit systems) or “sqlite-tools-win32-x86-xxxxxx.zip” (for 32-bit systems), where “xxxxxx” represents the version number. The “tools” package includes the command-line shell (
sqlite3.exe), which is essential for interacting with SQLite databases directly. - Extract the Files: Once downloaded, extract the contents of the ZIP file to a directory of your choice. A good practice is to create a dedicated folder, perhaps in your
Program Filesor a customToolsdirectory. For example, you might extract it toC:SQLite. - Add SQLite to Your System’s PATH (Recommended): To run the
sqlite3command from any directory in your Command Prompt or PowerShell, you need to add the directory where you extractedsqlite3.exeto your system’s PATH environment variable.- Search for “Environment Variables” in the Windows search bar and select “Edit the system environment variables.”
- In the System Properties window, click the “Environment Variables…” button.
- Under “System variables,” find the
Pathvariable, select it, and click “Edit…”. - Click “New” and add the full path to the directory where you extracted
sqlite3.exe(e.g.,C:SQLite). - Click “OK” on all open windows to save the changes.
- Verify the Installation: Open a new Command Prompt or PowerShell window. Type
sqlite3 --versionand press Enter. If the installation was successful, you’ll see the SQLite version number displayed.
Method 2: Using Chocolatey (Package Manager)
If you frequently install software on Windows, using a package manager like Chocolatey can simplify the process and future updates.
- Install Chocolatey: If you don’t have Chocolatey installed, follow the instructions on their official website (
chocolatey.org). This typically involves running a command in an administrator PowerShell. - Install SQLite: Open an administrator Command Prompt or PowerShell and run the following command:
bash

choco install sqlite
Chocolatey will download and install SQLite, automatically adding it to your system’s PATH. - Verify the Installation: Open a new Command Prompt or PowerShell window and type
sqlite3 --version.
Installing SQLite on macOS
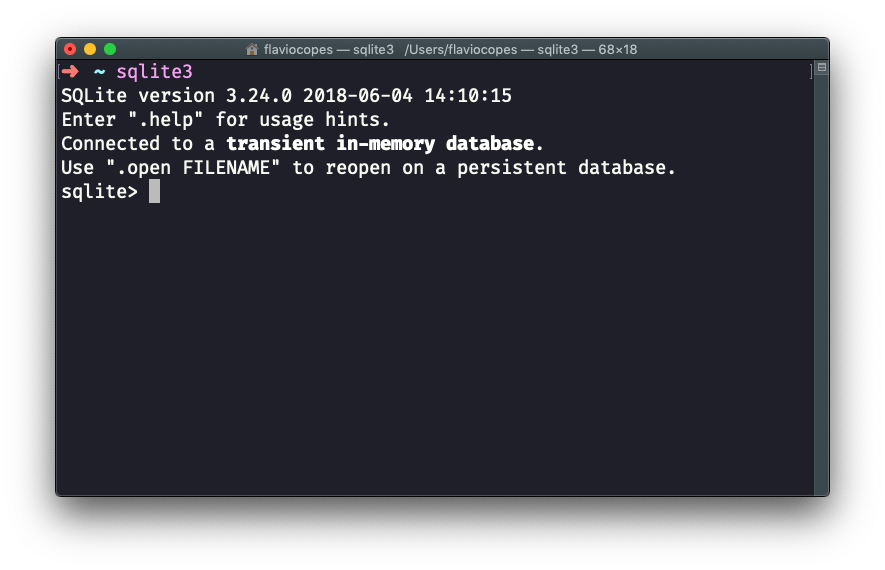
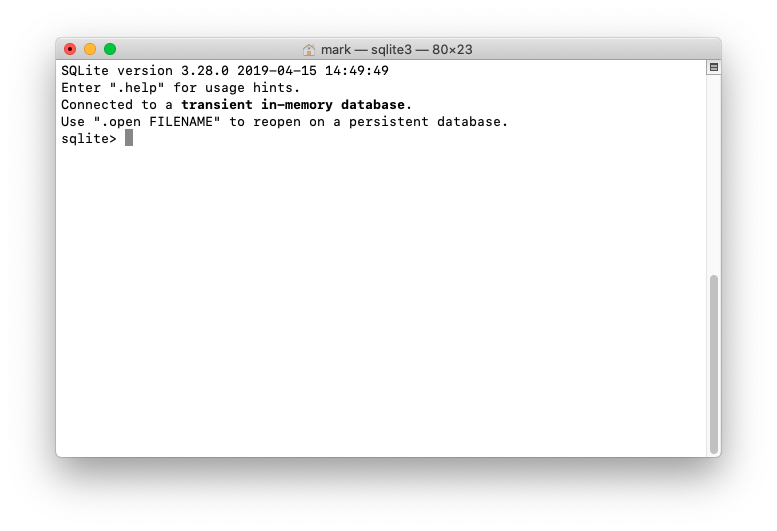
macOS users have it very easy, as SQLite is often pre-installed on the system. You can typically access the SQLite command-line shell directly.
Method 1: Using the Pre-installed Version
Most modern macOS versions come with SQLite.
- Open the Terminal: You can find the Terminal application in
Applications/Utilitiesor by searching for “Terminal” in Spotlight (Cmd + Space). - Verify the Installation: Type the following command and press Enter:
bash

sqlite3 --version
If SQLite is installed, you will see its version number. - If Not Pre-installed (Rare): In the very unlikely event that SQLite is not found, you can easily install it using Homebrew, a popular package manager for macOS.
Method 2: Installing with Homebrew
Homebrew simplifies the installation and management of command-line tools on macOS.
- Install Homebrew: If you don’t have Homebrew installed, open your Terminal and run the command found on the Homebrew website (
brew.sh). - Install SQLite: Once Homebrew is installed, run the following command in your Terminal:
bash

brew install sqlite
Homebrew will download and install the latest version of SQLite, ensuring it’s accessible from your Terminal. - Verify the Installation: Type
sqlite3 --versionto confirm the installation.
Installing SQLite on Linux
Linux distributions typically offer SQLite through their native package managers, making installation a breeze.
Method 1: Using your Distribution’s Package Manager
This is the recommended and most common method.
- Debian/Ubuntu-based systems (e.g., Ubuntu, Linux Mint):
Open your Terminal and run:
bash

sudo apt update

sudo apt install sqlite3
- Fedora/CentOS/RHEL-based systems (e.g., Fedora, CentOS Stream, AlmaLinux):
Open your Terminal and run:
bash

sudo dnf install sqlite
(For older RHEL/CentOS versions, you might usesudo yum install sqlite) - Arch Linux:
Open your Terminal and run:
bash

sudo pacman -S sqlite
Method 2: Compiling from Source (Advanced)
While usually unnecessary, you can compile SQLite from its source code if you need a specific version or want to customize the build. This is a more advanced procedure.
- Download the Source Code: Visit the SQLite download page (
sqlite.org/download.html) and download the “amalgamation source code” (usually a.zipor.tar.gzfile). - Extract the Source Code: Extract the downloaded archive to a directory.
- Compile: Open your Terminal, navigate to the extracted directory, and run the following commands:
bash

./configure

make

sudo make install
This process will compile SQLite and install it to your system’s default binary locations. - Verify the Installation: Type
sqlite3 --version.
Getting Started with the SQLite Command-Line Shell
Once SQLite is installed, the most immediate way to interact with it is through its command-line interface (CLI), often named sqlite3. This tool allows you to create databases, execute SQL queries, and manage your data directly.
Creating and Opening a Database
To create a new database or open an existing one, simply run the sqlite3 command followed by the desired database file name. If the file doesn’t exist, SQLite will create it.
sqlite3 mydatabase.db
This command will open the SQLite CLI. You’ll see a prompt like sqlite>.
Executing SQL Commands
Within the sqlite> prompt, you can type standard SQL commands. For example, to create a table:
CREATE TABLE users (
    id INTEGER PRIMARY KEY AUTOINCREMENT,
    name TEXT NOT NULL,
    email TEXT UNIQUE
);
To insert data:
INSERT INTO users (name, email) VALUES ('Alice Smith', 'alice@example.com');
INSERT INTO users (name, email) VALUES ('Bob Johnson', 'bob@example.com');
To query data:
SELECT * FROM users;
Exiting the SQLite Shell
To exit the CLI, type .quit or .exit and press Enter.
sqlite> .quit
Beyond the Basics: Integrating SQLite into Your Projects
Installing SQLite is just the first step. Its true power lies in its integration with programming languages and development frameworks.
SQLite in Programming Languages
Most popular programming languages have robust libraries for interacting with SQLite:
- Python: The
sqlite3module is part of the standard library, making it incredibly easy to use. - JavaScript (Node.js): Libraries like
sqlite3orbetter-sqlite3allow you to manage SQLite databases within your Node.js applications. - Java: JDBC drivers are readily available for SQLite.
- PHP: The PDO (PHP Data Objects) extension supports SQLite.
- C/C++: The official SQLite C API is available for direct integration.
For example, in Python, you might connect to a database like this:
import sqlite3

# Connect to the database (creates it if it doesn't exist)
conn = sqlite3.connect('my_app_data.db')
cursor = conn.cursor()

# Create a table
cursor.execute('''
    CREATE TABLE IF NOT EXISTS settings (
        key TEXT PRIMARY KEY,
        value TEXT
    )
''')

# Insert some data
cursor.execute("INSERT OR IGNORE INTO settings (key, value) VALUES (?, ?)", ('theme', 'dark'))

# Commit the changes
conn.commit()

# Query data
cursor.execute("SELECT value FROM settings WHERE key = ?", ('theme',))
theme_value = cursor.fetchone()
print(f"The current theme is: {theme_value[0]}")

# Close the connection
conn.close()
SQLite in Development Workflows
SQLite is invaluable for:
- Prototyping: Quickly set up a database for your application’s backend without the overhead of a full server.
- Local Development Environments: Use it as a lightweight database for testing and development on your machine.
- Embedded Systems and Mobile Apps: Its file-based nature is perfect for applications that need local data storage without external dependencies.
- Data Analysis and Scripting: Easily create, query, and manipulate datasets for analysis or scripting tasks.
Conclusion
Installing SQLite is a straightforward process that opens up a world of possibilities for managing data efficiently and effectively. Whether you’re a seasoned developer, an aspiring programmer learning new tools, or someone interested in the technical underpinnings of modern software, mastering SQLite will undoubtedly enhance your capabilities. By following the platform-specific instructions provided, you can have SQLite up and running in minutes, ready to be integrated into your projects and help you build robust, performant applications. The simplicity, power, and ubiquity of SQLite make it an essential component of any modern tech toolkit.
aViewFromTheCave is a participant in the Amazon Services LLC Associates Program, an affiliate advertising program designed to provide a means for sites to earn advertising fees by advertising and linking to Amazon.com. Amazon, the Amazon logo, AmazonSupply, and the AmazonSupply logo are trademarks of Amazon.com, Inc. or its affiliates. As an Amazon Associate we earn affiliate commissions from qualifying purchases.