A fresh install of Windows 10 can breathe new life into a sluggish computer, resolve persistent software issues, and provide a clean foundation for your digital endeavors. Whether you’re looking to optimize performance, remove unwanted bloatware, or simply start over with a pristine operating system, this guide will walk you through the entire process. We’ll cover everything from understanding why a fresh install is beneficial to the practical steps involved, ensuring you can confidently undertake this task and enjoy a smoother, more efficient computing experience.
Why Opt for a Fresh Windows 10 Installation?
In the ever-evolving landscape of technology, our computers accumulate a lot of digital baggage. Over time, this can lead to a noticeable degradation in performance. This is where a fresh install of Windows 10 becomes an incredibly valuable solution. It’s not just about wiping the slate clean; it’s about addressing the underlying causes of common computer woes and setting yourself up for a more productive and secure digital life.
The Benefits of a Clean Slate
Performance Boost: The most immediate and noticeable benefit of a fresh Windows 10 installation is a significant improvement in speed and responsiveness. Over months and years of use, temporary files, registry entries, and remnants of uninstalled programs can clutter your system. This digital debris can slow down boot times, application loading, and overall system operations. A clean install eliminates all of this, allowing Windows to run on a streamlined and optimized foundation.
Resolving Persistent Issues: Have you encountered those frustrating, hard-to-diagnose problems like random crashes, application glitches, or network connectivity issues that simply won’t go away? Often, these are caused by corrupted system files, conflicting software, or malware that has burrowed deep into your system. A fresh install effectively eradicates these problems by replacing all core Windows files with new ones, effectively starting your operating system from scratch.
Removing Bloatware and Unwanted Software: Many new computers come pre-loaded with trial software, manufacturer utilities, and promotional apps – often referred to as “bloatware.” While some might be useful, many are unnecessary and consume system resources. A fresh install allows you to install Windows 10 without any of this pre-installed junk, giving you complete control over the software on your machine.
Enhanced Digital Security: While not a substitute for robust antivirus software, a fresh install can be a powerful tool in your digital security arsenal. If you suspect your system has been compromised by malware or spyware, a clean installation will completely remove any malicious software. This ensures you’re starting with a secure and uninfected operating system, providing peace of mind for your online activities.
Improved Software Compatibility: Sometimes, older software or drivers can cause conflicts with newer applications or system updates. A fresh install ensures that your operating system is running with the latest compatible drivers and a clean environment, minimizing the chances of such conflicts and ensuring smoother operation of your essential software.
A Fresh Start for Productivity: For many, the act of a fresh install is akin to decluttering a physical workspace. It’s a chance to re-evaluate your software needs, organize your files, and set up your digital environment exactly how you want it. This can lead to a renewed sense of efficiency and focus, as you’re no longer fighting against a cluttered or slow system.
Preparing for Major Upgrades: If you’re planning to upgrade hardware components or even move to a newer version of Windows in the future, starting with a clean installation of Windows 10 can ensure a smoother transition and better compatibility with new hardware and software.
Preparing for Your Windows 10 Fresh Install
Before you embark on the journey of a fresh Windows 10 installation, meticulous preparation is key to a seamless and successful experience. Skipping this crucial step can lead to data loss or a frustratingly incomplete setup. This phase involves safeguarding your valuable data, ensuring you have the necessary tools, and understanding your system’s requirements.
Backing Up Your Data: The Most Critical Step
This cannot be stressed enough: Back up ALL your important data before proceeding. A fresh install will completely erase everything on your primary drive. This includes your documents, photos, videos, music, application settings, and any other personal files.
- Identify What’s Important: Make a list of all the files and folders you absolutely cannot afford to lose. This typically includes your personal documents (Word, Excel, PDF files), creative works (photos, videos, music projects), browser bookmarks, and any application-specific data that might not be stored in standard locations.
- External Hard Drives and USB Drives: The most common and reliable method is to back up to an external hard drive or a large-capacity USB flash drive. Connect the drive to your computer, create a folder (e.g., “Windows 10 Backup”), and then copy and paste your important files into it.
- Cloud Storage Services: Services like OneDrive, Google Drive, Dropbox, or iCloud can be excellent for backing up specific folders or important files. Ensure that your files are fully synced to the cloud before you begin the installation.
- Network Attached Storage (NAS): If you have a NAS device on your home network, it’s an ideal central location for backups.
- Backup Software: Consider using dedicated backup software, which can often automate the process and offer features like incremental backups or system imaging.
- Application Data: Some applications store their data in specific locations within your user profile. For example, email clients like Outlook store their data files (.PST). You’ll need to locate these and back them up separately. Games often have save files stored in hidden folders – a quick web search for “[Game Name] save file location” can help.
Gathering Your Windows 10 Installation Media and Product Key
You’ll need a way to boot your computer and install Windows 10. This typically involves creating a bootable USB drive or DVD.
- Download the Media Creation Tool: Microsoft provides a free tool called the “Media Creation Tool” on their official website. This tool allows you to download the latest version of Windows 10 and create a bootable USB flash drive (recommended for modern computers) or a DVD.
- For USB: You’ll need a USB flash drive with at least 8GB of space. Important: This process will erase everything on the USB drive, so ensure it doesn’t contain any important data.
- For DVD: You’ll need a blank DVD and a DVD burner.
- Windows 10 Product Key: While Windows 10 often activates automatically if your computer came with a pre-installed license (digital license linked to your hardware), it’s always a good idea to have your product key handy. If you purchased a retail copy of Windows 10, your product key will be on the packaging or in your email confirmation. If you’ve upgraded from a previous genuine Windows version, your license is likely a digital one. You can usually find this information in your Microsoft account.
Understanding Your System Requirements and Drivers
- System Requirements: Ensure your computer meets the minimum system requirements for Windows 10. These are generally:
- Processor: 1 gigahertz (GHz) or faster processor or System on a Chip (SoC)
- RAM: 1 gigabyte (GB) for 32-bit or 2 GB for 64-bit
- Hard disk space: 16 GB for 32-bit OS or 20 GB for 64-bit OS
- Graphics card: DirectX 9 or later with WDDM 1.0 driver
- Display: 800×600
- Essential Drivers: While Windows 10 is excellent at automatically detecting and installing many hardware drivers, it’s wise to download the latest drivers for your key components, especially your network adapter (Wi-Fi or Ethernet), graphics card, and motherboard chipset. You can usually find these on the manufacturer’s website (e.g., Dell, HP, Lenovo for laptops; or motherboard manufacturers like ASUS, Gigabyte, MSI for desktops). Download them and save them to a USB drive that you can access after the Windows installation. This is crucial for getting online to download further updates.
The Fresh Installation Process: Step-by-Step

With your preparations complete, you’re ready to begin the actual installation of Windows 10. This process involves booting from your installation media and following the on-screen prompts.
Booting from Your Installation Media
This is often the trickiest part for beginners, as it involves telling your computer to start from the USB drive or DVD instead of its internal hard drive.
- Insert Your Installation Media: Plug in your bootable USB drive or insert the Windows 10 DVD into your computer.
- Restart Your Computer: If your computer is on, restart it. If it’s off, turn it on.
- Access the Boot Menu or BIOS/UEFI: As soon as your computer starts to boot up, you’ll need to press a specific key repeatedly to access either the Boot Menu or the BIOS/UEFI settings. The key varies by manufacturer, but common keys include:
- F2, F10, F12, DEL, ESC
- Look for a message on the screen during startup that says something like “Press F12 for Boot Menu” or “Press DEL to enter Setup.”
- Select Your Boot Device:
- If you accessed the Boot Menu: You’ll see a list of bootable devices. Select your USB drive or DVD drive from the list using the arrow keys and press Enter.
- If you accessed BIOS/UEFI: You’ll need to navigate through the menus to find the “Boot Order” or “Boot Priority” settings. Change the order so that your USB drive or DVD drive is listed as the first boot device. Save your changes and exit (usually by pressing F10).
- Start the Installation: Your computer should now boot from your installation media. You’ll see the Windows logo and then a prompt asking you to “Press any key to boot from CD or DVD…” or similar. Press any key to continue.
Installing Windows 10
Once your computer has booted from the installation media, you’ll be guided through the Windows setup process.
- Language, Time, and Keyboard Settings: The first screen will ask you to select your language, time and currency format, and keyboard layout. Choose your preferred options and click “Next.”
- Install Now: Click the “Install now” button.
- Product Key (Optional): If prompted for a product key, enter it now. If you don’t have it or your license is digital, click “I don’t have a product key.” Windows will activate later if it’s linked to your hardware.
- Choose Your Operating System: Select the edition of Windows 10 you want to install (e.g., Windows 10 Home, Windows 10 Pro). Make sure this matches your license. Click “Next.”
- Accept License Terms: Read the Microsoft software license terms and check the box that says “I accept the license terms.” Click “Next.”
- Choose Installation Type: This is a crucial step. You will have two options:
- Upgrade: This option attempts to install Windows and keep your files, settings, and applications. This is NOT what you want for a fresh install.
- Custom: Install Windows only (advanced): Select this option for a clean, fresh installation.
- Select Where to Install Windows: You’ll see a list of all drives and partitions on your computer. This is where you’ll erase everything.
- Identify Your Primary Drive: This is usually the drive labeled “Drive 0” and will likely have the largest capacity.
- Delete Existing Partitions: For a truly clean install, select each partition associated with your old Windows installation (often labeled “Primary” and “System Reserved” or similar) and click “Delete.” Confirm that you are deleting the correct partitions to avoid data loss. You can also delete any other partitions on that drive that you no longer need.
- Create a New Partition (Optional but Recommended): Once you have unallocated space, select it and click “New.” You can create a single large partition for Windows or divide it further if you wish. Windows will automatically create small system partitions.
- Select the Primary Partition: Choose the newly created (or existing) primary partition where you want to install Windows and click “Next.”
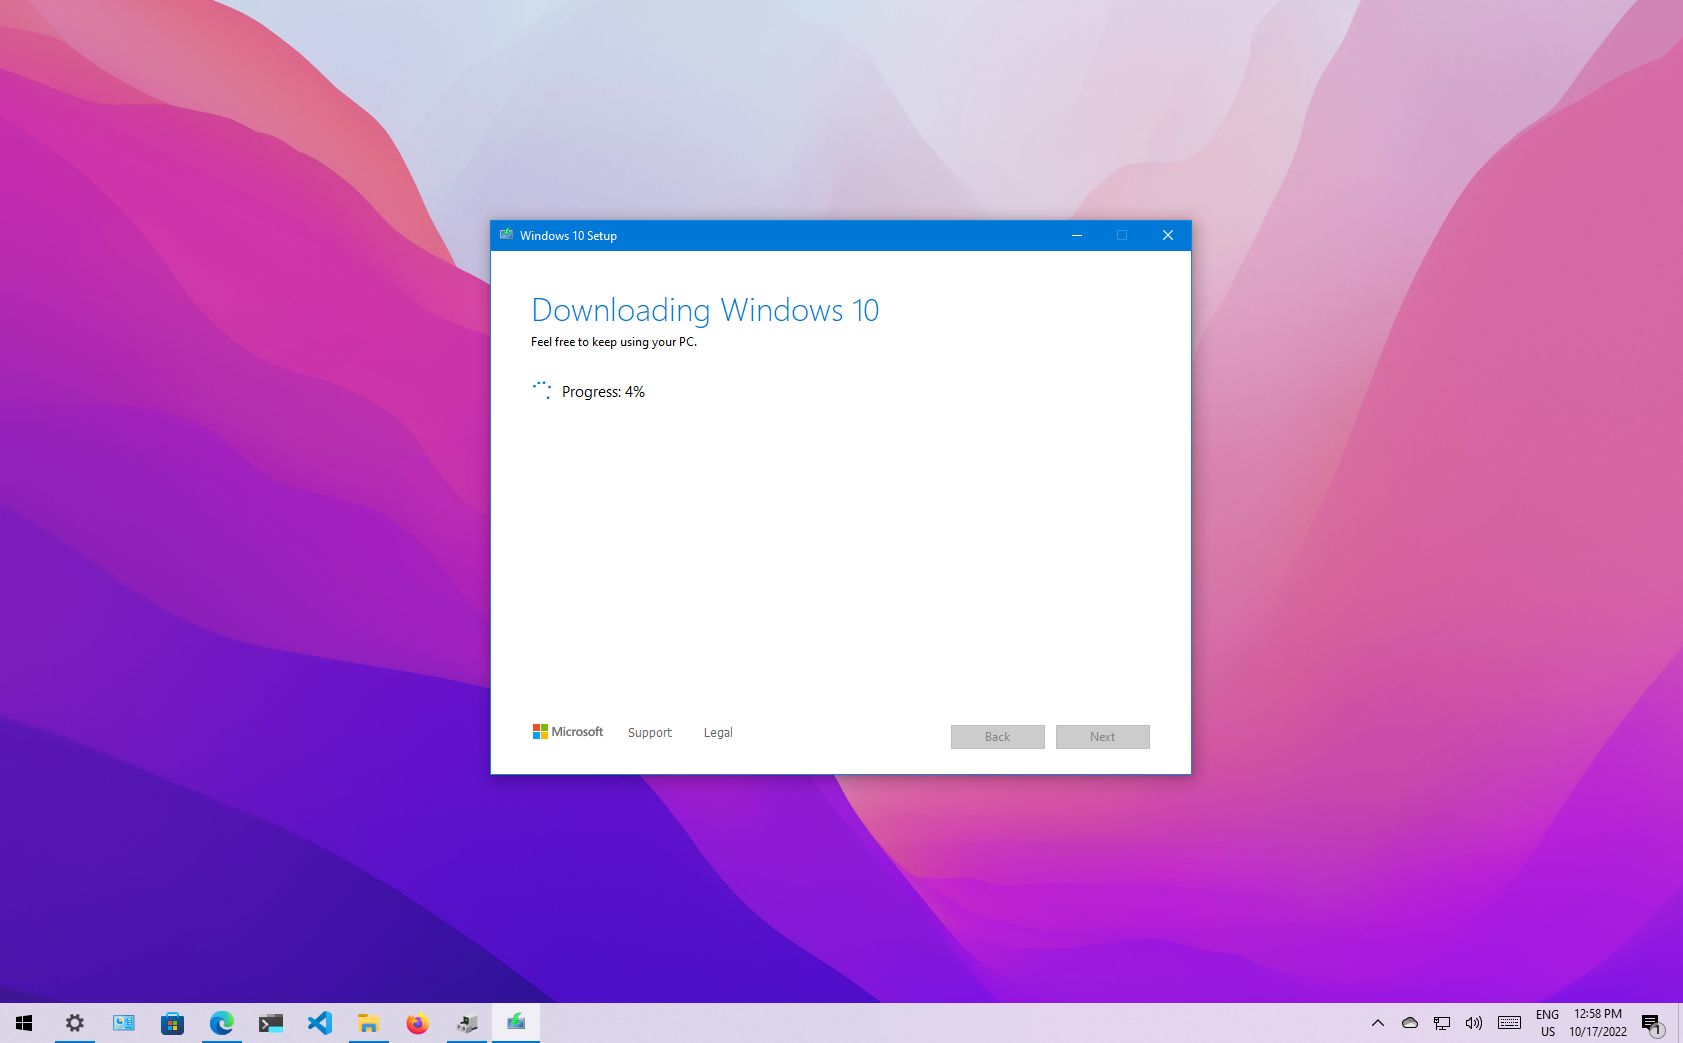
- Installing Windows: Windows will now begin copying files, installing features, and installing updates. Your computer will restart several times during this process. Do NOT remove the USB drive or DVD until the initial setup is complete and you’ve reached the “Out of Box Experience” (OOBE) screen.
Initial Setup (Out-of-Box Experience – OOBE)
After the main installation finishes and your computer restarts, you’ll go through the initial setup process.
- Region and Keyboard Layout: Confirm your region and keyboard layout.
- Connect to a Network: Connect to your Wi-Fi network or plug in an Ethernet cable. This is important for Windows to check for updates and sign in to your Microsoft account.
- Sign in with a Microsoft Account or Create One: You can sign in with your existing Microsoft account or create a new one. This links your Windows license, OneDrive, and other Microsoft services. You can also choose to create an offline account if you prefer not to use a Microsoft account, but this limits some features.
- Create a PIN: For quick and secure login, create a PIN.
- Privacy Settings: Review and adjust your privacy settings for location, diagnostics, tailored experiences, and more. It’s recommended to read through these carefully.
- Cortana Setup (Optional): You can choose to set up Cortana, Microsoft’s virtual assistant.
- Wait for Setup to Finish: Windows will finalize your settings, which can take a few minutes.
Post-Installation Tasks: Optimizing Your New Windows 10 System
Congratulations! You’ve successfully performed a fresh installation of Windows 10. However, the journey isn’t quite over. A few post-installation tasks will ensure your system is fully updated, secure, and running optimally.
Installing Drivers and Updates
This is arguably the most critical step after the initial Windows setup.
- Windows Updates: The first thing you should do is run Windows Update.
- Go to Settings > Update & Security > Windows Update.
- Click “Check for updates.”
- Install all available updates. This will include critical security patches, feature updates, and often, many necessary hardware drivers.
- Restart your computer as prompted and repeat the “Check for updates” process until no more important updates are found.
- Manually Install Drivers: If Windows Update didn’t automatically install drivers for all your hardware (especially if you have specialized components or older hardware), you’ll need to install them manually.
- Network Adapter: If you can’t get online, this is your priority. Use the drivers you downloaded earlier (from the manufacturer’s website) and install them.
- Graphics Card: Visit the website of your graphics card manufacturer (NVIDIA, AMD, or Intel) and download the latest drivers for your specific model.
- Chipset Drivers: Go to your motherboard manufacturer’s website (for desktops) or your laptop manufacturer’s website and download the latest chipset drivers.
- Other Devices: Check Device Manager (search for it in the Start Menu). Any devices with a yellow exclamation mark next to them are experiencing driver issues. Right-click on them and select “Update driver” to see if Windows can find one, or manually browse to the driver files you downloaded.
Reinstalling Your Essential Software
Now that your operating system is clean and updated, it’s time to bring back your favorite applications.
- Prioritize Security Software: Install your antivirus and anti-malware software immediately. Ensure it’s up-to-date.
- Productivity Tools: Reinstall your office suite (Microsoft Office, LibreOffice), email client, note-taking apps, and any other productivity software you rely on.
- Browsers and Extensions: Install your preferred web browsers (Chrome, Firefox, Edge) and any essential extensions.
- Multimedia Software: Reinstall media players, photo editors, video editors, and audio software.
- Games and Entertainment: If you’re a gamer, reinstall your games. Be aware that some games may require you to log in to their respective launchers (Steam, Epic Games Store, Origin, etc.).
- Utilities and System Tools: Reinstall any essential utilities like PDF readers, file compression tools, or system monitoring software.
Restoring Your Data
With your system set up and software installed, you can now safely restore your personal files from your backup.
- Connect Your Backup Drive: Connect your external hard drive, USB drive, or access your cloud storage.
- Copy and Paste: Carefully copy your backed-up files and folders back to their original locations or new organized folders on your computer.
- Verify: Double-check that all your important files have been restored correctly.

Personalization and Fine-Tuning
- Desktop and Taskbar: Organize your desktop icons, pin frequently used applications to the taskbar, and customize your Start Menu.
- Display Settings: Adjust your screen resolution, scaling, and background.
- Power Options: Configure your power plan settings for optimal performance or battery life.
- System Sounds and Notifications: Customize notification settings and system sounds.
By following these steps, you’ve not only performed a successful fresh installation of Windows 10 but also optimized your system for a smooth, secure, and productive computing experience. Enjoy the speed and clarity of a newly reborn operating system!
aViewFromTheCave is a participant in the Amazon Services LLC Associates Program, an affiliate advertising program designed to provide a means for sites to earn advertising fees by advertising and linking to Amazon.com. Amazon, the Amazon logo, AmazonSupply, and the AmazonSupply logo are trademarks of Amazon.com, Inc. or its affiliates. As an Amazon Associate we earn affiliate commissions from qualifying purchases.