The world of home servers and Network Attached Storage (NAS) devices is constantly evolving, offering users unprecedented control over their data, media, and even their digital lives. For those who crave flexibility, powerful virtualization capabilities, and a robust platform for diverse applications, Unraid has emerged as a top contender. However, the journey to Unraid can sometimes lead to a crossroads: what if your existing hardware is a QNAP NAS? This guide is dedicated to answering that burning question: “How to install Unraid on a QNAP NAS.” We’ll delve into the technical nuances, explore the benefits, and provide a clear roadmap for achieving this often-sought-after setup, blending the worlds of cutting-edge tech with practical DIY server building.
While QNAP NAS devices are renowned for their user-friendly interface and comprehensive app ecosystem, some power users and tech enthusiasts find themselves yearning for the granular control and advanced features that Unraid offers. This isn’t about disparaging QNAP; it’s about empowering users with choice and demonstrating how to bridge the gap between two distinct yet powerful storage solutions.
Understanding the Unraid Ecosystem and its Appeal
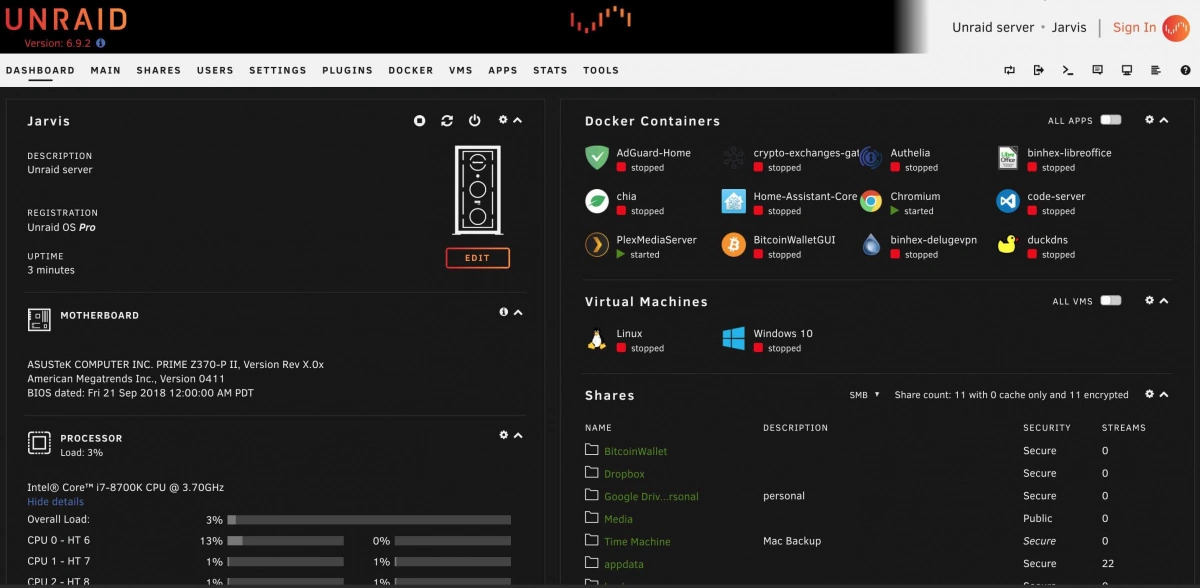
Before diving into the installation process, it’s crucial to understand what makes Unraid so appealing. Unraid isn’t just another NAS operating system; it’s a flexible and powerful server operating system designed for home users and small businesses. Its core strength lies in its unique approach to storage.
The Unraid Storage Model: Parity and Flexibility
Unlike traditional RAID setups that require identical drives, Unraid employs a parity-based system. This means you can mix and match drives of different sizes and brands. You designate one or two drives as parity drives, which are used to protect the data on your other storage drives. The remaining drives are your “data” or “cache” drives. This flexibility is a game-changer for users who want to expand their storage incrementally without being locked into expensive, matching drive configurations. If one drive fails, you can replace it, and Unraid can rebuild the lost data from the parity information.
Beyond Storage: Virtualization and Docker Powerhouse
Unraid truly shines in its ability to act as a versatile server. It excels at:
- Virtualization: With Unraid’s built-in KVM hypervisor, you can run full virtual machines (VMs) of various operating systems, including Windows, macOS, Linux, and more. This opens up a world of possibilities, from creating a dedicated gaming server to running development environments or even repurposing old operating systems.
- Docker Containers: Unraid has robust Docker integration, allowing you to easily deploy and manage containerized applications. This is the backbone of modern server management, enabling you to run Plex Media Server, Nextcloud, Home Assistant, game servers, and countless other applications with ease and isolation.
- Community Apps: The Unraid community is incredibly active, contributing a vast repository of “Community Applications” – pre-packaged Docker containers and plugins that simplify the installation and management of popular software.
Why Install Unraid on a QNAP?
The question then becomes, why would someone want to install Unraid on a QNAP NAS rather than purchasing dedicated Unraid hardware? The answer often lies in hardware repurposing and cost-effectiveness. Many users might have an older QNAP NAS that is still functional but perhaps lacks the performance or specific features they desire for advanced applications. Instead of letting it gather dust, installing Unraid allows them to breathe new life into the hardware and unlock its full potential as a powerful server.
Furthermore, the initial investment in a QNAP NAS might have been significant. By migrating to Unraid, users can avoid the cost of buying entirely new hardware, making it a financially savvy decision, especially when considering the powerful capabilities Unraid brings to the table. This aligns with a growing trend in the tech world of extending the lifespan of electronics and embracing more sustainable computing practices.
The Path to Unraid on QNAP: Prerequisites and Considerations
Installing Unraid on a QNAP NAS is not a straightforward “app install” in the QNAP App Center. It involves a more involved process that essentially replaces the existing QNAP operating system (QTS) with Unraid. This means you’ll be losing the QNAP’s native interface and functionalities. Therefore, a crucial prerequisite is acknowledging that you are fundamentally changing the purpose and operation of your QNAP device.
Hardware Compatibility: The Crucial First Step
The most critical factor in determining if you can install Unraid on your QNAP is hardware compatibility. Unraid is primarily designed to run on standard PC hardware. QNAP NAS devices, while often powerful, use custom hardware configurations that may or may not be fully supported by Unraid.
Key hardware components to consider:
- CPU: Unraid generally runs well on most modern Intel and AMD CPUs. However, very old or proprietary ARM-based CPUs found in some low-end QNAP models might pose compatibility issues.
- Motherboard and BIOS: The motherboard’s BIOS needs to support booting from a USB drive and should ideally be accessible for making boot order changes.
- RAM: Unraid doesn’t have extremely high RAM requirements for basic operation, but more RAM is beneficial for running multiple VMs and Docker containers.
- Network Interface Card (NIC): A stable and supported network adapter is essential. Most common Intel and Realtek NICs are usually well-supported.
- SATA Controllers: This is often the most challenging aspect. Unraid needs to be able to recognize and control your SATA ports to access your hard drives. Some QNAP NAS devices use proprietary SATA controllers that might not be natively supported by the Linux kernel that Unraid is based on.
- Storage Drives: Ensure your existing QNAP drives are compatible with Unraid. Unraid works with SATA and SAS drives.
How to check for compatibility:
- Research Your Specific QNAP Model: Search online forums, particularly the Unraid forums (forums.unraid.net), for discussions related to your specific QNAP model (e.g., “Unraid TS-453Be compatibility”). User experiences are invaluable.
- Identify the Motherboard and CPU: If possible, try to find out the exact motherboard and CPU model used in your QNAP. This information can often be found by searching for service manuals or disassembly guides for your model.
- Check the Unraid Hardware Compatibility List: While not specific to QNAP, the Unraid forums have a general hardware compatibility list that can give you an idea of what works well.
Important Note: If your QNAP NAS uses an ARM processor, it is highly unlikely to be compatible with Unraid, as Unraid is primarily x86-based.
Data Backup: A Non-Negotiable Precaution
Since installing Unraid involves wiping the existing operating system and all data on the NAS, backing up all your important data is absolutely critical. Do not proceed with the installation if you have not backed up everything you cannot afford to lose.
- External Hard Drives: Copy your important files to external USB drives.
- Cloud Storage: Utilize cloud backup services if you have a sufficient amount of data.
- Another NAS or Computer: If you have another NAS or a powerful computer, you can transfer data to it temporarily.
USB Boot Drive: The Unraid Installation Medium
Unraid is installed and booted from a USB flash drive. This USB drive will contain the Unraid operating system. You will need a reliable USB drive, preferably 8GB or larger.
Network Access: Static IP Address
It’s highly recommended to assign a static IP address to your NAS once Unraid is installed. This ensures that your server is always accessible at the same network address, simplifying connections for your services.
The Installation Process: Step-by-Step (Conceptual)
The process of installing Unraid on a QNAP involves preparing the USB boot drive and then booting your QNAP from it. This is a simplified overview, as exact steps can vary based on your QNAP model’s bootloader and your specific hardware configuration.
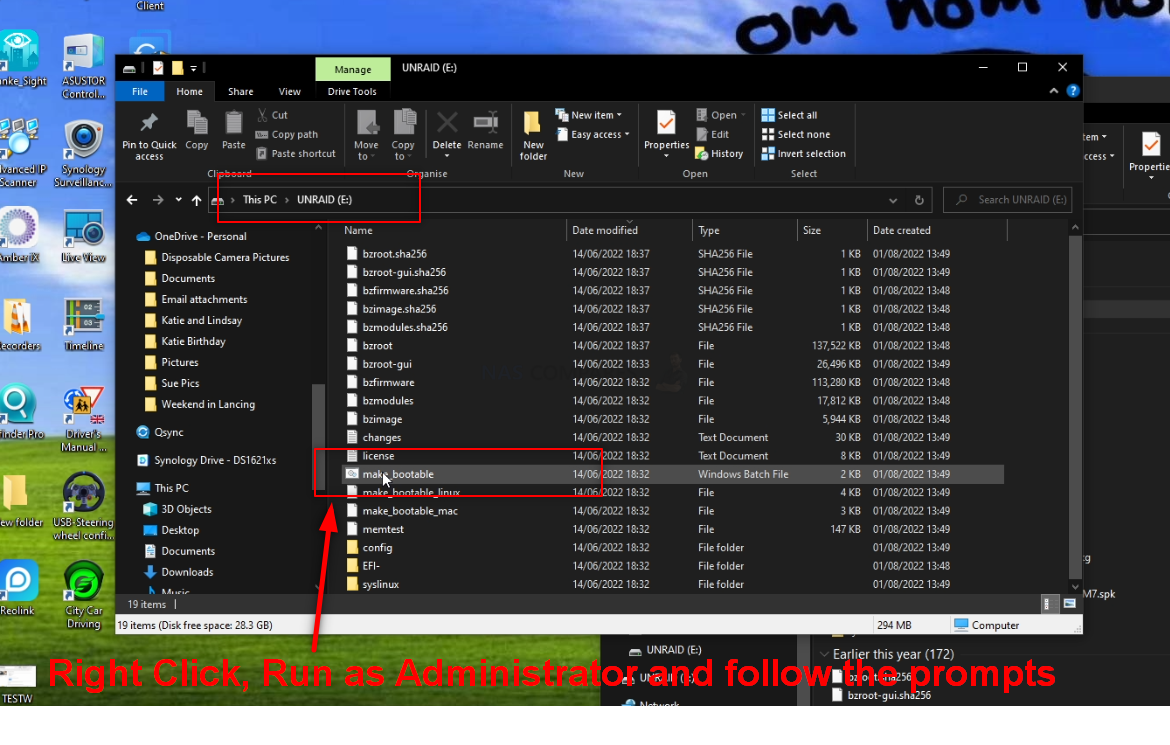
Step 1: Preparing the Unraid USB Boot Drive
- Download Unraid: Go to the official Unraid website (unraid.net) and purchase a license (if you haven’t already). Download the latest stable version of Unraid OS.
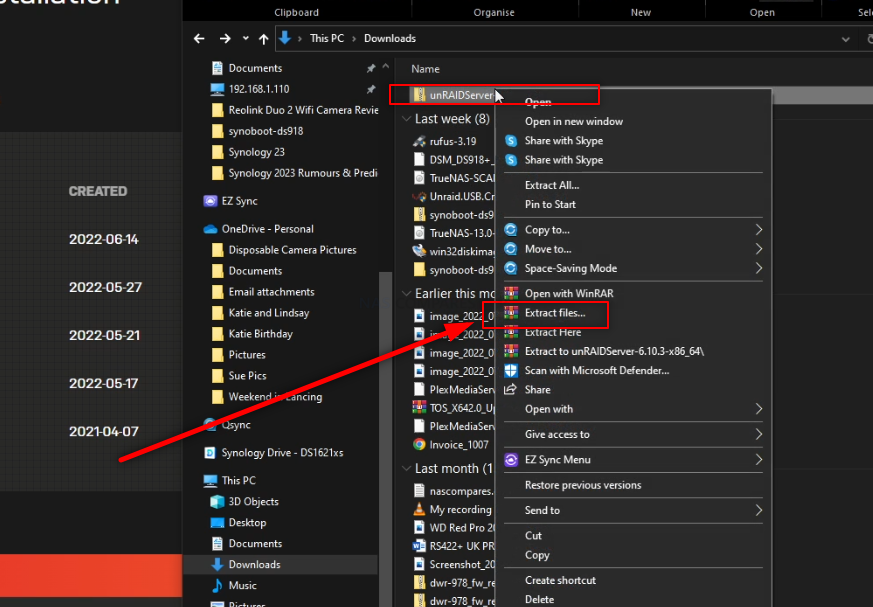
- Format the USB Drive: Use a tool like Rufus (on Windows) or Disk Utility (on macOS) to format your USB drive. The recommended file system is typically FAT32.
- Extract Unraid Files: Extract the downloaded Unraid OS zip file onto your formatted USB drive.
- Configure
config/go: This is where you’ll make basic network configurations. You’ll need to edit theconfig/gofile on the USB drive. For initial setup, you might configure a static IP address or set it to DHCP. - Assign Drive Mounts (Optional but Recommended): You can pre-configure which drives are for parity and which are for data on the USB stick, though this can also be done through the Unraid web interface after installation.
Step 2: Booting the QNAP from the USB Drive
This is where the process becomes QNAP-model dependent and potentially challenging.
- Access QNAP BIOS/UEFI: You’ll need to access your QNAP’s BIOS or UEFI settings. This often involves pressing a specific key (like
DEL,F2,F10, orF12) during the initial boot-up sequence. The exact key can vary greatly between QNAP models. You might need to research this for your specific model. - Change Boot Order: Within the BIOS/UEFI, locate the boot order settings and set your USB drive as the primary boot device.
- Save and Exit: Save your BIOS/UEFI changes and exit. The QNAP should now attempt to boot from the USB drive.
Step 3: Initial Unraid Setup and Drive Configuration
If the boot is successful, you’ll see the Unraid boot screen.
- Access the Web Interface: Once Unraid has booted from the USB, you can access its web interface from another computer on your network. The default IP address will depend on how you configured
go(either your static IP or a DHCP assigned one, which you can find using a network scanner). The default port is usually 80. - Initial Setup Wizard: Unraid will guide you through an initial setup wizard. Here you will:
- Name your server.
- Configure your network settings (if not already done in
go). - Assign your parity drive(s).
- Assign your data drives. You can choose to format them now or later. Be extremely careful during this step, as selecting the wrong drive will result in data loss.
- Assign a cache drive (optional).
- Start the Array: Once your drives are assigned, you can start the Unraid storage array. This process can take a significant amount of time, especially for initial formatting and parity calculation.
Step 4: Installing Applications (Docker and VMs)
With the Unraid array running, you can now explore the vast possibilities:
- Enable Community Applications: Navigate to the “Plugins” section in the Unraid web interface and install the “Community Applications” plugin. This provides a user-friendly interface for discovering and installing thousands of Docker containers.
- Install Docker Containers: Browse the Community Applications repository and install your desired applications like Plex Media Server, Nextcloud, Home Assistant, qBittorrent, etc.
- Create Virtual Machines: In the “VM Manager” section, you can create and configure virtual machines for various operating systems and purposes.
Potential Challenges and Troubleshooting
Migrating Unraid to a QNAP NAS is not without its potential hurdles. The custom nature of QNAP hardware can lead to unexpected issues.
Hardware Incompatibility Issues
- SATA Controller Not Detected: This is a common problem. If Unraid doesn’t detect your hard drives, it’s likely due to an unsupported SATA controller. This might require finding specific kernel modules or abandoning the project for that hardware.
- NIC Issues: If your network isn’t working, you might need to find compatible drivers or consider a USB network adapter.
- Boot Issues: If the QNAP doesn’t boot from the USB, double-check your BIOS settings, USB drive integrity, and the Unraid boot files.
QNAP Specific Considerations
- Accessing BIOS: As mentioned, accessing the QNAP BIOS can be tricky and model-specific. Some models might require opening the chassis and connecting a keyboard directly during boot.
- Proprietary Components: QNAP often uses custom PCBs and components that might not have readily available Linux drivers.
Performance Limitations
While you’re repurposing hardware, be realistic about its limitations. Older QNAP models might not have the processing power or RAM to handle demanding VMs or numerous Docker containers simultaneously.
The Alternative: Dedicated Unraid Hardware
If you encounter significant compatibility issues or find the process too complex, it’s worth considering that building or purchasing dedicated Unraid hardware might be a more straightforward and ultimately rewarding path. This allows you to select components known to be well-supported by Unraid, ensuring a smoother experience and optimal performance.
Conclusion: Embracing the DIY Server Spirit
Installing Unraid on a QNAP NAS is a project for the adventurous tech enthusiast. It’s a testament to the power of open-source software and the desire to repurpose hardware for greater functionality. While it requires careful planning, research, and a willingness to troubleshoot, the reward is a highly flexible and powerful home server capable of much more than its original operating system could offer.
By understanding the Unraid ecosystem, carefully assessing hardware compatibility, and approaching the installation with patience and a backup strategy, you can unlock a new realm of possibilities for your data management, media streaming, virtualization, and application hosting. It’s a journey that embodies the spirit of DIY technology, where knowledge, persistence, and a bit of ingenuity can transform existing hardware into a cutting-edge server solution. Remember to always consult Unraid’s official documentation and community forums for the most up-to-date information and support.
aViewFromTheCave is a participant in the Amazon Services LLC Associates Program, an affiliate advertising program designed to provide a means for sites to earn advertising fees by advertising and linking to Amazon.com. Amazon, the Amazon logo, AmazonSupply, and the AmazonSupply logo are trademarks of Amazon.com, Inc. or its affiliates. As an Amazon Associate we earn affiliate commissions from qualifying purchases.