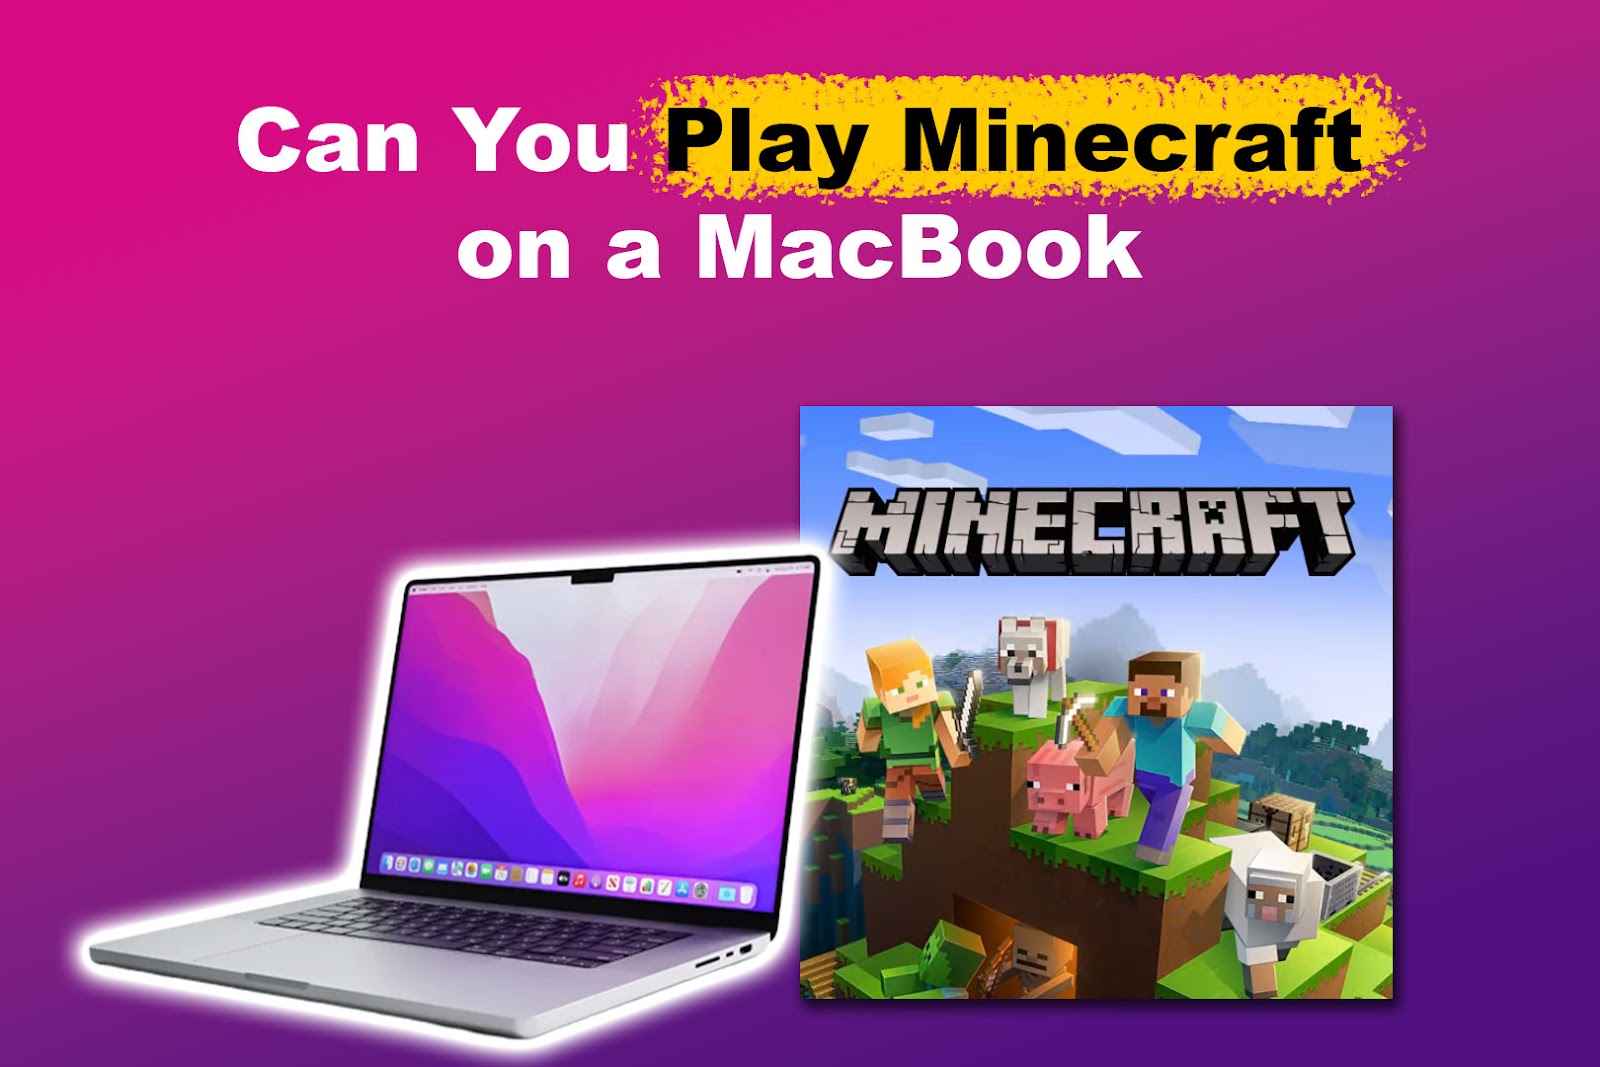
Minecraft, the ubiquitous sandbox game that has captured the imaginations of millions worldwide, is surprisingly accessible for Mac users. Whether you’re a seasoned gamer looking to dive into a new world on your Apple device or a curious newcomer eager to experience the blocky charm, this guide will walk you through the straightforward process of installing Minecraft on your Mac. We’ll cover everything from understanding the different versions available to the final steps of launching your very own adventure.
Our focus on technology trends and tutorials here at [Your Website Name] means we’re always exploring ways to integrate the digital tools and experiences that enrich our lives. Minecraft, in its own right, is a testament to innovative game design and a powerful platform for creativity, aligning perfectly with our interest in cutting-edge software and engaging digital content. For those who see technology not just as a tool for work but as a source of endless entertainment and learning, mastering game installations is a fundamental skill.
Understanding Your Minecraft Options on Mac
Before you embark on the installation journey, it’s crucial to understand the primary ways you can play Minecraft on a Mac. The landscape is primarily divided between two main editions, each offering a distinct experience:
Minecraft: Java Edition
The original and arguably most iconic version of Minecraft, the Java Edition, is known for its vast modding community and deep customization options. This is the version that has been around for the longest and is compatible with a wide range of operating systems, including macOS.
Key characteristics of Java Edition:
- Cross-Platform Play: While you’re installing on a Mac, Java Edition allows you to play with friends on Windows and Linux machines.
- Extensive Mod Support: If you’re interested in altering the game with new creatures, items, or even entirely new gameplay mechanics, Java Edition is your gateway. Thousands of mods are available, transforming the vanilla experience into something uniquely yours.
- Server Hosting: Java Edition is the preferred choice for those who want to host their own private servers or join community-run servers.
- Regular Updates: Mojang Studios, the developer behind Minecraft, consistently updates the Java Edition with new features, biomes, and mobs, keeping the game fresh and exciting.
Who is Java Edition for?
Java Edition is ideal for players who:
- Value extensive customization and modding capabilities.
- Want to play with friends across different non-console platforms.
- Are interested in hosting or joining dedicated servers.
- Appreciate the long history and robust community surrounding the original Minecraft experience.
Minecraft: Bedrock Edition (Also known as Minecraft for Windows 10/11 and other platforms)
The Bedrock Edition is a more unified version of Minecraft that aims to bring parity across various platforms, including Windows PCs, Xbox, PlayStation, Nintendo Switch, iOS, and Android devices. While it’s often referred to as “Minecraft for Windows,” a version is available for Mac through the Mac App Store.
Key characteristics of Bedrock Edition:
- Cross-Platform Play (Consolidated): Bedrock Edition excels at cross-platform play, allowing players on different consoles, mobile devices, and Windows PCs (including Macs that have installed it via the App Store) to join the same worlds.
- Marketplace: Bedrock Edition features a built-in Marketplace where players can purchase skins, texture packs, worlds, and adventure maps created by the community. This offers a curated and accessible way to add new content.
- Performance: Generally, Bedrock Edition is optimized for a wider range of hardware and can sometimes offer smoother performance on less powerful machines compared to the Java Edition.
- Simplified Modding (Add-Ons): While not as extensive as Java Edition’s modding, Bedrock Edition supports “Add-Ons” which allow for modifications to characters, creatures, and in-game items.
Who is Bedrock Edition for?
Bedrock Edition is a great choice for players who:
- Prioritize playing with friends across a broad spectrum of devices, especially consoles and mobile.
- Enjoy a streamlined experience with easy access to curated content through the Marketplace.
- May be playing on a Mac that is not as powerful.
- Are new to Minecraft and prefer a more integrated, platform-agnostic approach.
Choosing the Right Edition for Your Mac:
The decision often comes down to your primary motivations for playing. If you’re a tinkerer who loves to experiment with mods and play on your own servers with PC friends, Java Edition is likely your best bet. If you want to easily connect with friends on consoles or mobile devices and prefer a more curated content experience, Bedrock Edition might be the way to go.
Installing Minecraft: Java Edition on Your Mac
For many long-time Minecraft enthusiasts, the Java Edition holds a special place. Its flexibility and extensive modding capabilities have made it a cornerstone of the gaming community. Installing it on your Mac is a straightforward process.
Step 1: Download the Minecraft Launcher
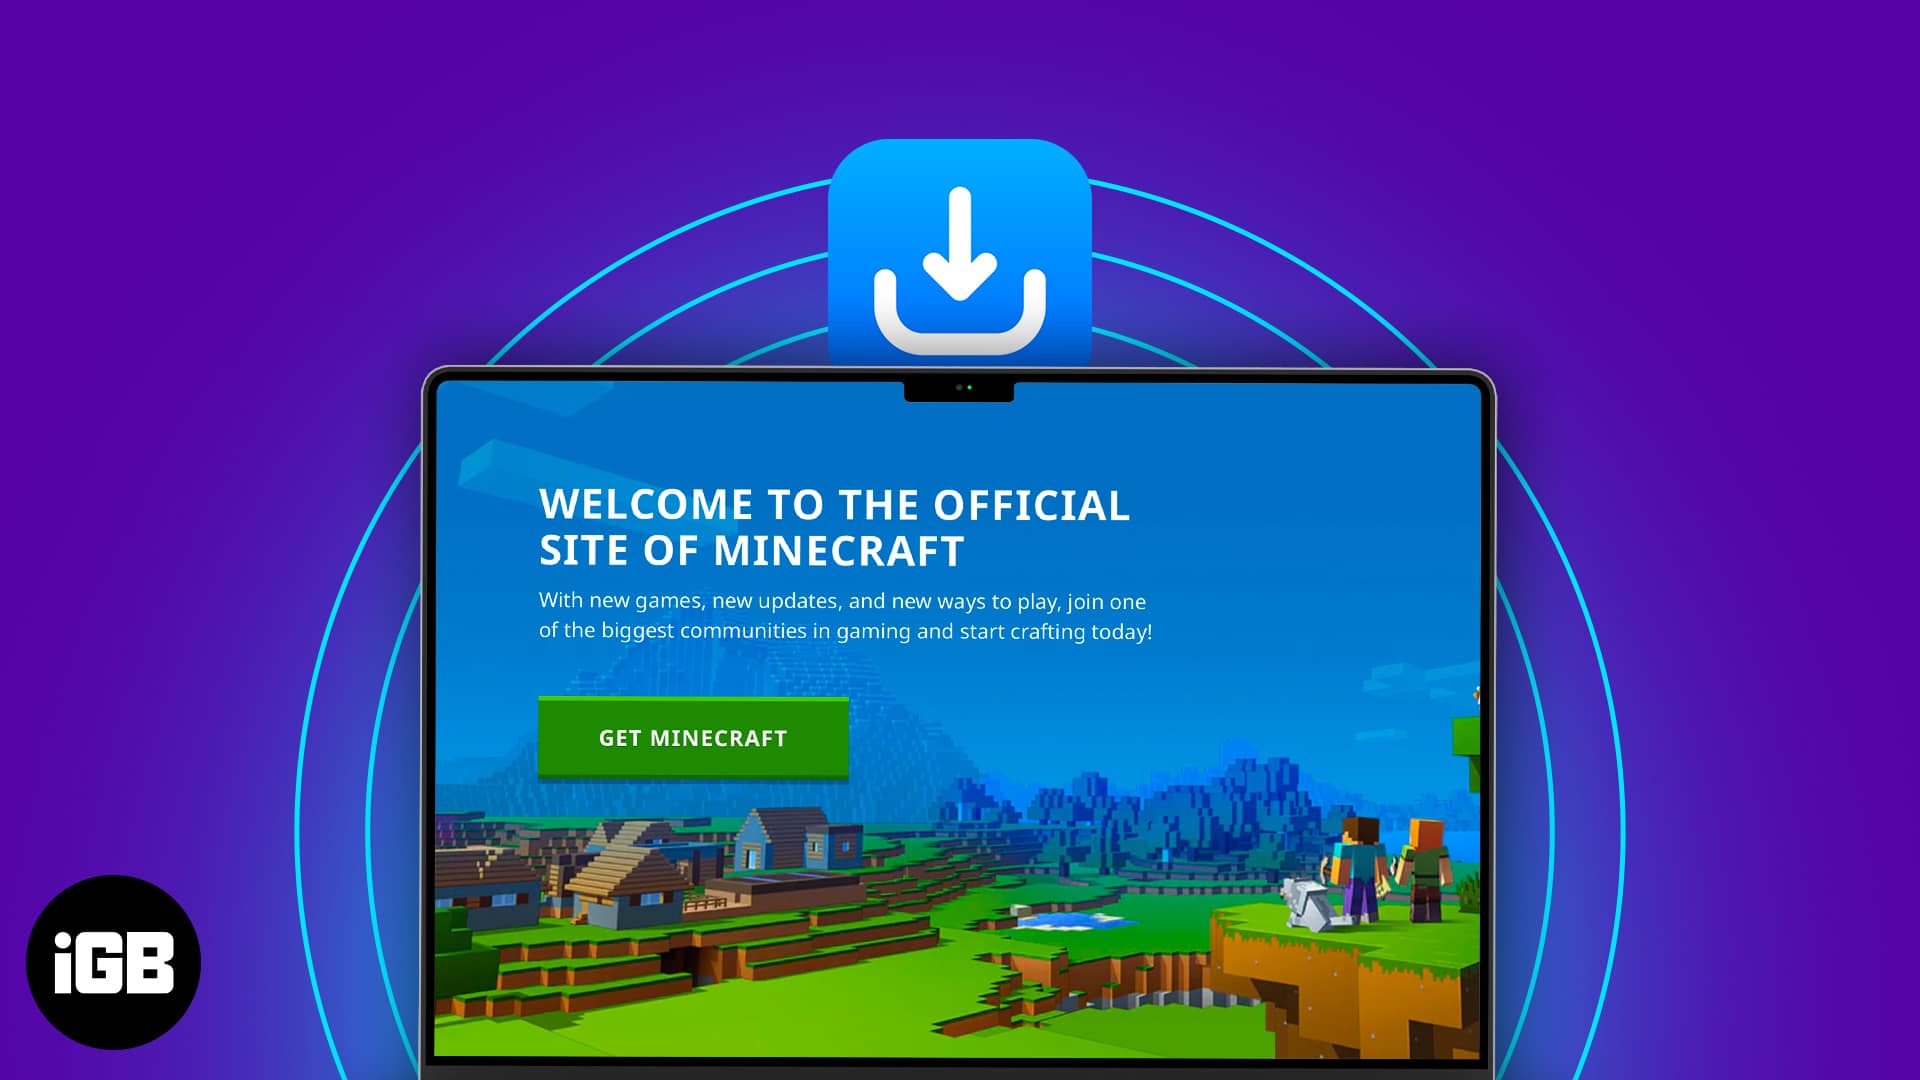
- Visit the Official Minecraft Website: Open your web browser and navigate to the official Minecraft download page: https://www.minecraft.net/en-us/download.
- Select macOS: On the download page, you’ll see options for different operating systems. Click on the “Mac” or “macOS” option.
- Download the Launcher: This will initiate the download of the Minecraft Launcher installer file, typically a
.dmgfile.
Step 2: Install the Minecraft Launcher
- Open the Downloaded File: Once the download is complete, locate the
.dmgfile in your Downloads folder and double-click it. - Drag to Applications: A window will appear, usually showing the Minecraft icon and an Applications folder. Drag the Minecraft icon into the Applications folder. This will install the launcher onto your Mac.
- Close the Installer Window: You can now close the installer window and eject the Minecraft disk image if it appears on your desktop.
Step 3: Launch the Minecraft Launcher and Log In
- Find Minecraft in Applications: Open your Applications folder (you can do this by clicking “Go” in the Finder menu bar and selecting “Applications,” or by using Spotlight search by pressing Command + Spacebar and typing “Minecraft”).
- Open the Launcher: Double-click the Minecraft application icon to launch the Minecraft Launcher.
- Log In or Create a Microsoft Account: The first time you open the launcher, you will be prompted to log in with your Microsoft account. If you don’t have one, you’ll need to create one. This account is used to manage your game licenses and profiles.
- Select the Game: Once logged in, the launcher will present you with different Minecraft editions. Ensure “Minecraft: Java Edition” is selected (it’s usually the default).
Step 4: Install Minecraft: Java Edition
- Click “Install”: Within the launcher, next to the selected “Minecraft: Java Edition,” you will see a prominent “Install” button. Click this button.
- Wait for the Download: The launcher will now download and install all the necessary game files. This process can take some time depending on your internet speed and Mac’s performance. You’ll see a progress bar indicating the download status.
- “Play” Button Appears: Once the installation is complete, the “Install” button will transform into a “Play” button.
Step 5: Launch and Play Minecraft: Java Edition
- Click “Play”: Click the “Play” button to launch the game.
- Initial Setup: The first time you launch, Minecraft might download additional resources. After that, you’ll be greeted by the main Minecraft title screen.
- Start Your Adventure: Click “Singleplayer” to create a new world or load an existing one, or click “Multiplayer” to join servers.
Installing Minecraft: Bedrock Edition on Your Mac
The Bedrock Edition offers a more unified cross-platform experience, and on a Mac, the most direct way to access it is through the Mac App Store. This ensures you’re getting an officially supported version of the game.
Step 1: Open the Mac App Store
- Locate the App Store: Click on the Apple menu in the top-left corner of your screen and select “App Store.” Alternatively, you can find the App Store icon in your Dock.
Step 2: Search for Minecraft
- Use the Search Bar: In the App Store, you’ll see a search bar at the top. Type “Minecraft” into the search bar and press Enter.
- Identify the Correct App: You will see several results. Look for the official “Minecraft” app, which is published by Mojang Studios. It often has a prominent icon and may be described as “Minecraft for macOS” or similar.
Step 3: Purchase and Download Minecraft
- Click “Get” or “Buy”: If you haven’t purchased Minecraft before, you’ll see a button that says “Get” or displays its price. Click this button.
- Authenticate Your Purchase: You will likely be prompted to enter your Apple ID password or use Touch ID/Face ID to authorize the download and purchase.
- Download Progress: Once authenticated, the “Get” or price button will change to a download icon and a progress bar. The app will begin downloading and installing onto your Mac.
Step 4: Launch Minecraft: Bedrock Edition
- Find in Applications: After the download and installation are complete, the Minecraft app will appear in your Applications folder. You can also find it in your Launchpad.
- Open the Game: Double-click the Minecraft icon to launch the game.
- Log In with Microsoft Account: Similar to the Java Edition, you will be prompted to log in with your Microsoft account. This is essential for purchasing content from the Marketplace and for cross-platform play. If you don’t have one, you’ll need to create one.
Step 5: Start Playing Minecraft: Bedrock Edition
- Main Menu: Once logged in, you’ll see the Bedrock Edition’s main menu.
- Create or Join Worlds: You can now click “Play” to create a new world, join a friend’s game, or explore worlds from the Marketplace.
Troubleshooting Common Installation Issues
While installing Minecraft on a Mac is generally a smooth process, you might occasionally encounter minor hiccups. Here are some common issues and their solutions:
1. Launcher Not Opening or Crashing
- Insufficient Permissions: Ensure the Minecraft Launcher has the necessary permissions. Right-click (or Control-click) the Minecraft icon in your Applications folder, select “Get Info,” and check the permissions at the bottom of the Get Info window.
- Corrupted Download: Sometimes the launcher file can become corrupted during download. Try deleting the Minecraft application from your Applications folder and re-downloading the launcher from the official Minecraft website.
- Outdated macOS: Ensure your macOS is up-to-date. Go to System Preferences > Software Update.
- Conflicting Software: Very rarely, other background applications might interfere. Try closing unnecessary applications before launching the Minecraft Launcher.
2. Game Not Launching After Installation
- Java Issues (for Java Edition): While the launcher handles most Java dependencies, sometimes a manual update or reinstallation of Java might be needed, though this is less common with modern launchers. You can check your installed Java versions by opening Terminal and typing
java -version. - Graphics Driver Issues: Ensure your Mac’s graphics drivers are up-to-date. This is usually handled by macOS system updates.
- Corrupted Game Files: If the game crashes immediately upon launch, you might have corrupted game files.
- For Java Edition: Open the Minecraft Launcher, go to the “Installations” tab, find your current profile, click the folder icon on the right, delete the contents of the
versionsfolder (or specifically the folder for the version you’re trying to play), and then click “Play” again in the launcher to force a redownload. Be cautious when deleting files. - For Bedrock Edition: Uninstall and reinstall the game via the Mac App Store.
- For Java Edition: Open the Minecraft Launcher, go to the “Installations” tab, find your current profile, click the folder icon on the right, delete the contents of the
3. Account and Login Problems
- Incorrect Credentials: Double-check your Microsoft account email and password. Ensure you are not accidentally trying to log in with an Xbox Live account that isn’t linked to your Microsoft account used for Minecraft.
- Account Region Issues: Ensure your Microsoft account and the App Store region (for Bedrock Edition) are compatible.
- Two-Factor Authentication (2FA): If you have 2FA enabled on your Microsoft account, ensure you are following the correct prompts to log in.
4. Performance Issues (Lagging or Freezing)
- Lower Graphics Settings: In Minecraft, go to Options > Video Settings and try lowering the graphics quality, render distance, and turning off fancy effects like particles and smooth lighting.
- Close Background Applications: As mentioned earlier, other demanding applications can consume your Mac’s resources.
- Insufficient Hardware: Minecraft, especially with mods or high settings, can be demanding. If your Mac is older or has lower specifications, you may need to adjust settings accordingly.
- Allocate More RAM (Java Edition): For Java Edition, you can allocate more RAM to Minecraft. In the Minecraft Launcher, go to “Installations,” hover over your desired profile, click the three dots, select “Edit,” then “More Options.” Under “JVM Arguments,” you’ll see something like
-Xmx2G. You can change the2G(representing 2 Gigabytes of RAM) to a higher number like4Gor6G, depending on your Mac’s total RAM. Do not allocate more RAM than your Mac can spare.
By following these steps and troubleshooting tips, you should be well on your way to enjoying the incredible worlds of Minecraft on your Mac. Whether you choose the deep customization of Java Edition or the cross-platform connectivity of Bedrock Edition, a universe of creativity and adventure awaits. Happy gaming!
aViewFromTheCave is a participant in the Amazon Services LLC Associates Program, an affiliate advertising program designed to provide a means for sites to earn advertising fees by advertising and linking to Amazon.com. Amazon, the Amazon logo, AmazonSupply, and the AmazonSupply logo are trademarks of Amazon.com, Inc. or its affiliates. As an Amazon Associate we earn affiliate commissions from qualifying purchases.