
The Amazon Fire Stick has become an indispensable tool for cord-cutters and tech enthusiasts alike, offering a gateway to streaming a vast array of content. While it excels at delivering popular services like Netflix, Hulu, and Prime Video, many users seek to expand its capabilities further. This is where Kodi, a powerful and versatile media player, comes into play. Installing Kodi on your Fire Stick can transform your device into a sophisticated entertainment hub, capable of playing virtually any media file, organizing your digital library, and accessing a wealth of add-ons for live TV, movies, sports, and more.
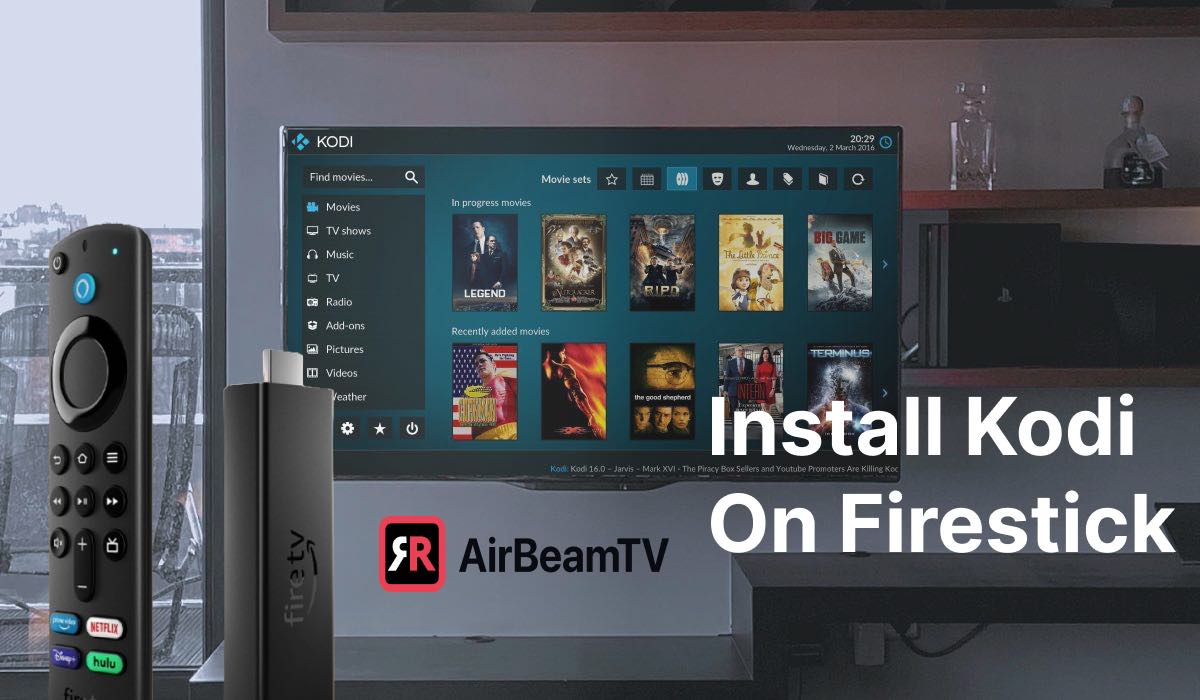
This comprehensive guide will walk you through the process of installing Kodi on your Fire Stick, demystifying what can seem like a complex undertaking. We’ll cover everything from preparing your Fire Stick to sideloading the application, ensuring you’re equipped to enjoy a more personalized and expansive streaming experience.
Understanding the Power of Kodi and its Fire Stick Synergy
Before diving into the installation process, it’s crucial to understand what makes Kodi such a compelling addition to your Fire Stick setup. Kodi is not a streaming service itself; rather, it’s an open-source media player application that allows you to access and play media from various sources. These sources can include local storage, network-attached storage (NAS) devices, and, most importantly for many, online content accessed through add-ons.
What is Kodi?
At its core, Kodi is designed to be a central hub for all your digital media. It boasts a user-friendly interface that can be navigated with a remote control, making it ideal for a television setup. Its key features include:
- Media Playback: Kodi can play almost any audio or video file format you throw at it, from common MP4 and MKV files to less common codecs.
- Library Management: It excels at organizing your media library, automatically fetching metadata, artwork, and summaries for your movies and TV shows, creating a visually appealing and easily searchable collection.
- Customization: The true power of Kodi lies in its extensive customization options. You can change skins to alter its appearance, install add-ons for expanded functionality, and configure settings to perfectly suit your needs.
- Add-ons: This is where Kodi truly shines. Add-ons are third-party applications that extend Kodi’s capabilities. They can provide access to live TV streams, on-demand movies and TV shows from various sources, music, podcasts, weather updates, and much more.
Why Install Kodi on a Fire Stick?
The Fire Stick, with its affordable price point and widespread availability, is the perfect platform for running Kodi. The synergy between the two devices is undeniable:
- Cost-Effective Entertainment: For those looking to supplement or replace expensive cable subscriptions, Kodi with the right add-ons can offer a wealth of free or low-cost entertainment options.
- Centralized Media: If you have a large digital media collection stored on your home network, Kodi on the Fire Stick allows you to access and play it seamlessly on your TV.
- Unlimited Streaming Potential: Beyond your existing streaming subscriptions, Kodi opens the door to a universe of content that might otherwise be inaccessible on your Fire Stick.
- Enhanced User Experience: Kodi’s interface is often preferred by users for its media-centric design and customization options.
Navigating the Legalities and Best Practices
It’s important to address the elephant in the room: the legal implications surrounding Kodi. While Kodi itself is perfectly legal, the use of certain third-party add-ons can venture into the gray areas of copyright infringement. Many add-ons stream content that is protected by copyright without proper authorization.
To ensure a legal and secure experience, it is highly recommended to:
- Use Reputable Add-ons: Stick to add-ons that are legally sanctioned or offer content from legitimate sources. The official Kodi repository contains many safe and legal add-ons for music, weather, and other utilities.
- Consider a VPN: For added privacy and security, especially when exploring the vast landscape of add-ons, using a Virtual Private Network (VPN) is a wise choice. A VPN encrypts your internet traffic, making it more difficult for your Internet Service Provider (ISP) or other third parties to monitor your online activity. It can also help bypass geo-restrictions.
Preparing Your Fire Stick for Kodi Installation
Before you can begin the installation, a few preparatory steps are necessary on your Fire Stick. These steps ensure that you can install applications from outside the Amazon Appstore, a process commonly known as “sideloading.”
Enabling “Apps from Unknown Sources”
By default, Fire Sticks are locked down to only allow app installations from Amazon’s official store. To install Kodi, you need to enable an option that permits installation from “unknown sources.”
- Navigate to Settings: From the Fire Stick home screen, go to Settings.
- Select “My Fire TV” (or “Device & Software”): The exact wording might vary slightly depending on your Fire Stick model and software version.
- Choose “Developer Options”: You’ll find this option within the “My Fire TV” or “Device & Software” menu.
- If “Developer Options” is not visible: You’ll need to enable it first. Go back to Settings > My Fire TV (or Device & Software) > About. Scroll down to “Fire TV Stick” (or the name of your device) and select it. Now, repeatedly press the Select button on your remote (the button in the middle of the directional pad) about seven times. You should see a message indicating that “Developer Options” has been enabled. You can then go back to the “My Fire TV” or “Device & Software” menu to find it.
- Turn On “Apps from Unknown Sources”: Within “Developer Options,” you will see an option labeled “Apps from Unknown Sources.” Select it and then choose “Turn On” when prompted. You may see a warning message; acknowledge it to proceed.
Important Security Note: While enabling this option is necessary for installing Kodi, be mindful of what you install from unknown sources. Only download applications from trusted websites or sources.
Installing a File Manager Application
To download the Kodi installation file (APK) and then install it, you’ll need a file manager that can access your Fire Stick’s storage and download files from the internet. A popular and reliable choice is Downloader.
- Search for Downloader: From the Fire Stick home screen, use the search function (magnifying glass icon) and type “Downloader.”
- Install Downloader: Select the Downloader app from the search results and click Get or Download to install it on your Fire Stick.
Once installed, you can open the Downloader app. It will ask for permission to access your Fire Stick’s storage; grant it.
The Sideloading Process: Installing Kodi
With your Fire Stick prepped and the Downloader app ready, you’re now ready to download and install Kodi. This process involves downloading the Kodi APK file to your Fire Stick and then using Downloader to execute the installation.
Downloading the Kodi APK
The Kodi APK (Android Package) file is the installer for the Android version of Kodi. You need to find a reliable source to download this file.
-
Open the Downloader App: Launch the Downloader app you just installed.
-
Enter the URL: In the Downloader app, you will see a URL field. This is where you will type the web address to download the Kodi APK.
- Official Kodi Download: The most recommended approach is to visit the official Kodi website (kodi.tv) on a computer or smartphone, navigate to their download section, and find the Android APK link. You can then use a URL shortener (like bit.ly) to create a shorter, easier-to-type URL for Downloader, or simply copy the direct download link.
- Alternatively, use a known trusted source: Many reputable tech websites provide direct download links to the latest stable version of Kodi. Search online for “Kodi APK download” and look for well-known tech news or tutorial sites. Always exercise caution and ensure you are downloading from a reputable source to avoid malware.
For example, you might type a URL like
https://mirrors.kodi.tv/releases/android/kodi-20.2-Nexus-armeabi-v7a.apk(this is a hypothetical example, always check for the latest version and architecture). -
Click “Go”: After entering the URL, press the Go button on your Fire Stick remote.
-
Wait for the Download: The Downloader app will now fetch the APK file. This may take a few moments depending on your internet speed.
-
Installation Prompt: Once the download is complete, Downloader will typically prompt you to install the application.
Installing Kodi via Downloader
- Click “Install”: When prompted by Downloader, select “Install” to proceed with the Kodi installation.
- Grant Permissions (if any): Kodi may ask for certain permissions. Review them and grant them if you are comfortable.
- Installation Complete: After a short installation process, you will see a confirmation that Kodi has been installed.
- Click “Done”: You can click “Done” to exit the installer. You’ll be returned to Downloader.
- Delete the APK (Optional but Recommended): Downloader will usually ask if you want to delete the downloaded APK file. It’s good practice to do so to free up space on your Fire Stick. Select “Delete.”
Launching and Configuring Kodi on Your Fire Stick
Congratulations! You have successfully installed Kodi on your Fire Stick. Now, let’s get it up and running.
Finding and Launching Kodi
Kodi might not appear immediately on your Fire Stick’s main home screen. You’ll need to access it through your list of installed applications.
- Navigate to Apps: From the Fire Stick home screen, go to Settings > Applications > Manage Installed Applications.
- Find Kodi: Scroll through the list of installed apps until you find Kodi.
- Launch Kodi: Select Kodi to launch it.
- If you want quicker access: Once you’ve launched Kodi, you can press and hold the Home button on your Fire Stick remote. This will bring up a menu where you can “Launch application.” Select Kodi. You can also choose to “Move” Kodi to the front of your app list on the home screen for easier access.
Initial Kodi Setup and Configuration
When you first launch Kodi, it will present you with its clean, minimalist interface. Here are some initial steps to get you started:
- Navigating the Interface: Use your Fire Stick remote’s directional pad to move through menus and the select button to make choices. The back button on your remote will take you to the previous screen.
- Adding Media Sources: This is a crucial step to populate Kodi with your content.
- Go to Settings (gear icon) > Media > Library.
- Under Videos or Music, select “Add Videos…” or “Add Music…”
- Click “Browse” to locate your media. You can add files from network locations (like a NAS), USB drives, or even cloud storage if you have the appropriate add-ons installed.
- Set Content Type: After browsing to your media folder, you’ll be prompted to set the content type (e.g., Movies, TV Shows, Music Videos). This allows Kodi to fetch metadata and organize your library correctly.
- Scan for New Content: Once you’ve set your sources, Kodi will scan them and add your media to its library.
Exploring Add-ons: The Heart of Kodi’s Power
The real magic of Kodi lies in its add-ons. These extend its functionality far beyond basic media playback.
- Accessing the Add-on Browser: From the Kodi home screen, go to Add-ons > Download.
- Official Kodi Repository: This is the safest place to start. You’ll find add-ons for YouTube, weather, music streaming services, and more.
- Installing Third-Party Add-ons: Many popular add-ons are not in the official repository. Installing these requires adding a “repository” (a collection of add-ons) to Kodi. This process typically involves:
- Going to Settings > File Manager.
- Clicking “Add source.”
- Entering the URL of the repository.
- Giving the repository a name.
- Going back to Add-ons > Download > Install from zip file and selecting the zip file for the repository.
- Once the repository is installed, you can go to Install from repository and select the newly added repository to install individual add-ons.
Remember the importance of using reputable sources for third-party add-ons and considering a VPN for added security and privacy.
Troubleshooting and Maintenance for a Smooth Kodi Experience
Even with a smooth installation, you might encounter occasional hiccups. Here’s how to address common issues and keep Kodi running optimally.
Common Kodi Issues and Solutions
- Kodi Crashing or Freezing:
- Restart Kodi: Close Kodi completely and relaunch it.
- Clear Cache: Some add-ons can cause issues if their cache becomes too large. You can often find cache clearing options within the add-on’s settings or use maintenance tools.
- Update Kodi: Ensure you have the latest stable version of Kodi installed.
- Update Add-ons: Outdated add-ons can be a source of instability.
- Check for Conflicting Add-ons: Sometimes, two add-ons might not play well together. Try disabling recently installed add-ons to see if the issue resolves.
- Reinstall Kodi: As a last resort, you can uninstall and reinstall Kodi. Remember to back up your settings if possible.
- Buffering or Slow Playback:
- Internet Speed: This is the most common culprit. Ensure you have a stable and fast internet connection.
- VPN Issues: If you’re using a VPN, try disabling it temporarily to see if it improves playback. Some VPN servers can be congested.
- Server Issues: The server hosting the content you’re trying to stream might be experiencing high traffic or technical difficulties. Try a different source or content.
- Fire Stick Performance: Older Fire Stick models might struggle with high-definition streaming. Ensure your Fire Stick is not overloaded with other running applications.
- Add-on Not Working:
- Check Repository Status: The repository hosting the add-on might be down or the add-on might have been removed.
- Update the Add-on: Ensure the add-on is up to date.
- Clear Add-on Data: Sometimes clearing the data for a specific add-on can resolve issues.

Maintaining Your Kodi Installation
Regular maintenance will ensure your Kodi experience remains smooth and enjoyable.
- Regular Updates: Keep both Kodi and your add-ons updated to benefit from bug fixes, performance improvements, and new features.
- Clean Up Unused Add-ons: Remove any add-ons you no longer use. This frees up space and reduces the potential for conflicts.
- Clear Cache Periodically: As mentioned, clearing the cache can help prevent performance issues.
- Use a VPN Consistently: For ongoing privacy and security, make it a habit to connect to your VPN before launching Kodi, especially when using third-party add-ons.
By following these steps, you can unlock the full potential of your Amazon Fire Stick, transforming it into a versatile entertainment powerhouse with Kodi at its core. Enjoy your expanded streaming world!
aViewFromTheCave is a participant in the Amazon Services LLC Associates Program, an affiliate advertising program designed to provide a means for sites to earn advertising fees by advertising and linking to Amazon.com. Amazon, the Amazon logo, AmazonSupply, and the AmazonSupply logo are trademarks of Amazon.com, Inc. or its affiliates. As an Amazon Associate we earn affiliate commissions from qualifying purchases.