In today’s fast-paced digital landscape, the ability to work efficiently across different operating environments is not just a convenience, but a competitive edge. For developers, IT professionals, and tech enthusiasts, the allure of Linux — with its robust command-line tools, open-source ecosystem, and powerful development utilities — has always been strong. However, traditionally, this has meant dual-booting, using virtual machines, or maintaining a separate Linux machine, each with its own set of complexities and performance trade-offs. Enter Windows Subsystem for Linux 2 (WSL2), a revolutionary technology that seamlessly integrates a full, genuine Linux kernel directly into Windows, delivering an unparalleled development experience.
This comprehensive guide will walk you through the entire process of installing WSL2, transforming your Windows machine into a versatile powerhouse capable of running both Windows and Linux applications simultaneously. Beyond a simple tutorial, we’ll explore the underlying benefits, connect its utility to productivity, professional branding, and even financial growth, aligning with the core interests of modern tech-savvy individuals and businesses. Get ready to unlock new levels of efficiency and expand your digital toolkit.
Understanding WSL2 and Its Value Proposition
Before diving into the installation process, it’s crucial to grasp what WSL2 is and, more importantly, why it’s become an indispensable tool for many. This isn’t just another tech gimmick; it’s a fundamental shift in how Windows interacts with the Linux ecosystem, designed to empower users and streamline workflows.
What is WSL2 and Why Do You Need It?
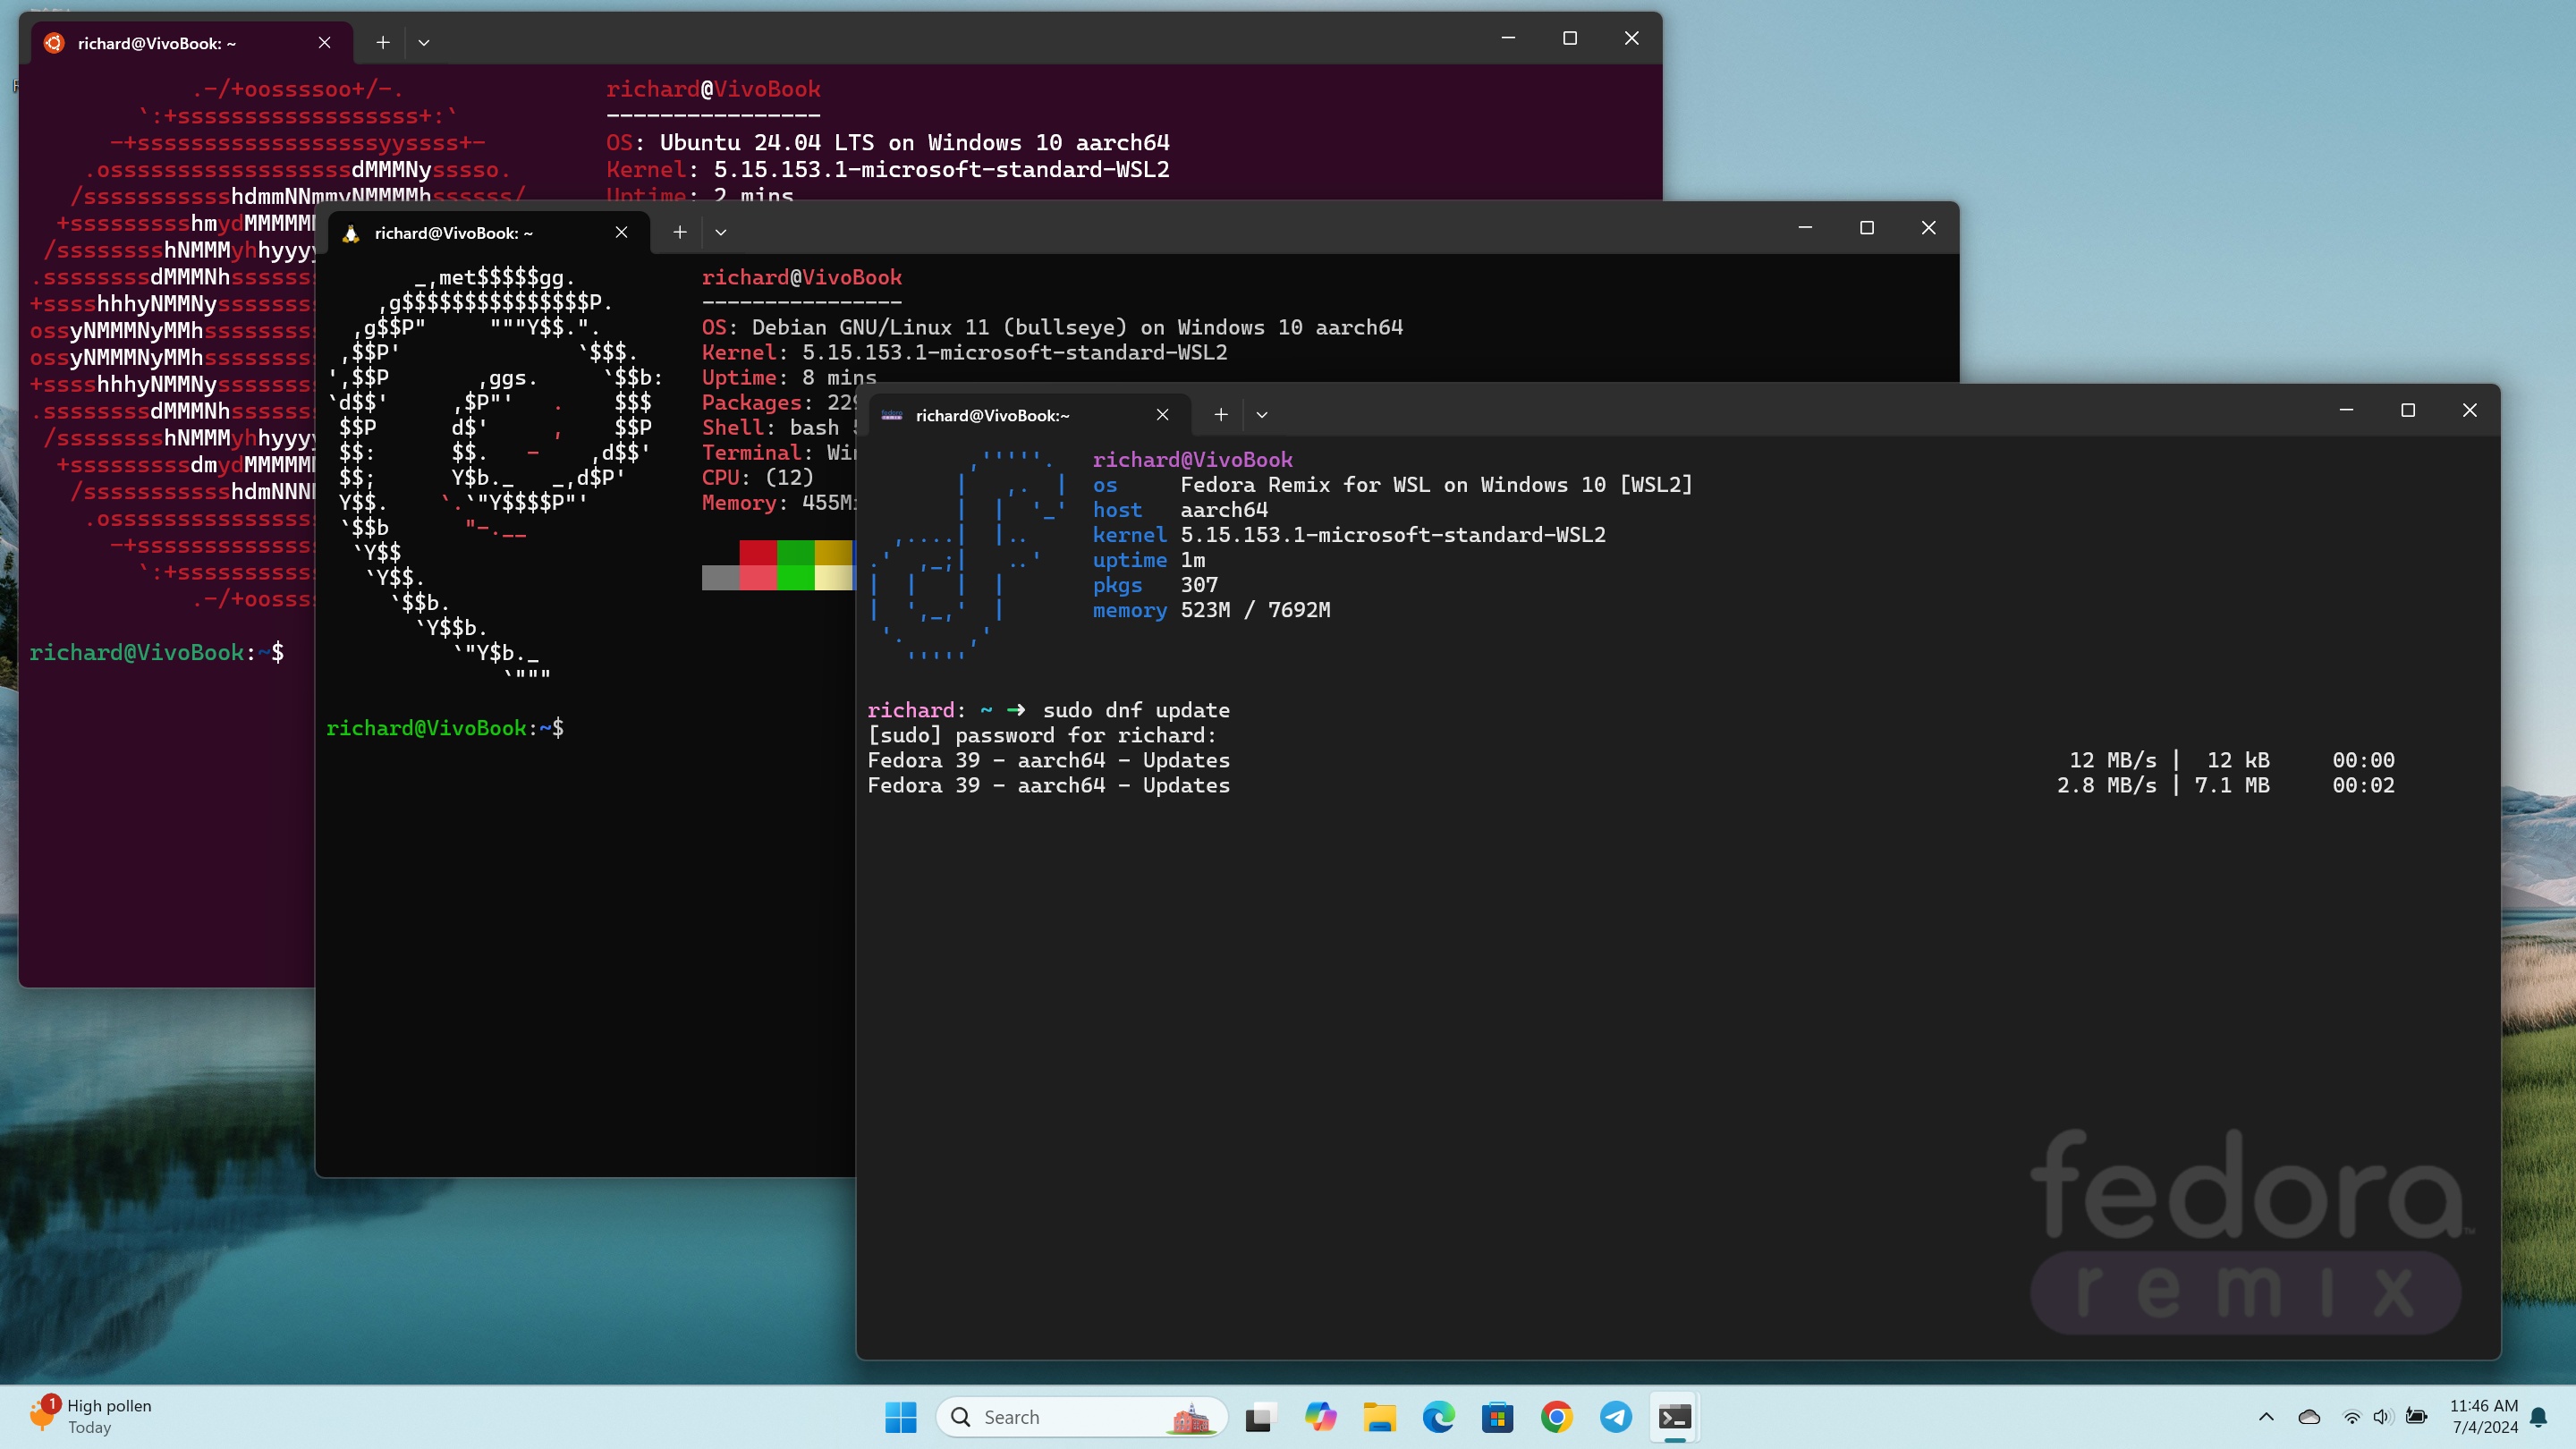
WSL2 is the latest iteration of Microsoft’s groundbreaking Windows Subsystem for Linux. Unlike its predecessor (WSL1), which used a compatibility layer to translate Linux system calls into Windows ones, WSL2 runs a real Linux kernel within a lightweight utility virtual machine (VM). This distinction is critical because it means WSL2 offers full system call compatibility and significantly improved performance for file system operations, I/O, and network-intensive tasks, making it ideal for a wide range of Linux applications and development scenarios.
Why do you need it?
- For Developers: WSL2 provides a native-like Linux environment without the overhead of a traditional VM. This means you can run Docker containers, Kubernetes, web servers (Apache, Nginx), databases (MySQL, PostgreSQL), and a vast array of Linux-specific development tools directly on Windows, often with near-native performance. This drastically simplifies the development workflow, eliminating the need to context-switch between different machines or operating systems. For those building applications that will eventually deploy to Linux servers, developing within a WSL2 environment offers invaluable parity.
- For IT Professionals: Managing servers, scripting automation tasks, or performing network diagnostics often requires powerful Linux command-line tools. WSL2 brings these tools directly to your Windows desktop, enhancing your toolkit and productivity without compromising your Windows-based workflow for other administrative tasks.
- For Students and Educators: It offers an accessible way to learn Linux and command-line interfaces without the complexity of partitioning hard drives or setting up full virtual machines, making it an excellent platform for educational purposes and tech exploration.
- For Digital Security Enthusiasts: Running certain security tools or exploring Linux-based forensics on a contained, integrated environment can be a safer and more convenient option than dedicated hardware or full VMs, especially for learning and experimentation.
Bridging the OS Divide: The Core Advantages
The true power of WSL2 lies in its ability to elegantly bridge the divide between Windows and Linux, creating a symbiotic relationship that leverages the strengths of both operating systems.
- Seamless Integration: You can access your Linux files from Windows Explorer and launch Windows applications from your Linux terminal. For example,
code .in your WSL2 terminal will open the current Linux directory in Visual Studio Code, which runs on Windows. This level of interoperability is a game-changer for productivity. - Performance Parity: Thanks to the real Linux kernel and optimized file system, WSL2 offers performance that rivals or even surpasses traditional virtual machines for many Linux workloads. This is particularly noticeable in scenarios involving heavy file I/O, such as compiling large codebases or running database operations.
- Resource Efficiency: WSL2 runs within a lightweight VM, meaning it starts up much faster and consumes fewer resources than a traditional VM. It dynamically allocates memory, releasing it back to Windows when no longer needed, ensuring your host system remains responsive.
- Access to a Rich Ecosystem: Gain instant access to thousands of Linux tools, utilities, and applications. From advanced AI tools and machine learning frameworks (like TensorFlow and PyTorch) that often have better Linux support, to web development stacks, DevOps tools, and scripting languages, WSL2 unlocks a universe of possibilities that significantly expands your technical capabilities.
- Enhanced Digital Security and Productivity: For those concerned about digital security, WSL2 allows you to isolate potentially risky development environments or experimental Linux applications from your primary Windows system, adding a layer of protection. Furthermore, by consolidating your development workflow onto a single machine, you reduce context switching, leading to greater focus and overall productivity – a direct boon for personal branding and even corporate efficiency. This productivity gain can even translate into financial benefits by enabling faster project completion or the ability to take on more work.
Pre-Installation Checklist: Paving the Way for a Seamless Setup
Before embarking on the WSL2 installation, a little preparation goes a long way. Ensuring your system meets the requirements and that necessary features are enabled will prevent common roadblocks and ensure a smooth setup process. This proactive approach not only saves time but also reflects a professional and organized technical mindset, contributing positively to your personal and professional brand.
System Requirements and Necessary Updates
WSL2, while resource-efficient, does have some fundamental requirements to function correctly. Meeting these ensures your Windows environment is ready to host a full Linux kernel.
- Windows Version: You must be running Windows 10, version 1903 or higher, with Build 18362 or higher, or Windows 11. To check your Windows version and build number, press
Windows key + R, typewinver, and press Enter. If you are on an older version, updating Windows is your first priority. Regularly updating your operating system is a crucial aspect of digital security, ensuring you have the latest patches and features. - Virtualization Enabled: WSL2 uses virtualization technology. This means that virtualization must be enabled in your computer’s BIOS/UEFI settings. While often enabled by default on modern machines, it’s worth checking if you encounter issues. Common settings to look for include “Intel VT-x,” “AMD-V,” “Virtualization Technology,” or “SVM Mode.” The exact name varies by motherboard manufacturer. A quick search for your specific computer model and “enable virtualization” will usually yield precise instructions.
- Sufficient Disk Space: While WSL2 instances are lightweight, they do require disk space for the Linux distribution itself and any applications or data you install within it. Ensure you have at least 10-20 GB of free space, though more is always better for development purposes.
Enabling Virtual Machine Platform and Windows Subsystem for Linux
These two Windows features are the bedrock upon which WSL2 operates. They need to be explicitly enabled before you can proceed with the installation. These components are core to extending Windows’ capabilities and are critical for many modern development and IT tools.
To enable these features, you have two primary methods:
Method 1: Using PowerShell (Recommended for efficiency)
- Open PowerShell as Administrator: Press
Windows key + Xand select “Windows PowerShell (Admin)” or “Windows Terminal (Admin)”. - Enable WSL Feature: Run the following command:
powershell

dism.exe /online /enable-feature /featurename:Microsoft-Windows-Subsystem-For-Linux /all /norestart
This command enables the core Windows Subsystem for Linux feature. - Enable Virtual Machine Platform Feature: Next, run this command:
powershell

dism.exe /online /enable-feature /featurename:VirtualMachinePlatform /all /norestart
This enables the underlying virtualization technology required for WSL2. - Restart Your Computer: After running both commands, it’s essential to restart your machine for the changes to take effect. You might be prompted to restart; if not, do so manually.
Method 2: Using the Graphical User Interface (GUI)
- Open “Turn Windows features on or off”: Press
Windows key + R, typeoptionalfeatures, and press Enter. - Locate and Check Features: In the “Windows Features” dialog box, scroll down and ensure the following options are checked:
Virtual Machine PlatformWindows Subsystem for Linux
- Click OK and Restart: Click “OK” to apply the changes, and then restart your computer when prompted.
Once your system has restarted, you’re ready for the main event: installing WSL2 itself. This preparation ensures that your system is not only technically capable but also configured optimally for the advanced functionalities that WSL2 provides, reflecting a strong understanding of modern computing environments.
The Step-by-Step WSL2 Installation Guide
With your system prerequisites met, the actual installation of WSL2 is surprisingly straightforward, especially with recent Windows updates. Microsoft has continuously refined the process to make it as user-friendly as possible, focusing on efficiency and accessibility. This section will guide you through the most efficient method and a slightly more manual approach for those who prefer granular control.
The Streamlined Command-Line Installation
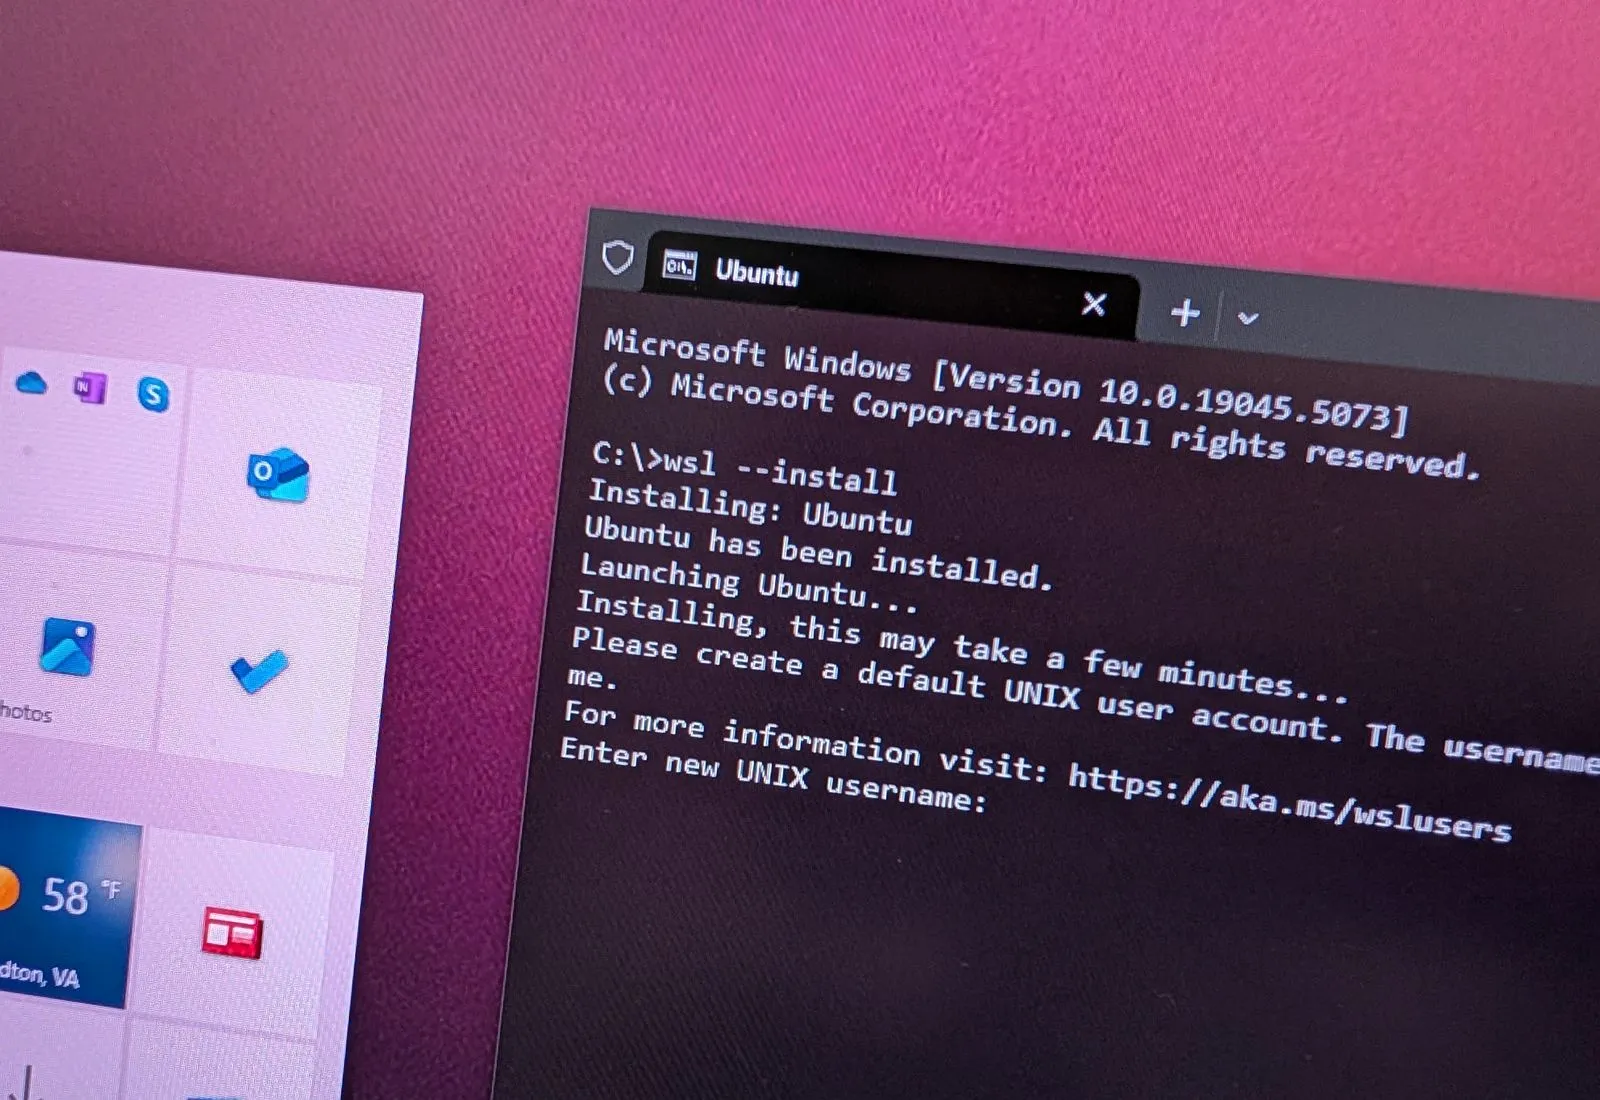
For most users on up-to-date versions of Windows 10 (version 2004 and higher, Build 19041+) or Windows 11, Microsoft has introduced a single, powerful command that handles the entire WSL2 installation process. This is the recommended and fastest method.
- Open PowerShell or Windows Terminal as Administrator: Right-click the Start button and select “Windows PowerShell (Admin)” or “Windows Terminal (Admin)”.
- Run the WSL Install Command: Type the following command and press Enter:
powershell

wsl --install
This command will perform several actions automatically:- Enable the “Windows Subsystem for Linux” optional component.
- Enable the “Virtual Machine Platform” optional component.
- Download and install the latest Linux kernel update package.
- Set WSL2 as the default version.
- Install the Ubuntu distribution (by default).
- Restart Your Computer: Once the command completes, you will likely be prompted to restart your computer. Do so to finalize the installation.
- Complete Linux Distribution Setup: After restarting, a new command window will open to complete the installation of your chosen Linux distribution (Ubuntu, by default). You will be prompted to create a username and password for your new Linux environment. This is separate from your Windows user account.
- Enter a UNIX username: This can be anything you like, usually lowercase.
- Enter a strong password: You won’t see characters as you type, which is normal for Linux terminals. Confirm the password.
Congratulations! Your WSL2 environment with Ubuntu is now installed and ready to use.
Manual Installation for Granular Control
While the wsl --install command is excellent, some users might prefer a more step-by-step manual installation, or they might be on a slightly older Windows version that doesn’t support the wsl --install command. This method offers more visibility into each stage.
- Enable WSL and Virtual Machine Platform (if not already done): Follow the steps in the “Pre-Installation Checklist” section above to enable these features via PowerShell or the GUI. Remember to restart your computer.
- Update to WSL2 Linux Kernel: WSL2 requires a specific Linux kernel. Download the latest WSL2 Linux kernel update package from Microsoft’s official GitHub repository:
https://wslstore.blob.core.windows.net/wsl2kernel/wslupdatex64.msi
Run the downloadedwsl_update_x64.msiinstaller. This is a straightforward installation wizard. - Set WSL2 as Your Default Version: Open PowerShell as a regular user (not necessarily admin) and run:
powershell

wsl --set-default-version 2
You should see a message confirming the operation. If you get an error about “Virtual Machine Platform” not being enabled, revisit the prerequisites.
Installing Your Preferred Linux Distribution
With WSL2 configured as the default, the final step is to install a Linux distribution. Ubuntu is the most popular choice, but many others are available.
- Open the Microsoft Store: Click the Start button and search for “Microsoft Store.”
- Search for a Linux Distribution: In the Store, search for “WSL” or the name of your desired distribution (e.g., “Ubuntu,” “Debian,” “Kali Linux,” “OpenSUSE”).
- Select and Install: Choose your preferred distribution and click “Get” or “Install.”
- Launch Your Distribution: Once downloaded, you can launch it directly from the Microsoft Store, by searching for its name in the Start Menu, or by typing its name in PowerShell/CMD (e.g.,
ubuntu). - Create User Account: The first time you launch your new distribution, a console window will open, and you’ll be prompted to create a UNIX username and password, just like in the streamlined installation.
Congratulations! You have now successfully installed WSL2 and a Linux distribution on your Windows machine. This foundation opens the door to a world of advanced computing, boosting your productivity and expanding your technical horizons, which ultimately enhances your professional brand as a tech-savvy individual.
Post-Installation: Configuration, Troubleshooting, and Maximizing Your WSL2 Experience
Installing WSL2 is just the beginning. To truly leverage its power and integrate it into your daily workflow, some post-installation configurations, awareness of common issues, and an understanding of its capabilities are essential. This final section aims to refine your WSL2 setup, ensuring optimal performance and helping you realize its full potential for personal growth and even generating online income through robust development environments.
Setting Up Your Default WSL2 Distribution and Version
While wsl --install sets WSL2 as the default version and Ubuntu as the default distribution, you might want to adjust these settings, especially if you install multiple distributions or want to ensure older WSL1 instances are upgraded.
- Check WSL Version for Existing Distributions:
Open PowerShell and run:
powershell

wsl -l -v
This command lists all your installed WSL distributions along with their current WSL version (1 or 2) and state. - Convert a Distribution to WSL2: If you have a WSL1 distribution you want to convert to WSL2 (highly recommended for performance), use:
powershell

wsl --set-version <DistributionName> 2
Replace<DistributionName>with the actual name from thewsl -l -voutput (e.g.,wsl --set-version Ubuntu 2). This process can take a few minutes, depending on the size of the distribution. - Set Global Default WSL Version: To ensure all future installations of Linux distributions default to WSL2, run:
powershell

wsl --set-default-version 2
- Set Default Distribution: If you have multiple distributions, you can specify which one launches when you simply type
wslin your terminal:
powershell

wsl --set-default <DistributionName>
Essential Configuration Tips for Optimal Performance
To get the most out of your WSL2 environment, consider these configuration tweaks:
- WSL Configuration File (.wslconfig): You can fine-tune global WSL2 settings by creating a
.wslconfigfile in your Windows user profile directory (C:Users<YourUsername>). This file allows you to control memory limits, processor core allocation, and more.
ExampleC:Users<YourUsername>.wslconfig:
ini

[wsl2]

memory=4GB  # Limits the memory WSL2 can use

processors=4 # Limits the CPU cores WSL2 can use

swap=2GB # Configures a swap file
Remember to shut down WSL2 completely (wsl --shutdown) and restart your distribution for changes to take effect. This is crucial for resource management, particularly if you’re running multiple demanding applications and want to prevent WSL2 from hogging all your system resources. - VS Code Integration: Visual Studio Code has excellent remote development extensions, including “Remote – WSL.” Install this extension to work on files stored in your WSL2 file system directly from VS Code running on Windows, providing an unparalleled development experience. This is a massive productivity booster for coders.
- Docker Desktop Integration: Docker Desktop for Windows fully integrates with WSL2. Enabling the “Use the WSL 2 based engine” option in Docker Desktop settings provides significantly better performance for running Docker containers compared to Hyper-V. This synergy is essential for modern containerized development workflows and microservices architecture.
- Path Management: Be mindful of your PATH variable in both Windows and Linux to avoid conflicts or ensure all your desired tools are accessible. WSL2 automatically adds your Windows
PATHto your Linux environment, which is generally helpful but can sometimes lead to unexpected behavior if not understood. - Git and SSH Key Management: If you use Git and SSH, consider generating your SSH keys within your WSL2 environment for consistency with Linux-based servers. Alternatively, you can configure Git in WSL2 to use your Windows SSH agent.
Common Installation Issues and Their Solutions
Even with a streamlined process, you might encounter hiccups. Here are some common issues and their troubleshooting steps:
- “WSL 2 requires an update to its kernel component.”
- Solution: This means you haven’t installed or haven’t run the
wsl_update_x64.msikernel update package. Go back to the manual installation steps and ensure this package is installed.
- Solution: This means you haven’t installed or haven’t run the
- “Please enable the Virtual Machine Platform Windows feature and ensure virtualization is enabled in the BIOS.”
- Solution: Verify that “Virtual Machine Platform” is checked in “Turn Windows features on or off” and that virtualization is enabled in your computer’s BIOS/UEFI settings. Restart your machine after making these changes.
- “Error: 0x80370102 The virtual machine could not be started because a required feature is not installed.”
- Solution: Similar to the above, this almost always points to virtualization not being enabled in BIOS/UEFI.
- Slow File I/O for Windows Files in WSL2:
- Explanation: While WSL2 has excellent performance for Linux filesystems, accessing Windows files from WSL2 can be slower.
- Solution: For critical performance, keep your project files within the WSL2 filesystem (e.g.,
/home/user/myproject) rather than on your Windows C: drive (e.g.,/mnt/c/Users/user/myproject). Use VS Code’s Remote – WSL extension to edit these files seamlessly.
- Network Connectivity Issues in WSL2:
- Solution: WSL2 uses a NAT’d network, meaning its IP address might change on reboot. If you need to access services running in WSL2 from your Windows host by IP, use
localhost. For accessing services from outside your Windows machine, you might need to configure port forwarding on your Windows host.
- Solution: WSL2 uses a NAT’d network, meaning its IP address might change on reboot. If you need to access services running in WSL2 from your Windows host by IP, use
- Distribution Installation Fails from Microsoft Store:
- Solution: Ensure your Windows is fully updated. Try resetting the Microsoft Store cache (
wsreset.exe). If problems persist, try the manual installation route for WSL and then install the kernel update separately.
- Solution: Ensure your Windows is fully updated. Try resetting the Microsoft Store cache (
Leveraging WSL2 for Professional and Personal Growth
The investment of time in setting up WSL2 pays dividends far beyond just running Linux commands. It empowers you to tackle more complex projects, broaden your skill set, and elevate your professional standing.
- Enhanced Productivity for Developers: By centralizing your development environment on a single machine, you reduce cognitive load and context switching. Running a robust Linux dev environment alongside your Windows tools means quicker iterations, better testing, and ultimately, higher quality output. This efficiency directly impacts your ability to deliver projects faster, a valuable asset for any professional brand.
- Venturing into New Technologies: Many cutting-edge technologies, particularly in AI, machine learning, and advanced web development, are heavily optimized for or primarily developed on Linux. WSL2 makes these accessible without needing dedicated hardware, allowing you to learn and experiment with tools like Docker Swarm, Kubernetes, specific database engines, or complex data analysis pipelines, directly enhancing your skillset and marketability.
- Side Hustles and Online Income: WSL2 provides a perfect sandbox for developing web applications, backend services, or data processing scripts that can form the basis of side hustles or freelance projects. Its cost-effectiveness (being free) combined with its powerful capabilities makes it an ideal platform for aspiring entrepreneurs looking to build and deploy their own digital products or offer services, directly contributing to online income streams without significant upfront investment in infrastructure.
- Personal Branding and Corporate Identity: Mastering advanced tools like WSL2 showcases a commitment to modern development practices and efficiency. For individuals, this boosts personal branding, demonstrating technical prowess. For businesses, standardizing on WSL2 for development teams can foster a more cohesive and productive corporate identity, allowing for easier onboarding and consistent environments across the organization.
By effectively installing and configuring WSL2, you’re not just adding a feature to Windows; you’re integrating a powerful, flexible, and immensely productive platform that will significantly enhance your capabilities, drive innovation, and open new avenues for both professional and financial growth. Embrace the power of Linux on Windows, and watch your productivity soar.
aViewFromTheCave is a participant in the Amazon Services LLC Associates Program, an affiliate advertising program designed to provide a means for sites to earn advertising fees by advertising and linking to Amazon.com. Amazon, the Amazon logo, AmazonSupply, and the AmazonSupply logo are trademarks of Amazon.com, Inc. or its affiliates. As an Amazon Associate we earn affiliate commissions from qualifying purchases.