
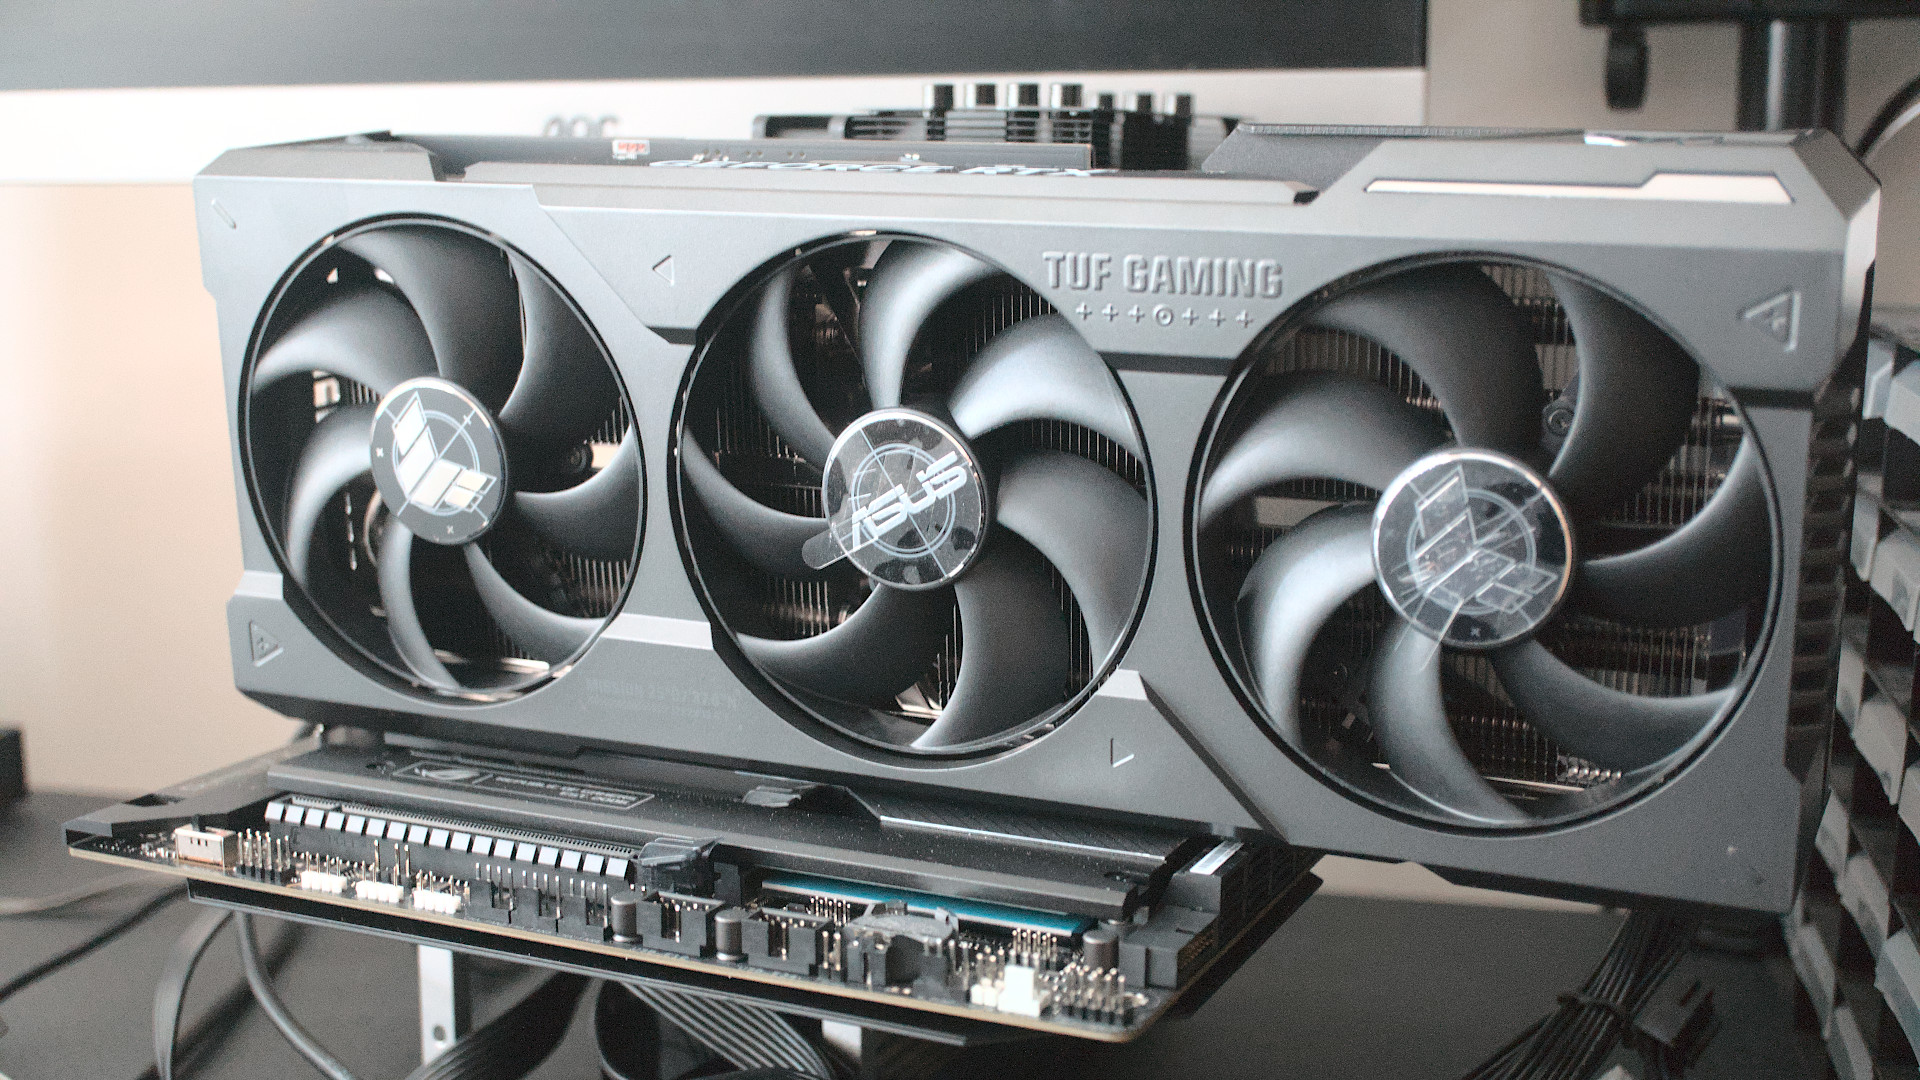
In the ever-evolving landscape of digital technology, the Graphics Processing Unit (GPU) stands as a cornerstone for everything from immersive gaming experiences to demanding professional workstations. As software and visual fidelity continue to advance, the need for a capable GPU becomes increasingly pronounced. This guide demystifies the process of installing a new GPU, offering a professional, insightful, and engaging walkthrough that empowers users to confidently upgrade their systems and unlock new levels of performance. Far from being an intimidating task reserved for experts, a GPU installation is a methodical procedure that, with careful attention, can be successfully completed by any enthusiast.
The Imperative of a GPU Upgrade: Why and When to Act
Upgrading your GPU isn’t merely about keeping up with the latest trends; it’s about fundamentally transforming your computing experience. Whether you’re a hardcore gamer chasing higher frame rates and visual fidelity, a professional working with demanding design software, or simply seeking to future-proof your system, a new GPU can provide a dramatic performance uplift. Understanding when and why to upgrade is the crucial first step.
Identifying the Need for Enhanced Graphics Performance
The signs that your current GPU is becoming a bottleneck are often quite clear. For gamers, this might manifest as low frame rates, stuttering, or the inability to play modern titles at desired resolutions and detail settings. Graphical glitches, long load times for textures, or a general lack of visual smoothness are also tell-tale indicators. Professionals utilizing applications like CAD software, video editing suites, 3D rendering programs, or machine learning frameworks will notice significant slowdowns, rendering delays, or even crashes when attempting complex tasks. Even for everyday users, a struggling GPU can lead to a less responsive user interface, particularly when dealing with high-resolution displays or multiple monitors. Performance metrics, often accessible through gaming overlays or system monitoring tools, can provide objective data on GPU utilization and temperature, revealing if your card is consistently hitting its limits. Regularly reviewing benchmarks of your existing GPU against newer models can also highlight the performance gap and justify the investment.
Ensuring Compatibility and Preparing Your System
Before even considering a purchase, thorough research into compatibility is paramount. The primary considerations include your motherboard’s PCIe slot (most modern GPUs use PCIe x16, but checking the generation, e.g., PCIe 3.0 vs. 4.0 vs. 5.0, is important), the physical dimensions of the card relative to your PC case, and crucially, your Power Supply Unit (PSU). Newer, more powerful GPUs demand substantial wattage, and an underpowered PSU can lead to instability or even prevent your system from booting. Check the recommended PSU wattage for your desired GPU and compare it against your current unit’s rating and available connectors (e.g., 6-pin, 8-pin PCIe power). Additionally, consider CPU compatibility; a high-end GPU paired with an outdated CPU can lead to a “bottleneck,” where the CPU can’t feed the GPU data fast enough, preventing the new card from performing to its full potential. While less critical than PSU or physical fit, ensuring a reasonable balance between CPU and GPU performance will yield the best overall system experience. Finally, before any physical intervention, it’s wise to back up important data. While a GPU installation is generally safe, unexpected issues can occur, and having a recent backup provides peace of mind.
Pre-Installation Checklist: Gathering Your Arsenal
A successful GPU installation hinges on meticulous preparation. Having the right tools, understanding safety protocols, and handling software prerequisites are all critical steps that ensure a smooth transition and optimal performance from your new hardware. Rushing this phase can lead to frustrating setbacks or even damage to components.
Essential Tools and Safety Precautions
Before opening your PC case, assemble the necessary tools. A Philips head screwdriver is almost always required for case screws and potentially GPU retention brackets. For components that might be stuck or difficult to reach, a magnetic-tipped screwdriver can be a boon. It’s also advisable to have a container or magnetic mat to hold screws, preventing them from getting lost or falling into inaccessible areas of the case. A can of compressed air is highly recommended for cleaning out dust from your PC’s interior, especially around the PCIe slot and CPU cooler, as dust can impede airflow and negatively affect thermals. Static electricity is a silent but potent threat to electronic components. To mitigate this risk, invest in an anti-static wrist strap, which safely grounds you to the PC chassis, dissipating any static charge from your body. Alternatively, frequently touching a bare metal part of the PC case (after it’s unplugged) can also help. Work on a clean, stable surface, free from obstructions, and ensure adequate lighting. Always ensure your PC is completely powered down and unplugged from the wall socket before beginning any work.
Driver Management: The Software Side of Hardware Upgrades
While the physical installation is key, the software side – specifically driver management – is equally critical. Graphics drivers are the communication bridge between your operating system and your GPU. When upgrading, especially between manufacturers (e.g., NVIDIA to AMD or vice-versa), it’s crucial to remove old drivers completely to prevent conflicts and ensure the new GPU functions correctly. Tools like Display Driver Uninstaller (DDU) are invaluable for this purpose, providing a clean sweep of all previous graphics drivers in a safe mode environment. Even when upgrading to a new card from the same manufacturer, uninstalling existing drivers can sometimes prevent unforeseen issues. Once the old drivers are purged, download the latest stable drivers for your new GPU directly from the manufacturer’s official website (NVIDIA GeForce Drivers, AMD Radeon Drivers). Do this before installing the new card physically, storing them in an easily accessible location on your hard drive. This proactive approach ensures you’re ready to install the correct drivers immediately after the hardware is in place, minimizing the time your system runs on generic or incompatible drivers.
Powering Your New Performance Beast
The power requirements of modern GPUs are significant, and overlooking this aspect is a common pitfall. As mentioned earlier, your Power Supply Unit (PSU) must have sufficient wattage to comfortably power your entire system, including the new GPU, CPU, storage drives, and peripherals. More importantly, it must also have the correct PCIe power connectors. Most mid-to-high-end GPUs require one or more 6-pin, 8-pin, or even 12-pin PCIe power connectors, which directly plug into the graphics card. These are distinct from the 4-pin/8-pin CPU power or SATA power connectors. Before installation, locate these cables within your PSU’s wiring harness. If your PSU lacks the necessary connectors, or if it uses adapter cables (e.g., SATA to PCIe power), it’s a strong indicator that your PSU might be inadequate or outdated, and an upgrade may be necessary. Using an adapter can be a fire hazard if the PSU isn’t designed to handle the load. Verify the number and type of power connectors required by your new GPU against what your PSU natively offers. A modern, modular PSU can make cable management significantly easier, but the primary concern is sufficient and stable power delivery.
The Physical Installation: A Step-by-Step Walkthrough
With preparations complete, the moment arrives to physically integrate your new GPU into your system. This process involves careful disassembly, precise seating of the new component, and meticulous reconnection of power and data lines. Patience and methodical execution are key to success.
Disassembling Your PC and Removing the Old GPU
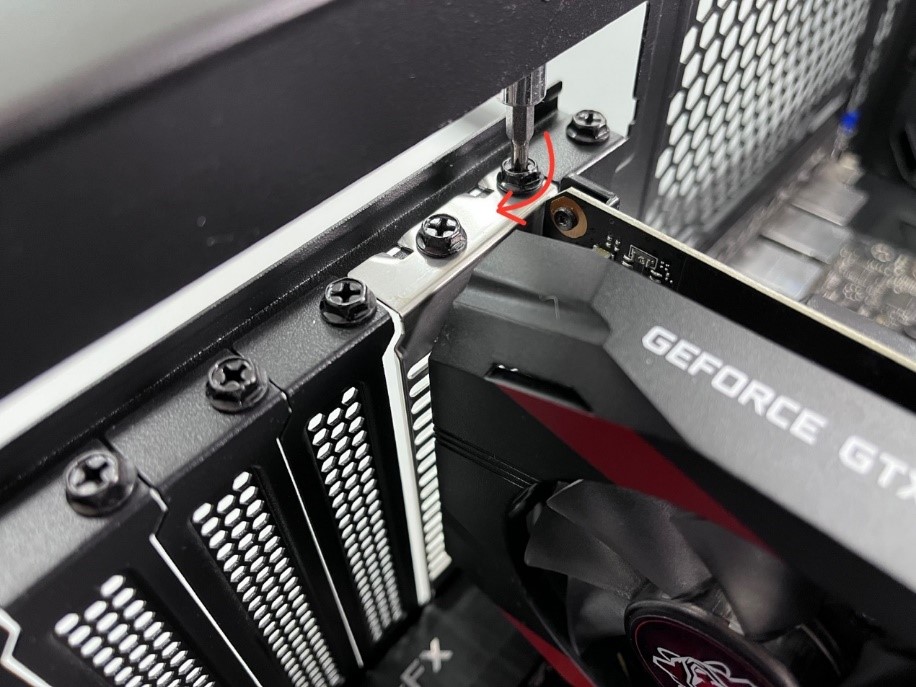
Begin by placing your PC case on a clean, stable surface, ensuring good lighting. With the power cable completely disconnected from the wall and the back of the PC, press and hold the power button on your case for a few seconds to discharge any residual electricity. Gently unscrew and remove the side panel(s) of your PC case, typically the left panel when looking from the front, to expose the motherboard and components. If applicable, identify your old GPU. It will be horizontally inserted into one of the long PCIe slots, usually the top one. Unplug any PCIe power cables connected to it. Locate the small retention clip at the end of the PCIe slot, nearest the front of the case. This clip might be plastic or metal and needs to be gently pressed or pulled to release the GPU from the slot. You may also need to unscrew the GPU from the case’s rear I/O bracket. Once unsecured, carefully pull the old GPU straight out of the PCIe slot. Avoid wiggling or twisting it excessively to prevent damage to the slot. Place the old GPU aside in its anti-static bag or original packaging for safekeeping.
Seating and Securing Your New Graphics Card
Before installing the new GPU, take a moment to clear any dust from the exposed PCIe slot using compressed air. Carefully remove your new GPU from its anti-static packaging, handling it by the edges or the heatsink, avoiding contact with the gold PCIe contacts. Align the GPU’s PCIe connector with the corresponding slot on your motherboard. The top PCIe x16 slot is generally preferred as it’s typically wired for the highest bandwidth. Apply gentle, even pressure to both ends of the GPU until it clicks firmly into place. The retention clip at the end of the slot should automatically snap shut, signaling a secure connection. Visually inspect the GPU to ensure it’s seated flush and level within the slot, with no exposed gold contacts on either side. Next, secure the GPU to the PC case using the screw(s) that were removed when disassembling, ensuring the card is firmly held in place and won’t sag over time. Some larger GPUs may come with a support bracket; install this now if applicable to prevent GPU sag, which can put strain on the PCIe slot.
Connecting Power and Reassembling Your System
With the GPU securely seated, the next step is to connect the required PCIe power cables from your PSU. Locate the appropriate 6-pin, 8-pin, or 12-pin connectors and firmly plug them into the corresponding ports on the GPU. Ensure all pins are engaged and the connections are snug. Avoid forcing connectors if they don’t seem to fit, as they are often keyed to prevent incorrect insertion. Once the power cables are connected, take a moment for basic cable management, tucking away any excess wiring to promote better airflow within the case. Reattach the side panel(s) of your PC case and screw them back into place. Double-check that all external cables (monitor, keyboard, mouse, etc.) are properly reconnected. Finally, plug your PC back into the wall outlet. At this point, you’re ready to power on your system for the first time with the new GPU. If all goes well, your monitor should display video, typically showing your motherboard’s boot screen or the operating system loading.
Post-Installation: Driver Configuration and Testing
The physical installation is only half the battle. For your new GPU to perform optimally and be fully recognized by your operating system, proper driver installation and initial testing are crucial. This phase ensures your system leverages the full power and features of your upgraded hardware.
Installing the Latest Drivers for Optimal Performance
Assuming your system boots successfully and displays video, the first order of business is to install the latest graphics drivers. Navigate to the location where you downloaded the drivers from the manufacturer’s website. Run the installer program. During the installation process, you will typically be given options for a “clean installation” or “custom installation.” It is highly recommended to perform a clean installation to ensure all previous driver remnants are removed, even if you used DDU earlier. Follow the on-screen prompts, which may include accepting terms and conditions, selecting components, and choosing installation type. Your screen may flicker or go black multiple times during the process; this is normal as the drivers are installed and initialized. Once the installation is complete, you will likely be prompted to restart your computer. Do so immediately to ensure the new drivers are fully integrated into the operating system. After the restart, your system should now fully recognize and utilize your new GPU.
Validating Your Installation and Initial Troubleshooting
Upon successful driver installation and system restart, it’s time to validate your work. Open your operating system’s device manager (e.g., in Windows, search “Device Manager”) and navigate to “Display adapters.” Your new GPU should be listed there without any error symbols. You can also open the GPU manufacturer’s control panel (NVIDIA Control Panel or AMD Radeon Software) to verify that the card is detected and to access its settings. For a more robust validation, download and run a benchmarking tool such as 3DMark, Unigine Heaven, or FurMark. These tools stress-test the GPU and provide performance scores, allowing you to compare your results against online benchmarks for your specific card model. Alternatively, simply launch a graphically demanding game or professional application and observe its performance.
Should you encounter issues – no display, system crashes, or graphical artifacts – don’t panic. Common troubleshooting steps include:
- No Display: Double-check that all power cables are firmly connected to the GPU and that the GPU is fully seated in the PCIe slot. Ensure your monitor is plugged into the new GPU’s display output ports, not the motherboard’s integrated graphics ports.
- System Instability/Crashes: Re-run DDU in safe mode to thoroughly remove drivers and try a fresh driver installation. Check your PSU wattage again; an unstable system can indicate insufficient power.
- Graphical Artifacts: This can sometimes indicate a faulty card, but more often points to driver issues. Reinstall drivers. Monitor GPU temperatures during load; overheating can cause artifacts.
- Low Performance: Ensure your monitor is plugged into the discrete GPU, not integrated graphics. Verify that all PCIe power cables are connected. Check for any CPU bottlenecks.
These initial validation and troubleshooting steps are critical to ensuring your new GPU is not just installed, but performing as expected.
Maximizing Your New GPU: Beyond the Installation
The journey doesn’t end with a successful installation and driver setup. To truly harness the power of your new GPU, ongoing optimization and diligent maintenance are essential. These practices will ensure longevity, peak performance, and an overall superior computing experience.
Performance Optimization and Benchmarking
Once your GPU is up and running, there are several avenues for further optimization. Delve into the manufacturer’s control panel (NVIDIA Control Panel or AMD Radeon Software) to fine-tune settings like anti-aliasing, anisotropic filtering, and VSync. Experiment with different settings within your games or professional applications; often, small adjustments can yield significant performance gains without a noticeable drop in visual quality. For enthusiasts, overclocking your GPU can squeeze out additional performance. This involves increasing the GPU’s clock speed and memory frequency, but it should be approached with caution and done incrementally, monitoring temperatures closely. Tools like MSI Afterburner are popular for this. Regularly running benchmarks (e.g., 3DMark, Cinebench for CPU alongside GPU) and comparing your scores will help you understand the impact of your optimizations and provide objective data on your system’s capabilities. Keeping an eye on community forums and expert reviews can also reveal optimal settings for specific games or applications with your particular GPU model.
Maintaining Your Graphics Investment
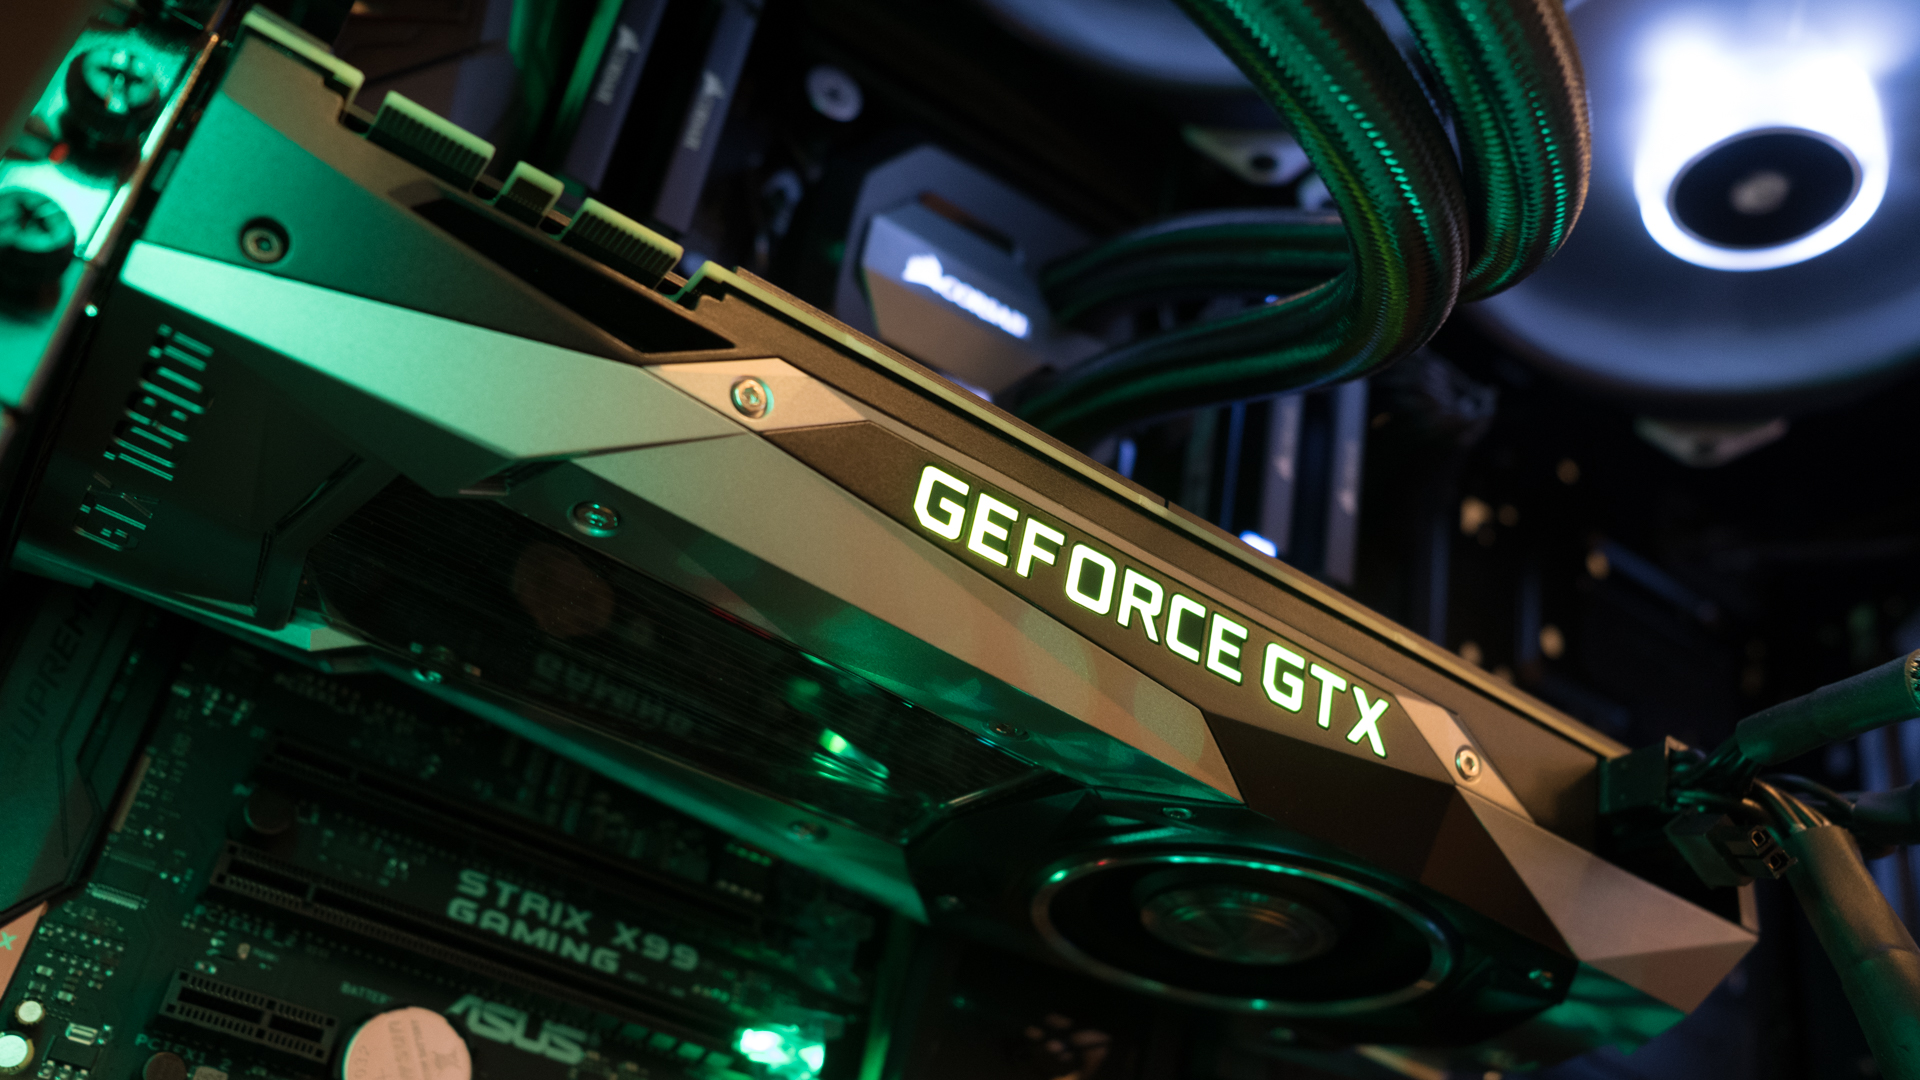
Like any high-performance component, your GPU benefits from regular maintenance to ensure its longevity and sustained performance. Dust accumulation is the primary enemy of electronics, as it acts as an insulator, trapping heat and forcing fans to work harder, leading to higher temperatures and reduced lifespan. Periodically (every 3-6 months, depending on your environment), open your PC case and use compressed air to gently clear dust from the GPU’s heatsink fins and fans. Ensure the fans are held stationary while spraying to prevent damage to their bearings. Monitor your GPU’s temperatures regularly using software like HWMonitor or GPU-Z, especially during heavy loads. Consistently high temperatures (e.g., above 85°C for extended periods) can indicate poor airflow, dust buildup, or a need to reapply thermal paste. Keep your graphics drivers updated. Manufacturers frequently release new driver versions that include performance optimizations, bug fixes, and support for the latest games and applications. However, always download drivers directly from the official manufacturer’s website to avoid malicious software. By diligently performing these maintenance steps, you not only protect your investment but also ensure your new GPU continues to deliver exceptional performance for years to come.
Installing a new GPU is a rewarding upgrade that significantly enhances your system’s capabilities. By following these detailed steps—from careful preparation and safe physical installation to meticulous driver configuration and ongoing maintenance—you can confidently transform your computing experience and unlock the full potential of your new graphics hardware.
aViewFromTheCave is a participant in the Amazon Services LLC Associates Program, an affiliate advertising program designed to provide a means for sites to earn advertising fees by advertising and linking to Amazon.com. Amazon, the Amazon logo, AmazonSupply, and the AmazonSupply logo are trademarks of Amazon.com, Inc. or its affiliates. As an Amazon Associate we earn affiliate commissions from qualifying purchases.