
The world of home entertainment has been revolutionized by streaming devices, and the Roku Stick stands out as a user-friendly and versatile option. Whether you’re looking to cut the cord from traditional cable, explore a vast library of on-demand content, or simply upgrade your viewing experience, understanding how to install your Roku Stick is the first crucial step. This guide will walk you through the entire process, from unboxing to enjoying your favorite shows, drawing upon our expertise in technology, brand building, and financial savvy to ensure you get the most out of your investment.
Getting Started: Unboxing and Initial Setup
The anticipation of a new gadget is always exciting, and setting up a Roku Stick is designed to be a straightforward experience. This section will cover everything you need to do before you even power on your device, ensuring a smooth transition into the world of streaming.
What’s Inside the Box?
Before diving into the installation, let’s familiarize ourselves with the components you’ll find within your Roku Stick packaging. This ensures you have everything necessary for a successful setup and helps prevent any last-minute dashes to the store.
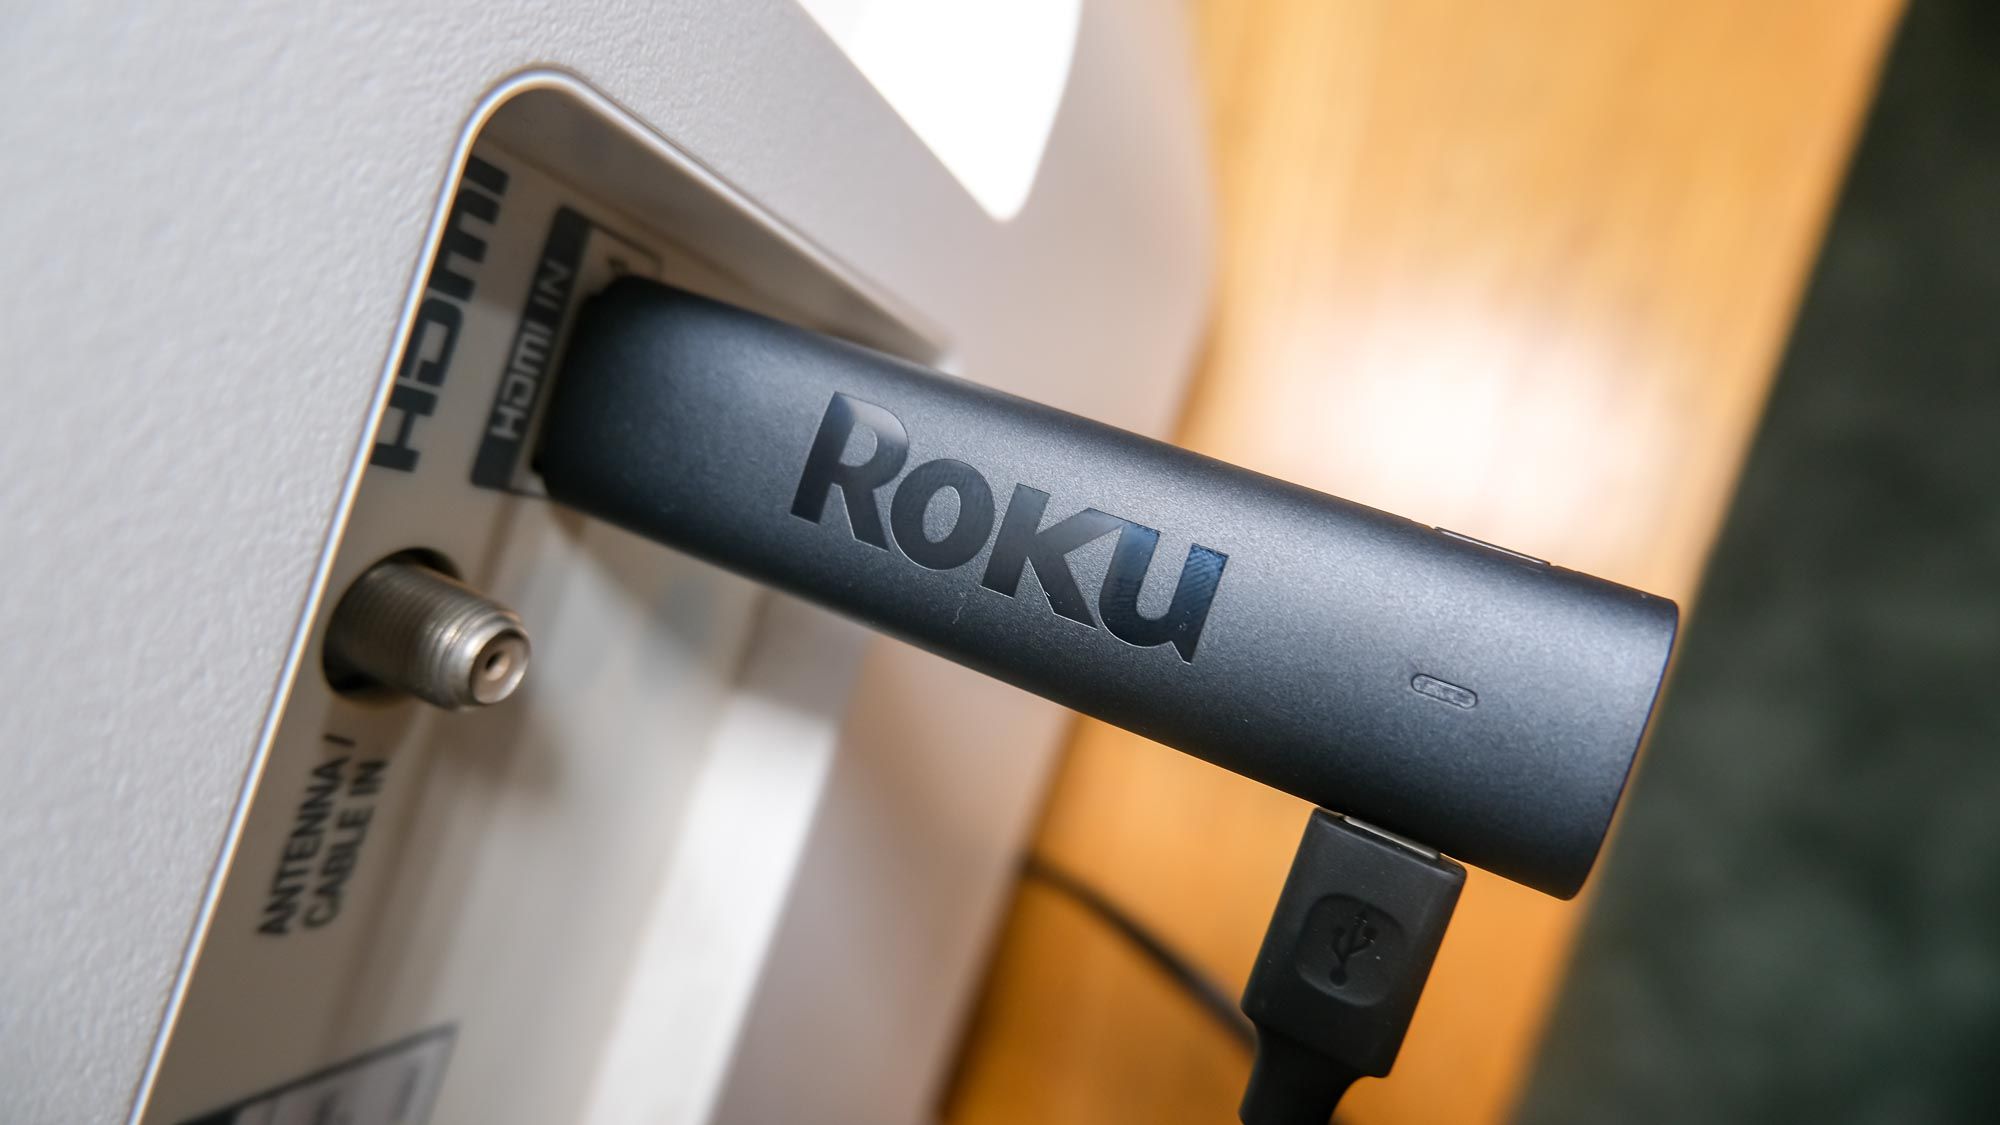
- The Roku Streaming Stick: This is the heart of your streaming setup, a compact device that plugs directly into your TV’s HDMI port.
- Remote Control: Your primary interface for navigating Roku’s interface. Most Roku remotes are simple and intuitive, often featuring a few directional buttons, a select button, a back button, a home button, and playback controls. Some models may also include voice control or shortcut buttons for popular streaming services.
- Power Cable and Adapter: Roku Sticks require power to operate. You’ll typically find a USB power cable and a wall adapter. It’s important to use the provided adapter for optimal performance and to avoid potential issues.
- HDMI Extender (Optional): Some Roku Stick models come with an HDMI extender. This can be useful if your TV’s HDMI port is difficult to access, or if you want to reposition the Roku Stick slightly away from the TV for better Wi-Fi reception.
Essential Pre-Installation Checks
A few simple checks before you begin can save you time and potential frustration. Think of this as a pre-flight checklist to ensure your Roku Stick will perform optimally.
- TV Compatibility: Your Roku Stick connects via HDMI. Ensure your TV has at least one available HDMI port. Most modern televisions do, but older models might not. If your TV lacks HDMI, you might need to consider a different streaming device or an HDMI converter, though the latter can sometimes lead to compatibility issues.
- Wi-Fi Network: Roku Streaming Sticks are internet-dependent. You’ll need a stable Wi-Fi network with a reasonably strong signal. Have your Wi-Fi network name (SSID) and password readily available. The faster your internet connection, the smoother your streaming experience will be, with less buffering and higher video quality. If your Wi-Fi is consistently slow, you might consider upgrading your internet plan or investing in a Wi-Fi extender.
- Power Source: You’ll need an accessible power outlet near your TV to plug in the Roku Stick’s power adapter. While some TVs offer a USB port that can power the Roku Stick, it’s generally recommended to use the provided wall adapter for consistent and reliable power, especially during demanding streaming sessions.
Connecting and Configuring Your Roku Stick
Once you’ve confirmed you have all the necessary components and your home network is ready, it’s time to physically connect and set up your Roku Stick. This process is designed to be user-friendly, guiding you through each step on your TV screen.
Step-by-Step Physical Installation
This is where your Roku Stick becomes more than just an accessory; it’s the gateway to a universe of entertainment.
- Locate an HDMI Port: Find an available HDMI port on the back or side of your television.
- Connect the Roku Stick: Gently plug the Roku Stick directly into the HDMI port. If you’re using an HDMI extender, connect one end to the Roku Stick and the other to the TV’s HDMI port. Ensure it’s firmly seated.
- Connect the Power: Plug the USB power cable into the Roku Stick and connect the other end to the power adapter. Plug the adapter into a nearby power outlet. If your TV’s USB port has sufficient power output, you can try plugging the USB cable directly into it; however, the wall adapter is the most reliable option.
- Power On Your TV: Turn on your television.
- Select the Correct HDMI Input: Using your TV’s remote control, cycle through the input sources (often labeled “Input,” “Source,” or an icon resembling an arrow pointing into a box) until you select the HDMI input that your Roku Stick is connected to. You should now see the Roku welcome screen appear on your TV.

Initial Software Setup and Account Creation
Upon booting up, your Roku Stick will guide you through a series of on-screen prompts to get it fully operational.
- Language Selection: The first step is usually to select your preferred language.
- Network Connection: Your Roku Stick will scan for available Wi-Fi networks. Select your network from the list and enter your Wi-Fi password using the on-screen keyboard and your Roku remote.
- Software Update: Once connected to your network, your Roku Stick will likely perform an automatic software update. This is crucial for ensuring you have the latest features, security patches, and access to all available channels. Allow this process to complete without interruption.
- Link to Your Roku Account: You will be prompted to link your Roku Stick to a Roku account.
- Existing Roku Account: If you already have a Roku account, you can log in with your email address and password.
- New Roku Account: If you don’t have an account, you’ll need to create one. This involves providing an email address, setting a password, and agreeing to Roku’s terms of service. You may also be asked for billing information, even if you don’t plan on making immediate purchases. This is a standard practice for digital service accounts.
- Activation Code: During the account linking process, your Roku Stick will display an activation code. You’ll need to visit the Roku activation website (usually roku.com/link) on a computer or smartphone, enter the code, and log in to your Roku account to complete the activation.
- Channel Installation (Optional): During the initial setup, Roku might offer to add some popular channels to your home screen. You can choose to add them now or skip this step and add them later.
Navigating the Roku Interface and Adding Channels
With your Roku Stick successfully installed and activated, you’re ready to explore the vast world of streaming content. The Roku interface is designed for simplicity, making it easy to find and enjoy your favorite entertainment.
Understanding the Roku Home Screen
The Roku home screen is your central hub for all streaming activities. It’s where you’ll find your installed channels, settings, and search functions.
- Channels: This section displays all the streaming applications you have installed, such as Netflix, Hulu, Disney+, YouTube, and many more. The order of these channels can often be rearranged to your preference.
- Search: The search function is a powerful tool that allows you to find specific movies, TV shows, actors, or directors across multiple streaming services simultaneously. This saves you the time of opening each app individually.
- Settings: Within the Settings menu, you can manage your network connection, adjust display preferences, control parental settings, update your Roku account information, and perform other system-level configurations.
- Streaming Channels: This is where you’ll discover and add new streaming services to your Roku.
Adding and Managing Streaming Channels
The true power of your Roku Stick lies in its ability to access a multitude of streaming services, often referred to as “channels” on the Roku platform.
- Access the Channel Store: From the Roku home screen, navigate to “Streaming Channels” or a similar option.
- Browse or Search for Channels: You can browse through categories like “Movies & TV,” “Kids & Family,” “News,” “Sports,” etc., or use the search bar to find a specific channel you’re looking for.
- Add a Channel: Once you find a channel you want, select it and then choose the “Add channel” option. Some channels are free, while others require a subscription. Roku will clearly indicate this.
- Enter Account Information (for Subscription Channels): If the channel requires a subscription (e.g., Netflix, Disney+), you’ll typically be prompted to either log in to an existing account or sign up for a new one. For services you’ve already subscribed to, you’ll enter your login credentials for that specific service.
- Channel Placement: After adding a channel, it will appear on your Roku home screen. You can usually move its position by highlighting the channel, pressing the asterisk (*) button on your remote, and selecting “Move channel.”

Optimizing Your Streaming Experience and Troubleshooting Common Issues
While the Roku Stick is generally reliable, a few tips can ensure you’re getting the best performance, and understanding common issues can help you resolve them quickly.
- Wi-Fi Signal Strength: For optimal streaming quality, ensure your Roku Stick has a strong Wi-Fi signal. If you experience buffering or low video quality, consider moving your Wi-Fi router closer to your TV, or using a Wi-Fi extender.
- Internet Speed: The minimum recommended internet speed for streaming in HD is 5 Mbps, and for 4K content, it’s 25 Mbps. If your internet speed is consistently below these thresholds, consider upgrading your internet plan with your provider.
- Power Cycling: If your Roku Stick becomes unresponsive or you encounter minor glitches, a simple power cycle can often resolve the issue. Unplug the power adapter from the wall outlet, wait for about 10-15 seconds, and then plug it back in.
- Factory Reset: As a last resort for persistent problems, you can perform a factory reset. This will erase all your settings, installed channels, and account information, returning the Roku Stick to its original state. You’ll then need to go through the entire setup process again. You can usually find the factory reset option within the “System” or “About” section of the Settings menu.
- Keeping Software Updated: Regularly check for software updates. While Roku typically updates automatically, manually checking ensures you’re on the latest version, which can resolve bugs and improve performance.
By following these steps and tips, you’ll be well on your way to enjoying a seamless and immersive streaming experience with your Roku Stick. The investment in this compact device opens up a world of entertainment possibilities, making it a staple in many modern living rooms.
aViewFromTheCave is a participant in the Amazon Services LLC Associates Program, an affiliate advertising program designed to provide a means for sites to earn advertising fees by advertising and linking to Amazon.com. Amazon, the Amazon logo, AmazonSupply, and the AmazonSupply logo are trademarks of Amazon.com, Inc. or its affiliates. As an Amazon Associate we earn affiliate commissions from qualifying purchases.