In the ever-evolving landscape of technology, Python has cemented its position as a cornerstone language. Its versatility, readability, and extensive ecosystem make it an indispensable tool for developers, data scientists, and tech enthusiasts alike. Whether you’re embarking on a new project, exploring AI tools, or seeking to enhance your productivity, having a robust Python installation on your Ubuntu system is paramount. This guide will walk you through the process of installing Python on Ubuntu, covering everything from the pre-installed versions to managing multiple installations and setting up virtual environments.
Ubuntu, a popular Linux distribution, often comes with Python pre-installed. However, the version can vary, and you might need a specific version for your projects or to leverage the latest features. We’ll delve into how to check existing installations, install the latest stable versions, and maintain a clean and efficient Python environment on your Ubuntu machine.
Understanding Python on Ubuntu: Pre-installed Versions and System Requirements
Ubuntu, being a Linux-based operating system, has a deep integration with Python. Most Ubuntu installations come with at least one version of Python pre-installed, often Python 2.x (though this is becoming increasingly deprecated) and a more recent Python 3.x version. This pre-installation is crucial for many system scripts and utilities that rely on Python to function.
Before diving into installation, it’s beneficial to understand how to check which Python versions are already present on your system. This will help you determine if you need to install a new version or if you can work with the existing one.
Checking Existing Python Installations
To check for Python installations on your Ubuntu system, open your terminal and execute the following commands:
python --version
This command typically points to the default python executable, which might be Python 2 or Python 3 depending on your Ubuntu version and configuration.
To specifically check for Python 3, use:
python3 --version
It’s also a good practice to check the version of pip, the package installer for Python. You can do this with:
pip --version
and
pip3 --version
The output of these commands will reveal the installed Python versions and their corresponding pip versions. If you find that the pre-installed version is not suitable for your needs, or if you require a more up-to-date version, you’ll need to proceed with installation.
Why You Might Need to Install a Specific Python Version
Several scenarios necessitate installing a specific Python version on Ubuntu:
- Project Requirements: Many software projects, especially those involving frameworks like Django or Flask, or libraries for data science and machine learning, have specific Python version dependencies. Using an incompatible version can lead to errors and unexpected behavior.
- Accessing Latest Features: Newer Python versions introduce performance improvements, new language features, and enhanced standard library modules. To leverage these advancements, you’ll need to install the latest stable release.
- Learning and Experimentation: If you’re learning Python or experimenting with new libraries, you might want to work with different versions to understand their nuances and compatibilities.
- Avoiding Conflicts: While Ubuntu relies on its pre-installed Python, installing additional versions in a managed way can prevent conflicts with system-critical Python installations.
Installing Python on Ubuntu: Methods and Best Practices
Ubuntu’s Advanced Packaging Tool (APT) is the primary and most recommended way to install software, including Python. This method ensures that your Python installation is managed by the system, making updates and removals straightforward.
Using APT: The Recommended Approach
Ubuntu’s repositories usually contain several Python versions. To install the latest stable Python 3, you can use the following commands:
First, update your package list to ensure you have access to the latest available versions:
sudo apt update
Next, install the desired Python 3 package. The package name often reflects the version number, for example, python3.10 or python3.11. To install the most recent Python 3 available in the repositories, you can often use:
sudo apt install python3
If you need a specific minor version, like Python 3.10, you would typically use:
sudo apt install python3.10
After installation, verify the installation by checking the version again:
python3 --version
Installing Pip: Pip is essential for installing Python packages. It usually comes bundled with Python 3 installations from APT. If it’s not installed, or you want to ensure you have the latest pip, you can install it separately:
sudo apt install python3-pip
Verify pip installation:
pip3 --version
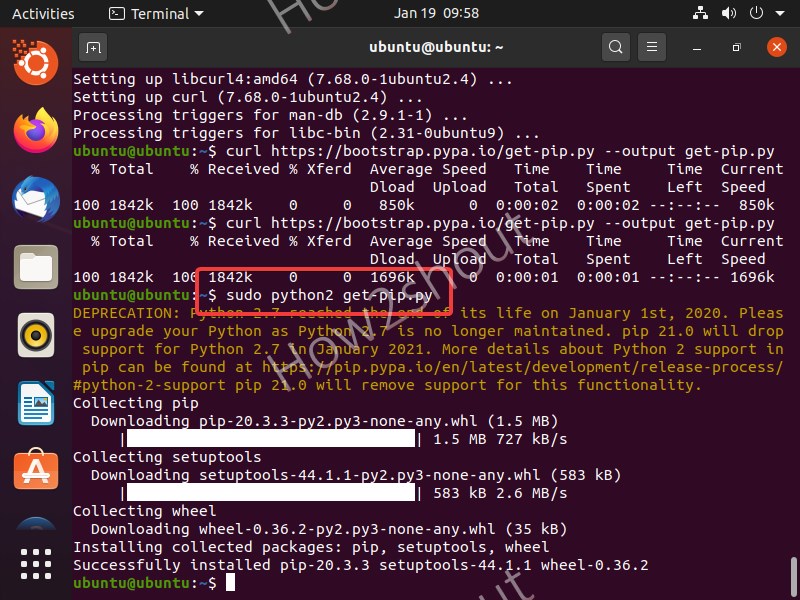
Important Note on Python 2: While Python 2 is no longer supported by the Python Software Foundation, some older Ubuntu systems might still rely on it. If you need to install Python 2 for legacy reasons, you can use:
sudo apt update
sudo apt install python
However, it’s strongly recommended to avoid using Python 2 for new development and to migrate existing projects to Python 3.
Using the Deadsnakes PPA for Newer Python Versions
Ubuntu’s default repositories sometimes lag behind the latest Python releases. For access to the very newest Python versions that might not yet be in the official Ubuntu repositories, the “deadsnakes” Personal Package Archive (PPA) is an invaluable resource. This PPA is maintained by a community of developers who package newer Python versions for Ubuntu.
To add the deadsnakes PPA and install a specific Python version (e.g., Python 3.11):
-
Add the PPA:
sudo add-apt-repository ppa:deadsnakes/ppaPress Enter when prompted to confirm adding the PPA.
-
Update Package List: After adding a PPA, it’s crucial to update your package list again:
sudo apt update -
Install Python: Now you can install the desired Python version from the PPA. For example, to install Python 3.11:
sudo apt install python3.11
You might also want to install the corresponding `python3.11-venv` package for virtual environments:

```bash
sudo apt install python3.11-venv
```
-
Verify Installation:
python3.11 --version
Managing Multiple Python Versions with update-alternatives:
When you have multiple Python versions installed, Ubuntu uses the update-alternatives system to manage which version is invoked by default when you type python or python3.
To list available Python alternatives:
sudo update-alternatives --list python3
To set a default Python 3 version:
sudo update-alternatives --config python3
This command will present a list of installed Python 3 executables and allow you to choose which one to set as the default.
Advanced Python Management: Virtual Environments and Best Practices
While installing Python is the first step, managing your Python projects effectively requires a deeper understanding of best practices, particularly the use of virtual environments. Virtual environments are isolated Python installations that allow you to manage dependencies on a per-project basis, preventing conflicts between different projects that might require different library versions.
Understanding and Creating Virtual Environments
A virtual environment creates a dedicated directory for a specific project, containing a copy of the Python interpreter and its own set of installed packages. This isolation is crucial for maintaining a clean and organized development workflow.
Using venv (Built-in for Python 3.3+)
Python 3.3 and later versions include the venv module, which is the standard and recommended way to create virtual environments.
-
Navigate to your project directory:
cd /path/to/your/project -
Create a virtual environment: Use the
python3 -m venvcommand, followed by the name of your virtual environment directory (commonly namedvenvor.venv):python3 -m venv venvThis command will create a
venvdirectory in your project’s root. -
Activate the virtual environment:
-
On Linux and macOS:
source venv/bin/activate
Once activated, your terminal prompt will change to indicate the active environment, usually by prepending
(venv)to the prompt. -
-
Install packages within the virtual environment: With the environment active, any packages you install using
pipwill be installed only within this virtual environment, not globally on your system.pip install requests beautifulsoup4 -
Deactivate the virtual environment: When you’re done working on the project, you can deactivate the environment by simply typing:
deactivateYour prompt will return to its normal state.
Using virtualenv (Older, but still useful)
For older Python versions or if you prefer its features, you can install and use the virtualenv package.
-
Install
virtualenvglobally (if needed):sudo apt install python3-virtualenv -
Create a virtual environment:
virtualenv venv -
Activate and deactivate: The activation and deactivation process is the same as with
venv.
Managing Project Dependencies with requirements.txt
A critical aspect of reproducible development is managing your project’s dependencies. The requirements.txt file lists all the external Python packages your project needs.
-
Generate
requirements.txt: With your virtual environment activated and your project set up, you can generate arequirements.txtfile:pip freeze > requirements.txtThis command lists all installed packages in the current environment and saves them to
requirements.txt. -
Install dependencies from
requirements.txt: When setting up the project on a new machine or for another developer, you can install all the necessary dependencies at once:pip install -r requirements.txt
This practice ensures that everyone working on the project uses the same set of libraries, preventing “it works on my machine” issues.

Considerations for AI Tools and Data Science
If your primary use for Python on Ubuntu is for AI and data science, you’ll be installing libraries like NumPy, Pandas, Scikit-learn, TensorFlow, and PyTorch. These libraries often have specific hardware requirements (like NVIDIA GPU support via CUDA) and can be quite large.
- GPU Acceleration: For machine learning, especially deep learning, GPU acceleration is crucial for performance. Ensure your Ubuntu system has compatible NVIDIA drivers installed if you plan to use CUDA-enabled libraries.
- Package Installation: Sometimes, compiling these libraries from source can offer better performance or compatibility. While APT and pip are generally sufficient, advanced users might explore compiling from source or using alternative package managers like Conda (which also manages Python environments).
By following these steps, you can confidently install and manage Python on your Ubuntu system, setting yourself up for success in your technological endeavors, from building web applications to exploring the frontiers of artificial intelligence.
aViewFromTheCave is a participant in the Amazon Services LLC Associates Program, an affiliate advertising program designed to provide a means for sites to earn advertising fees by advertising and linking to Amazon.com. Amazon, the Amazon logo, AmazonSupply, and the AmazonSupply logo are trademarks of Amazon.com, Inc. or its affiliates. As an Amazon Associate we earn affiliate commissions from qualifying purchases.