
In the rapidly evolving landscape of digital finance, cryptocurrency exchanges like Coinbase serve as crucial gateways for individuals to interact with blockchain technology. Whether you’re a seasoned investor or a newcomer to the crypto space, understanding the fundamental mechanics of sending and receiving digital assets is paramount. Central to this process is your wallet address – a unique identifier that functions as your digital mailbox for specific cryptocurrencies. This guide delves into the technical nuances of wallet addresses and provides a detailed tutorial on how to locate yours within the Coinbase ecosystem, ensuring secure and accurate transactions.
Understanding Cryptocurrency Wallet Addresses
Before diving into the practical steps, it’s essential to grasp the technical foundation of what a cryptocurrency wallet address truly represents and why its accuracy is non-negotiable in the decentralized world of blockchain.
What is a Digital Wallet Address?
At its core, a cryptocurrency wallet address is a string of alphanumeric characters, uniquely generated for a specific cryptocurrency on a particular blockchain network. Conceptually, you can think of it as the digital equivalent of an email address or a bank account number, but with several critical distinctions. Unlike traditional financial identifiers, wallet addresses are pseudonymous, meaning they don’t directly reveal your personal identity. They are public keys derived from a pair of cryptographic keys: a public key (the address you share) and a private key (which you must keep absolutely secret and is used to authorize transactions). When someone wants to send you cryptocurrency, they send it to this public address. The blockchain network then records this transaction, moving the digital asset from the sender’s address to yours.
The Importance of Accurate Addresses in Blockchain Transactions
The immutability and decentralization of blockchain technology, while offering incredible security and transparency, also introduce a significant caveat: transactions are irreversible. Once a cryptocurrency transaction is broadcast to the network and confirmed, it cannot be undone. This makes the accuracy of a wallet address critically important. Sending funds to an incorrect or malformed address almost invariably results in the permanent loss of those funds. There is no central authority to reverse an erroneous transaction, unlike a traditional bank which can sometimes recall a wire transfer. Therefore, diligently verifying the recipient’s address is a fundamental security practice in the crypto world.
Key Components of a Wallet Address
Cryptocurrency addresses vary in appearance and length depending on the blockchain and the specific asset. For instance:
- Bitcoin (BTC) addresses often start with ‘1’, ‘3’, or ‘bc1’ and are typically 26-35 characters long.
- Ethereum (ETH) and ERC-20 token addresses (which include many popular tokens like USDC, LINK, UNI) generally start with ‘0x’ and are 42 characters long, resembling a hexadecimal string.
- Litecoin (LTC) addresses often start with ‘L’ or ‘M’.
- Solana (SOL) addresses are typically longer, alphanumeric strings.
These variations are not just aesthetic; they reflect different underlying cryptographic protocols and network architectures. Understanding these differences helps in recognizing the correct format for the asset you intend to receive and underscores the necessity of selecting the correct asset when generating your address on Coinbase.
Step-by-Step Guide: Locating Your Coinbase Wallet Address on Desktop
Coinbase offers a user-friendly interface accessible via web browsers, providing a robust platform for managing your digital assets. Here’s how to find your wallet address on the desktop version.
Logging In and Navigating to Your Portfolio
- Access Coinbase: Open your preferred web browser and navigate to www.coinbase.com.
- Log In: Enter your email address and password. You will likely be prompted to complete a two-factor authentication (2FA) step, which is a critical security layer that helps protect your account from unauthorized access. This typically involves entering a code from an authenticator app (like Google Authenticator or Authy) or a code sent to your registered mobile device.
- Dashboard Overview: Once successfully logged in, you’ll land on your Coinbase dashboard, which provides an overview of your portfolio, recent activity, and market trends.
- Go to ‘My Assets’ or ‘Portfolio’: In the left-hand navigation menu or the top navigation bar, look for an option labeled “My Assets,” “Portfolio,” or “Assets.” Click on this to view a detailed list of all cryptocurrencies you hold and their respective balances.
Selecting the Desired Cryptocurrency
- Identify the Asset: From your list of assets, locate the specific cryptocurrency for which you need the receive address. It’s crucial to select the correct asset; sending Bitcoin to an Ethereum address, for example, will result in permanent loss of funds.
- Click on the Asset: Click on the name of the cryptocurrency (e.g., “Bitcoin,” “Ethereum,” “USD Coin”) to open its dedicated asset page. This page typically displays your balance for that asset, its price chart, and options for buying, selling, sending, or receiving.
Accessing the Receive Function and Revealing Your Address
- Initiate Receive: On the asset’s dedicated page, you’ll typically see buttons or options such as “Buy,” “Sell,” “Send,” and “Receive.” Click the “Receive” button.
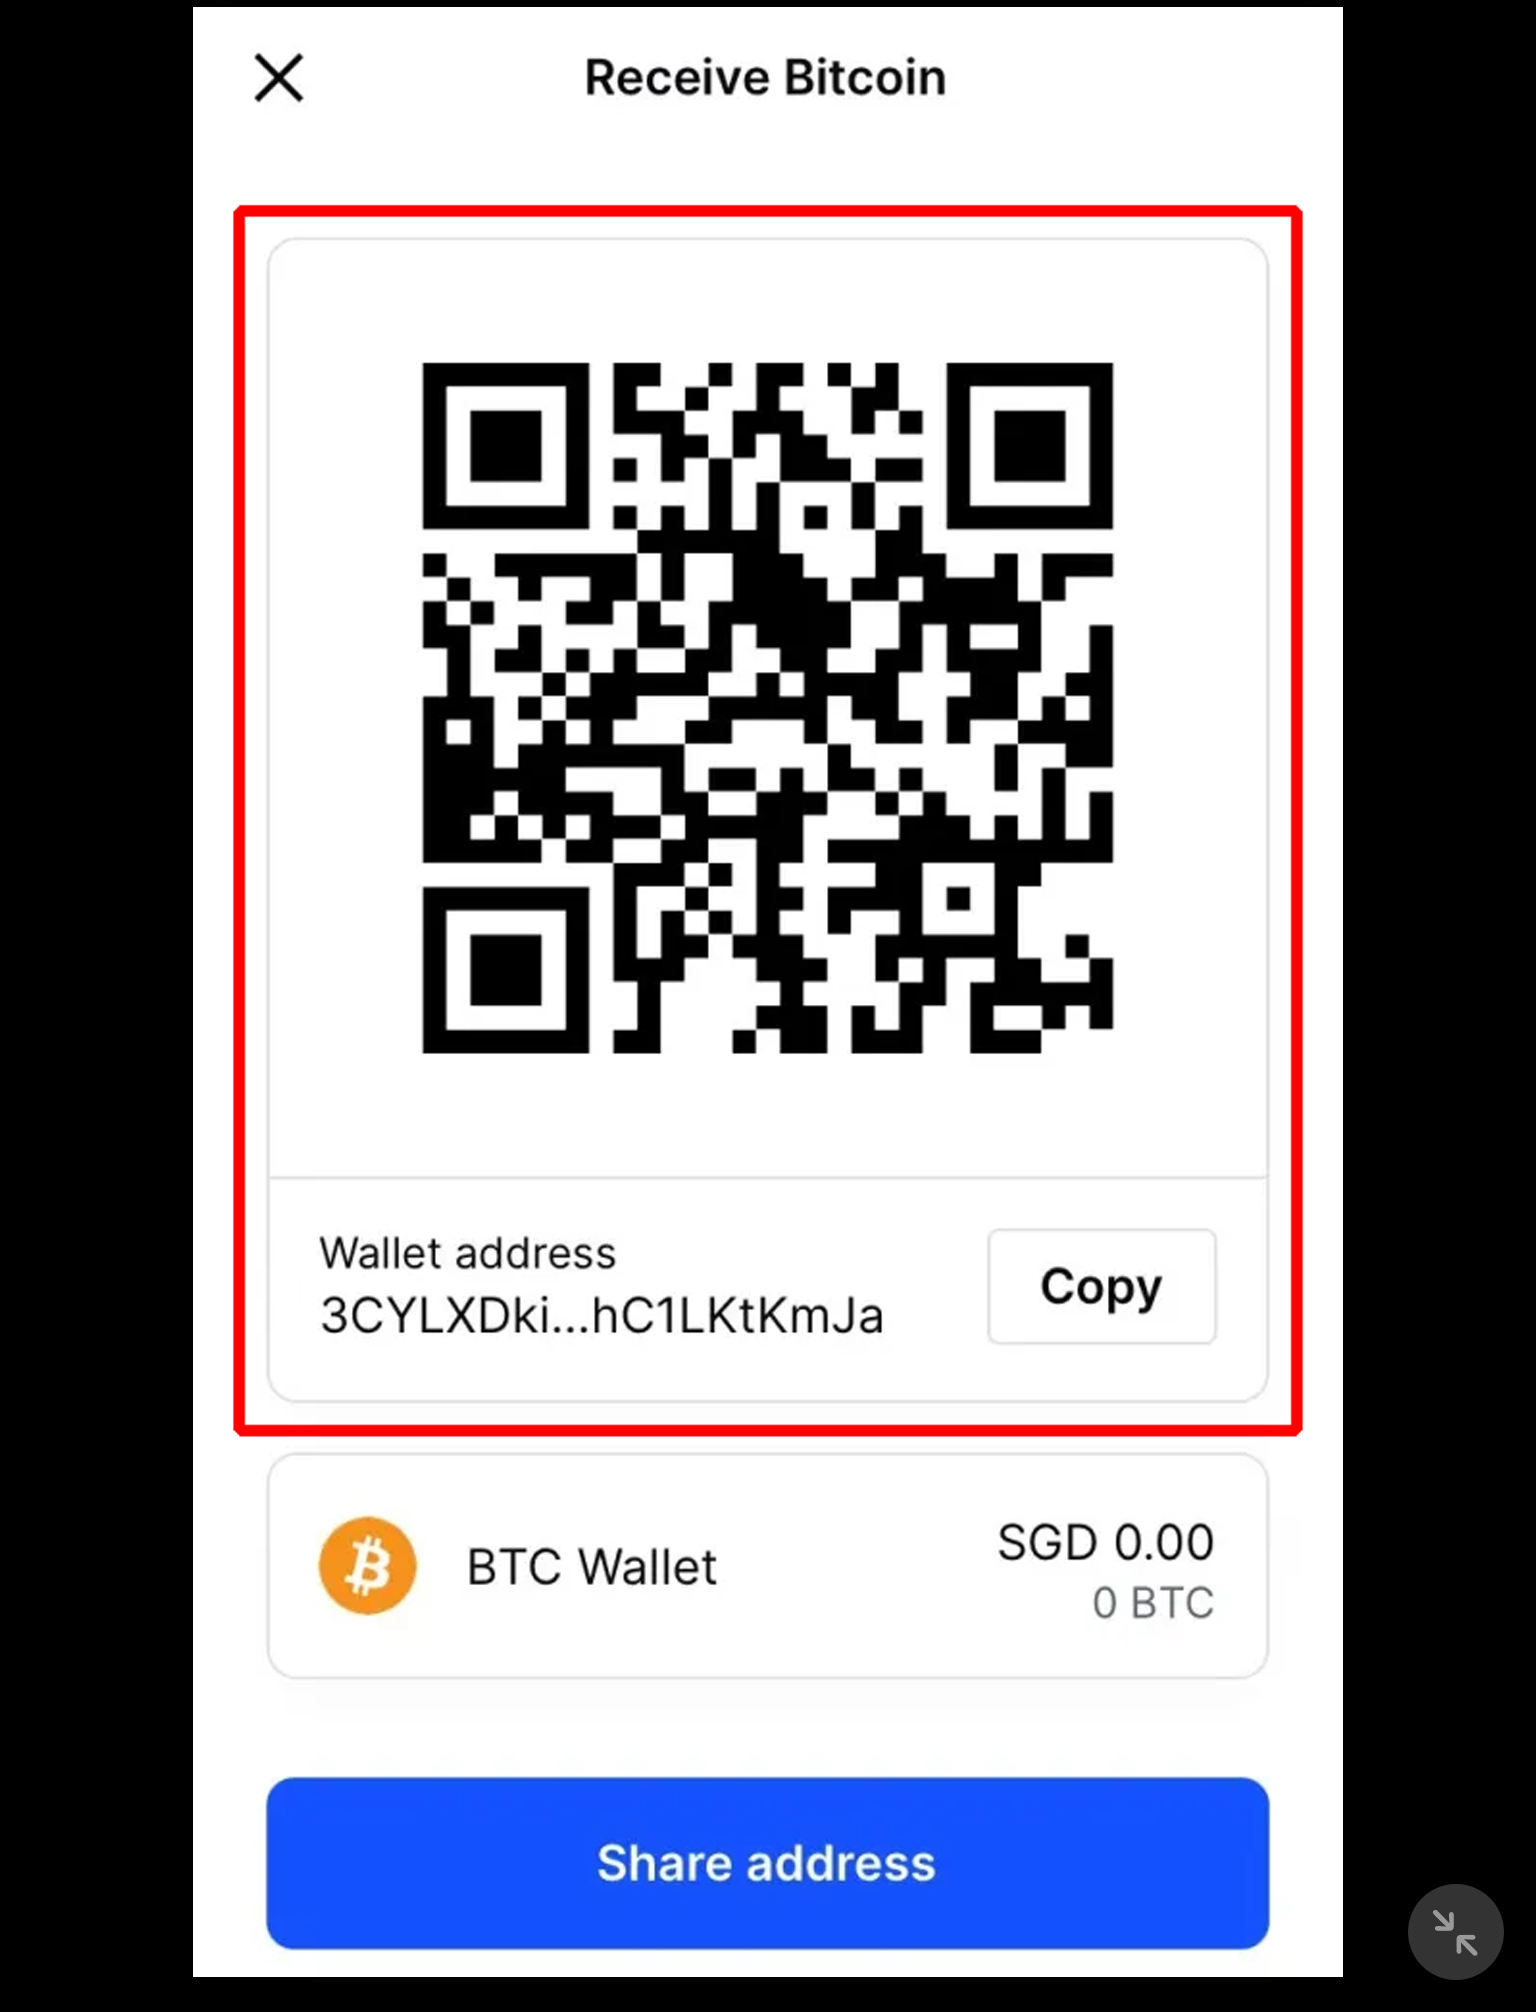
- Address Display: A pop-up window or a new section will appear, prominently displaying your unique wallet address for that specific cryptocurrency. Next to the alphanumeric string, you’ll often see a QR code. This QR code is simply a scannable representation of the same wallet address, convenient for mobile-to-mobile transactions or when sharing with someone in person.
- Network Selection (if applicable): For some cryptocurrencies, especially stablecoins or tokens that exist on multiple blockchains (e.g., USDC on Ethereum, Solana, or Polygon), Coinbase might prompt you to select the correct network. This step is critically important. Ensure you select the network that matches the network from which the sender is transmitting funds. Receiving funds on the wrong network will lead to irreversible loss.
Copying and Verifying Your Address
- Copy the Address: Always use the “Copy” button provided by Coinbase (usually an icon resembling two overlapping squares or a “Copy Address” text). Manually typing an address is highly prone to errors.
- Verify: After copying, it’s a best practice to paste the address into a notepad or a message and then visually compare the first few characters and the last few characters with the address displayed on Coinbase. This simple verification step significantly reduces the risk of accidental errors or clipboard hijacking malware.
- Share Carefully: Share this copied address with the sender. Emphasize to them the importance of selecting the correct network if they are sending a multi-chain asset.
Step-by-Step Guide: Locating Your Coinbase Wallet Address on Mobile App
The Coinbase mobile app offers a streamlined experience for managing your crypto on the go. The process for finding your wallet address is similar to the desktop version but adapted for the mobile interface.
Opening the Coinbase App and Authentication
- Launch the App: Tap the Coinbase app icon on your smartphone or tablet.
- Log In/Authenticate: If not already logged in, enter your credentials. For enhanced security and convenience, most users will have biometric authentication (fingerprint or face ID) enabled, allowing for quick and secure access. If 2FA is set up, you may need to provide the code from your authenticator app.
Navigating to the ‘Receive’ Tab
- Tap the ‘Receive’ Icon: On the bottom navigation bar of the Coinbase mobile app, you’ll typically find a central button or icon (often represented by two arrows, one pointing in and one out, or a QR code icon, or a simple ‘Receive’ text). Tap this icon. This action immediately brings up the options to Send or Receive.
- Select ‘Receive’: Choose the “Receive” option from the prompt.
Selecting Your Asset and Displaying the Address
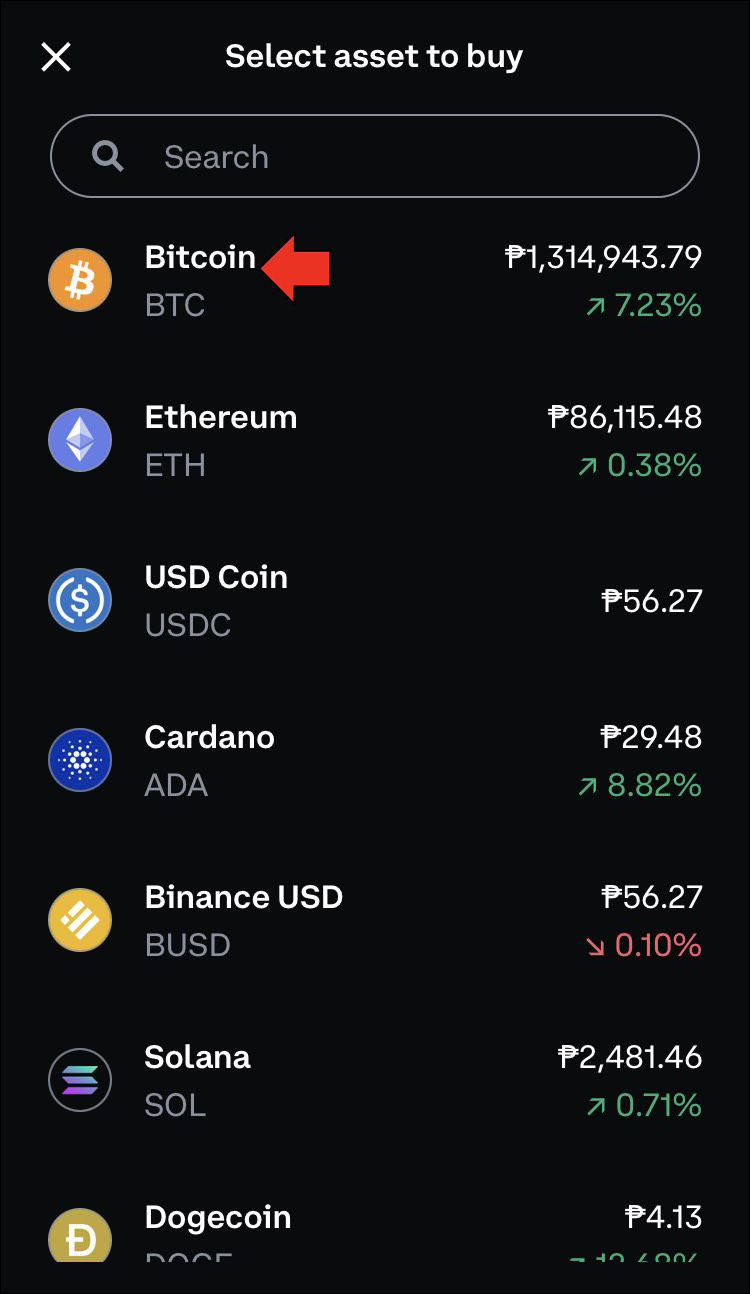
- Search/Select Asset: The app will present a list of your available assets. Use the search bar or scroll through the list to find the specific cryptocurrency you wish to receive. As with the desktop version, precise asset selection is crucial.
- Display Address: Once you select the asset, your unique wallet address for that cryptocurrency will be displayed, along with its corresponding QR code.
- Network Confirmation: Again, if the asset supports multiple networks (e.g., Ethereum, Polygon, Solana for USDC), Coinbase will prompt you to select the correct network. Confirm this with the sender to avoid sending funds to an incompatible chain.
Sharing Your Address Safely
- Copy Functionality: The mobile interface will have a “Copy” button or icon prominently displayed next to the address. Tap this to copy the entire alphanumeric string to your device’s clipboard.
- Share Options: The mobile app often integrates directly with your phone’s sharing capabilities. You might see a “Share” icon (a curved arrow or three connected dots) that allows you to directly share the address via messaging apps, email, or other communication platforms. While convenient, always double-check the pasted address in the recipient app before sending it to ensure accuracy.
Best Practices and Technical Considerations for Wallet Addresses
Beyond the step-by-step instructions, a deeper understanding of underlying technical principles and best practices will significantly enhance your security and efficiency in managing digital assets.
Network Compatibility: A Critical Precaution
One of the most common pitfalls for both new and experienced crypto users is misunderstanding network compatibility. Different cryptocurrencies operate on different blockchain networks. For example, Bitcoin runs on the Bitcoin network, Ethereum on the Ethereum network, and Solana on the Solana network. Furthermore, many tokens (like USDC, LINK, AAVE) are built on top of existing blockchains, often Ethereum (as ERC-20 tokens) but increasingly on other chains like Polygon (MATIC), Binance Smart Chain (BEP-20), or Solana (SPL tokens).
Key takeaway: An address for a specific token is only valid on its native network. Sending an ERC-20 token to a Bitcoin address, or a Solana-based token to an Ethereum address, will inevitably lead to irreversible loss of funds. Always confirm with the sender the exact cryptocurrency and the specific network they are using for the transaction. Coinbase, like other exchanges, provides distinct addresses for different network types of the same asset where applicable. Always ensure the “receive network” matches the “send network.”
The Dangers of Typos and Incorrect Networks
The irreversible nature of blockchain transactions means that even a single typo in a wallet address, or choosing the wrong network, can lead to permanent loss. This is why:
- Copy-pasting is mandatory: Never manually type out a wallet address. Always use the copy function provided by Coinbase or the sender.
- Double-check: After pasting, verify the first few and last few characters of the address against the source.
- Send a small test transaction: For large sums, especially when transacting with a new address or recipient, consider sending a small test amount first. Once that small transaction is confirmed as received, then send the larger sum. This is an inexpensive but highly effective risk mitigation strategy.
Security Implications of Sharing Your Address
Your public wallet address is designed to be shared. It’s safe to give out your receive address, as it only allows people to send you funds; it does not grant them access to your funds or your account. However, it’s crucial to understand the distinction between your public wallet address and your private key. Your private key is the cryptographic “password” that authorizes transactions from your wallet. It should never be shared with anyone, ever. Coinbase manages the private keys for the wallets it creates for you, and it’s their responsibility to secure them. For self-custody wallets (like Coinbase Wallet, MetaMask, Ledger), you are solely responsible for securing your private keys (or seed phrase).
Distinguishing Between Coinbase Exchange and Coinbase Wallet Addresses
It’s important to differentiate between an address generated on the Coinbase exchange platform (where your assets are custodied by Coinbase) and an address generated on the Coinbase Wallet application (a separate, non-custodial wallet where you hold your own private keys).
- Coinbase Exchange Address: This is the address you find using the steps outlined above. It’s an address within Coinbase’s system, linked to your account. When funds are sent here, they land in your account on the exchange.
- Coinbase Wallet Address: This is for the separate self-custody wallet app. While linked to your Coinbase account for ease of use, it’s a distinct wallet where you control the private keys. The steps to find this address are within the Coinbase Wallet app itself, not the main Coinbase exchange platform. Always ensure you’re on the correct platform for the address you need.
Troubleshooting and Advanced Tips
Even with clear instructions, challenges can arise. Here are some advanced tips and troubleshooting strategies.
What to Do If You Can’t Find Your Asset
Occasionally, an asset might not appear in your immediate portfolio list, especially if it’s a less common token or a new addition to Coinbase.
- Use the search function: Most platforms, including Coinbase, have a robust search bar. Type in the ticker symbol (e.g., BTC, ETH, SOL) or the full name of the cryptocurrency.
- Check ‘Unsupported Assets’: If an asset is not actively traded or fully supported by Coinbase, you might not be able to generate a receive address for it directly on the exchange. In such cases, you would need a separate, self-custody wallet (like Coinbase Wallet, MetaMask, etc.) that supports that specific token and network.
- Verify Asset Listing: Confirm that Coinbase actually supports the cryptocurrency you are looking for. Not all cryptocurrencies are listed on all exchanges.
Understanding Transaction Hashes and Block Explorers
For more advanced users or when troubleshooting a transaction, understanding transaction hashes and block explorers is invaluable.
- Transaction Hash (TxID): Every confirmed blockchain transaction has a unique identifier called a transaction hash (TxID). It’s a long alphanumeric string that acts as a receipt for your transaction.
- Block Explorers: These are web-based tools that allow you to view all transactions and data on a specific blockchain. For example, Etherscan for Ethereum, BTC.com for Bitcoin, Solscan for Solana. By entering a transaction hash, wallet address, or block number into a block explorer, you can see the real-time status and details of a transaction, including confirmations, sender/recipient addresses, and the amount transferred. This is the ultimate tool for verifying if funds have been successfully sent to your address.

Future-Proofing Your Crypto Operations
The digital asset space is dynamic. Platforms like Coinbase regularly update their interfaces and add new features or cryptocurrencies.
- Stay Informed: Regularly check Coinbase’s official announcements, blogs, and support documentation for updates.
- Practice Security Hygiene: Always use strong, unique passwords, enable 2FA, be wary of phishing attempts, and never share your private keys or seed phrases.
- Understand the Tech: A foundational understanding of blockchain, different networks, and token standards will empower you to navigate the crypto world more confidently and securely.
Locating your wallet address on Coinbase is a fundamental operation in the world of digital assets. By following these detailed instructions and adhering to best practices, you can ensure that your cryptocurrency transactions are executed accurately, securely, and efficiently. Always remember the mantra: double-check, verify, and understand the underlying technology to safeguard your digital wealth.
aViewFromTheCave is a participant in the Amazon Services LLC Associates Program, an affiliate advertising program designed to provide a means for sites to earn advertising fees by advertising and linking to Amazon.com. Amazon, the Amazon logo, AmazonSupply, and the AmazonSupply logo are trademarks of Amazon.com, Inc. or its affiliates. As an Amazon Associate we earn affiliate commissions from qualifying purchases.