
The humble dashcam has rapidly evolved from a niche gadget for vigilant drivers into an indispensable tool for personal security, accident documentation, and even a way to capture life’s unexpected moments on the road. As vehicle technology advances and our reliance on digital solutions grows, understanding how to integrate a dashcam into your daily commute is becoming increasingly important. This guide will walk you through the process, ensuring you can confidently install and utilize this powerful piece of technology, drawing upon principles of tech integration, strategic placement, and financial prudence.
Understanding Your Dashcam and Its Placement
Before you even think about wires and mounts, it’s crucial to understand what your dashcam is designed to do and where it will serve you best. Dashcams, at their core, are small, forward-facing cameras that record your driving. However, their capabilities extend far beyond simple recording. Many modern dashcams offer features like GPS logging, parking mode, collision detection, and even Wi-Fi connectivity for easy access to your footage.
Choosing the Right Location: A Strategic Decision
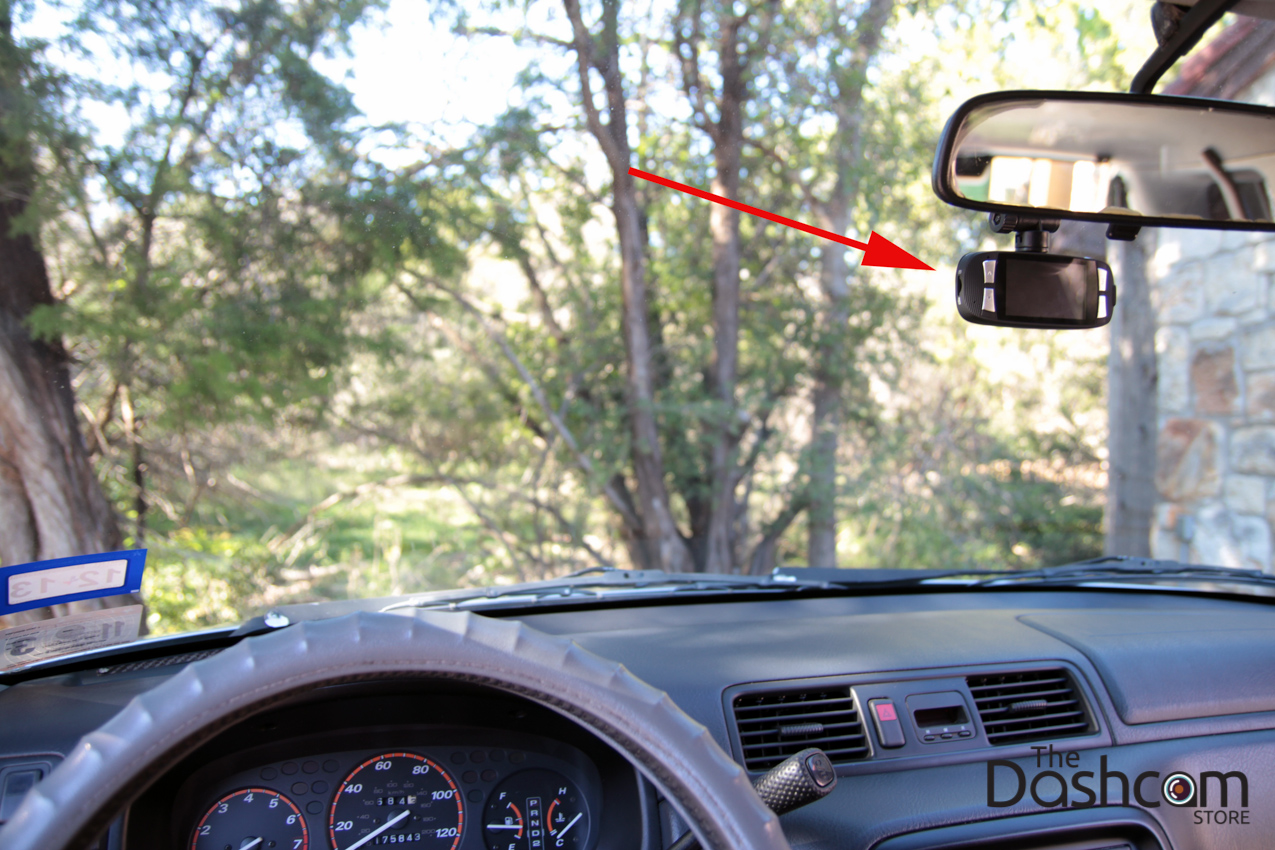
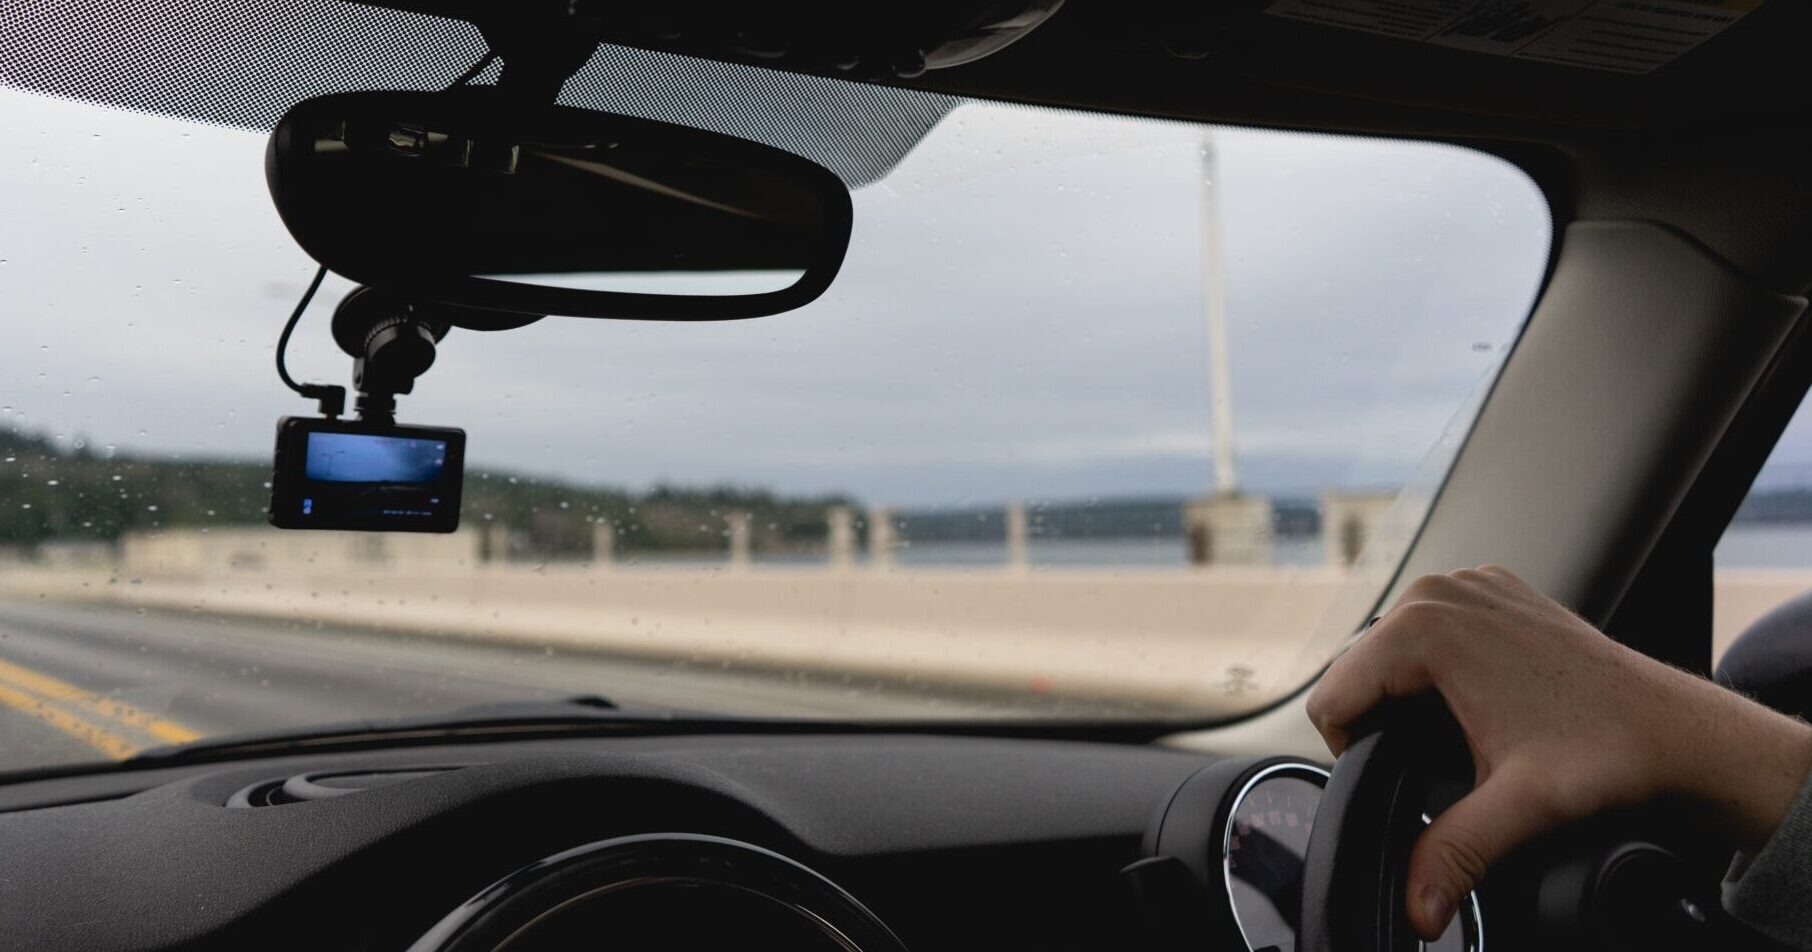
The placement of your dashcam is paramount to its effectiveness. It needs a clear, unobstructed view of the road ahead. Most manufacturers recommend mounting the dashcam near the center of your windshield, just below the rearview mirror. This position offers several advantages:
- Optimal Field of View: It captures the widest possible panorama of the road, including traffic lights, other vehicles, and pedestrians.
- Discreetness: Mounting it behind the rearview mirror can help keep it out of your direct line of sight and less conspicuous to potential thieves.
- Reduced Glare: The angle often minimizes glare from direct sunlight, ensuring clearer footage.
When choosing the exact spot, consider:
- Windshield Wipers: Ensure the camera’s view isn’t blocked by the wipers when they are in use.
- Tinting: If your windshield has a dark tint, particularly along the top edge (often called a “solar band”), make sure the dashcam’s lens isn’t obscured.
- Sensors: Be mindful of any sensors for rain detection, adaptive cruise control, or lane departure warnings. While most dashcams are designed to avoid interfering with these, it’s always good to double-check your car’s manual and the dashcam’s instructions.
Self-Assessment and Planning: Before you begin, take a moment to assess your car’s interior. Identify potential cable routing paths, power sources, and areas where wires might be exposed or interfere with your driving. This proactive approach, much like in strategic planning for brand development, ensures a smoother and more professional installation.
The Installation Process: From Power to Permanence
Installing a dashcam typically involves mounting the unit, connecting it to a power source, and managing the cables. While the specifics can vary slightly depending on your dashcam model and vehicle, the general steps are consistent.
Mounting the Dashcam: Secure and Stable
Most dashcams come with either a suction cup mount or an adhesive mount.
- Suction Cup Mounts: These are the most common and offer the advantage of being easily repositionable.
- Clean the Windshield: Thoroughly clean the area where you intend to mount the camera with a glass cleaner and a lint-free cloth. Any dust or grime can compromise the suction.
- Attach the Mount: Moisten the suction cup slightly and press it firmly against the windshield. Many mounts also have a locking lever that you can push down to secure it.
- Attach the Camera: Slide or clip the dashcam onto the mount. Ensure it’s snug and doesn’t wobble.
- Adhesive Mounts: These offer a more permanent and secure hold but are less forgiving if you need to reposition.
- Clean the Surface: Just like with suction cups, a clean surface is critical. Use an alcohol wipe to degrease the area.
- Peel and Stick: Carefully peel off the backing of the adhesive tape and press the mount firmly onto the windshield. Hold it in place for the recommended time (usually 30 seconds to a minute) to ensure a strong bond.
- Attach the Camera: Secure the dashcam to the mount as instructed.
Tip: For optimal stability and to prevent vibrations from affecting your footage, ensure the mount is applied to a flat, smooth section of the windshield.
Powering Your Dashcam: Finding the Right Connection
This is often the most involved part of the installation, but with a little patience, it’s manageable. Dashcams require a constant power supply to operate. You have a few primary options:
-
12V Cigarette Lighter Socket: This is the simplest and most common method.
- Plug In: Connect the dashcam’s power adapter to your car’s 12V socket.
- Cable Routing: This is where careful planning comes in. You want to hide the cable as much as possible to maintain a clean look and prevent it from dangling or obstructing your view.
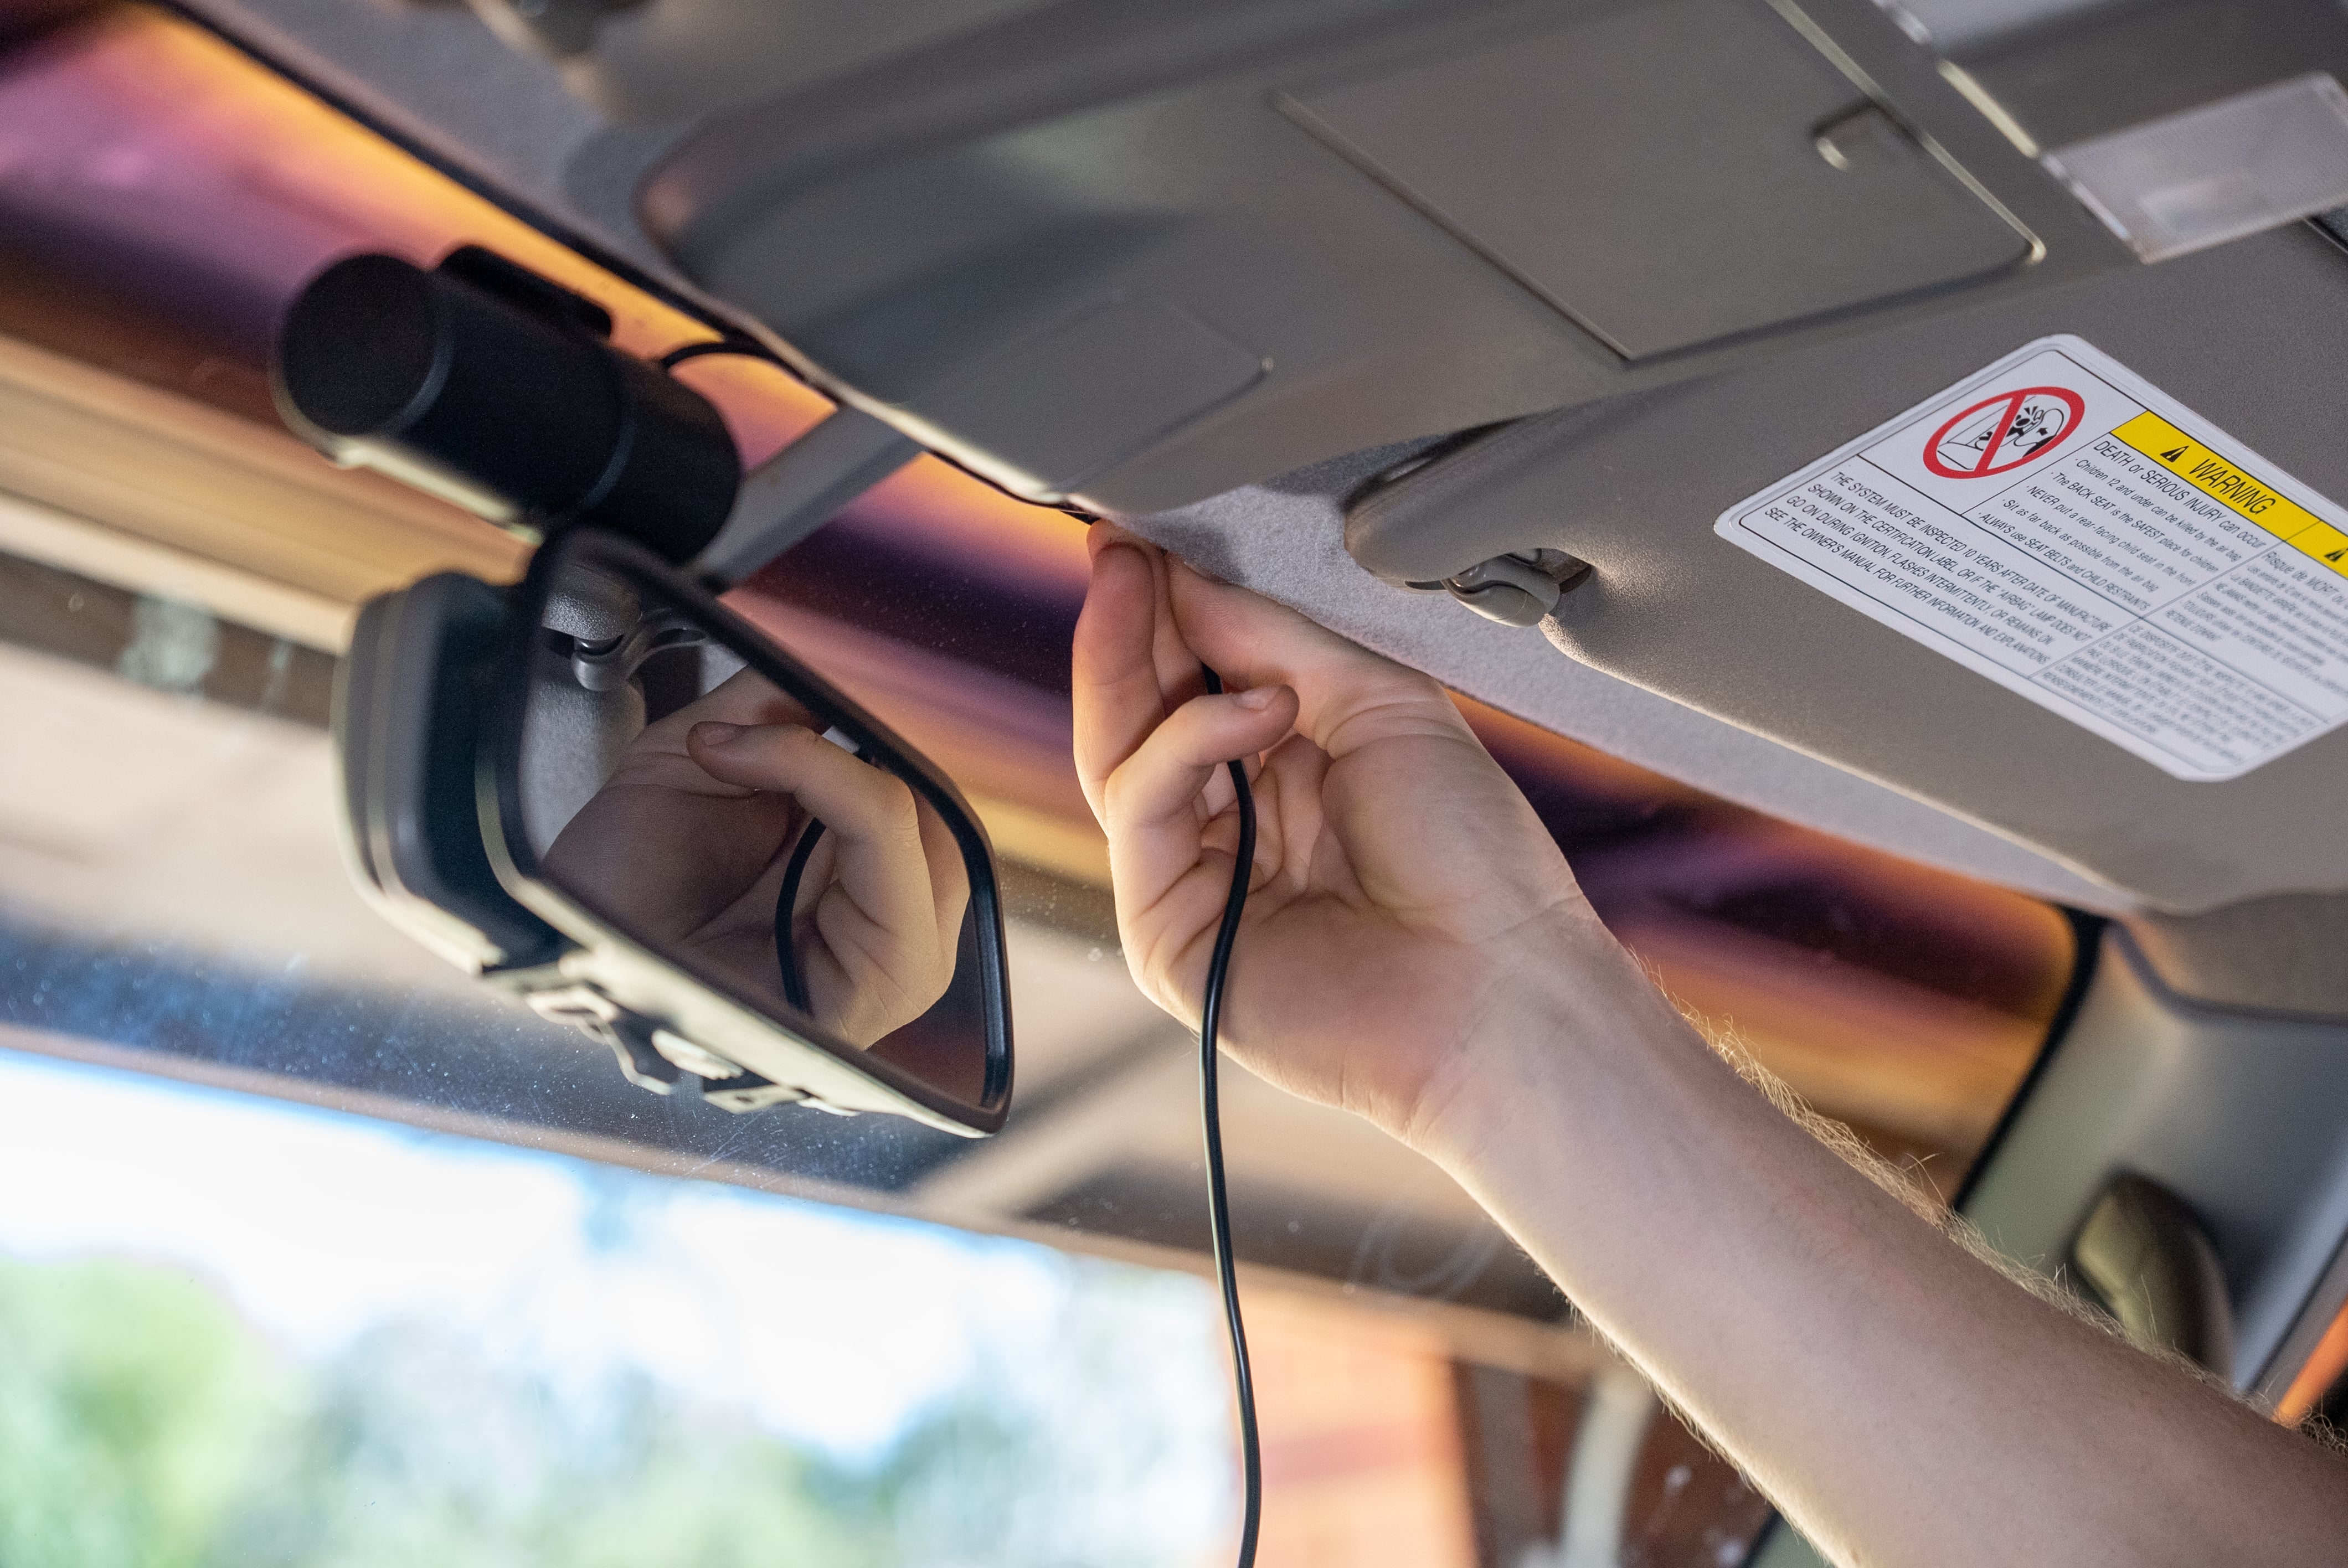
- Headliner: Gently pull down the edge of your car’s headliner. Most modern cars have a small gap between the headliner and the roof that you can tuck the power cable into. Use a plastic trim tool or a credit card to carefully push the wire into this gap.
- Pillars: Proceed along the A-pillar (the pillar between the windshield and the front door). Be cautious here, as some pillars contain airbags. Consult your car’s manual to understand if and where airbags are located before tucking wires. If you’re unsure, it’s best to avoid this route or seek professional help.
- Dashboard: Continue routing the cable along the edge of the dashboard, tucking it into any available seams or trim.
- Towards the Socket: Finally, route the cable towards your 12V socket, ensuring it’s neatly tucked away and doesn’t interfere with any pedals or controls.
-
Hardwiring Kit (For Constant Power and Parking Mode): For more advanced features like parking mode (which records even when the car is off), you’ll need to hardwire your dashcam. This connects the camera directly to your car’s fuse box. This method requires a bit more technical know-how and is often best left to professionals if you’re not comfortable with car electrics.
- Access the Fuse Box: Locate your car’s fuse box, typically found under the dashboard, in the glove compartment, or in the engine bay (less common for dashcams).
- Identify Suitable Fuses: You’ll need two fuses: one that is constantly powered (for parking mode) and one that is only powered when the ignition is on (to prevent battery drain when the car is off). You can identify these using a fuse tester or by consulting your car’s manual.
- Use a Fuse Tap: A fuse tap (or add-a-circuit) allows you to safely tap into an existing fuse circuit without disrupting its original function. It’s essentially a mini fuse holder that piggybacks onto your existing fuse.
- Connect the Wires: Follow the instructions provided with your hardwiring kit. Typically, you’ll connect the positive wire to the fuse tap, the negative wire to a metal grounding point in your car (like a bolt connected to the chassis), and the power adapter wire to the dashcam.
- Cable Management: Similar to the 12V socket method, carefully route and tuck the wires for a clean installation.
Financial Consideration: While a basic dashcam powered by the cigarette lighter is an affordable investment, hardwiring kits and professional installation will incur additional costs. Evaluate your budget and the features you desire to make the most financially sound decision.
Securing and Testing: The Final Touches
Once the wiring is complete, take a moment to secure any loose cables with zip ties or cable clips. This prevents them from sagging and maintains a professional finish.
- Test the Dashcam: Turn on your car’s ignition. The dashcam should power on automatically. Check the display to ensure it’s functioning correctly and recording.
- Adjust the Angle: Fine-tune the dashcam’s angle to capture the ideal view. Most cameras can be easily adjusted on their mounts.
- Review Footage: Take a short drive and then review the recorded footage on the dashcam or via its associated app. Ensure the video is clear, the audio is audible, and there are no significant vibrations.
Digital Security Aspect: When using apps to manage your dashcam footage, ensure you’re using strong, unique passwords and enabling two-factor authentication where available. This protects your personal data, which can include your location and driving habits.
Advanced Considerations and Maintenance
Installing a dashcam is just the beginning. To get the most out of your device and ensure its longevity, consider these advanced aspects and ongoing maintenance.
Utilizing Parking Mode and Other Features
Many dashcams offer advanced features that can be incredibly beneficial:
- Parking Mode: This feature automatically records when it detects motion or impact while your car is parked. It’s invaluable for capturing hit-and-run incidents or vandalism. However, it requires a constant power source (hardwiring) and can drain your car battery if not configured correctly. Some kits include battery protection features to prevent over-discharge.
- GPS Logging: This records your speed and location alongside your video. This can be crucial evidence in accident disputes.
- Collision Detection (G-Sensor): This built-in sensor detects impacts and automatically locks the current recording to prevent it from being overwritten.
Brand Strategy Integration: Think of your dashcam as an extension of your personal safety strategy. Just as a brand strategically positions itself to communicate value, your dashcam is strategically placed to provide value in terms of evidence and security.
Regular Maintenance for Optimal Performance
Like any electronic device, dashcams benefit from regular upkeep:
- Clean the Lens: Periodically clean the dashcam lens with a soft, lint-free cloth to ensure clear footage.
- Update Firmware: Many dashcams receive firmware updates that improve performance, fix bugs, and add new features. Check the manufacturer’s website or app for available updates.
- Format the SD Card: The memory card (usually a microSD card) is the heart of your dashcam. Periodically formatting it (backing up any important footage first!) can help prevent errors and ensure optimal performance. Follow the dashcam manufacturer’s recommendation for formatting frequency.
- Check Connections: Ensure all power and video cables are still securely connected.
Productivity Enhancement: By automating the recording of your drives, your dashcam enhances your productivity by freeing you from the worry of manually documenting incidents. It also provides peace of mind, allowing you to focus on the road.
In conclusion, installing a dashcam is a relatively straightforward process that can significantly enhance your driving experience by adding a layer of security, providing invaluable evidence, and offering peace of mind. By understanding your device, planning your installation strategically, and performing regular maintenance, you can effectively leverage this powerful piece of technology to protect yourself and your vehicle on every journey.
aViewFromTheCave is a participant in the Amazon Services LLC Associates Program, an affiliate advertising program designed to provide a means for sites to earn advertising fees by advertising and linking to Amazon.com. Amazon, the Amazon logo, AmazonSupply, and the AmazonSupply logo are trademarks of Amazon.com, Inc. or its affiliates. As an Amazon Associate we earn affiliate commissions from qualifying purchases.