
In the ever-evolving landscape of technology, maintaining a smooth and efficient computing experience is paramount. For any Windows user, the thought of a “fresh install” of Windows 10 often arises when performance deteriorates, pesky viruses invade, or when embarking on a new hardware setup. This process, while sounding daunting, is essentially a clean slate for your operating system, removing all existing data, applications, and settings to reinstall Windows 10 from scratch. It’s akin to giving your computer a complete makeover, promising renewed speed, stability, and a bug-free environment.
This guide will walk you through the comprehensive process of performing a fresh install of Windows 10. We’ll cover everything from understanding why you might need one, to the crucial preparation steps, the actual installation, and finally, what to do once Windows 10 is up and running. Whether you’re a seasoned tech enthusiast or a curious novice, this tutorial aims to demystify the process, ensuring you can confidently breathe new life into your PC.

Understanding the “Why” and “When” of a Fresh Windows 10 Install
Before diving into the technicalities, it’s essential to grasp why a fresh install is often the best solution for certain computing woes. Over time, operating systems can accumulate a significant amount of digital “clutter.” This includes residual files from uninstalled programs, temporary files that never get properly cleared, registry errors, and potentially even malware that has burrowed deep into the system, making it difficult to remove. All these factors can lead to a noticeable slowdown in your computer’s performance, frequent crashes, application unresponsiveness, and an overall frustrating user experience.
When is a Fresh Install the Right Choice?
Several scenarios strongly suggest a fresh install is the optimal path forward:
- Persistent Performance Issues: If your computer has become sluggish, takes an eternity to boot up, or struggles to run everyday applications, and you’ve exhausted other troubleshooting steps like disk cleanup and malware scans, a fresh install can often resolve these deep-seated performance bottlenecks.
- Malware and Virus Infections: When standard antivirus software fails to remove stubborn malware or viruses, or if you suspect your system is compromised in a way that affects its core functionality, a fresh install acts as a definitive digital purge, ensuring no malicious elements remain.
- Major Hardware Changes: If you’ve upgraded a significant component like your motherboard, CPU, or even replaced your hard drive, a fresh install is often recommended to ensure optimal compatibility and driver integration with the new hardware. While Windows can sometimes adapt, a clean slate prevents potential conflicts.
- Troubleshooting Unsolvable Software Glitches: For those rare, elusive software bugs that defy all attempts at diagnosis and repair, a fresh install can eliminate the possibility of a corrupted operating system file being the culprit.
- Selling or Giving Away Your Computer: If you’re looking to transfer ownership of your PC, a fresh install is crucial for ensuring all your personal data and settings are completely wiped, protecting your privacy.
While a fresh install is powerful, it’s important to distinguish it from an “in-place upgrade” or a “reset.” An in-place upgrade keeps your files and applications while updating the Windows version. A “reset” offers options to keep or remove personal files but is less thorough than a true fresh install. A fresh install is the most drastic but often the most effective solution for a truly revitalized system.
Preparing for the Digital Reset: Essential Steps Before Installation
The idea of wiping your system clean can be nerve-wracking, but meticulous preparation is the key to a smooth and successful fresh install of Windows 10. This phase is arguably the most critical, as it safeguards your valuable data and ensures you have everything you need to get back up and running quickly.
1. Back Up Your Important Data
This is non-negotiable. A fresh install will erase everything on your primary drive. Before you begin, you must back up all your essential files, documents, photos, videos, music, and any other personal data you can’t afford to lose.
- External Hard Drives or SSDs: This is the most common and reliable method. Connect an external drive and copy all your important folders and files.
- Cloud Storage Services: Services like OneDrive, Google Drive, Dropbox, or iCloud can be used to sync your important files. Ensure all critical data is fully uploaded before proceeding.
- USB Flash Drives: For smaller amounts of data, USB drives can be a convenient option.
- Network Attached Storage (NAS): If you have a home network storage device, this is another excellent option for backing up large volumes of data.
What to Back Up:
- Documents: Word files, spreadsheets, presentations, PDFs, etc.
- Photos and Videos: Personal memories and media.
- Music and Other Media: Your digital entertainment library.
- Desktop and Downloads Folders: These often contain frequently accessed and important files.
- Application Settings and Licenses: For some applications, you might need to export their settings or have license keys ready for reinstallation.
- Browser Bookmarks and Passwords: Most browsers offer an option to sync or export these.
2. Gather Your Software and Product Keys
After the fresh install, you’ll need to reinstall all your essential applications. Having them ready and knowing your product keys will significantly speed up the post-installation process.
- Software Installers: Download the latest installation files for your frequently used software (e.g., Microsoft Office, Adobe Creative Suite, web browsers, games, antivirus). Store these on an external drive or in a dedicated cloud folder.
- Product Keys and Licenses: Crucially, locate and record all your software product keys or license information. For Windows itself, if you have a digital license linked to your Microsoft account, this will be automatically applied. For other paid software, have these keys readily accessible.
3. Create Windows 10 Installation Media
To perform a fresh install, you’ll need bootable installation media. Microsoft provides a free tool called the Media Creation Tool for this purpose.
- Download the Media Creation Tool: Go to the official Microsoft Windows 10 download page and download the tool.
- Choose “Create installation media (USB flash drive, DVD, or ISO file) for another PC”.
- Select Language, Edition, and Architecture: Usually, you’ll want to select the options recommended for your PC, but ensure they match the Windows 10 version you intend to install.
- Choose Media Type:
- USB Flash Drive: Requires a USB drive with at least 8GB of space. This is the most common and recommended method due to its speed and ease of use.
- ISO File: This creates an ISO disk image that you can later burn to a DVD or use with virtual machine software.
Follow the on-screen instructions to create your bootable USB drive or download the ISO file.
4. Find Your Product Key (If Necessary)
If you don’t have a digital license linked to your Microsoft account and you purchased a retail copy of Windows 10, you’ll need your product key for activation.
- Digital License: If you upgraded from a genuine Windows 7 or 8.1, or if you purchased Windows 10 from the Microsoft Store, you likely have a digital license linked to your Microsoft account. You can sign in with your Microsoft account after the fresh install, and Windows will activate automatically.
- Physical Copy/Email: Check the packaging of your Windows 10 purchase or any confirmation emails for the 25-character product key.
- Pre-installed Windows: If Windows came pre-installed on your computer, the license is usually tied to the hardware, and activation should be automatic.
The Fresh Installation Process: Step-by-Step Guide
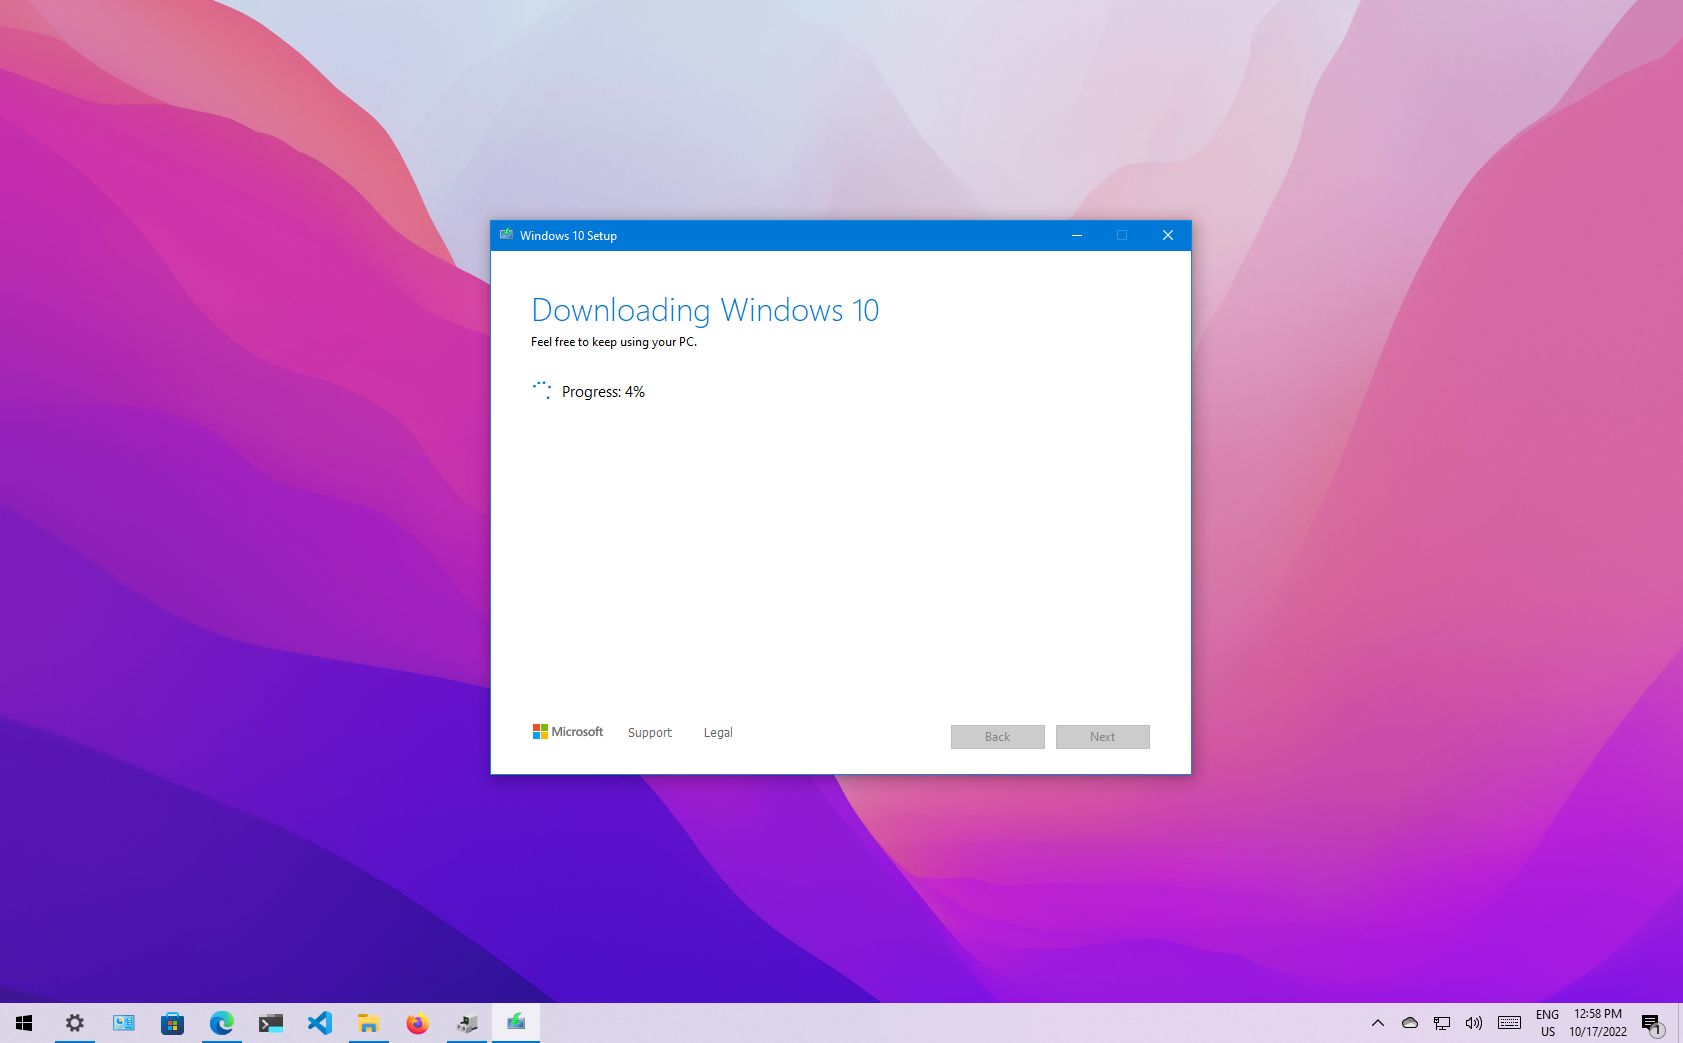
With all your preparations in order, it’s time to embark on the actual installation. This involves booting your computer from the installation media and following the on-screen prompts.
1. Booting from the Installation Media
This is often the most technically intimidating step for beginners, but it’s straightforward once you understand it.
- Insert the USB Drive or DVD: Plug in your bootable USB drive or insert the Windows 10 installation DVD into your computer.
- Restart Your Computer: Reboot your PC.
- Access the BIOS/UEFI: As your computer starts up, you’ll need to press a specific key to enter the BIOS (Basic Input/Output System) or UEFI (Unified Extensible Firmware Interface) settings. Common keys include
F2,F10,F12,Del, orEsc. The exact key is usually displayed on the screen briefly during startup. If you miss it, restart and try again. - Change the Boot Order: Within the BIOS/UEFI settings, navigate to the “Boot” or “Boot Order” section. You need to set your USB drive or DVD drive as the first boot device. This tells your computer to prioritize loading from the installation media rather than your internal hard drive.
- Save and Exit: Save your changes in the BIOS/UEFI and exit. Your computer will restart again.
If done correctly, you should see a message like “Press any key to boot from USB or DVD…” Press any key at this prompt to proceed.
2. Running the Windows 10 Setup
Once your computer boots from the installation media, the Windows 10 setup wizard will appear.
- Language, Time, and Keyboard Preferences: Select your preferred language, time and currency format, and keyboard input method. Click “Next.”
- Install Now: Click the “Install now” button.
- Enter Product Key (Optional): If prompted for a product key, you can enter it now. If you have a digital license, you can also click “I don’t have a product key” and Windows will activate later when you connect to the internet and sign in with your Microsoft account.
- Select Operating System: Choose the edition of Windows 10 you want to install (e.g., Windows 10 Home, Windows 10 Pro). Ensure this matches your license.
- Accept License Terms: Read the license terms and check the box to accept them. Click “Next.”
- Choose Installation Type: This is a crucial step. Select “Custom: Install Windows only (advanced)”. This option allows for a clean install.
- Disk Partitioning: You will see a list of drives and partitions on your computer.
- Identify Your Primary Drive: This is usually “Drive 0” and where your current Windows installation is.
- Delete Existing Partitions: To perform a truly fresh install, you need to delete the partitions associated with your old Windows installation. Select each partition related to your current OS (e.g., “Primary,” “System Reserved,” “Recovery”) and click “Delete.” Be absolutely sure you are deleting the correct partitions, as this action is irreversible.
- Create New Partition (Optional but Recommended): Once you have unallocated space, select it and click “New” to create a new primary partition. Windows will automatically create any necessary system partitions.
- Select the Primary Partition: Select the newly created primary partition and click “Next.”
- Windows Installation: The setup will now begin copying files, installing features, and installing updates. This process will take some time and your computer will restart several times.
3. Initial Setup and Configuration
After the core installation is complete, Windows 10 will guide you through the initial setup.
- Region and Keyboard Layout: Confirm your region and keyboard layout.
- Connect to a Network: Connect to your Wi-Fi network or wired Ethernet.
- Sign In or Create a Microsoft Account: You can sign in with your existing Microsoft account (recommended for digital license and sync features) or create a new one. You can also choose to set up an offline account, though this limits some Windows features.
- Create a PIN: For faster sign-ins, create a PIN.
- Privacy Settings: Review and configure your privacy settings according to your preferences.
- Cortana: You can choose whether to enable or disable Cortana, Microsoft’s virtual assistant.
- “Get started” / Desktop: Once these steps are complete, you will be greeted by the familiar Windows 10 desktop.
Post-Installation Essentials: Getting Your System Back Up and Running
You’ve successfully completed the fresh install! Now, the focus shifts to getting your system fully functional and secure, and restoring your digital life.
1. Install Drivers
While Windows 10 often installs generic drivers automatically, it’s crucial to install the specific drivers for your hardware components to ensure optimal performance and functionality.
- Manufacturer’s Website: The best place to get the latest drivers is your computer manufacturer’s website (e.g., Dell, HP, Lenovo) or the website of individual component manufacturers (e.g., NVIDIA, AMD, Intel).
- Key Drivers to Install:
- Chipset Drivers: Essential for overall system stability.
- Graphics Card Drivers: Crucial for display resolution, performance in applications and games.
- Network Adapter Drivers (Wi-Fi and Ethernet): Ensure you have internet connectivity.
- Audio Drivers: For sound output.
- Motherboard Drivers: Includes drivers for USB ports, SATA controllers, etc.
- Device Manager: You can check Device Manager (search for it in the Windows search bar) for any devices with a yellow exclamation mark, indicating a missing or problematic driver.
2. Windows Updates
Windows Update is your gateway to security patches, bug fixes, and new features.
- Run Windows Update: Go to
Settings > Update & Security > Windows Updateand click “Check for updates.” - Install All Available Updates: Install all critical and recommended updates. This might require several restarts.
- Optional Updates: Review any optional driver updates offered by Windows Update, but prioritize drivers from the manufacturer’s website.
3. Reinstall Your Applications
Now is the time to reinstall all the software you backed up or downloaded.
- Install Essential Software First: Begin with your web browsers, antivirus software, and productivity suites.
- Follow Application Installers: Use the installer files you prepared earlier.
- Enter Product Keys: When prompted, enter your software product keys.
4. Restore Your Personal Files
The final step is to bring your personal data back onto your freshly installed system.
- Copy from Backup: Connect your external drive, access your cloud storage, or use your backup solution to copy your documents, photos, music, and other files back to their appropriate locations on your computer.
- Organize: Take this opportunity to organize your files and folders if you feel they need tidying up.
5. Additional Tweaks and Security
- Antivirus Software: Ensure your chosen antivirus is installed and updated. Consider Windows Defender, which is built into Windows 10 and offers robust protection.
- System Restore Point: It’s a good practice to create a system restore point after you’ve got everything set up, giving you a fallback option if future changes cause issues.
- Personalize: Customize your desktop background, theme, and other settings to make your computer feel like your own again.
Performing a fresh install of Windows 10 is a powerful way to resolve persistent issues, boost performance, and start with a clean, optimized system. While it requires careful preparation and execution, the rewards of a fast, stable, and secure computing experience are well worth the effort. With this guide, you should be equipped to confidently tackle this essential tech maintenance task.
aViewFromTheCave is a participant in the Amazon Services LLC Associates Program, an affiliate advertising program designed to provide a means for sites to earn advertising fees by advertising and linking to Amazon.com. Amazon, the Amazon logo, AmazonSupply, and the AmazonSupply logo are trademarks of Amazon.com, Inc. or its affiliates. As an Amazon Associate we earn affiliate commissions from qualifying purchases.