In the rapidly evolving landscape of technology, data has emerged as the most valuable asset. From driving AI innovations and machine learning algorithms to informing crucial business strategies and personal financial decisions, the ability to collect, process, and understand data is paramount. At the heart of this data revolution for Python users lies a powerful, open-source library known as Pandas. If you’re looking to dive into data analysis, manipulate large datasets, or prepare data for advanced machine learning models, installing Pandas is your essential first step.
This comprehensive guide will walk you through everything you need to know about installing Pandas, ensuring you have a robust foundation for your data journey. We’ll cover the fundamental prerequisites, provide step-by-step instructions for various installation methods, show you how to verify your setup, and offer practical solutions for common troubleshooting scenarios. By the end of this article, you’ll be fully equipped to unlock the immense power of Pandas and elevate your data analysis capabilities.

1. Unlocking the Power of Data with Pandas: An Introduction
Pandas is a foundational library in the Python data science ecosystem, renowned for its ease of use and powerful data structures. At its core, Pandas provides two primary data structures: Series (a one-dimensional labeled array) and DataFrame (a two-dimensional labeled data structure with columns of potentially different types, similar to a spreadsheet or SQL table). These structures make data manipulation intuitive and efficient, allowing users to perform complex operations with relatively simple code.
Why is Pandas indispensable? Imagine having a raw dataset containing customer information, sales figures, or sensor readings. Before you can derive any meaningful insights, this data often needs cleaning, transformation, and aggregation. Pandas excels at these tasks, providing functions for:
- Data Cleaning: Handling missing data, removing duplicates, and correcting inconsistencies.
- Data Transformation: Reshaping data, merging different datasets, and applying custom functions.
- Data Analysis: Grouping data, performing statistical operations, and creating pivot tables.
- Data Loading and Saving: Reading data from various formats (CSV, Excel, SQL databases, JSON) and writing it back out.
For anyone working in tech, from software developers building data-driven applications to data scientists crafting AI tools, or even entrepreneurs analyzing market trends and personal finances, Pandas streamlines the most laborious parts of the data workflow. Its widespread adoption underscores its reliability and efficiency, making it a critical tool in your digital arsenal for productivity and informed decision-making.
2. Prerequisites for Your Pandas Journey: Setting the Foundation
Before you can install Pandas, you need to ensure your system has the necessary groundwork laid. Think of it like preparing the soil before planting a seed – the right environment ensures healthy growth. The primary prerequisite is Python itself, along with an understanding of how package managers work within its ecosystem.
Python: The Language of Data
Pandas is a Python library, which means you must have Python installed on your system. For optimal compatibility and access to the latest features and security updates, we recommend using a modern Python 3 version, preferably 3.8 or newer. Older versions might not support the latest Pandas releases, leading to potential compatibility issues.
Python is the lingua franca of data science for several reasons: its readability, vast collection of libraries (like Pandas, NumPy, SciPy, Scikit-learn, Matplotlib), and strong community support. If you don’t have Python installed, or if your version is outdated, you can download the latest stable release from the official Python website (python.org). Follow the installation instructions for your specific operating system (Windows, macOS, or Linux). A crucial step during Windows installation is to check the box that says “Add Python to PATH,” as this simplifies running Python commands from your terminal.
Understanding Package Managers: Pip vs. Conda
Once Python is installed, the next crucial component is a package manager. Package managers are tools that automate the process of installing, upgrading, configuring, and removing software packages. For Python, the two most prominent package managers are pip and conda.
-
Pip (Pip Installs Packages): This is Python’s official, standard package installer. When you install Python,
pipis typically included by default. It’s used to install packages from the Python Package Index (PyPI), which hosts a vast repository of Python software. Pip is lightweight and works seamlessly with virtual environments, making it a flexible choice for most Python projects. -
Conda: Conda is an open-source package management system and environment management system. While pip focuses exclusively on Python packages, Conda can manage packages for many languages (Python, R, Ruby, Lua, Scala, Java, JavaScript, C/C++, FORTRAN) and manages non-Python dependencies. Conda is often associated with the Anaconda distribution, which is a popular choice for data scientists because it bundles Python, Conda, and hundreds of scientific computing packages (including Pandas) out of the box. Miniconda is a smaller version of Anaconda, containing just Python and Conda, allowing users to build their environment more selectively.
When to use which?
If you’re primarily working with Python packages and don’t require complex non-Python dependencies, pip is generally sufficient and simpler. If you’re a data scientist, regularly work with multiple programming languages, or need to manage complex environments with many scientific libraries, conda (especially via Anaconda or Miniconda) offers a more integrated and robust solution. For this guide, we’ll cover both methods, allowing you to choose the one that best fits your workflow.
3. The Core of Installation: Step-by-Step Guides
With Python and a package manager in place, you’re ready to install Pandas. We’ll detail the two primary methods: using pip and using conda, followed by a crucial best practice – utilizing virtual environments.
Method 1: Installing Pandas with Pip (The Universal Approach)
This method is suitable for most users who have Python installed and wish to add Pandas to their environment.
Step 1: Open Your Terminal or Command Prompt
- Windows: Search for “Command Prompt” or “PowerShell” in your Start menu and open it.
- macOS: Open “Terminal” from Applications > Utilities.
- Linux: Open your preferred terminal application (e.g., Ctrl+Alt+T).
Step 2: Ensure Pip is Up-to-Date (Recommended)
While pip comes with Python, it’s good practice to ensure you have the latest version. An outdated pip can sometimes lead to installation issues or dependency conflicts.
Run the following command:
python -m pip install --upgrade pip
This command tells Python to run the pip module and upgrade it to its latest version.
Step 3: Install Pandas
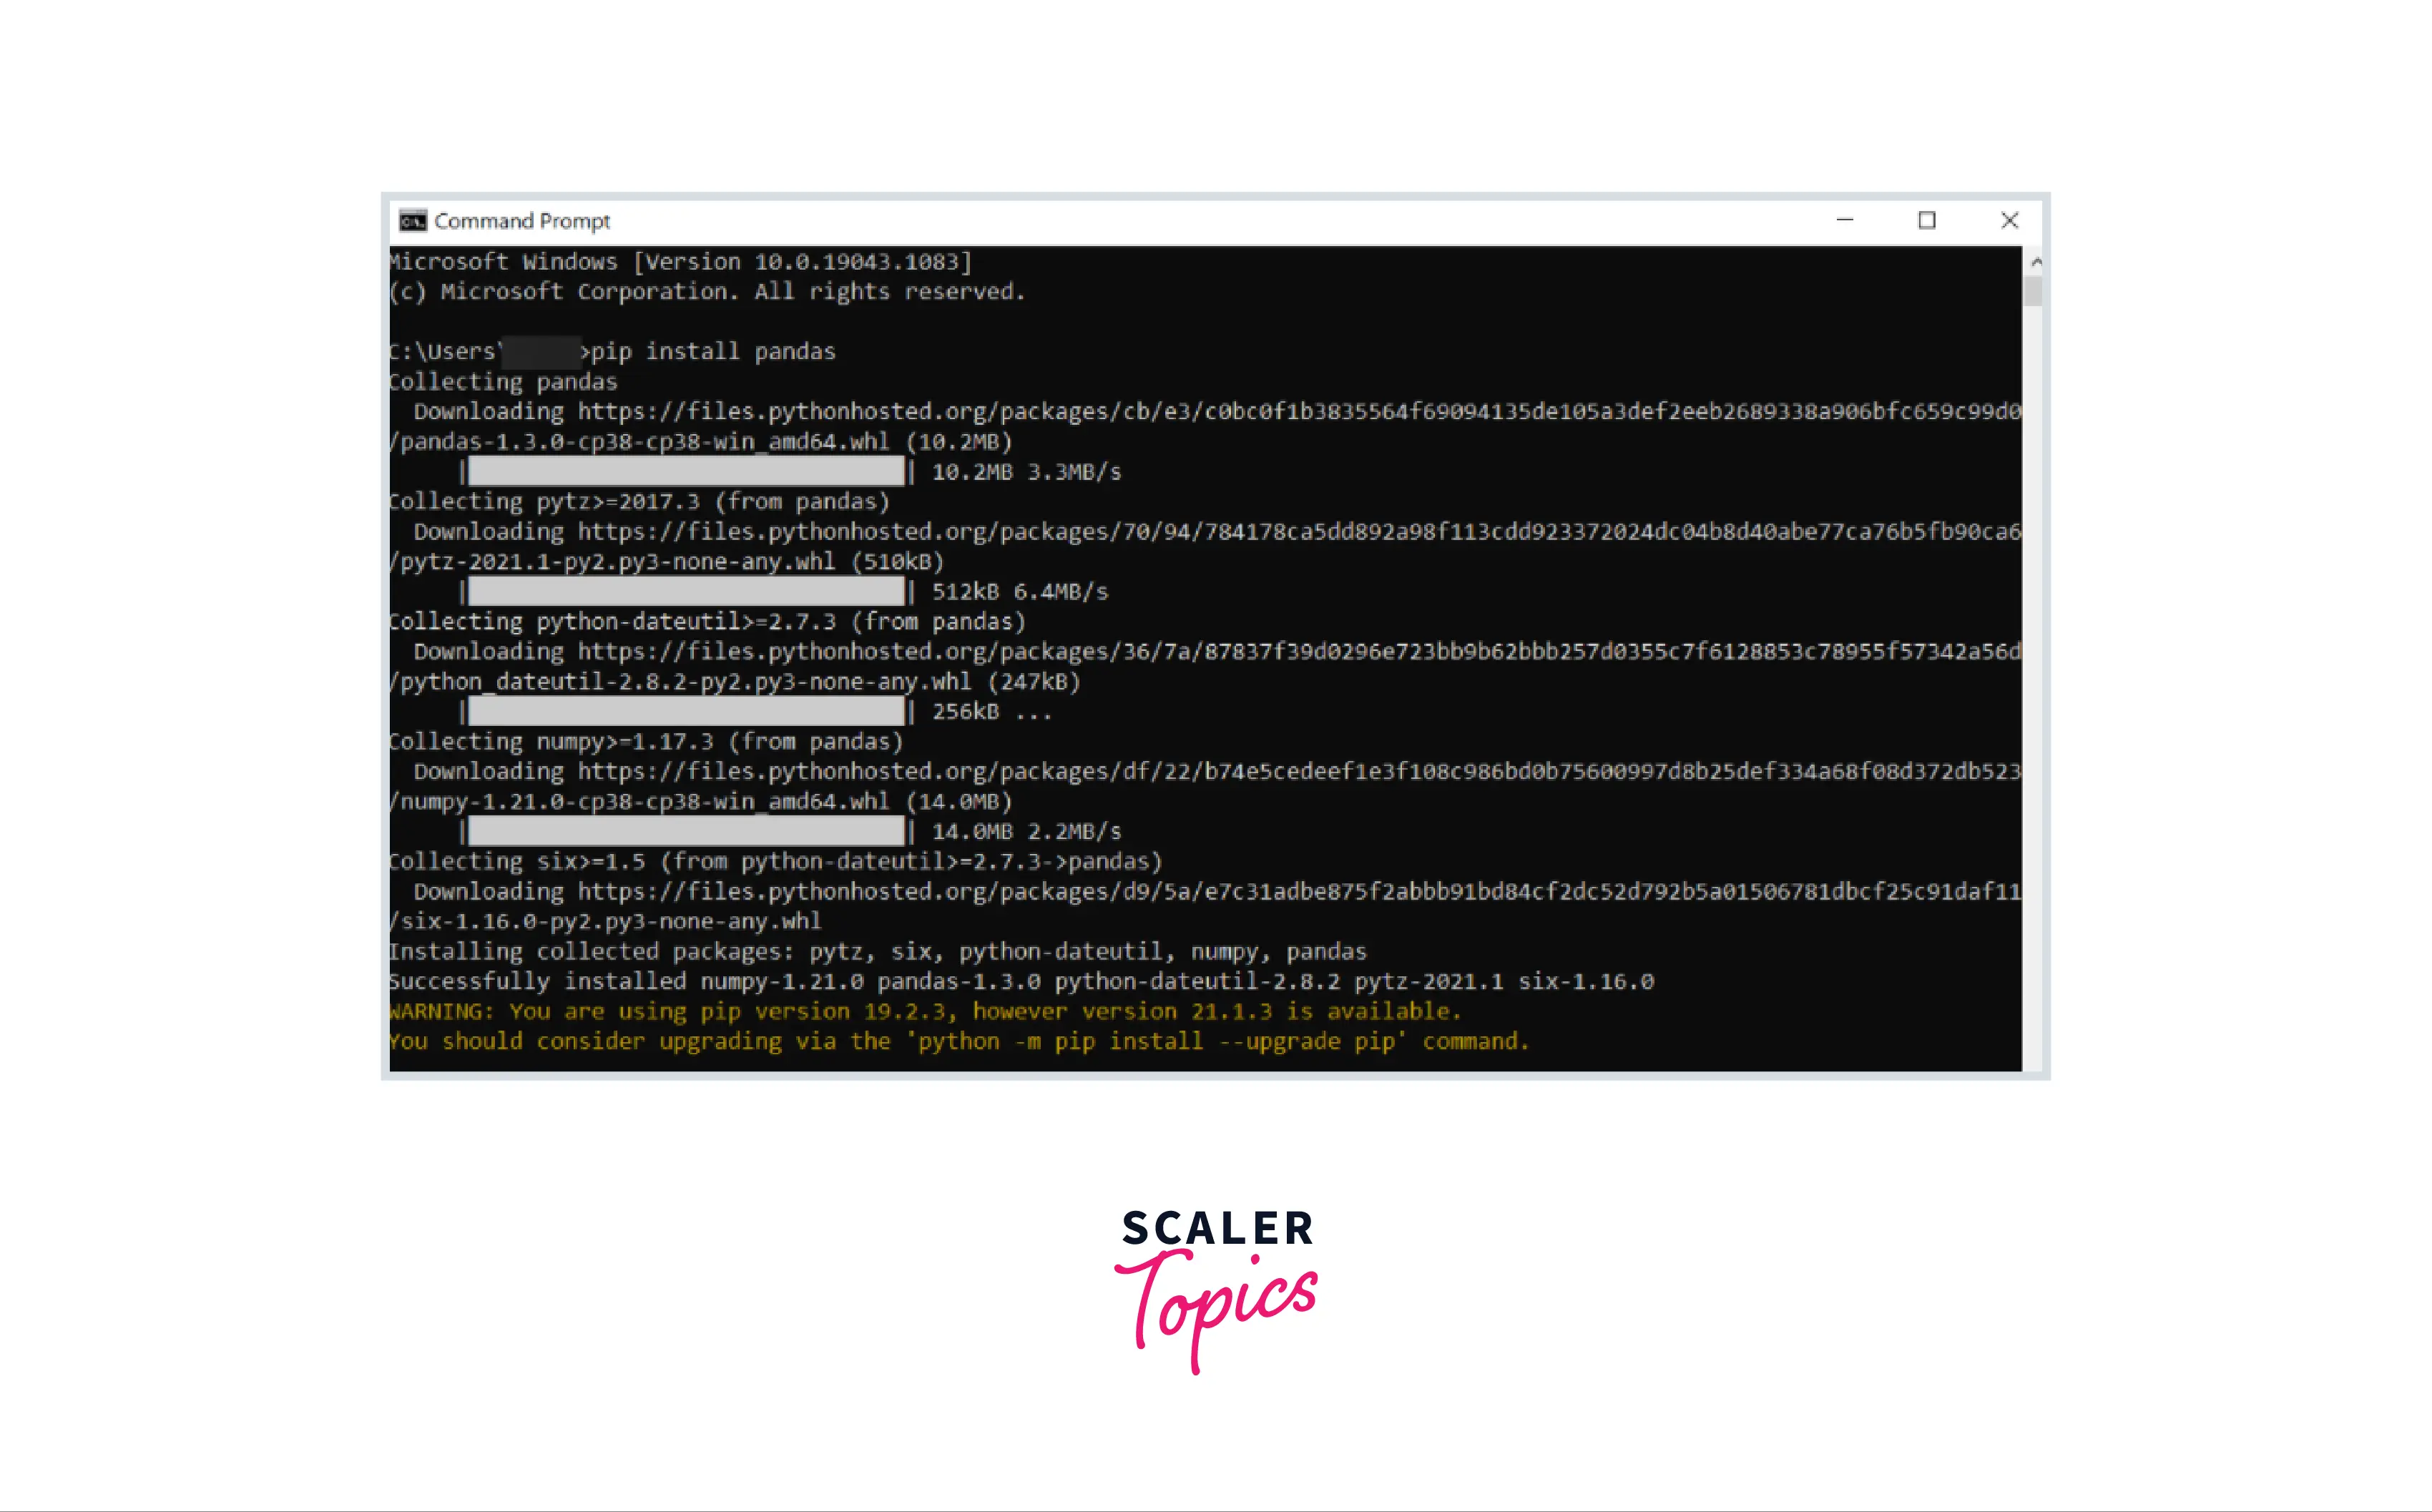
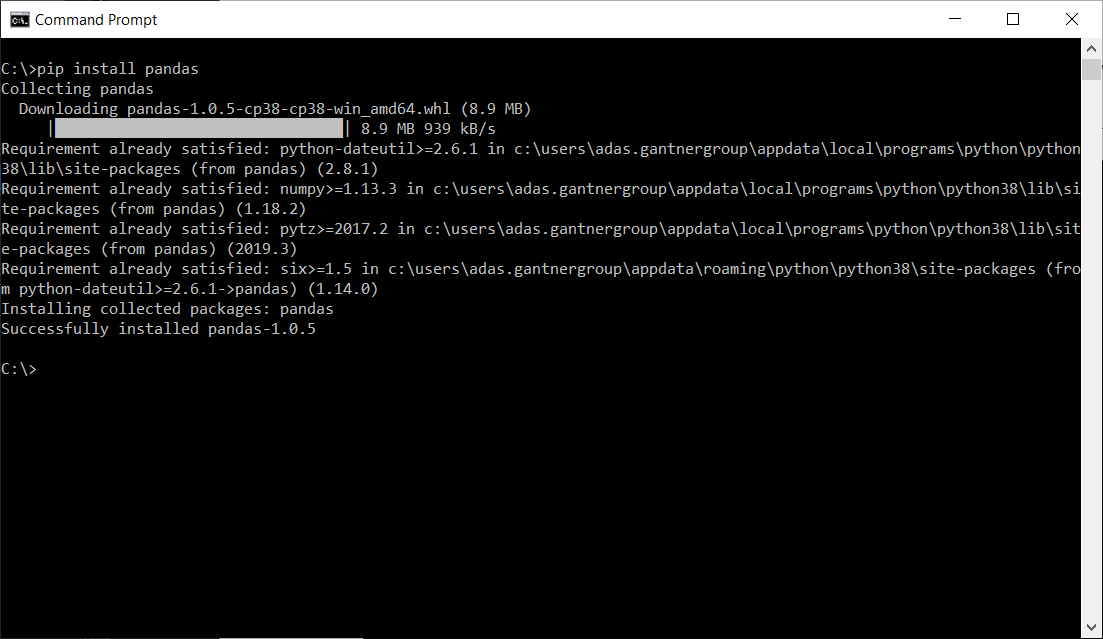
Now, you can install Pandas using pip. The command is straightforward:
pip install pandas
Press Enter. Pip will connect to PyPI, download the Pandas package along with its dependencies (like NumPy, which Pandas relies on for numerical operations), and install them into your Python environment. You will see output indicating the download and installation progress.
Considerations:
- Permissions (Linux/macOS): If you encounter permission errors (e.g.,
Permission denied), you might need to usesudo(SuperUser Do) before the command:sudo pip install pandas. However, usingsudowithpipis generally discouraged unless absolutely necessary, as it can lead to system-wide changes and potential conflicts. A better solution is to use a virtual environment (discussed next). - Multiple Python Versions: If you have multiple Python versions installed (e.g., Python 2 and Python 3), you might need to specify
pip3instead ofpip:pip3 install pandas.
Method 2: Installing Pandas with Conda (For Anaconda/Miniconda Users)
If you’ve opted for the Anaconda or Miniconda distribution, conda is your preferred package manager. Conda streamlines the process and ensures compatibility with other scientific libraries.
Step 1: Open Your Conda-Specific Terminal
- Windows: Search for “Anaconda Prompt (Anaconda3)” in your Start menu and open it.
- macOS/Linux: Open your regular terminal. If you installed Anaconda/Miniconda correctly,
condacommands should be available directly. You might see(base)next to your prompt, indicating you’re in the base Conda environment.
Step 2: Install Pandas
Installing Pandas with Conda is as simple as with Pip:
conda install pandas
Conda will analyze your current environment, identify Pandas and its dependencies, and then prompt you to confirm the installation. Type y and press Enter to proceed. Conda is particularly good at resolving complex dependencies, ensuring all required packages are installed in compatible versions.
Advantages of Conda Environments:
One of Conda’s most powerful features is its ability to create isolated environments. While you can install Pandas directly into your base environment, creating a dedicated environment for your projects is highly recommended for maintaining a clean and conflict-free setup. For example, to create a new environment named my_pandas_env with Python 3.9 and Pandas already installed:
conda create -n my_pandas_env python=3.9 pandas
To activate this environment:
conda activate my_pandas_env
Once activated, any packages you install (e.g., pip install matplotlib or conda install scikit-learn) will reside only within my_pandas_env, keeping your base environment pristine and preventing conflicts between different projects’ dependencies. This level of organization significantly boosts productivity and minimizes potential headaches down the line.
Best Practice: Utilizing Virtual Environments for a Clean Setup
Regardless of whether you use pip or conda, employing virtual environments is a cornerstone best practice in Python development. A virtual environment is an isolated Python installation that allows you to manage dependencies for different projects separately. This prevents conflicts between packages required by one project versus another and keeps your global Python installation clean. It’s a crucial aspect of digital security and productivity, ensuring that specific project requirements don’t accidentally break other applications or tools on your system.
Why use Virtual Environments?
- Dependency Isolation: Project A might need Pandas version 1.0, while Project B needs Pandas 2.0. Without virtual environments, installing both simultaneously could lead to conflicts or errors. With environments, each project gets its specific set of dependencies.
- Cleanliness: Your global Python installation remains pristine, free from project-specific packages.
- Reproducibility: You can easily share your project’s
requirements.txtfile (generated from a virtual environment), allowing others to replicate your exact setup. - Security & Stability: Prevents system-wide changes that could inadvertently introduce vulnerabilities or break other tools relying on specific package versions.
How to Use Virtual Environments (with venv – Python’s Built-in Module):
-
Navigate to your Project Directory: Open your terminal and
cdinto the folder where your project will reside.cd /path/to/your/project -
Create a Virtual Environment: Use Python’s built-in
venvmodule. We typically name the environment.venvorenv.python -m venv .venvThis command creates a new directory named
.venv(or whatever you choose) inside your project folder, containing a copy of the Python interpreter andpip. -
Activate the Virtual Environment: This step is crucial. Activating the environment modifies your shell’s PATH variable so that
pythonandpipcommands now refer to the ones inside your virtual environment, not your global installation.
*   **macOS/Linux:**
    ```bash
    source .venv/bin/activate
    ```
*   **Windows (Command Prompt):**
    ```bash
    .venvScriptsactivate
    ```
*   **Windows (PowerShell):**
    ```powershell
    .venvScriptsActivate.ps1
    ```
You'll notice your terminal prompt changes (e.g., `(.venv) user@host:~/project$`) to indicate that the virtual environment is active.
-
Install Pandas (and other packages) within the Active Environment:
pip install pandasNow, Pandas is installed only within this specific virtual environment. Your global Python installation remains unaffected.
-
Deactivate the Virtual Environment: When you’re done working on your project, you can deactivate the environment.
bash

deactivate
Your terminal prompt will return to its normal state.
For Conda users, the concept is similar but integrated directly into the conda commands as demonstrated earlier (conda create -n my_env and conda activate my_env). Conda environments are generally more robust for managing non-Python dependencies.
4. Verifying Your Pandas Installation: A Quick Check
After going through the installation steps, it’s vital to confirm that Pandas has been installed correctly and is accessible. This verification process is simple and ensures you can start coding without hiccups.
Step 1: Activate Your Virtual Environment (if applicable)
If you installed Pandas into a virtual environment, make sure it’s activated before proceeding.
# For venv:
source .venv/bin/activate
# For conda:
conda activate my_pandas_env
Step 2: Open a Python Interpreter
Type python (or python3) in your terminal and press Enter. This will launch the interactive Python interpreter, indicated by >>> prompts.
Step 3: Import Pandas and Check its Version
Inside the Python interpreter, type the following two lines:
import pandas as pd
print(pd.__version__)
If Pandas is installed correctly, the import pandas as pd line will execute without error, and the print(pd.__version__) command will display the installed version number (e.g., 2.1.4).
If you see an ModuleNotFoundError: No module named 'pandas' error, it means Pandas was not found. This could be due to:
- Pandas not being installed.
- You’re not in the correct virtual environment where Pandas was installed.
- Your system’s PATH variable isn’t correctly configured to find Python.
In such cases, revisit the installation steps and ensure your environment is set up correctly.
Step 4: Exit the Interpreter
To exit the Python interpreter, type exit() and press Enter, or simply press Ctrl+D (Linux/macOS) or Ctrl+Z then Enter (Windows).
5. Troubleshooting Common Installation Issues: Navigating Potential Hurdles
Even with careful steps, you might encounter issues during installation. Here are some common problems and their solutions, designed to help you quickly get back on track.
“pip is not recognized” or “conda is not recognized”
This error usually means that the pip or conda executable is not in your system’s PATH environment variable. The PATH variable tells your operating system where to look for executable programs.
Solutions:
- Reinstall Python/Anaconda: During Python installation on Windows, ensure you check the “Add Python to PATH” option. For Anaconda/Miniconda, the installer typically handles this automatically.
- Manually Add to PATH: For advanced users, you can manually add the directory containing
pip(e.g.,C:Python39Scriptson Windows, or/usr/local/binon Linux/macOS) orcondato your system’s PATH. This process varies slightly by OS. - Use
python -m pip: Instead of justpip, trypython -m pip install pandas. This explicitly tells Python to run thepipmodule, bypassing PATH issues forpipitself.
“Could not find a version that satisfies the requirement pandas”
This error typically indicates that pip couldn’t find a Pandas package that matches your Python version or other installed packages.
Solutions:
- Check for Typos: Ensure you typed
pandascorrectly. - Update Pip: An outdated
pipmight not be aware of the latest package versions. Runpython -m pip install --upgrade pip. - Internet Connection: Verify you have an active internet connection, as
pipandcondaneed to download packages. - Proxy Issues: If you’re behind a corporate proxy, you might need to configure
piporcondato use it.- For
pip: Set environment variablesHTTP_PROXYandHTTPS_PROXY. - For
conda: Useconda config --set proxy_servers.http http://user:pass@host:port.
- For
- Python Version Incompatibility: Very old Python versions might not have compatible Pandas releases. Ensure you are using Python 3.8 or newer.
Permission Errors (e.g., Permission denied)
This happens when your user account doesn’t have the necessary rights to write files to the installation directory, especially if you’re trying to install globally.
Solutions:
- Use
sudo(Linux/macOS):sudo pip install pandas. Be cautious withsudoas it performs system-wide installation. This is generally discouraged for Python packages unless you know what you’re doing. - Run as Administrator (Windows): Right-click your Command Prompt/PowerShell icon and select “Run as administrator.”
- Preferred: Use Virtual Environments: The best solution is to use a virtual environment. When you install packages into an activated virtual environment, you’re installing them into a user-owned directory within your project, avoiding system-level permission issues entirely. This is a key aspect of maintaining digital security and system stability.
Conflicts with Existing Packages
Sometimes, installing Pandas might lead to conflicts if other packages in your environment require different versions of Pandas or its dependencies (like NumPy).
Solutions:
- Virtual Environments (Again!): This is the strongest argument for using virtual environments. They prevent conflicts by isolating each project’s dependencies.
- Using
conda: Conda is particularly good at resolving complex dependency conflicts. If you’re using pip, and encounter persistent conflicts, switching to a Conda environment might simplify the process. pip install --ignore-installed: This forcespipto reinstall packages even if they are already present, potentially resolving version issues. Use with caution, as it can break other installed software.pip freeze > requirements.txtand manual inspection: To understand your current environment’s dependencies, runpip freeze. This lists all installed packages and their versions. You can then try uninstalling problematic packages (pip uninstall package_name) before reinstalling Pandas.
6. Beyond Installation: Your First Steps with Pandas and Further Exploration
Congratulations! With Pandas successfully installed, you’ve taken a significant leap into the world of data analysis. While this guide focused on installation, it’s worth taking a moment to appreciate what you’ve unlocked and consider your next steps.
A Simple Taste of Pandas:
To get a feel for Pandas, you can open a Python interpreter (within your activated virtual environment) and try a very basic example:
import pandas as pd

# Create a simple DataFrame
data = {
    'Name': ['Alice', 'Bob', 'Charlie', 'David'],
    'Age': [25, 30, 35, 40],
    'City': ['New York', 'London', 'Paris', 'Tokyo']
}
df = pd.DataFrame(data)

# Print the DataFrame
print(df)

# Access a column
print("nNames:")
print(df['Name'])

# Filter data
print("nPeople older than 30:")
print(df[df['Age'] > 30])
This simple script demonstrates how easy it is to create a structured dataset (DataFrame), display it, access specific columns, and even filter rows based on conditions. This is just the tip of the iceberg of what Pandas can do.
Where to Go Next:
- Official Pandas Documentation: The Pandas official documentation (pandas.pydata.org/docs/) is an invaluable resource. It’s comprehensive, well-organized, and full of examples.
- Online Tutorials and Courses: Platforms like Coursera, DataCamp, Udemy, and YouTube offer excellent courses and tutorials ranging from beginner to advanced levels. Search for “Pandas tutorial for data analysis.”
- Practice with Real-World Data: The best way to learn is by doing. Look for publicly available datasets (e.g., on Kaggle or government data portals) and try to clean, analyze, and visualize them using Pandas. This hands-on experience will solidify your understanding.
Integrating Pandas into your workflow is more than just learning a new tool; it’s about adopting a powerful methodology for approaching data. For those interested in technology trends, mastering Pandas is a prerequisite for venturing into AI tools, machine learning, and advanced analytics. For brands, it offers the ability to dissect customer data and market trends. For personal finance, it empowers you to manage and analyze your investments or budgets with unprecedented detail.
7. Empowering Your Data Journey
Installing Pandas is a foundational step, but it’s an incredibly significant one. It marks your entry into a world where data is not just numbers, but a narrative waiting to be uncovered, insights waiting to be extracted, and decisions waiting to be informed. By following this guide, you’ve successfully set up one of the most powerful tools in the data science arsenal.
The journey into data is continuous and rewarding. Pandas will be your trusted companion as you explore datasets, build analytical models, and contribute to the data-driven future. Embrace the process, keep learning, and enjoy the profound satisfaction of transforming raw data into actionable intelligence. Your ability to manipulate and understand data is a critical skill in today’s tech-driven world, empowering you to innovate, strategize, and lead.
aViewFromTheCave is a participant in the Amazon Services LLC Associates Program, an affiliate advertising program designed to provide a means for sites to earn advertising fees by advertising and linking to Amazon.com. Amazon, the Amazon logo, AmazonSupply, and the AmazonSupply logo are trademarks of Amazon.com, Inc. or its affiliates. As an Amazon Associate we earn affiliate commissions from qualifying purchases.