
In the digital age, managing online subscriptions has become an integral part of our daily lives. From streaming services and software licenses to digital content platforms and recurring donations, subscriptions offer convenience but also demand careful oversight. PayPal, as a leading global payment platform, serves as a central hub for many of these recurring financial commitments. Understanding how to effectively manage and, when necessary, cancel these subscriptions directly through PayPal is a crucial digital skill for any internet user. This guide delves into the technical intricacies of PayPal’s subscription management system, offering a clear, step-by-step tutorial to empower users with full control over their digital expenditures.
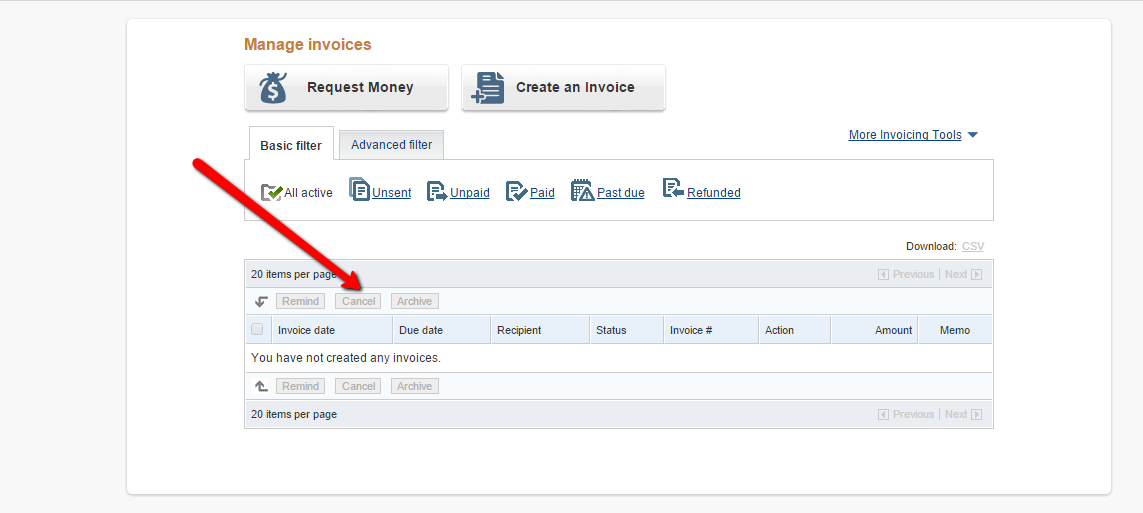
At its core, cancelling a subscription on PayPal is a process of interacting with a specific software interface to modify an automated payment agreement. It’s less about the financial implications (though those are important) and more about the technical steps required to sever a recurring digital transaction. This article will provide a detailed walkthrough, ensuring users can navigate the platform confidently and efficiently, securing their digital financial autonomy.
Understanding PayPal’s Subscription Management Interface
Before diving into the cancellation process, it’s essential to grasp how PayPal structures and presents your recurring payments. PayPal’s interface, while generally user-friendly, has specific sections dedicated to managing various types of automatic transactions. Misunderstanding these distinctions can lead to frustration or, worse, overlooked subscriptions.
Locating Your Active Subscriptions
Your PayPal account acts as a digital ledger for all your transactions, including recurring ones. To find your active subscriptions, you’ll typically navigate through your account settings. The path often involves accessing your “Settings” or “Profile” and then looking for sections related to “Payments” or “Money.” Within these sections, PayPal organizes automatic payments, pre-approved payments, and subscriptions. It’s a common point of confusion for users, as PayPal sometimes uses these terms interchangeably or groups them under broader categories like “Automatic payments” or “Manage your automatic payments.” The key is to look for entries that indicate ongoing, scheduled payments to specific merchants or services.
Differentiating Between Automatic Payments and Subscriptions
While closely related, it’s important to understand the subtle technical difference between a “subscription” and other “automatic payments” within PayPal’s ecosystem. An automatic payment is a broad term that includes any payment authorized to be made regularly without manual approval for each transaction. This can cover utility bills, loan repayments, or even regular contributions. A subscription, while technically an automatic payment, usually refers to an ongoing service fee charged by a merchant for access to content, software, or premium features. From a technical standpoint, PayPal treats them similarly in terms of management; however, understanding the merchant’s specific billing model (e.g., monthly service fee vs. installment plan) can clarify what you’re interacting with. PayPal’s interface aims to provide a unified portal for managing all these pre-authorized arrangements, simplifying the user’s task of digital financial oversight.
Navigating the User Dashboard for Payment Management
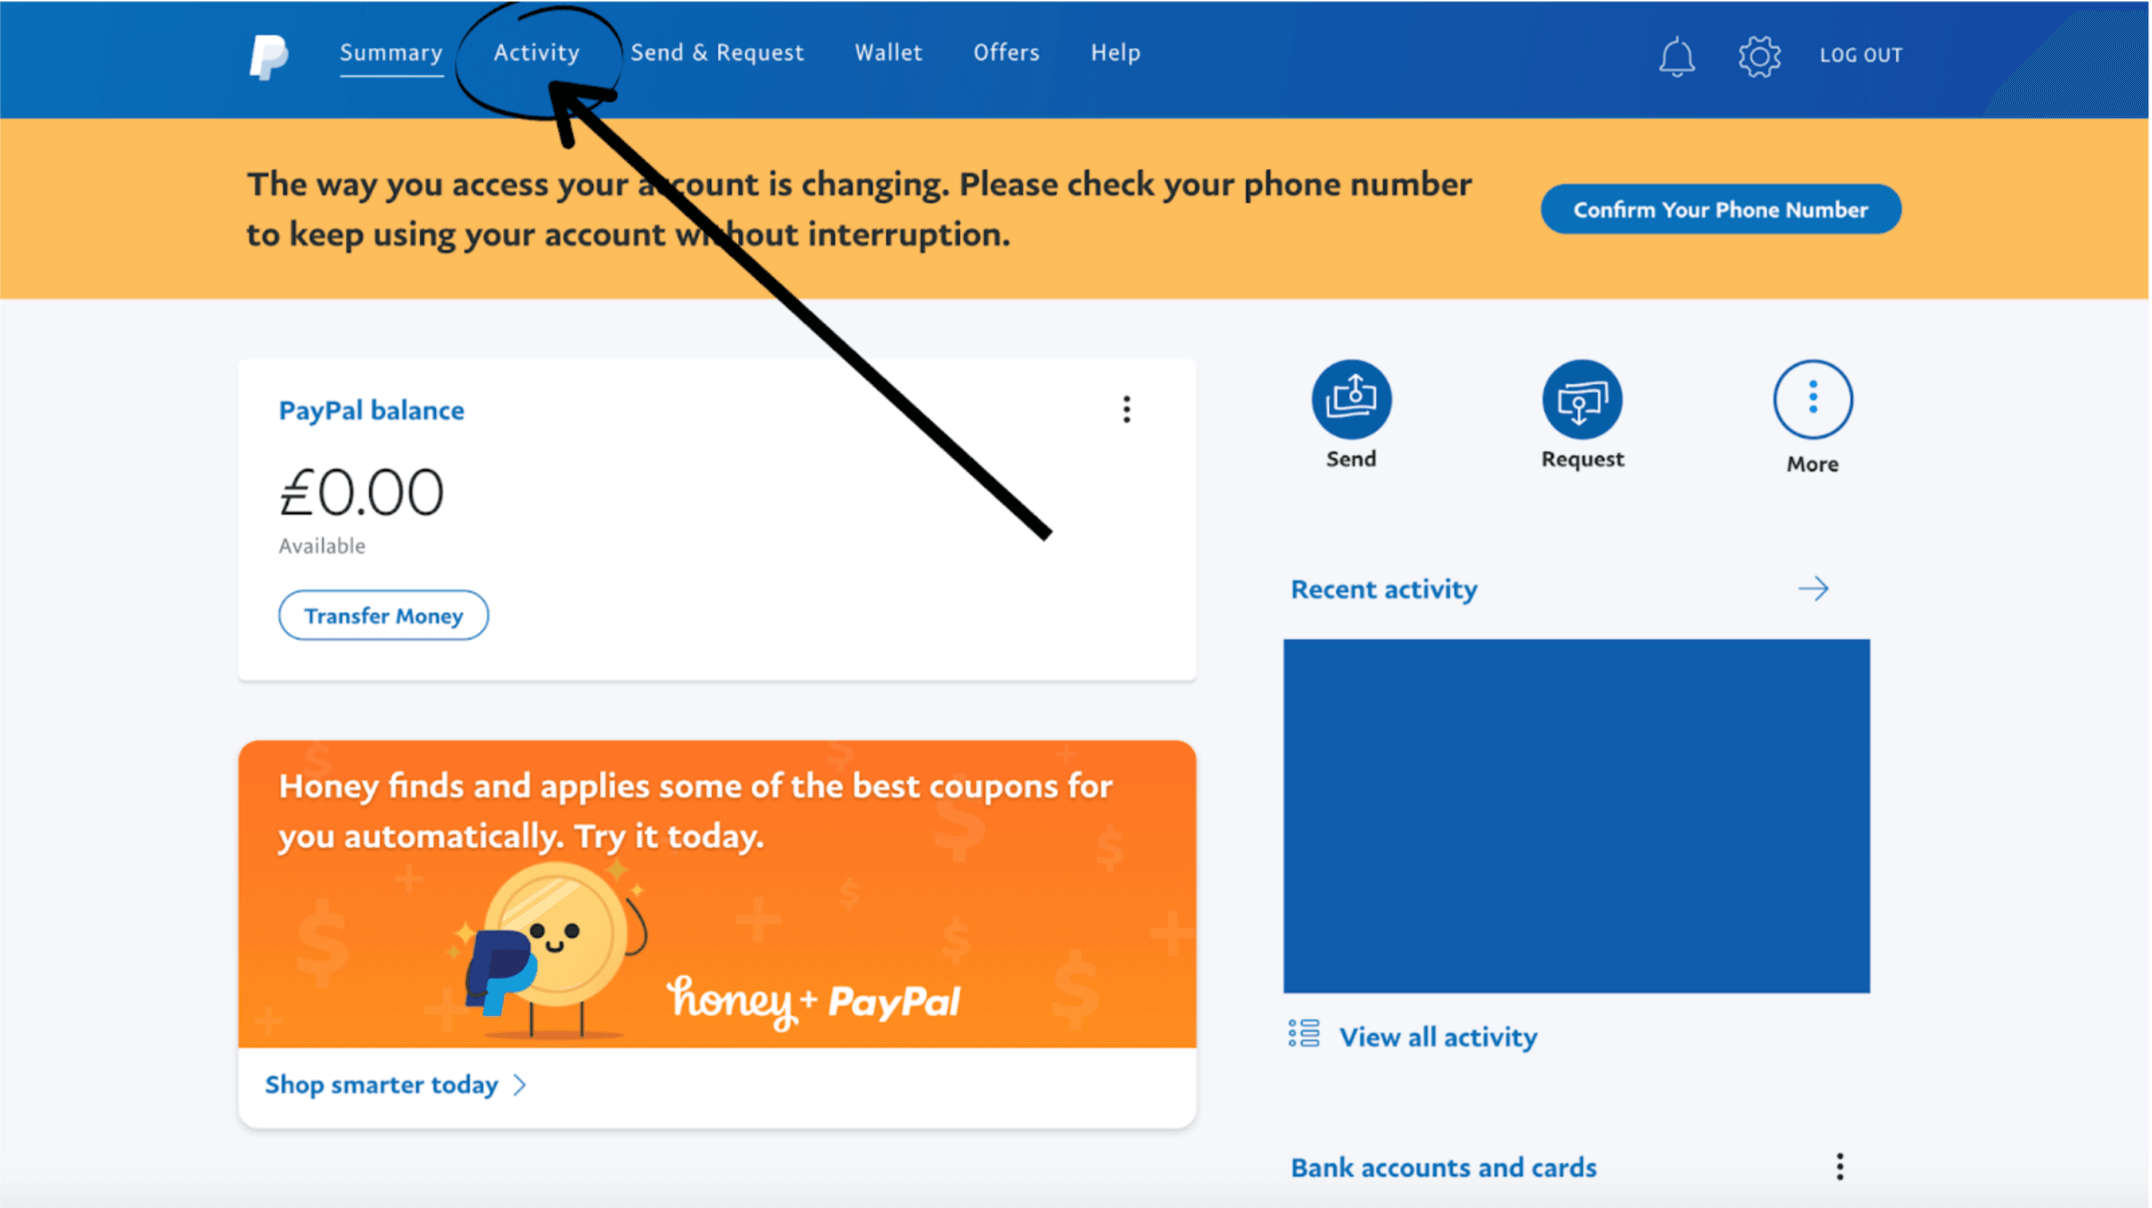
The PayPal user dashboard is your command center. Once logged in, you’ll typically see a summary of recent activity. To access subscription management tools, you’ll need to locate the gear icon (Settings) or a “My PayPal” menu. From there, look for “Payments” or “Payment Settings.” Within this section, the most relevant sub-section will often be labeled “Automatic Payments” or “Preapproved Payments.” Clicking on this will reveal a list of all merchants you have authorized to deduct funds automatically from your PayPal account. This list is your gateway to initiating any cancellations. Each entry typically shows the merchant’s name, the date the agreement was created, and its current status (active/inactive). Mastering this navigation is the first technical hurdle in gaining full control over your digital subscriptions.
Step-by-Step Guide to Cancelling a Subscription
With a foundational understanding of PayPal’s interface, the actual cancellation process becomes straightforward. This section provides a detailed, sequential guide to performing this critical digital task.
Accessing Your PayPal Account
The first and most fundamental step is to securely log into your PayPal account.
- Open your web browser and navigate to www.paypal.com.
- Click the “Log In” button located at the top right corner of the page.
- Enter your registered email address or mobile number and your PayPal password. If you have two-factor authentication enabled (which is highly recommended for digital security), you will need to complete the secondary verification step, such as entering a code sent to your phone or approving the login via the PayPal app.
Once logged in, you will be directed to your account summary or dashboard.
Initiating the Cancellation Process
Once logged in, follow these precise steps to locate and cancel a subscription:
- Navigate to Settings: Click on the gear icon (⚙️) located at the top right corner of your PayPal dashboard.
- Go to Payments: In the Settings menu, look for and click on the “Payments” tab.
- Manage Automatic Payments: Under the “Payments” section, locate “Manage your automatic payments” or “Preapproved payments” and click on it. This will open a new page listing all merchants with whom you have active automatic payment agreements.
- Select the Merchant: On the “Automatic Payments” page, you will see a list of merchants. Find the specific merchant corresponding to the subscription you wish to cancel. Click on the merchant’s name.
- Review Payment Details: A detailed page for that specific merchant will appear. This page displays information such as the payment method, billing agreement ID, and the status of the agreement.
- Click “Cancel”: On this merchant-specific details page, locate and click the “Cancel” button. This button is typically prominent and clearly labeled, signaling the initiation of the termination process for the automated payment.
- Confirm Cancellation: PayPal will prompt you with a confirmation message, asking if you are sure you want to cancel the automatic payments. Read the message carefully; it may include information about what happens after cancellation. Click “Yes, Cancel” or a similar confirmation button to finalize the process.
Confirming the Cancellation and Understanding Notifications
Upon successful cancellation, PayPal will provide an immediate confirmation on screen.
- On-Screen Confirmation: You will see a message indicating that the automatic payment has been cancelled. The status for that merchant on your “Automatic Payments” page will also change from “Active” to “Inactive” or “Cancelled.”
- Email Notification: PayPal typically sends an email to your registered email address confirming the cancellation. This email is an important digital record and should be retained for your files. It serves as proof that you initiated and completed the cancellation through PayPal’s system.
It is crucial to understand that cancelling via PayPal stops future payments from being sent through your PayPal account. It does not necessarily cancel your account or service with the merchant directly. The merchant’s service may continue until the end of the current billing cycle, or they may have their own separate cancellation policies.
What to Do If a Merchant’s Subscription Isn’t Visible
Occasionally, a subscription you expect to see on PayPal might not appear in your “Automatic Payments” list. This can happen for several technical reasons:
- Direct Billing: You might be paying the merchant directly with a credit/debit card, bypassing PayPal after an initial setup. In this case, the recurring charge is not managed by PayPal.
- Different PayPal Account: You might have multiple PayPal accounts and the subscription is linked to a different one.
- Older Agreements: While less common, some very old agreements might be listed under a slightly different section or not immediately obvious.
If a subscription isn’t visible, you must contact the merchant directly to cancel. Check your bank or card statements to identify how the recurring payment is being processed. This reinforces the need for diligent digital record-keeping.
Post-Cancellation Considerations and Digital Security
Cancelling a subscription on PayPal is a key step, but the process doesn’t always end there. Several post-cancellation actions and broader digital security best practices are essential to ensure the cancellation is complete and your digital accounts remain secure.
Verifying Cancellation with the Merchant
While PayPal confirms the cessation of automatic payments from its end, it’s a critical technical best practice to verify with the merchant.
- Check Merchant’s Website/Account: Log into your account on the merchant’s website (e.g., Netflix, Adobe, Spotify). Look for your subscription status or billing information. It should reflect that the subscription is cancelled or will not renew.
- Contact Merchant Support: If there’s any ambiguity, or if the merchant’s site doesn’t immediately update, contact their customer support. Confirm your cancellation and inquire about the effective date and any potential pro-rated refunds (though refunds are typically governed by the merchant’s policy, not PayPal’s). This proactive step helps prevent any billing surprises.
Understanding Refund Policies and Billing Cycles
A PayPal cancellation stops future payments but does not automatically trigger a refund for previous payments or the current billing cycle.
- Billing Cycle End: Many subscriptions are active until the end of the current billing cycle, even if cancelled mid-cycle. You will likely retain access to the service until then.
- Merchant-Specific Refunds: Refunds for services paid for but not fully used are entirely at the discretion of the merchant and their specific terms of service. PayPal’s role is primarily as a payment processor, not as the arbiter of service agreements. Always review the merchant’s refund policy before subscribing.
Best Practices for Digital Subscription Management
To maintain optimal digital financial health, adopt these ongoing practices:
- Regular Audits: Periodically (e.g., quarterly) review your “Automatic Payments” on PayPal and your bank statements. This allows you to catch forgotten subscriptions or unauthorized charges promptly.
- Clear Records: Keep digital records of all subscription sign-ups and cancellations, including confirmation emails.
- Strong Passwords & 2FA: Protect your PayPal account with a strong, unique password and enable two-factor authentication (2FA). This is your primary defense against unauthorized access to your digital payment hub.
- Merchant Account Management: Remember that cancelling on PayPal only severs the payment link. You might still need to manage your profile or data with the merchant directly if you wish to fully remove your presence from their platform.
Enhancing Account Security Post-Management
Beyond managing specific subscriptions, continuously reinforce your overall digital security posture. After making changes to your recurring payments, it’s a good moment to:
- Review Account Activity: Check your PayPal transaction history for any unfamiliar activity.
- Update Security Questions: Periodically review and update your security questions for various online accounts, including PayPal.
- Beware of Phishing: Remain vigilant against phishing attempts that try to trick you into revealing your PayPal login credentials. Always access PayPal directly through their official website or app.
Troubleshooting Common Issues and Advanced Tips
Even with a clear guide, users might encounter specific technical hurdles or seek ways to optimize their subscription management. This section addresses common problems and offers advanced advice.
Dealing with Pending Cancellations
Occasionally, after clicking cancel, an automatic payment might show a “Pending Cancellation” status. This usually means that PayPal is in the process of communicating the cancellation request to the merchant.
- Allow Time: Give it a few hours, or sometimes even a day, for the status to fully update to “Cancelled.”
- Check Merchant End: Simultaneously check the merchant’s website for any changes to your subscription status.
- Contact PayPal Support: If the status remains “Pending” for an extended period (e.g., more than 24-48 hours) and you are nearing a payment due date, it’s advisable to contact PayPal’s customer support for clarification. Provide them with the billing agreement ID for the specific subscription.
When to Contact PayPal Support vs. the Merchant
Understanding when to leverage PayPal’s support versus the merchant’s support is a crucial distinction for efficient problem resolution.
- Contact PayPal Support when:
- You cannot find an expected subscription in your PayPal account.
- You encounter technical errors during the cancellation process on PayPal’s platform.
- You suspect unauthorized payments originating from your PayPal account.
- The cancellation status doesn’t update correctly on PayPal.
- Contact the Merchant when:
- You have questions about the service itself or its features.
- You are seeking a refund or have billing disputes related to the service’s usage.
- You wish to cancel your account with the merchant entirely (beyond just stopping PayPal payments).
- The merchant’s service continues despite PayPal showing a “Cancelled” status for the automatic payment.
Managing Multiple Subscriptions Efficiently
For users with numerous digital subscriptions, managing them can become a task in itself.
- Create a Digital Inventory: Maintain a simple spreadsheet or use a dedicated subscription management app. List all your subscriptions, their payment method (PayPal, specific card), renewal date, and cost.
- Utilize PayPal’s Filtering: Within the “Automatic Payments” section, use any available filtering or sorting options to quickly identify active agreements.
- Set Calendar Reminders: For subscriptions that renew annually or less frequently, set calendar reminders a week or two before the renewal date to review if you still need the service. This provides a window to cancel before being charged for another cycle.

Utilizing PayPal’s Resolution Center for Disputes
In the rare event that a payment goes through despite your cancellation, or if you believe an unauthorized payment occurred, PayPal’s Resolution Center is a vital technical tool.
- Open a Dispute: Within your PayPal account, navigate to the “Resolution Center.”
- Report an Issue: Select the option to “Report an Issue” or “Dispute a Transaction.”
- Provide Details: Clearly state the problem, providing transaction IDs, dates, and any relevant communication with the merchant or PayPal.
PayPal’s Resolution Center provides a structured technical process for mediating disputes and can be instrumental in recovering funds for legitimately unauthorized or erroneously charged transactions.
In conclusion, mastering the technical process of cancelling subscriptions on PayPal is an indispensable skill in today’s digital economy. By understanding the interface, following precise steps, and adopting best practices for post-cancellation verification and ongoing digital security, users can maintain complete control over their recurring digital payments, ensuring peace of mind and financial integrity. This guide serves as your comprehensive tutorial to navigate PayPal’s subscription management features with confidence and expertise.
aViewFromTheCave is a participant in the Amazon Services LLC Associates Program, an affiliate advertising program designed to provide a means for sites to earn advertising fees by advertising and linking to Amazon.com. Amazon, the Amazon logo, AmazonSupply, and the AmazonSupply logo are trademarks of Amazon.com, Inc. or its affiliates. As an Amazon Associate we earn affiliate commissions from qualifying purchases.