Maintaining your system’s graphics drivers is not merely a routine task; it’s a critical aspect of ensuring optimal performance, stability, and security for your PC, especially for users of NVIDIA GPUs. Whether you’re a hardcore gamer seeking the highest frame rates, a professional content creator relying on powerful rendering capabilities, or simply a casual user wanting a smooth computing experience, keeping your NVIDIA drivers updated is paramount. Outdated drivers can lead to a myriad of issues, from performance bottlenecks and graphical glitches to system crashes and even security vulnerabilities. This comprehensive guide will walk you through the various methods to update your NVIDIA driver, offering insights into best practices and troubleshooting tips to keep your system running at its peak.
The Imperative of Keeping NVIDIA Drivers Current
Understanding why you should regularly update your NVIDIA drivers is the first step towards appreciating their importance. These updates are far more than just minor tweaks; they often introduce significant enhancements and crucial fixes that directly impact your user experience.
Unlocking Peak Performance and Stability
One of the primary reasons to update your NVIDIA drivers is to maximize the performance of your graphics card. NVIDIA continually refines its driver software to extract every last bit of power from its GPUs. New game titles, for instance, often come with specific driver optimizations that, without the latest update, can lead to stuttering, lower frame rates, or even unplayable experiences. For professionals, updated drivers can accelerate rendering times in applications like Adobe Premiere Pro, Blender, or AutoCAD, directly impacting workflow efficiency. Beyond performance, driver updates frequently include bug fixes that resolve common stability issues, preventing crashes, graphical artifacts, or conflicts with other system components. A stable system is a reliable system, and current drivers are a cornerstone of that reliability.
Accessing Cutting-Edge Features and Optimizations
NVIDIA is at the forefront of graphics technology, regularly introducing innovations like DLSS (Deep Learning Super Sampling), Ray Tracing, Reflex, and new encoding/decoding capabilities. These groundbreaking features often require specific driver versions to function correctly or to deliver their full potential. Without the latest drivers, you might miss out on these advancements, leaving your high-end GPU unable to utilize its full suite of capabilities. Furthermore, new drivers often provide optimizations for the latest operating system updates or software versions, ensuring compatibility and seamless integration across your digital ecosystem.
Fortifying System Security
While graphics drivers might not seem like an obvious target for security vulnerabilities, they are still a piece of software interacting closely with your hardware and operating system. Malicious actors can exploit flaws in outdated drivers to gain unauthorized access, introduce malware, or compromise system integrity. NVIDIA, like all major software developers, regularly releases security patches within its driver updates to address identified vulnerabilities. Keeping your drivers current is therefore a vital component of your overall digital security strategy, protecting your system from potential threats and ensuring your data remains secure.
Streamlined Approaches to Driver Updates
NVIDIA provides several methods for updating your graphics drivers, catering to different user preferences and technical proficiencies. Each method has its advantages, but some are more recommended for the general user base due to their ease of use and comprehensive features.
Leveraging NVIDIA GeForce Experience for Seamless Updates
For most NVIDIA GPU users, especially gamers and general consumers, NVIDIA GeForce Experience is the most recommended and user-friendly method for driver management. This companion application not only keeps your drivers updated but also optimizes game settings, records gameplay with ShadowPlay, and streams games to NVIDIA SHIELD devices.
To update via GeForce Experience:
- Download and Install: If you don’t already have it, download GeForce Experience from the official NVIDIA website. Follow the installation prompts.
- Launch GeForce Experience: Open the application. You might need to log in or create an NVIDIA account.
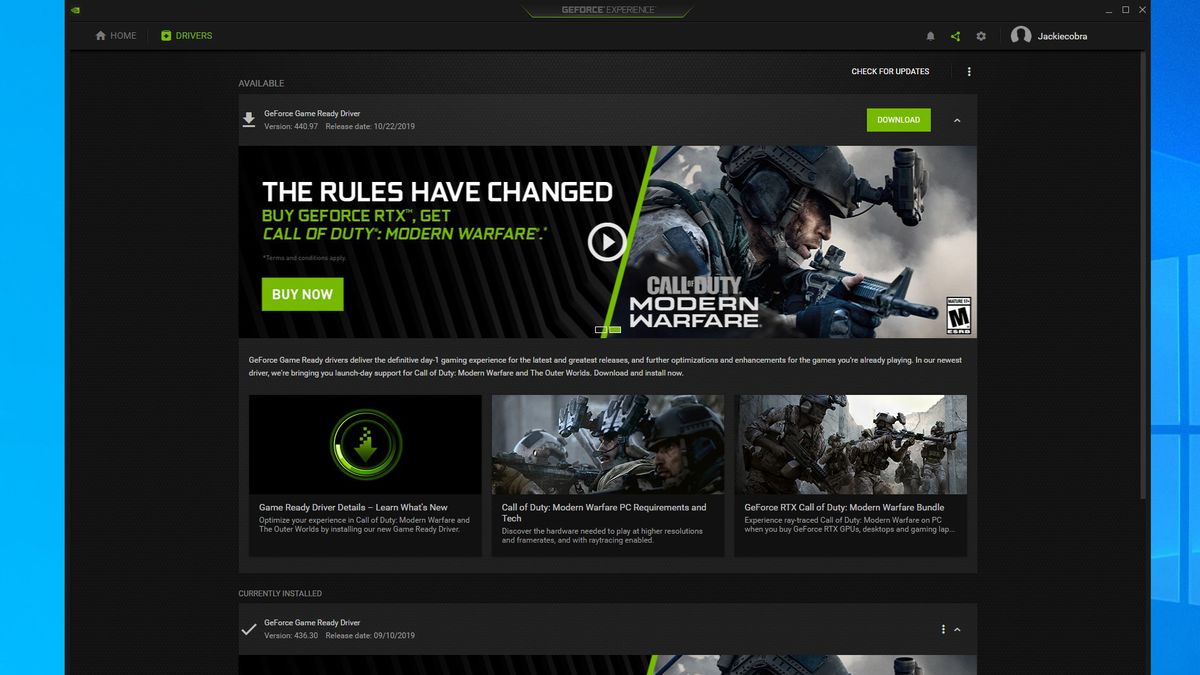
- Navigate to Drivers Tab: Click on the “Drivers” tab located in the upper-left corner of the application window.
- Check for Updates: GeForce Experience automatically checks for new drivers. If an update is available, you will see a notification and a “Download” button.
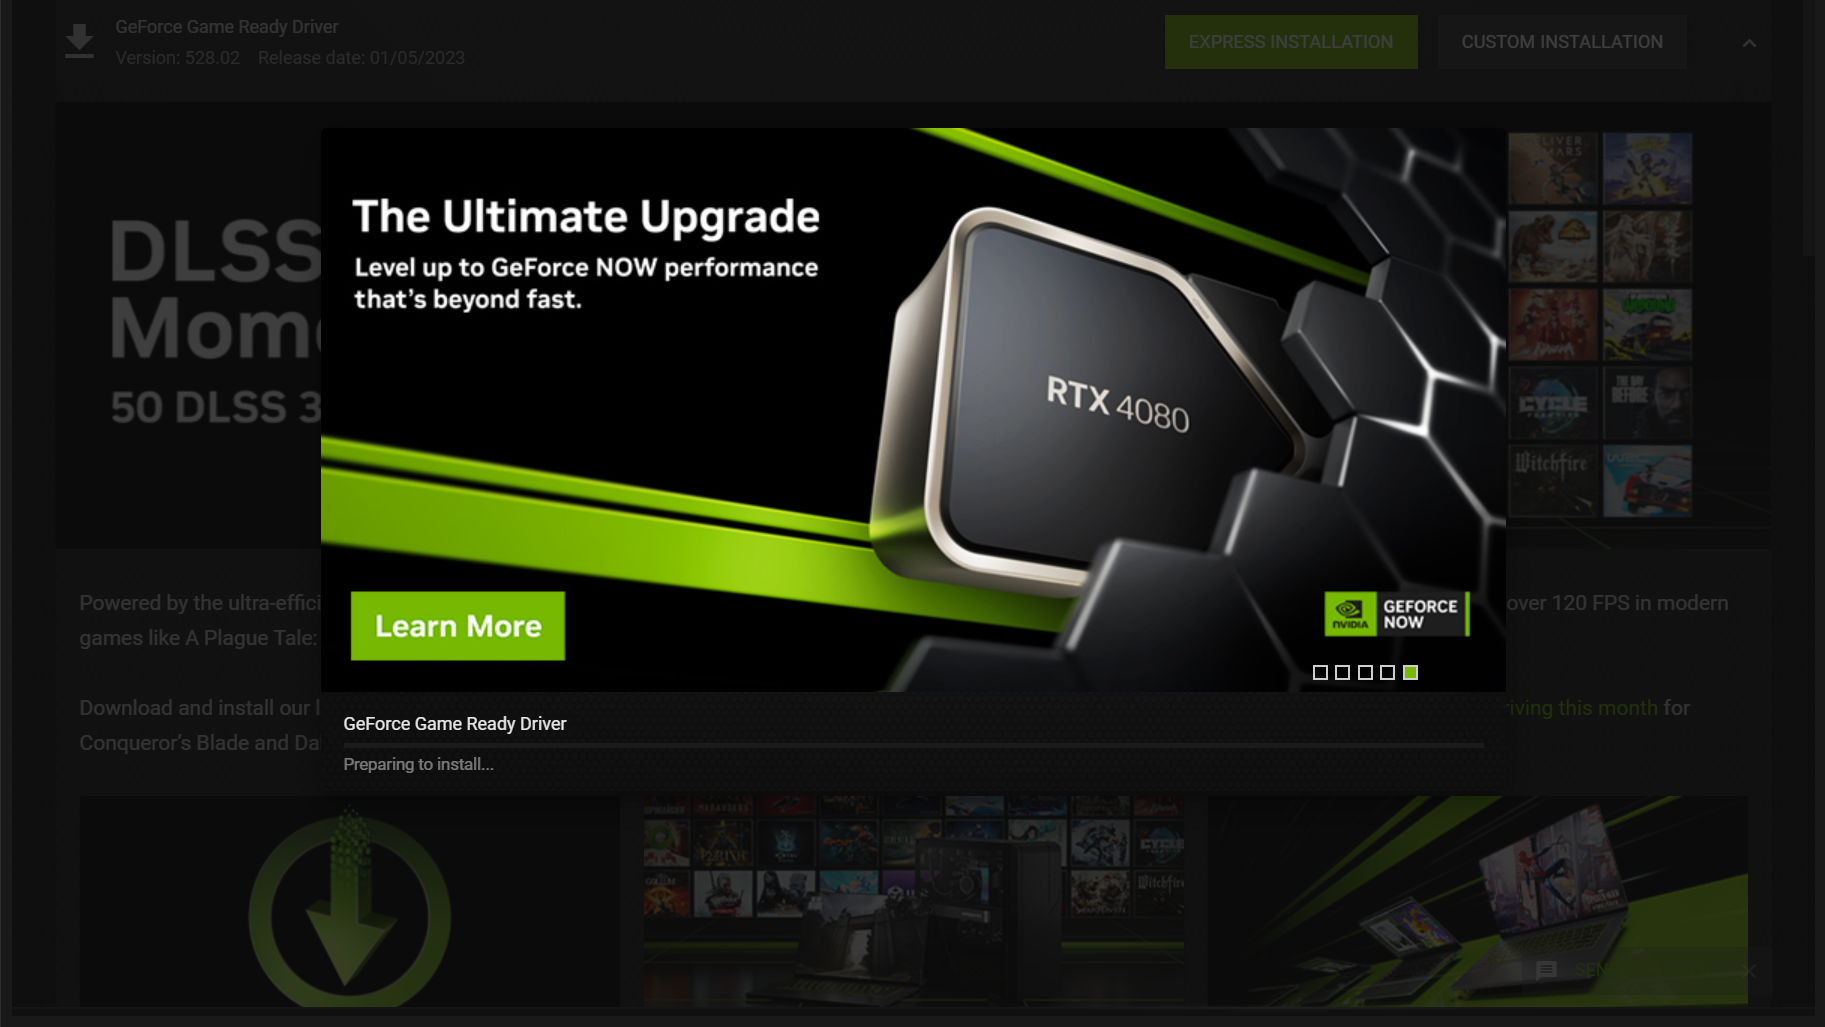
- Download and Install: Click “Download.” Once the download is complete, you will be presented with two installation options:
- Express Installation: This is the recommended option for most users. It automatically installs the new driver over the existing one, replacing only the necessary components. It’s quick and generally hassle-free.
- Custom Installation: This option allows you to select specific components to install (e.g., driver, GeForce Experience, PhysX, HD Audio). More importantly, it offers an option for a “Clean Installation.” A clean installation uninstalls the previous driver completely before installing the new one, which can help resolve persistent issues or remove old, corrupt files. Unless you’re troubleshooting, Express is usually sufficient.
- Restart Your PC: Although not always explicitly required by the installer, it’s always a good practice to restart your computer after a driver update to ensure all changes are fully integrated and take effect.
The Precision of Manual Driver Downloads
For users who prefer more control, need a specific driver version, are troubleshooting issues, or are performing a clean install after a new OS or GPU, the manual download method from the NVIDIA website offers precision.
To update manually:
- Identify Your GPU: You need to know your exact NVIDIA GPU model. You can find this in several ways:
- NVIDIA Control Panel: Right-click on your desktop and select “NVIDIA Control Panel.” In the bottom-left, click “System Information.” Your GPU model will be listed under “Display.”
- Device Manager: Press
Windows Key + Xand select “Device Manager.” Expand “Display adapters,” and your NVIDIA GPU will be listed. - System Information: Type
msinfo32into the Windows search bar and press Enter. Under “Components” -> “Display,” you’ll find your GPU details.
- Visit the NVIDIA Driver Download Page: Go to
www.nvidia.com/drivers. - Select Your Driver: Use the drop-down menus to accurately select:
- Product Type: GeForce, NVIDIA RTX / Quadro, etc.
- Product Series: RTX 40 Series, GTX 16 Series, etc.
- Product: Your specific GPU model (e.g., GeForce RTX 4090, GeForce GTX 1660 Ti).
- Operating System: Your Windows version (e.g., Windows 11 64-bit, Windows 10 64-bit).
- Download Type: “Game Ready Driver” (GRD) for gamers, “Studio Driver” (SD) for creative professionals. Choose the one that best suits your needs.
- Language: Your preferred language.
- Search and Download: Click “Search.” Review the details of the latest driver, ensuring it’s the correct one. Click “Download.”
- Run the Installer: Once the
.exefile is downloaded, run it. The installer will first extract files. - Installation Options:
- Agree to the NVIDIA Software License Agreement.
- Choose between “Express” and “Custom” installation, similar to GeForce Experience. For a manual update, “Custom” is often preferred if you intend to perform a “Clean Installation.” Tick the “Perform a Clean Installation” box. This ensures all old driver files are removed, preventing potential conflicts.
- Complete Installation and Restart: Follow the on-screen prompts. Your screen might flicker or go black temporarily during the process. Once complete, restart your PC.
Windows Device Manager: A Basic Alternative
While technically a way to update drivers, using Windows Device Manager is generally the least recommended method for NVIDIA GPUs. It often installs generic or older, less optimized drivers provided by Microsoft, rather than the performance-tuned, feature-rich drivers from NVIDIA.
To attempt an update via Device Manager:
- Open Device Manager: Press
Windows Key + Xand select “Device Manager.” - Locate Display Adapters: Expand the “Display adapters” section.
- Update Driver: Right-click on your NVIDIA GPU (e.g., “NVIDIA GeForce RTX 4090”) and select “Update driver.”
- Search for Drivers: Choose “Search automatically for drivers.” Windows will then try to find and install a driver. If it says you already have the best driver, it means it couldn’t find a newer one in its limited database. This does not mean you have the latest NVIDIA-released driver.
Essential Pre-Update Preparations
Before initiating any driver update, taking a few precautionary steps can save you significant headaches if something goes wrong. These steps are part of a responsible system maintenance routine.
Creating a System Restore Point
A System Restore Point is a snapshot of your Windows system files, installed applications, Windows Registry, and system settings. If a driver update causes instability, crashes, or other critical issues, you can roll back your system to this restore point, effectively undoing the changes.
- Type
create a restore pointinto the Windows search bar and select the corresponding option. - In the “System Protection” tab, ensure system protection is “On” for your main drive (usually C:).
- Click “Create…” and give your restore point a descriptive name (e.g., “Before NVIDIA Driver Update [Date]”).
The Role of Display Driver Uninstaller (DDU) for Pristine Installs
For truly clean installations, especially when upgrading a GPU, experiencing persistent driver-related issues, or switching between AMD and NVIDIA GPUs, a third-party tool called Display Driver Uninstaller (DDU) is invaluable. DDU meticulously removes all remnants of graphics drivers (including files, folders, and registry entries) from your system.
- Download DDU: Obtain DDU from a reputable source like Guru3D.
- Boot into Safe Mode: It’s highly recommended to run DDU in Windows Safe Mode to prevent Windows from trying to re-install generic drivers while DDU is working.
- Run DDU: Select “GPU” and “NVIDIA” from the drop-down menus. Choose “Clean and restart.” DDU will do its job and reboot your system.
- Install New Driver: Once back in Windows, proceed with a manual driver installation from the NVIDIA website as described above. This ensures a truly fresh installation without any legacy file conflicts.
Verifying and Troubleshooting Your Driver Update
After installing a new driver, it’s crucial to verify that the update was successful and to know how to address any issues that might arise.
Confirming Successful Installation
To confirm your driver update was successful:
- NVIDIA Control Panel: Right-click on your desktop, select “NVIDIA Control Panel.” Click “System Information” in the bottom-left. The “Driver version” should match the one you just installed.
- GeForce Experience: Open GeForce Experience, go to the “Drivers” tab. It should indicate that you have the latest driver installed.
- Device Manager: Open Device Manager, expand “Display adapters,” right-click your NVIDIA GPU, select “Properties,” then the “Driver” tab. The “Driver Version” and “Driver Date” should reflect the update.
- Test Applications: Launch a game or demanding application to ensure it runs smoothly and exhibits the expected performance improvements.
Addressing Post-Update Anomalies
Occasionally, a driver update might introduce unexpected issues. Here’s how to troubleshoot:
- Performance Degradation or Crashes: If your system is less stable or performs worse after an update, the new driver might have a bug or be conflicting with another piece of software/hardware.
- Roll Back Driver: In Device Manager, right-click your GPU, go to “Properties” -> “Driver” tab, and click “Roll Back Driver.” This reverts to the previous version.
- Use System Restore Point: If rolling back isn’t an option or doesn’t fix it, use the System Restore Point you created earlier.
- Perform a Clean Installation: If you didn’t do a clean install previously, try uninstalling with DDU and then performing a fresh manual installation.
- Black Screen or Display Issues: If your screen goes black or you experience resolution problems:
- Boot into Safe Mode (repeatedly press F8 or Shift+Restart during boot).
- Use DDU to uninstall the problematic driver.
- Restart normally and then install a known stable driver version (either the previous one or one that was known to work).
- Seek Support: If problems persist, consult the NVIDIA support forums, check the official NVIDIA knowledge base, or contact NVIDIA customer support. Other users might have encountered and solved similar issues.

Conclusion: Maintaining Your NVIDIA Edge
Updating your NVIDIA graphics driver is an essential maintenance task that directly impacts the performance, stability, and security of your PC. Whether you opt for the convenience of NVIDIA GeForce Experience or the precision of a manual download, understanding the process and adhering to best practices ensures a smooth update experience. By regularly keeping your drivers current and being prepared for potential troubleshooting, you can unlock the full potential of your NVIDIA GPU, enjoy the latest features, and maintain a robust and reliable computing environment. Make driver updates a regular part of your system maintenance routine to always keep your NVIDIA edge sharp.
aViewFromTheCave is a participant in the Amazon Services LLC Associates Program, an affiliate advertising program designed to provide a means for sites to earn advertising fees by advertising and linking to Amazon.com. Amazon, the Amazon logo, AmazonSupply, and the AmazonSupply logo are trademarks of Amazon.com, Inc. or its affiliates. As an Amazon Associate we earn affiliate commissions from qualifying purchases.