A fresh install of Windows 10 is akin to giving your computer a brand-new start. It’s a powerful way to resolve persistent software issues, boost performance, and ensure a clean slate for your digital life. While the process might sound daunting, it’s actually quite manageable, even for those who aren’t deeply technical. This comprehensive guide will walk you through every step, from preparation to post-installation optimization, ensuring a smooth and successful experience. We’ll cover why you might consider a fresh install, what you need to have ready, and the actual installation process itself.
Why Consider a Fresh Windows 10 Install?
Over time, your operating system can accumulate a lot of digital clutter. Temporary files, leftover registry entries from uninstalled programs, malware remnants, and fragmented system files can all contribute to a sluggish computer. A fresh install effectively wipes the slate clean, removing all this accumulated digital detritus.
Beyond performance, a fresh install is an excellent solution for a variety of issues:
- Persistent Software Glitches: If you’re experiencing recurring errors, blue screen of death (BSOD) crashes, or applications that frequently freeze or crash, a clean install can often resolve these deep-seated software problems.
- Malware and Virus Infections: While antivirus software is crucial, some stubborn malware can embed itself deeply within the system. A fresh install is one of the most effective ways to guarantee the complete removal of any unwanted infections.
- Slow Performance: If your computer has become noticeably slower over time, even after basic troubleshooting, a fresh install can bring back that out-of-the-box responsiveness.
- Preparing to Sell or Give Away Your PC: Before parting with your computer, it’s essential to ensure all your personal data is securely erased. A fresh install not only removes your files but also provides a clean operating system for the new owner.
- Major System Upgrades: Sometimes, a major hardware upgrade, like replacing your motherboard or hard drive, can benefit from a fresh Windows installation to ensure optimal compatibility and performance with the new components.
- Starting Anew with a Clean Slate: Perhaps you just want to reorganize your digital workspace, try out new software without the baggage of old settings, or simply want the satisfaction of a perfectly optimized system.
Preparing for Your Windows 10 Fresh Install
Before you begin the installation process, thorough preparation is key to a seamless experience. This involves backing up your important data, gathering necessary product keys, and creating a bootable installation media.
Backing Up Your Precious Data
This is arguably the most critical step. A fresh install will erase everything from your primary drive (usually the C: drive). Therefore, you must back up all your personal files, documents, photos, videos, music, and any other data you want to keep.
- External Hard Drives or USB Drives: The most straightforward method is to copy your important folders (Documents, Pictures, Videos, Desktop, etc.) to an external storage device.
- Cloud Storage Services: Services like OneDrive, Google Drive, Dropbox, or iCloud can be used to sync your files to the cloud. Ensure that all the files you want to keep are fully synced before proceeding.
- Network Attached Storage (NAS): If you have a NAS device on your home network, you can back up your files to it.
- Specific Application Data: Some applications store their data in specific locations. For example, browser bookmarks, email client data, and game save files might need to be backed up separately. Research how to export or back up data for your essential applications.
Important Note on Backups: Don’t forget to back up any software licenses or product keys for programs you’ve purchased, as you’ll need to reinstall them.
Gathering Your Windows 10 Product Key and Drivers
-
Windows 10 Product Key:
- Digital License: If you upgraded to Windows 10 from a previous genuine Windows version, or if you purchased a digital license through the Microsoft Store, your Windows 10 license is likely linked to your Microsoft account. In this case, you won’t typically need to enter a product key during installation; Windows will activate automatically once it connects to the internet and you sign in with your Microsoft account.
- Physical Product Key: If you purchased a retail copy of Windows 10 with a physical product key, you’ll need to locate this key. It’s usually found on a sticker inside the Windows packaging or in a confirmation email if you purchased it digitally from a third-party retailer.
- Pre-installed Windows: If Windows 10 came pre-installed on your computer (OEM), the product key is usually embedded in the computer’s firmware (UEFI/BIOS). Windows will automatically detect and use this key during installation.
- Troubleshooting: If you’re unsure about your product key, you can try using a free third-party tool (search for “Windows product key finder”) before you start the fresh install. However, be cautious about the source of such tools.
-
Essential Drivers: While Windows 10 has excellent built-in driver support and can often download most drivers automatically, it’s a good practice to have essential drivers handy, especially for your network adapter (Wi-Fi or Ethernet).
- Network Driver: This is crucial because without it, you won’t be able to connect to the internet to download other drivers or activate Windows. Visit your computer manufacturer’s website (e.g., Dell, HP, Lenovo, Asus) or your motherboard manufacturer’s website and download the latest network drivers for your specific model. Save these drivers to a separate USB drive or another accessible location.
- Other Drivers: You might also want to download drivers for your graphics card (NVIDIA, AMD, Intel), audio, and chipset. You can usually find these on the same manufacturer websites.
Creating Bootable Windows 10 Installation Media
To perform a fresh install, you’ll need to boot your computer from a USB drive or DVD containing the Windows 10 installation files. The most common and recommended method is using a USB drive.
- Download the Media Creation Tool: Go to the official Microsoft website and search for “Download Windows 10.” You’ll find the “Media Creation Tool.” Download and run this tool.
- Accept the License Terms: Review and accept the Microsoft license terms.
- Choose “Create installation media (USB flash drive, DVD, or ISO file) for another PC”: Select this option.
- Select Language, Edition, and Architecture: The tool will usually suggest options based on your current PC. You can uncheck “Use the recommended options for this PC” if you need to select different settings (e.g., installing a different language or 64-bit instead of 32-bit). For most modern computers, 64-bit is standard.
- Choose Media Type: Select “USB flash drive.”
- Select Your USB Drive: Choose the USB drive you want to use. Important: This USB drive will be completely erased during the process, so make sure it doesn’t contain any data you need. Ensure it’s at least 8GB in size.
- Let the Tool Work: The Media Creation Tool will download the Windows 10 files and create a bootable USB drive. This can take some time depending on your internet speed.
Performing the Fresh Windows 10 Installation
With your data backed up and installation media ready, you’re now prepared to begin the actual installation process.

Booting from Your Installation Media
This step tells your computer to start from the USB drive instead of your hard drive.
- Insert the Bootable USB Drive: Plug the Windows 10 USB drive into a USB port on the computer you want to install Windows on.
- Restart Your Computer: Reboot your PC.
- Access the Boot Menu or BIOS/UEFI: As your computer starts up, you’ll need to press a specific key to access the boot menu or BIOS/UEFI settings. This key varies by manufacturer but is commonly one of the following:
- F2, F10, F12, Del (Delete), Esc (Escape)
- Look for a message on the screen during the initial startup, something like “Press [Key] to Enter Setup,” “Press [Key] for Boot Options,” or “Press [Key] to Boot Menu.” If you miss it, restart and try again.
- Change Boot Order:
- Boot Menu: If you accessed the boot menu, you’ll see a list of bootable devices. Select your USB drive (it might be listed by its brand name or as “USB HDD,” “Removable Device,” etc.) and press Enter.
- BIOS/UEFI Settings: If you entered the BIOS/UEFI setup, navigate to the “Boot” or “Boot Order” section. Change the first boot device to your USB drive. You might need to use the arrow keys to move the USB drive to the top of the list.
- Save and Exit: Once you’ve set the USB drive as the first boot device, save your changes and exit the BIOS/UEFI. The computer will restart again.
If you’ve successfully set the correct boot order, you should see a message like “Press any key to boot from CD or DVD…” (even though it’s a USB). Press any key to proceed.
The Installation Wizard
Once the computer boots from the USB drive, the Windows 10 installation wizard will appear.
- Windows Setup Screen:
- Language, Time, and Keyboard Input: Select your preferred language, time format, and keyboard layout. Click “Next.”
- Install Now: Click the “Install now” button.
- Product Key:
- If you have a product key, enter it now.
- If your license is digital or you plan to activate later, click “I don’t have a product key.” Windows will activate automatically once it detects your digital license online.
- Select Operating System: If prompted, choose the edition of Windows 10 you have a license for (e.g., Windows 10 Home, Windows 10 Pro). Click “Next.”
- Accept License Terms: Read and accept the Microsoft license terms. Click “Next.”
- Choose Installation Type: This is a crucial step.
- Upgrade: This option attempts to keep your files, settings, and applications. We are performing a fresh install, so do NOT choose this.
- Custom: Install Windows only (advanced): Select this option for a clean install.
- Disk Partitioning: This is where you’ll select where to install Windows.
- You will see a list of drives and partitions.
- Identify Your Primary Drive: Usually, this is “Drive 0” and will have the largest capacity. It might have several partitions already listed (e.g., System Reserved, Recovery, Primary).
- To perform a truly fresh install, you need to delete all existing partitions on the drive where Windows is currently installed. Select each partition on that drive one by one and click “Delete.” WARNING: This will permanently erase all data on those partitions. Ensure you have backed up everything before proceeding.
- Once all partitions on the target drive are deleted, you will see a single “Unallocated Space” for that drive.
- Select this “Unallocated Space” and click “Next.” Windows will automatically create the necessary partitions for the installation.
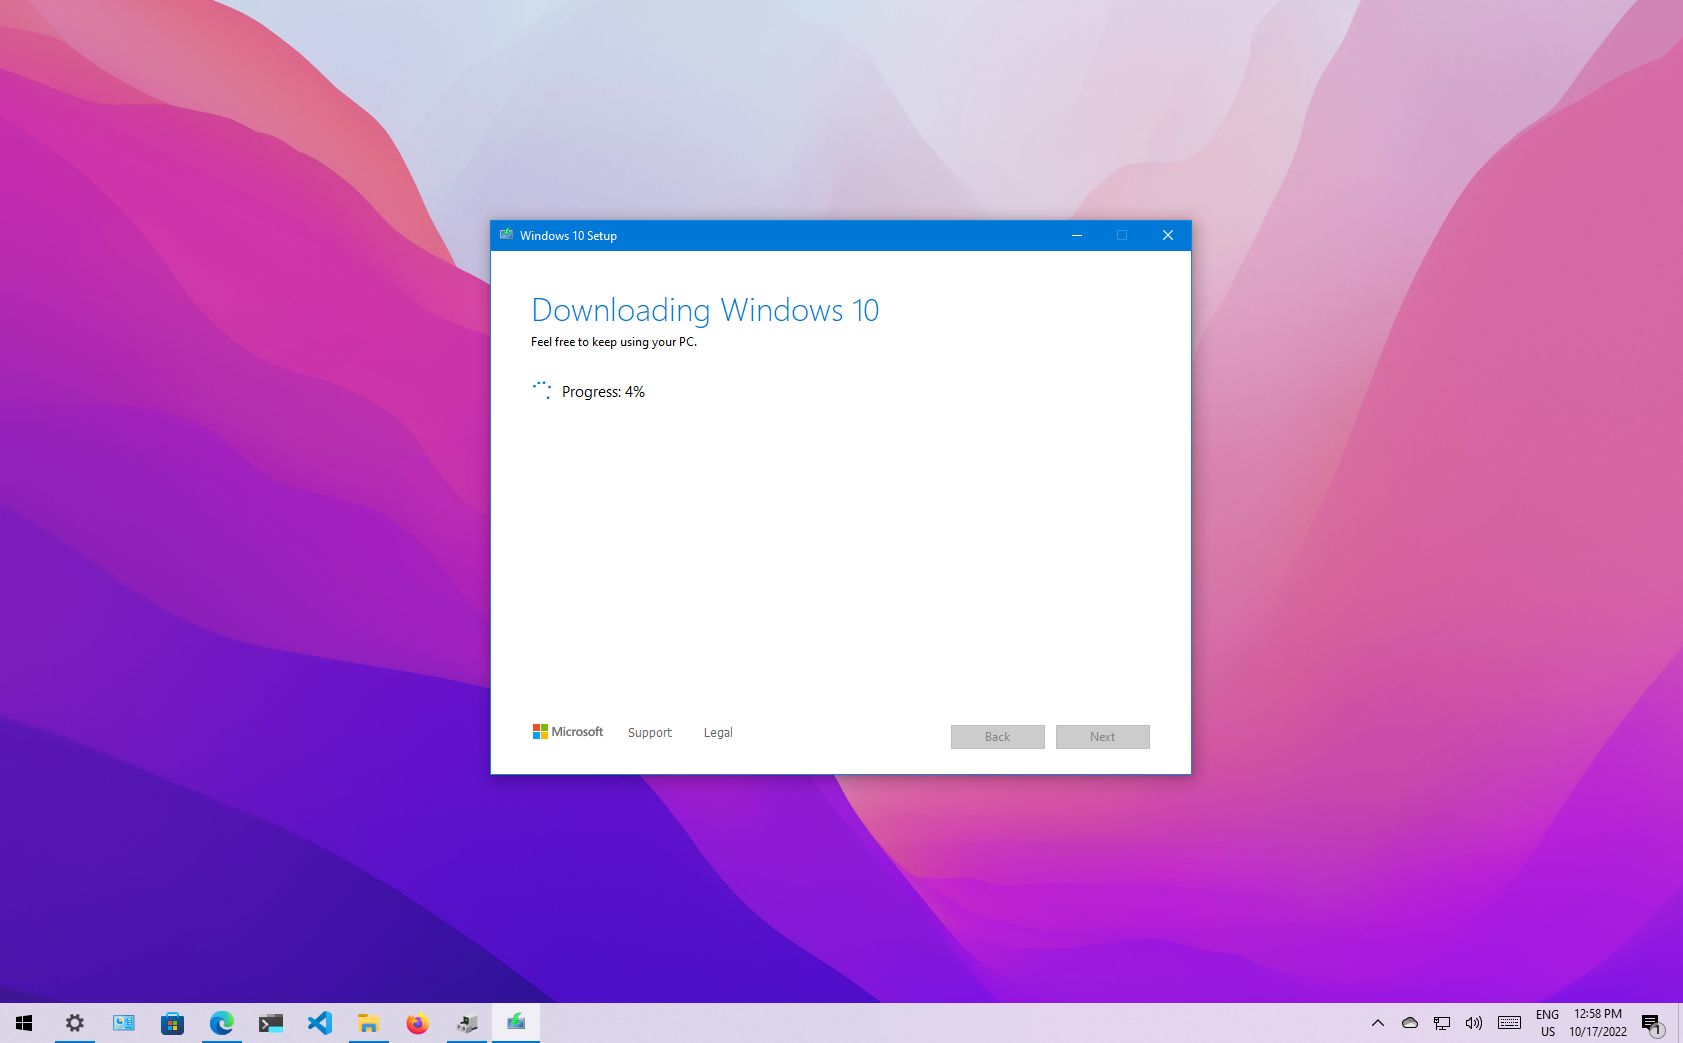
- Windows Installation: Windows will now begin copying files, installing features, and performing updates. Your computer will restart multiple times during this process. Do not remove the USB drive until you reach the initial setup screen after the final restart.
Initial Windows 10 Setup (Out-of-Box Experience – OOBE)
After the installation files are copied and the computer has restarted several times, you’ll be greeted by the Windows 10 Out-of-Box Experience (OOBE).
- Region and Keyboard Layout: Confirm your region and keyboard layout.
- Connect to a Network: Connect to your Wi-Fi network or plug in an Ethernet cable. This is necessary for account setup and activation.
- Account Setup:
- Microsoft Account: You can sign in with your Microsoft account. This offers benefits like syncing settings across devices, accessing OneDrive, and easier activation.
- Local Account: If you prefer not to use a Microsoft account, you can opt to create a local account. Look for the option that says “Offline account” or “Skip for now” (the wording can vary slightly depending on the Windows 10 version).
- Create a PIN: For quicker logins, you’ll be prompted to create a PIN.
- Privacy Settings: Review and adjust your privacy settings. It’s recommended to disable features you don’t use to enhance your digital security and privacy.
- Cortana: You’ll be asked if you want to enable Cortana. You can choose to accept or decline.
- Welcome Screen: Finally, you’ll see the Windows 10 desktop.
Post-Installation Steps and Optimization
Congratulations, you’ve successfully performed a fresh install of Windows 10! Now it’s time to get your system back to full functionality and optimize its performance.
Install Drivers and Updates
- Windows Update: The first thing you should do is run Windows Update.
- Go to Settings > Update & Security > Windows Update.
- Click “Check for updates.”
- Install all available updates, including optional ones, which often contain driver updates.
- Restart your computer as prompted. Repeat this process until no more critical updates are found.
- Device Manager: Open Device Manager by searching for it in the Start menu. Look for any devices with a yellow exclamation mark next to them, indicating a missing or faulty driver.
- Right-click on the device and select “Update driver.”
- If Windows can’t find a driver automatically, you’ll need to go to your computer or motherboard manufacturer’s website to download the correct driver manually.
- Graphics Card Drivers: For optimal gaming and graphical performance, download the latest drivers directly from NVIDIA, AMD, or Intel’s website.
Reinstall Your Software and Restore Data
Now that your system is clean and drivers are installed, it’s time to reinstall your essential applications and restore your personal files.
- Applications: Reinstall your favorite browsers, office suites, media players, productivity tools, and any other software you use regularly. It’s a good opportunity to consider if you truly need all your old programs or if there are newer, better alternatives.
- Restore Data: Copy your backed-up personal files back to their appropriate locations on your computer.

Personalize Your Settings and Enhance Security
- Personalization: Customize your desktop background, theme, and taskbar settings to your liking.
- Digital Security:
- Antivirus: Ensure you have a reputable antivirus program installed and updated. Windows Defender, built into Windows 10, is a capable option.
- Firewall: Make sure your Windows Firewall is enabled.
- User Account Control (UAC): Keep UAC settings at their default level or higher to prevent unauthorized changes.
- Regular Backups: Set up a schedule for regular backups of your important data.
- Performance Tweaks (Optional):
- Startup Programs: Go to Task Manager (Ctrl+Shift+Esc) and then the “Startup” tab. Disable any unnecessary programs that launch when Windows starts, as this can significantly improve boot times.
- Disk Cleanup: Run the Disk Cleanup tool to remove temporary files and other unnecessary data.
A fresh install of Windows 10 is a powerful way to revitalize your computer, resolve complex issues, and ensure a secure, efficient computing experience. By following these steps carefully, you can confidently give your PC the clean slate it deserves.
aViewFromTheCave is a participant in the Amazon Services LLC Associates Program, an affiliate advertising program designed to provide a means for sites to earn advertising fees by advertising and linking to Amazon.com. Amazon, the Amazon logo, AmazonSupply, and the AmazonSupply logo are trademarks of Amazon.com, Inc. or its affiliates. As an Amazon Associate we earn affiliate commissions from qualifying purchases.