
In today’s digital landscape, our devices are often a treasure trove of applications, from essential productivity tools to entertaining games. While the sheer volume of apps can be beneficial, it can also lead to a cluttered system, slowed performance, and potential security risks. Knowing how to effectively delete installed apps is a fundamental skill for any tech-savvy individual. This guide will walk you through the process across various platforms, ensuring you can reclaim storage space, enhance your device’s efficiency, and maintain a secure digital environment.
The act of deleting an app might seem straightforward, but it often involves more than just a simple tap or click. Understanding the nuances of app uninstallation on different operating systems – be it your smartphone, tablet, or computer – can prevent residual files from lingering and causing issues down the line. Furthermore, in the realm of digital security, removing unwanted or potentially malicious applications is a crucial step in safeguarding your personal information and device integrity.

Understanding the Importance of App Deletion
Before diving into the “how-to,” it’s vital to grasp why regularly purging unnecessary applications is so important. This isn’t just about tidying up; it has tangible benefits for your device’s performance, your data’s security, and even your digital well-being.
Reclaiming Storage Space and Boosting Performance
Every app you install occupies a portion of your device’s storage. Over time, even small apps can accumulate, significantly reducing the available space. This lack of free storage can have a direct impact on your device’s performance. When your storage is nearly full, your operating system struggles to create temporary files, cache data, and perform essential background tasks. This can manifest as:
- Slower app loading times: Apps take longer to open and respond.
- Lagging interface: Navigating through menus and switching between apps becomes sluggish.
- Reduced battery life: The device’s processor works harder to manage limited resources, consuming more power.
- Inability to install new apps or updates: A common and frustrating consequence of full storage.
- System instability: In severe cases, a lack of space can lead to crashes and unexpected shutdowns.
By deleting apps you no longer use or need, you immediately free up this valuable storage, allowing your device to breathe and operate at its optimal speed and efficiency. This is particularly relevant for mobile devices where storage is often more constrained than on desktop computers.
Enhancing Digital Security
The digital world, while offering immense convenience, also presents security challenges. Every app you install, especially those from third-party sources or those that require extensive permissions, can potentially be a vulnerability.
- Malware and Adware: Some apps, even those that appear legitimate, can contain malicious code designed to steal your data, display intrusive ads, or even lock your device for ransom. If you’ve installed an app and later suspect it’s behaving suspiciously, deleting it is the first line of defense.
- Data Privacy: Apps often request access to your contacts, location, camera, microphone, and other sensitive data. If you no longer use an app, it’s prudent to revoke its access to this information by uninstalling it. This minimizes the risk of your data being misused or exposed in a breach of the app developer’s servers.
- Outdated Apps: Apps that are not regularly updated by their developers can harbor security flaws that attackers can exploit. Even if you use an app, ensuring it’s kept up-to-date is crucial. However, if an app is no longer supported or maintained, uninstalling it is a safer option.
Regularly auditing your installed apps and removing anything you don’t recognize, trust, or actively use is a proactive measure for a more secure digital life.
Improving Digital Well-being and Focus
Beyond the technical aspects, the sheer number of apps on a device can contribute to digital clutter and distraction, impacting your mental well-being and productivity.
- Information Overload: A multitude of apps can lead to a constant barrage of notifications, notifications, and distractions, making it harder to focus on important tasks.
- Decision Fatigue: Deciding which app to use for a specific purpose can become overwhelming when you have many similar options.
- Unused Potential: Apps that sit idle on your device represent potential pathways to distraction or wasted time. Removing them can help streamline your digital environment and encourage more mindful technology use.
By decluttering your app library, you create a more focused and intentional digital space, allowing you to engage with technology more purposefully.
Deleting Apps on Mobile Devices (iOS and Android)
Mobile devices are at the forefront of our daily digital interactions, making app management on these platforms particularly crucial. Both iOS and Android offer straightforward methods for uninstalling applications, though the exact steps may vary slightly.
Uninstalling Apps on iOS (iPhone and iPad)
Apple’s iOS operating system is designed with user-friendliness in mind, and deleting apps is a simple, intuitive process.
Method 1: From the Home Screen
This is the most common and quickest way to uninstall an app:
- Locate the App Icon: Find the app you wish to delete on your Home Screen or within your App Library.
- Tap and Hold: Press and hold the app icon. A contextual menu will appear.
- Select “Remove App” or “Edit Home Screen”:
- If you see “Remove App,” tap it.
- If you see “Edit Home Screen,” tap it. The app icons will start to jiggle, and a small minus (-) icon will appear in the top-left corner of apps that can be deleted.
- Tap the Minus Icon: Tap the minus icon on the app you want to remove.
- Choose “Delete App”: A confirmation prompt will appear. Tap “Delete App” to confirm.
- Press “Done”: If you chose “Edit Home Screen,” tap “Done” in the top-right corner of the screen to exit the editing mode.
Important Note: Some pre-installed Apple apps cannot be deleted in the same way. For these, you might only be able to remove them from your Home Screen, but they remain on your device. You can often re-download these from the App Store if needed.
Method 2: From the App Library
The App Library, introduced in iOS 14, provides another way to manage your apps.
- Access the App Library: Swipe left past all your Home Screen pages until you reach the App Library.
- Locate the App: Find the app in one of the categories or by using the search bar at the top.
- Tap and Hold: Press and hold the app icon.
- Select “Delete App”: Tap “Delete App” from the options that appear.
- Confirm Deletion: Tap “Delete” in the confirmation pop-up.
Method 3: Via Settings
The Settings app offers a more comprehensive view of all installed apps and their storage usage, which can be helpful for identifying apps taking up the most space.
- Open Settings: Navigate to the “Settings” app on your iPhone or iPad.
- Tap “General”: Scroll down and tap on “General.”
- Tap “iPhone Storage” or “iPad Storage”: This will display a list of your apps, sorted by their storage size, with the largest at the top.
- Select the App: Tap on the app you wish to delete.
- Tap “Delete App”: At the bottom of the app’s information screen, tap “Delete App.”
- Confirm Deletion: Tap “Delete App” again to confirm.
Uninstalling Apps on Android
Android’s flexibility means there might be slight variations depending on your device manufacturer (e.g., Samsung, Google Pixel, OnePlus) and Android version, but the core methods remain consistent.
Method 1: From the App Drawer or Home Screen
Similar to iOS, you can usually uninstall apps directly from where you access them.
- Locate the App: Find the app icon in your app drawer (usually accessed by swiping up from the bottom of the screen) or on your Home Screen.
- Tap and Hold: Press and hold the app icon.
- Drag to “Uninstall” or Tap “Uninstall”:
- On many devices, a trash can or “Uninstall” option will appear at the top or bottom of the screen. Drag the app icon to this option.
- Alternatively, a pop-up menu might appear with an “Uninstall” option. Tap it.
- Confirm Deletion: A confirmation dialog will appear. Tap “OK” or “Uninstall” to proceed.
Note: Some pre-installed system apps on Android cannot be uninstalled using this method. You might be able to “disable” them, which hides them and prevents them from running, but they will still occupy storage.
Method 2: Via Settings
The Settings menu provides a detailed list of all installed applications.
- Open Settings: Go to your device’s “Settings” app.
- Tap “Apps” or “Applications”: The exact wording may vary (e.g., “Apps & notifications,” “App manager”).
- Tap “See all apps” or “App info”: This will present a list of all installed applications.
- Select the App: Tap on the app you want to remove.
- Tap “Uninstall”: On the app’s information screen, you’ll see an “Uninstall” button. Tap it.
- Confirm Deletion: Tap “OK” or “Uninstall” in the confirmation pop-up.
Method 3: Using the Google Play Store
The Google Play Store can also be used to manage and uninstall apps.

- Open the Google Play Store App: Launch the Play Store on your device.
- Tap your Profile Icon: In the top-right corner, tap your profile picture or initial.
- Tap “Manage apps & device”:
- Tap “Manage”: This section shows all your installed apps.
- Select the App(s): Check the box next to the app you want to uninstall. You can select multiple apps if you wish to remove them in bulk.
- Tap the Trash Can Icon: At the top of the screen, tap the trash can icon to initiate the uninstall process.
- Confirm Uninstallation: Tap “Uninstall” in the confirmation pop-up.
Deleting Apps on Desktop Operating Systems (Windows and macOS)
Managing applications on your computer is equally important for maintaining performance and security. The methods for uninstalling apps on Windows and macOS are well-defined.
Uninstalling Apps on Windows
Windows offers several ways to remove installed programs, from simple drag-and-drop for certain applications to more robust system tools.
Method 1: From the Start Menu
Many modern Windows applications downloaded from the Microsoft Store or installed via executable files can be uninstalled directly from the Start Menu.
- Open the Start Menu: Click the Windows icon in the bottom-left corner of your screen.
- Find the App: Scroll through the list of apps or type the app’s name in the search bar.
- Right-Click the App: Right-click on the app icon.
- Select “Uninstall”: If the option is available, click “Uninstall.”
- Follow On-Screen Prompts: A confirmation window will appear. Click “Uninstall” again or follow any specific prompts from the application’s uninstaller.
Method 2: Via Settings (Windows 10 and 11)
The Settings app provides a centralized place to manage installed applications.
- Open Settings: Click the Start button and select the gear icon (Settings).
- Click “Apps”:
- Click “Apps & features”: This will display a list of all installed applications.
- Find the App: Scroll through the list to locate the app you want to remove.
- Click the App: Click on the app’s name.
- Click “Uninstall”: An “Uninstall” button will appear. Click it.
- Confirm Uninstall: Click “Uninstall” again in the confirmation pop-up. The application’s uninstaller will then run.
Method 3: Via Control Panel (Older Windows Versions and More Comprehensive)
The Control Panel offers a more traditional and often more thorough way to uninstall programs, especially older ones.
- Open Control Panel: Search for “Control Panel” in the Windows search bar and open it.
- Click “Programs” or “Programs and Features”: If you are in “Category” view, click “Uninstall a program” under the “Programs” category. If you are in “Icon” view, click “Programs and Features.”
- Find the Program: Locate the program you wish to uninstall from the list.
- Click “Uninstall”: Select the program and then click the “Uninstall” button that appears at the top of the list.
- Follow On-Screen Prompts: The program’s uninstaller will launch. Follow the on-screen instructions to complete the removal.
Note on Third-Party Uninstallers: For more stubborn applications or to ensure all associated files (registry entries, temporary files) are removed, consider using a reputable third-party uninstaller tool. These tools can offer a more comprehensive cleanup than the built-in Windows methods.
Uninstalling Apps on macOS
macOS users can remove applications in a few different ways, depending on how the app was installed.
Method 1: From the Applications Folder (Most Common)
This is the standard method for most applications downloaded from the App Store or installed via .dmg files.
- Open Finder: Click the Finder icon in your Dock.
- Navigate to “Applications”: In the Finder sidebar, click on “Applications.”
- Locate the App: Find the application you want to uninstall.
- Drag to the Trash: Click and drag the application icon from the Applications folder to the Trash icon in your Dock.
- Empty the Trash: Right-click on the Trash icon in your Dock and select “Empty Trash.” Confirm when prompted.
Important Consideration: Simply dragging an app to the Trash may leave behind configuration files, caches, and other support files. For a complete removal, especially for complex applications, you might need to manually locate and delete these associated files or use a dedicated uninstaller.
Method 2: Using Launchpad
Launchpad provides a grid-like view of your installed applications, similar to mobile app screens.
- Open Launchpad: Click the Launchpad icon in your Dock (it looks like a rocket ship).
- Find the App: Locate the app you wish to uninstall.
- Click and Hold: Click and hold the app icon until it starts to jiggle.
- Click the “X” Icon: If an “X” icon appears in the corner of the app icon, click it. This option is typically available for apps downloaded from the Mac App Store.
- Confirm Deletion: Click “Delete” in the confirmation pop-up.
Note: Apps that were not downloaded from the Mac App Store and do not display an “X” icon cannot be uninstalled via Launchpad. You will need to use the “Drag to Trash” method for these.
Method 3: Using a Dedicated Uninstaller
For more complex applications or to ensure a thorough cleanup, many developers provide their own uninstaller tools, or you can opt for third-party uninstaller applications.
- Developer-Provided Uninstallers: Check the application’s documentation or the developer’s website for specific uninstallation instructions or a dedicated uninstaller application that may have been included with the software.
- Third-Party Uninstaller Apps: Tools like AppCleaner, CleanMyMac X (which includes an uninstaller module), or AppDelete can scan your system for an application and all its associated files, allowing you to remove them completely with a single action. Download these from trusted sources only.
Beyond Basic Deletion: Considerations and Best Practices
Successfully deleting an app is more than just removing its icon. A few additional points can help ensure a clean removal and a well-maintained system.
What About Residual Files?
When you uninstall an app using the standard methods, especially on desktop operating systems, there’s a possibility that some residual files might remain. These can include:
- Configuration files: Settings and preferences you set for the app.
- Cache files: Temporary data stored by the app to speed up loading times.
- Log files: Records of the app’s activity.
- Registry entries (Windows): Entries in the Windows Registry that link to the application.
For most users, these residual files are benign and don’t cause harm. However, they can accumulate over time and, in rare cases, might conflict with future installations or cause minor performance issues.
- Mobile Devices: iOS and Android are generally good at cleaning up most app-related data upon uninstallation.
- Desktop Devices: This is where residual files are more commonly encountered. For most applications, manually searching for and deleting them can be tedious and risky if you’re unsure what you’re deleting. This is why using reputable third-party uninstallers can be beneficial for a thorough cleanup. Always be cautious when manually deleting files from system folders.
System Apps and Their Limitations
As mentioned, certain applications are deeply integrated into the operating system and cannot be fully removed using standard methods. These are often referred to as “system apps” or “bloatware.”
- Mobile Devices: Manufacturers often pre-install apps that you may not want or need. On Android, you can often disable these, which effectively hides them and stops them from running. On iOS, most pre-installed apps can only be removed from the Home Screen, not entirely uninstalled.
- Desktop Devices: Similarly, Windows and macOS come with a suite of built-in applications. While some can be removed or disabled, others are essential for the operating system’s functionality.
If you’re encountering persistent bloatware on Android, some advanced users might explore rooting their device, but this comes with significant risks and is not recommended for the average user.
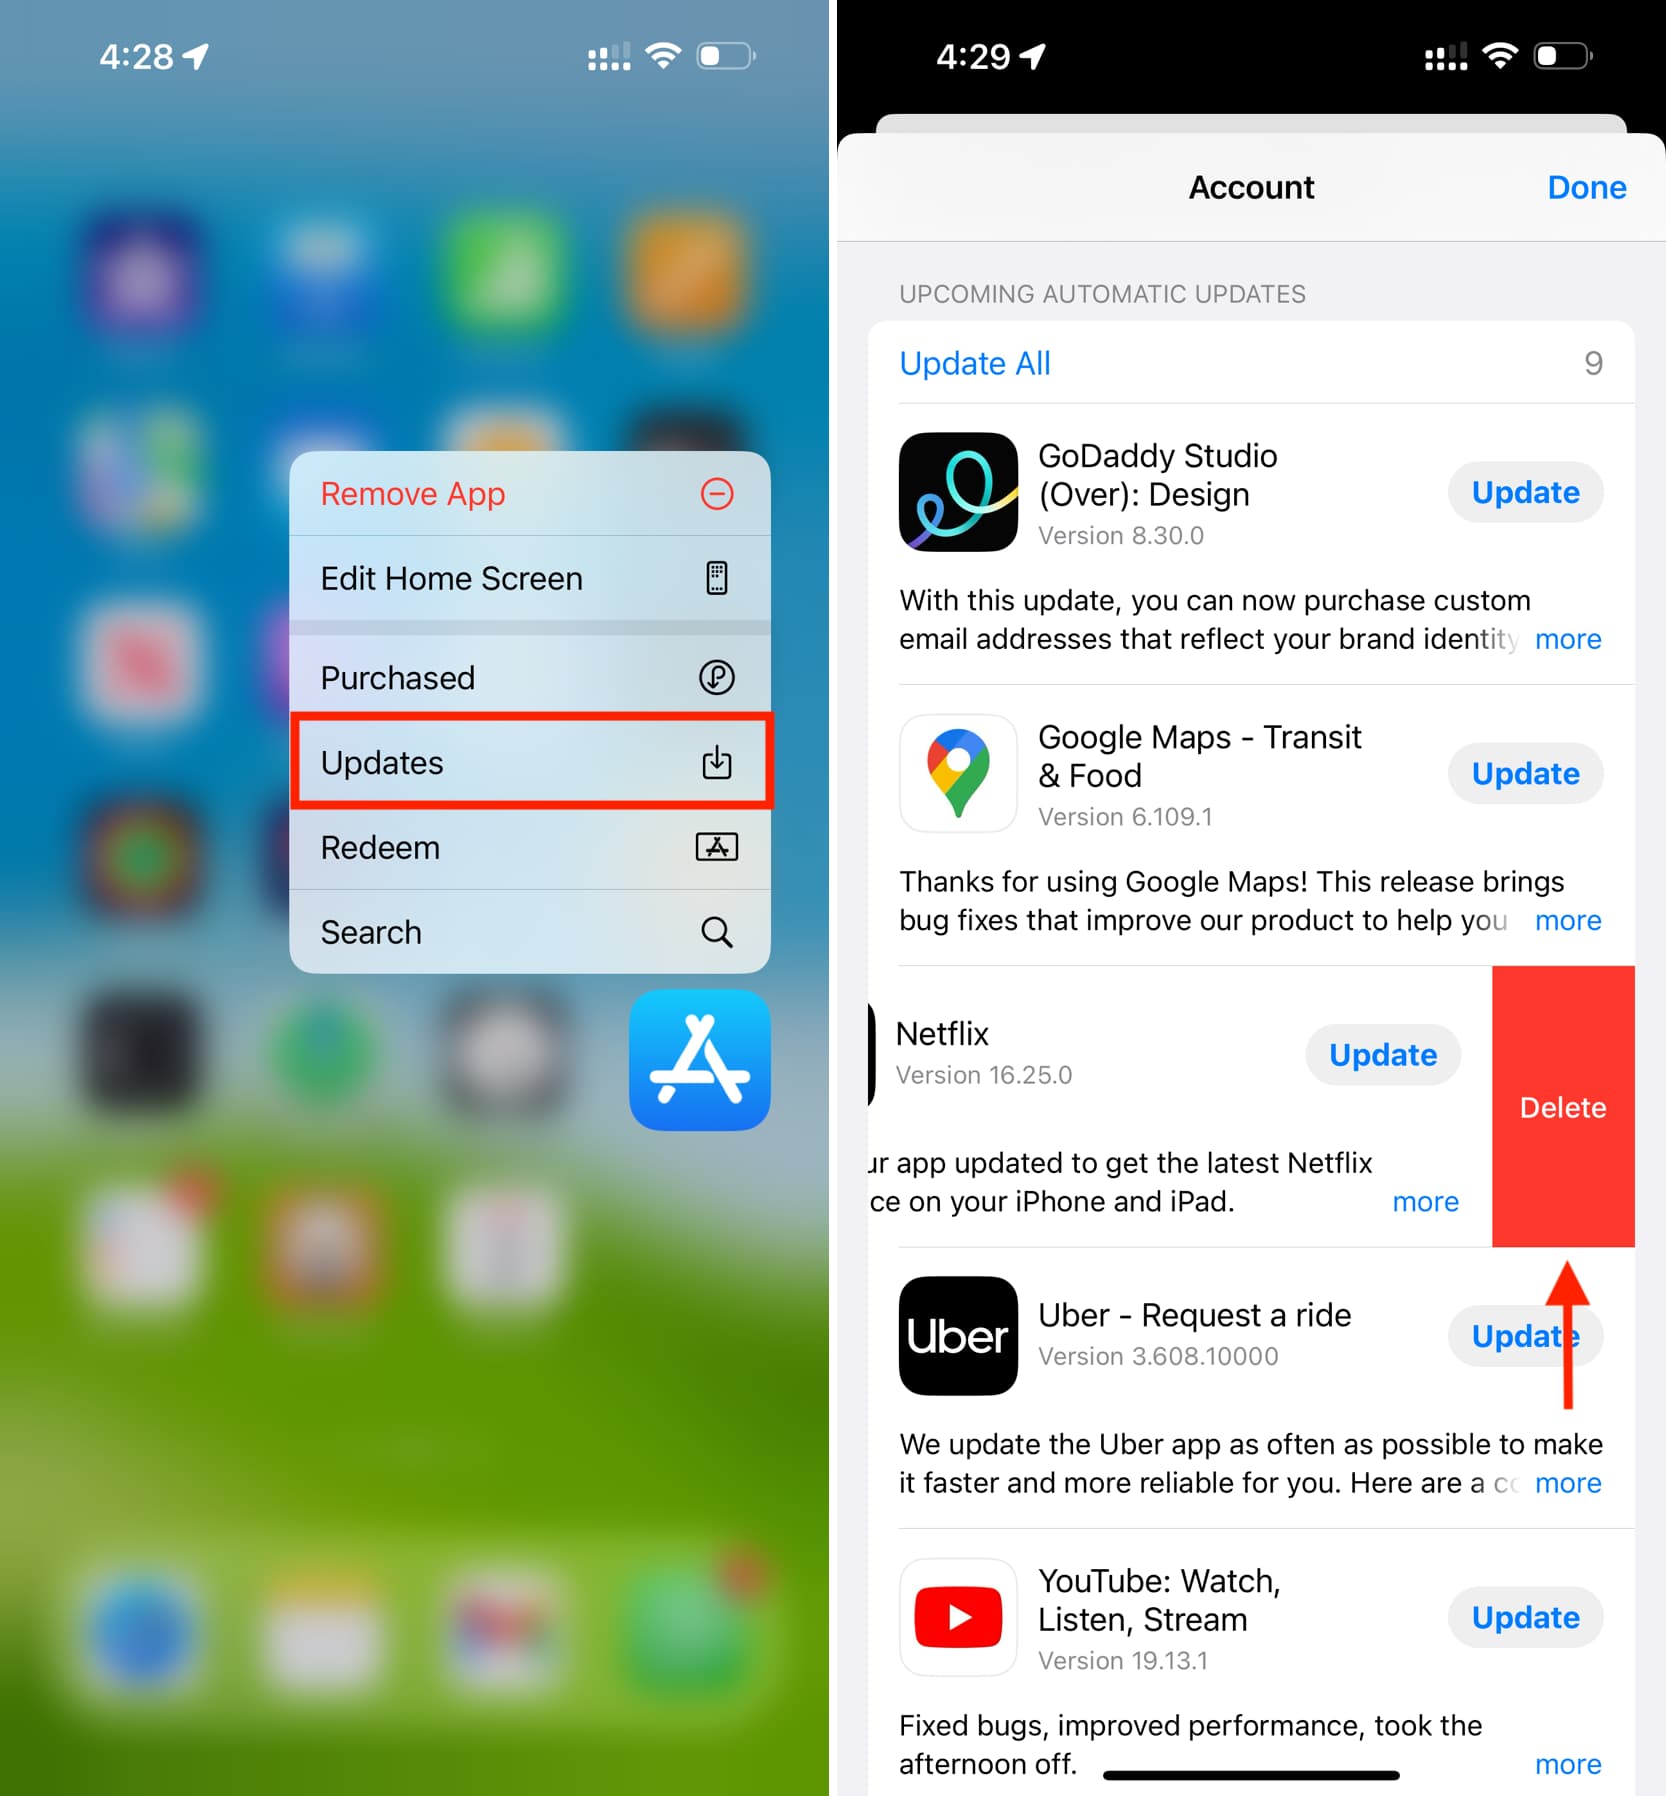
Regularly Review Your Installed Apps
The best approach to app management is proactive rather than reactive. Make it a habit to periodically review the applications installed on your devices.
- Monthly Check-up: Set a reminder to go through your app list once a month.
- Delete Immediately: As soon as you realize you no longer use an app, uninstall it. Don’t let it linger and take up space.
- Be Wary of Downloads: Think twice before installing new apps. Read reviews, check permissions, and consider if you truly need the app.
By adopting these practices, you’ll not only keep your devices running smoothly but also enhance their security and contribute to a more organized and focused digital experience. Deleting installed apps is a simple yet powerful way to maintain control over your digital environment.
aViewFromTheCave is a participant in the Amazon Services LLC Associates Program, an affiliate advertising program designed to provide a means for sites to earn advertising fees by advertising and linking to Amazon.com. Amazon, the Amazon logo, AmazonSupply, and the AmazonSupply logo are trademarks of Amazon.com, Inc. or its affiliates. As an Amazon Associate we earn affiliate commissions from qualifying purchases.