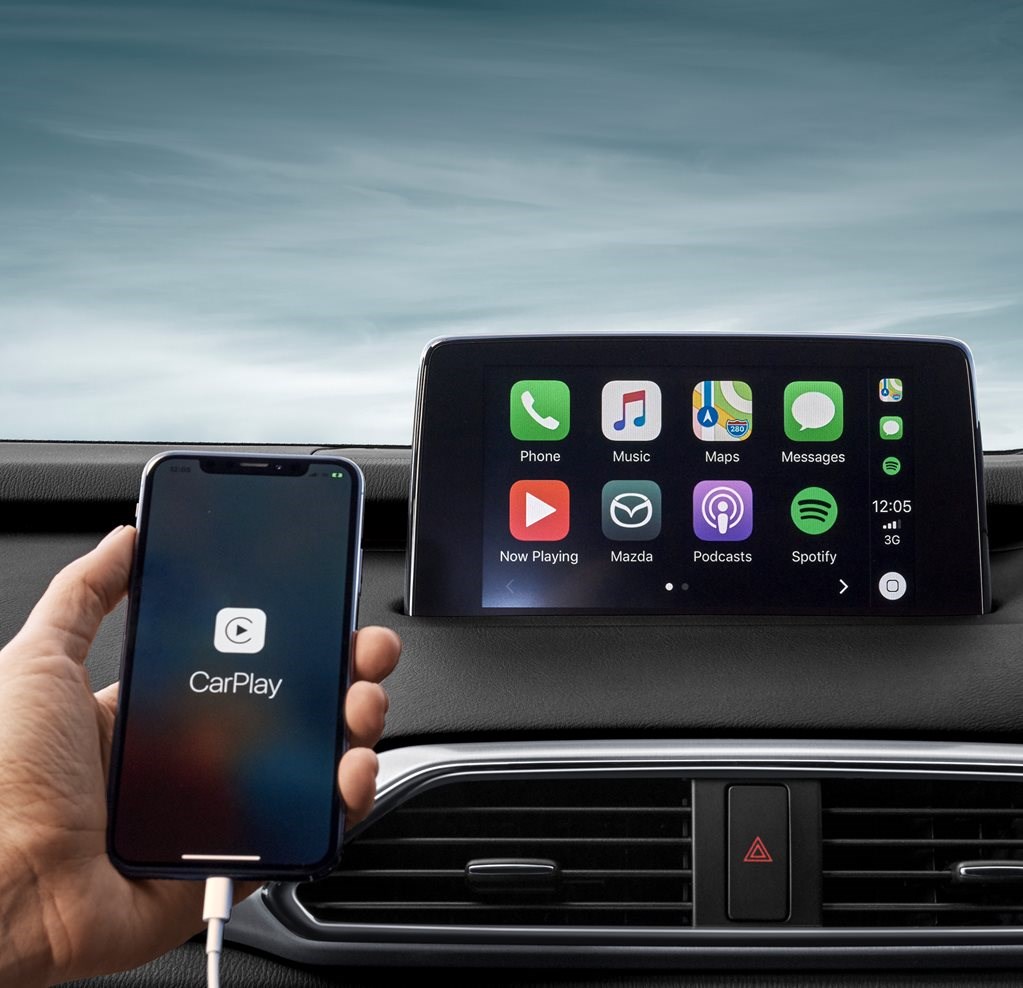
Apple CarPlay transforms your driving experience by seamlessly integrating your iPhone with your car’s infotainment system. It’s not just about playing music; it’s about accessing navigation, making calls, sending messages, and utilizing a curated selection of your favorite apps, all through an intuitive, car-friendly interface. While many modern vehicles come with CarPlay pre-installed, what happens if yours doesn’t, or if you’re looking to upgrade an older car? This guide will walk you through the process of installing Apple CarPlay, covering everything from understanding your car’s compatibility to the actual installation and setup.
Understanding CarPlay Compatibility and Requirements
Before diving into the installation, it’s crucial to determine if your vehicle is compatible with Apple CarPlay and what specific requirements are in place. This step is foundational, as attempting to install CarPlay on an incompatible system will be fruitless and potentially costly.
Checking Your Vehicle’s Built-in Support
The easiest scenario is when your car already has the hardware for CarPlay, but it hasn’t been activated or configured. This is common in vehicles manufactured from around 2016 onwards.
- Consult Your Car’s Manual: The most reliable source of information is your car’s owner’s manual. It will explicitly state whether your vehicle supports Apple CarPlay and any specific instructions or prerequisites.
- Check the Infotainment System Settings: Navigate through your car’s infotainment system menu. Look for options related to “Phone Projection,” “Smartphone Integration,” or specifically “Apple CarPlay.” If you find an option to enable or configure CarPlay, your car likely has the necessary hardware.
- Visit the Manufacturer’s Website: Most car manufacturers have dedicated sections on their websites detailing the features and specifications of their models, including CarPlay compatibility. You can usually search by your car’s make, model, and year.
- Inquire with Your Dealership: If you’re still unsure, your car dealership’s service or sales department can definitively tell you if your car supports CarPlay and what options are available for installation.
What to Do if Your Car Isn’t CarPlay-Ready
If your car’s current infotainment system does not support CarPlay, don’t despair. You still have options, although they will involve upgrading your in-car technology.
Option 1: Aftermarket Head Units
This is the most common and flexible solution for vehicles that don’t come with factory-installed CarPlay. An aftermarket head unit is a replacement for your car’s existing stereo and display.
- Choosing the Right Head Unit:
- Screen Size and Type: Head units come in various screen sizes (e.g., 6.2 inches, 7 inches, 10 inches) and types (single-DIN or double-DIN). Double-DIN units offer larger screens and more features. Consider the available space in your dashboard.
- CarPlay Functionality: Ensure the head unit explicitly states it supports Apple CarPlay. Brands like Pioneer, Kenwood, Alpine, JVC, and Sony offer excellent CarPlay-compatible options.
- Features: Beyond CarPlay, consider other features you might want, such as Bluetooth connectivity, SiriusXM readiness, backup camera input, app mirroring, and advanced audio controls.
- Wired vs. Wireless CarPlay: Some head units offer wireless CarPlay, which eliminates the need for a USB cable. This adds convenience but can sometimes be less stable than a wired connection.
- Professional Installation vs. DIY:
- Professional Installation: This is highly recommended, especially if you are not experienced with car electronics. A professional installer will ensure the unit is wired correctly, fits seamlessly into your dashboard, and all features work as intended. This also helps avoid potential damage to your car’s electrical system.
- DIY Installation: If you’re confident in your technical skills, you can install it yourself. You’ll need to purchase specific installation kits for your car (dash kits, wiring harnesses, antenna adapters) to ensure a clean and functional integration. Online tutorials and forums can be valuable resources for DIYers.
Option 2: CarPlay Dongles or Adapters (Limited Scope)
There are some small dongles or adapters on the market that claim to add CarPlay functionality to existing car stereos that don’t natively support it.
- How They Work (Generally): These devices typically plug into your car’s USB port and then connect to your smartphone. They essentially create a bridge to project a simplified CarPlay interface onto your existing car screen or a separate display.
- Limitations and Risks:
- Compatibility Issues: These dongles are often less reliable and have more compatibility issues than dedicated aftermarket head units. They might not work with all car models or iPhone versions.
- Limited Functionality: The features and responsiveness can be significantly inferior to a true CarPlay installation.
- Potential for Glitches: Expect occasional glitches, lag, or connection drops.
- Security Concerns: Be cautious when purchasing from unknown brands, as some might not have robust security protocols.
- Not a True Integration: They don’t integrate as deeply with your car’s systems as a factory or aftermarket head unit would.
- Recommendation: While these dongles might seem like a cheap alternative, for a reliable and integrated experience, investing in an aftermarket head unit is generally the superior choice.
The Installation Process: Step-by-Step
Once you’ve determined your compatibility and chosen your solution, the installation process can begin. This section will focus on the typical steps involved, particularly with an aftermarket head unit.
Step 1: Gathering Necessary Tools and Components
This is a critical preparation phase. Having everything you need before you start will save time and prevent frustration.
- Aftermarket Head Unit: The CarPlay-compatible stereo itself.
- Vehicle-Specific Dash Kit: This allows the new head unit to fit snugly and look like it belongs in your dashboard.
- Wiring Harness Adapter: Connects the new head unit’s wiring to your car’s factory wiring, avoiding the need to cut and splice original wires.
- Antenna Adapter: If your car has a proprietary antenna connector, you’ll need an adapter.
- Steering Wheel Control Interface (Optional but Recommended): If you want to retain control of your stereo functions (volume, track skipping) from your steering wheel.
- Tools:
- Screwdrivers (Phillips head, flathead)
- Panel removal tools (plastic pry tools to avoid scratching interior trim)
- Socket wrench set or nut drivers
- Wire strippers and crimpers (if not using a harness adapter)
- Electrical tape or heat shrink tubing
- Multimeter (for checking power and ground if necessary)
- Zip ties for cable management
Step 2: Removing the Factory Head Unit
This is often the most delicate part of the installation, as you’ll be working with your car’s interior trim.

- Disconnect the Battery: Crucially, disconnect the negative terminal of your car’s battery to prevent electrical shorts and damage. Wait a few minutes after disconnecting before proceeding.
- Access the Dashboard: Consult your car’s service manual or online guides for your specific model to identify how to remove the trim pieces surrounding the factory head unit. This usually involves carefully prying away plastic panels.
- Unscrew the Factory Unit: Once the trim is removed, you should see screws holding the factory radio in place. Unscrew them.
- Gently Pull Out the Unit: Carefully pull the factory head unit out of the dashboard. Be mindful of attached wiring harnesses.
- Disconnect Wiring and Antenna: Press the release tabs on the factory wiring harnesses and antenna cable to detach them from the back of the head unit.
Step 3: Wiring the New Head Unit
This step involves connecting the new head unit to your car’s electrical system using the adapters.
- Connect the Wiring Harness Adapter:
- Take the wiring harness adapter that came with your new head unit and match the wires to the corresponding wires on the vehicle-specific wiring harness adapter. Refer to the diagrams provided with both adapters.
- Typically, you’ll connect:
- Power (Constant 12V and Switched 12V/Accessory)
- Ground
- Speaker wires (left/right, front/rear)
- Illumination (for dimming the display at night)
- Antenna power (for power antenna or factory amplifier)
- Reverse trigger (if installing a backup camera)
- Crimp or Solder Connections: Securely connect the wires using crimp connectors or by soldering and insulating with heat shrink tubing or electrical tape. Do not simply twist wires together.
- Connect the Antenna Adapter: Plug your car’s antenna cable into the antenna adapter and then plug the adapter into the new head unit.
- Connect Steering Wheel Control Interface (if applicable): If you’re using a steering wheel control module, follow its specific instructions to connect it to both the new head unit and your car’s wiring.
Step 4: Installing the New Head Unit and Trim
With the wiring complete, it’s time to physically install the new unit.
- Mount the Dash Kit: Assemble the vehicle-specific dash kit according to its instructions and fit it into the dashboard opening.
- Connect the New Head Unit: Carefully plug the wiring harness and antenna connections into the back of your new aftermarket head unit.
- Slide the Head Unit into Place: Slide the new head unit into the dash kit. It should click or secure into place according to the kit’s design.
- Reinstall Trim Panels: Carefully reattach any dashboard trim pieces you removed earlier. Ensure they snap back into place securely.
Step 5: Final Checks and CarPlay Setup
After the physical installation, it’s time to power everything up and configure CarPlay.
- Reconnect the Battery: Reconnect the negative terminal of your car’s battery.
- Power On and Test: Turn on your car’s ignition and then the new head unit.
- Initial Boot-Up: The head unit should power on. Check that sound is coming from all speakers and that the display is functioning correctly.
- Steering Wheel Controls: If you installed a steering wheel control interface, test to ensure your buttons are working as expected.
- Radio and Other Features: Test basic radio functionality and any other features of the head unit.
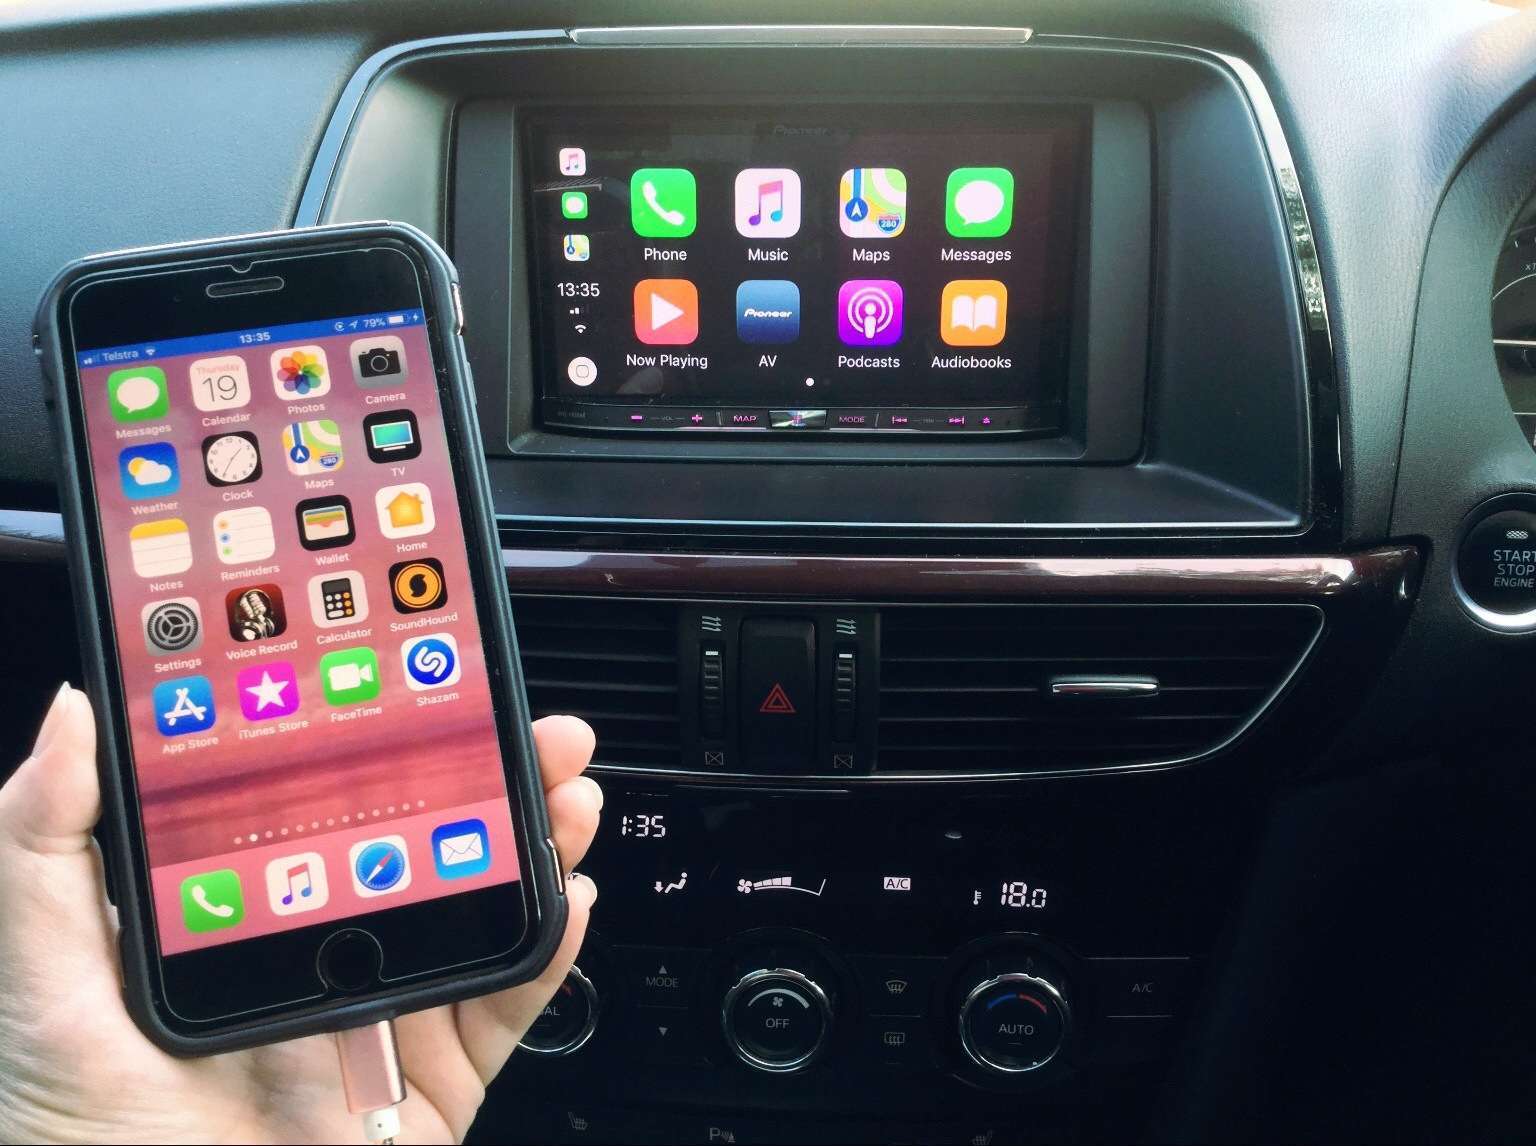
- Connect Your iPhone:
- Wired Connection: Plug your iPhone into the USB port designated for CarPlay on your head unit using a genuine Apple USB cable.
- Wireless Connection (if supported): Follow your head unit’s instructions for pairing your iPhone via Bluetooth and Wi-Fi.
- Enable CarPlay on Your iPhone:
- On your iPhone, go to Settings > General > CarPlay.
- If your car is detected, you should see it listed. Tap on it and then tap “Forget This Car” if it was previously connected to something else, or “Connect to CarPlay” to initiate the pairing.
- Follow any on-screen prompts on both your iPhone and the car’s head unit to complete the connection. You might need to grant permissions for contacts, messages, etc.
- Explore CarPlay: Once connected, you should see the familiar CarPlay interface on your car’s screen. You can now access compatible apps like Maps, Music, Messages, Phone, Podcasts, and more.
Optimizing Your CarPlay Experience
Once CarPlay is installed and working, you can fine-tune your setup for optimal convenience and safety.
Organizing Your CarPlay Apps
CarPlay allows you to customize the arrangement of apps on its home screen.
- On Your iPhone: The apps that appear in CarPlay are a subset of those on your iPhone. To manage which apps are available:
- Go to Settings > General > CarPlay.
- Tap on your car’s name.
- Tap “Customize”.
- You can drag and drop apps to reorder them, or tap the red minus button to remove an app from CarPlay.
- Best Practices: Keep your most frequently used apps easily accessible (e.g., Maps, Music, Phone) and remove less relevant ones to avoid clutter.
Utilizing Siri for Hands-Free Control
Siri is an integral part of CarPlay, enabling you to control most functions without taking your hands off the wheel or your eyes off the road.
- Activating Siri:
- Press and Hold the Voice Command Button: If your car has a dedicated voice command button on the steering wheel or head unit, press and hold it.
- Say “Hey Siri”: If your head unit supports it and your iPhone is connected, you can activate Siri by simply saying “Hey Siri” (ensure “Hey Siri” is enabled in your iPhone’s settings).
- What You Can Do with Siri:
- Navigation: “Hey Siri, navigate home,” “Hey Siri, find the nearest gas station,” “Hey Siri, what’s the traffic like on my route?”
- Messaging: “Hey Siri, text [contact name] I’ll be there in 10 minutes,” “Hey Siri, read my last message.”
- Calling: “Hey Siri, call Mom,” “Hey Siri, redial the last number.”
- Music and Audio: “Hey Siri, play my driving playlist,” “Hey Siri, skip this song,” “Hey Siri, what’s this song?”
- Information: “Hey Siri, what’s the weather like?” “Hey Siri, what’s the capital of France?”
Maintaining and Troubleshooting CarPlay
Like any technology, CarPlay can sometimes encounter issues. Knowing how to troubleshoot can save you a lot of hassle.
- Connection Problems:
- Check Your Cable: Use a high-quality, genuine Apple USB cable. Damaged or third-party cables are a common cause of connection issues.
- Restart Your iPhone and Head Unit: A simple restart can often resolve temporary glitches.
- Forget and Re-pair: On both your iPhone (Settings > General > CarPlay) and potentially within your car’s Bluetooth settings, “forget” the connection and then re-pair.
- Update Software: Ensure your iPhone has the latest iOS version and check if your aftermarket head unit has any firmware updates available from the manufacturer.
- App Issues:
- Check for App Updates: Ensure the specific app you’re having trouble with is up to date on your iPhone.
- Reinstall the App: Try deleting and reinstalling the app on your iPhone.
- General Performance:
- Avoid Overheating: Extreme temperatures can affect electronic performance.
- Limit Background Apps on iPhone: While CarPlay is designed to be efficient, closing unnecessary apps on your iPhone can sometimes improve performance.
By following these steps and tips, you can successfully install Apple CarPlay, transforming your car into a more connected, entertaining, and convenient space. Whether you’re adding it to a new vehicle or retrofitting an older one, the result is an enhanced driving experience that keeps your focus on the road while giving you access to the digital world.
aViewFromTheCave is a participant in the Amazon Services LLC Associates Program, an affiliate advertising program designed to provide a means for sites to earn advertising fees by advertising and linking to Amazon.com. Amazon, the Amazon logo, AmazonSupply, and the AmazonSupply logo are trademarks of Amazon.com, Inc. or its affiliates. As an Amazon Associate we earn affiliate commissions from qualifying purchases.