
Arch Linux stands as a beacon for those who crave ultimate control, minimalism, and a profound understanding of their operating system. Unlike many distributions that aim to be user-friendly right out of the box, Arch embraces a “do-it-yourself” philosophy. This means you’re not just installing an OS; you’re building a system tailored precisely to your needs, piece by piece. This journey, while demanding a steeper learning curve, rewards users with unparalleled performance, flexibility, and a deep sense of accomplishment. If you’re looking to peel back the layers of abstraction and truly master your computing environment, Arch Linux might just be your next great adventure.
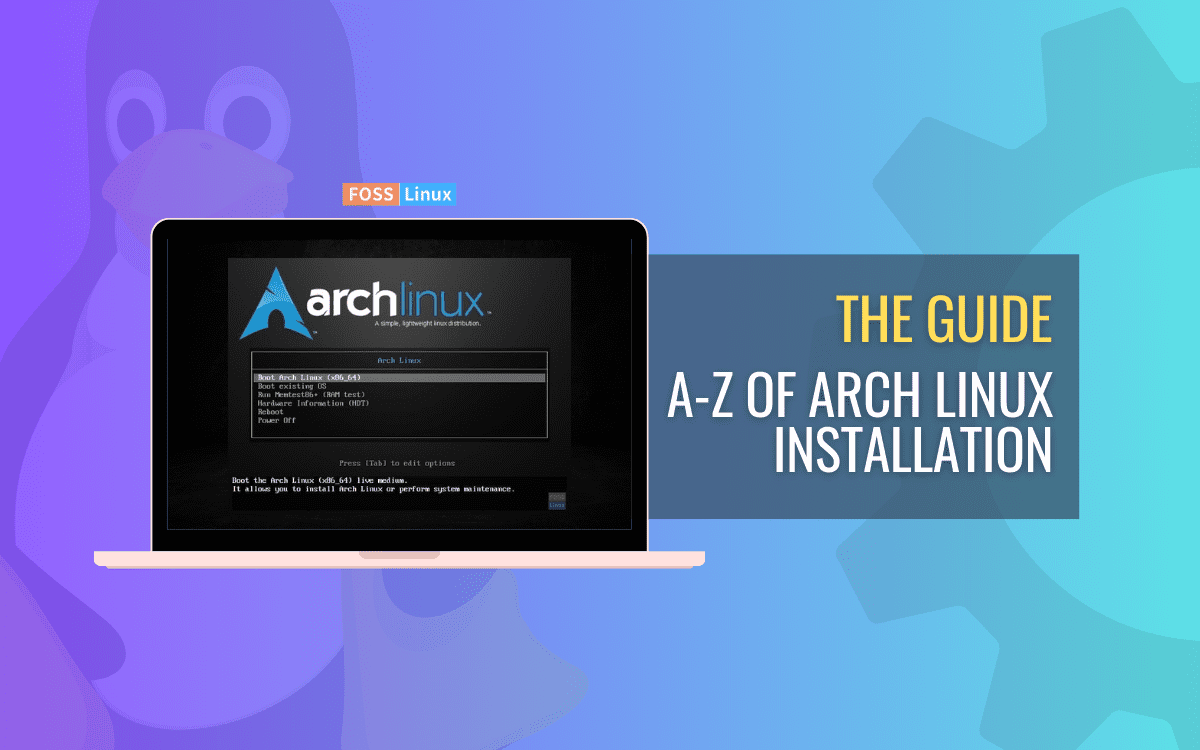
This comprehensive guide will walk you through the entire process of installing Arch Linux, transforming what can seem like a daunting task into a manageable and enlightening experience. We’ll cover everything from the initial preparatory steps to configuring your system post-installation, ensuring you have a stable, custom-built Arch setup ready for productivity and exploration.
Understanding Arch Linux: The Philosophy and Its Appeal
Before diving into the mechanics, it’s crucial to grasp what makes Arch Linux unique and why millions of users worldwide swear by it. It’s more than just another Linux distribution; it’s a methodology.
Why Choose Arch? The DIY Advantage
At its core, Arch Linux adheres to five guiding principles: simplicity, modernity, pragmatism, user centrality, and versatility. These aren’t just buzzwords; they dictate every aspect of its design and usage.
- Simplicity: This doesn’t mean easy; it means elegant design without unnecessary additions or complications. The system is built from the ground up, with minimal default packages, leaving you to install only what you need. This results in a lean, fast, and resource-efficient operating system.
- Modernity: Arch is a “rolling release” distribution. This means once installed, you continuously receive the latest software updates, kernel versions, and features without ever needing to perform a major version upgrade. This keeps your system cutting edge and secure.
- Pragmatism: While Arch offers immense control, it’s not dogmatic. It provides sensible defaults and robust tools (like
pacman, its powerful package manager) that make system management efficient without compromising user choice. - User Centrality: Arch Linux is built by and for its users. The Arch Wiki, an unparalleled resource, is a testament to this collaborative spirit, providing comprehensive documentation for nearly every conceivable scenario. You are expected to learn and understand your system.
- Versatility: From a minimal server to a powerful gaming rig or a development workstation, Arch can be sculpted to fit any purpose. The absence of a default desktop environment or an opinionated software stack means you truly build your ideal system.
For those in the tech space, particularly developers, system administrators, or anyone deeply interested in how software works, Arch offers an unparalleled learning experience. It forces you to interact with your system at a fundamental level, demystifying the boot process, package management, and system configuration. This knowledge is invaluable, enhancing your digital security awareness and overall tech proficiency.
Is Arch For You? A Word on Prerequisites
While Arch’s appeal is strong, it’s not for everyone, especially complete Linux beginners. To have a smooth installation experience and a productive journey with Arch, you should ideally have:
- Basic familiarity with the Linux command line: You’ll be spending a lot of time in the terminal during installation and initial setup.
- An understanding of disk partitioning concepts: Knowing about EFI System Partitions (ESP), root partitions, and swap space is crucial.
- Patience and a willingness to learn: The Arch Wiki will be your best friend. Don’t be afraid to consult it frequently.
- Another device with internet access: This is vital for referring to the Arch Wiki or troubleshooting during the installation process, as your primary machine will be occupied.
If you meet these criteria, prepare for a rewarding journey into the heart of Linux.
Pre-Installation Checklist: Gathering Your Tools
Before we touch the command line, a few preparatory steps are essential to ensure a smooth installation. Think of this as preparing your workshop before starting a complex project.
Essential Hardware Requirements
Arch Linux is incredibly lightweight, meaning it can run on relatively modest hardware. However, a few components are crucial:
- A 64-bit compatible machine: Arch no longer supports 32-bit architectures.
- Minimum 512 MB RAM (2 GB recommended): For the installation environment itself, and more for a usable desktop system.
- Minimum 2 GB storage space (20 GB+ recommended): For the base system, and much more if you plan to install a desktop environment and applications. An SSD is highly recommended for performance.
- Internet connection: Essential for downloading packages during installation. Both wired (Ethernet) and wireless (Wi-Fi) are supported.
- A USB drive (minimum 2 GB): To create your bootable Arch Linux installation media.
Creating a Bootable USB Drive
This is your primary tool for starting the installation.
- Download the Arch Linux ISO: Visit the official Arch Linux website (
archlinux.org) and navigate to the Downloads section. Choose the latest ISO file from a mirror close to you. - Verify the download (Optional but Recommended): Use
sha256sumto verify the integrity of the downloaded ISO against the checksum provided on the Arch Linux website. This prevents corrupted downloads. - Flash the ISO to a USB drive: You’ll need a tool to write the ISO image to your USB drive.
- On Linux: The
ddcommand is the standard. Replace/dev/sdXwith your USB drive’s device name (e.g.,/dev/sdb), being extremely careful not to overwrite your main hard drive!
bash

sudo dd bs=4M if=/path/to/archlinux-*.iso of=/dev/sdX status=progress && sync
- On Windows: Use Rufus or Etcher.
- On macOS: Use Etcher or the
ddcommand (similar to Linux, find your USB device withdiskutil list).
- On Linux: The
Network Connectivity and Live Environment Setup
Once your bootable USB is ready, insert it into your target machine and boot from it. You might need to adjust your BIOS/UEFI settings to prioritize booting from USB.
After booting, you’ll be greeted by the Arch Linux boot menu. Select “Arch Linux install medium (x86_64)”. This will boot you into a Zsh shell in the Arch live environment.
-
Verify Boot Mode:
ls /sys/firmware/efi/efivarsIf this command shows files, you’ve booted in UEFI mode. If it returns an error, you’ve likely booted in BIOS/Legacy mode. Note this, as it affects bootloader installation.
-
Connect to the Internet:
- Wired (Ethernet): Usually works automatically via DHCP. Test connectivity:
bash

ping archlinux.org
- Wireless (Wi-Fi):
bash

iwctl # This opens the iwd interactive prompt

device list # Find your wireless device, e.g., wlan0

station wlan0 scan

station wlan0 get-networks

station wlan0 connect "SSID" # Replace SSID with your network name

# Enter password when prompted

exit # To exit iwd prompt
Test connectivity:ping archlinux.org.
- Wired (Ethernet): Usually works automatically via DHCP. Test connectivity:
-
Update System Clock: Ensure your system’s time is accurate.
bash

timedatectl set-ntp true
Verify:timedatectl status
The Core Installation Process: A Step-by-Step Guide
This is where the real work begins. We will systematically set up your disk, install the base system, and configure it.
Partitioning Your Disks: The Foundation
Correct disk partitioning is critical. Identify your disk (e.g., /dev/sda, /dev/nvme0n1) using lsblk or fdisk -l. Proceed with extreme caution, as incorrect commands can lead to data loss.
Tools for partitioning:
fdisk: For MBR (BIOS) and GPT (UEFI) partitioning, text-based.cfdisk: More user-friendly, curses-based version of fdisk.gdisk: Specifically for GPT partitions, similar to fdisk.
Recommended Partition Layout (UEFI Systems):
- EFI System Partition (ESP): 300-500 MB, FAT32 filesystem. Mount point:
/boot/efi. This holds bootloader files. - Root Partition (
/): At least 20 GB (more recommended), Ext4 filesystem. Mount point:/. This is where your entire OS will reside. - Swap Partition (Optional but Recommended): Size typically 1-2x RAM, up to 8 GB. This acts as virtual memory. Can also be a swap file later.
- Home Partition (Optional): Remaining space, Ext4 filesystem. Mount point:
/home. Separating this makes reinstallations easier.
Example using cfdisk for a UEFI system (assuming /dev/sda):
cfdisk /dev/sda- Select
gptfor partition table type. - Create new partitions:
- New -> Size (e.g., 500M) -> Type:
EFI System - New -> Size (e.g., 30G) -> Type:
Linux filesystem - New -> Size (e.g., 4G) -> Type:
Linux swap - New -> Remaining space -> Type:
Linux filesystem
- New -> Size (e.g., 500M) -> Type:
- Write changes, then Quit.
Formatting File Systems
Now, format the partitions you’ve created.
- ESP:
bash

mkfs.fat -F 32 /dev/sda1 # Replace sda1 with your ESP partition
- Root Partition:
bash

mkfs.ext4 /dev/sda2 # Replace sda2 with your root partition
- Swap Partition:
bash

mkswap /dev/sda3 # Replace sda3 with your swap partition

swapon /dev/sda3
- Home Partition (if created):
bash

mkfs.ext4 /dev/sda4 # Replace sda4 with your home partition
Mounting Partitions
Mount your newly formatted partitions into the live environment’s /mnt directory.

- Mount Root:
bash

mount /dev/sda2 /mnt # Mount your root partition
- Create and Mount ESP:
bash

mkdir -p /mnt/boot/efi

mount /dev/sda1 /mnt/boot/efi # Mount your ESP
- Mount Home (if created):
bash

mkdir /mnt/home

mount /dev/sda4 /mnt/home
Installing Essential Packages
This command installs the base Arch Linux system onto your mounted partitions.
pacstrap /mnt base linux linux-firmware
base: The minimal Arch Linux system.linux: The latest Linux kernel.linux-firmware: Essential firmware for various hardware components.
You might also want to include nano or vim for text editing later, and dhcpcd for wired networking post-reboot.
Configuring the System
After the base system is installed, you need to configure it.
-
Generate
fstab: This file defines how your partitions are mounted at boot.genfstab -U /mnt >> /mnt/etc/fstabReview
cat /mnt/etc/fstabto ensure it looks correct. -
Chroot into the New System: This command changes your root directory to
/mnt, allowing you to run commands as if you were already booted into your new Arch installation.arch-chroot /mnt -
Set Time Zone:
ln -sf /usr/share/zoneinfo/Region/City /etc/localtime
hwclock --systohc
Replace
Region/City(e.g.,Europe/London). -
Localization:
Edit/etc/locale.genand uncomment your desired locales (e.g.,en_US.UTF-8 UTF-8).
Then generate them:locale-genCreate
/etc/locale.conf:echo "LANG=en_US.UTF-8" > /etc/locale.conf -
Network Configuration:
Create/etc/hostname:echo "myarchlinux" > /etc/hostname # Replace myarchlinux with your desired hostnameAdd matching entries to
/etc/hosts:nano /etc/hosts # Add these lines: # 127.0.0.1 localhost # ::1 localhost # 127.0.1.1 myarchlinux.localdomain myarchlinuxFor persistent network management, install
networkmanagerand enable it:pacman -S networkmanager systemctl enable NetworkManager -
Set Root Password:
passwdChoose a strong, memorable password.
-
Create a New User: It’s best practice to use a regular user account for daily tasks.
useradd -m -g users -G wheel,storage,power -s /bin/bash yourusername
passwd yourusername
Replace
yourusername. -
Configure
sudo(Optional but Recommended): To allow your new user to run commands as root.
bash

pacman -S sudo

EDITOR=nano visudo # Uncomment the line: %wheel ALL=(ALL:ALL) ALL
Installing and Configuring a Bootloader
This is the final critical step before rebooting, allowing your system to start Arch Linux. For UEFI systems, GRUB is a common choice.
- Install GRUB and EFI tools:
bash

pacman -S grub efibootmgr
- Install GRUB to ESP:
bash

grub-install --target=x86_64-efi --efi-directory=/boot/efi --bootloader-id=Arch --removable
- Generate GRUB configuration file:
bash

grub-mkconfig -o /boot/grub/grub.cfg
For BIOS/Legacy systems (if you didn’t boot in UEFI mode):
- Install GRUB:
bash

pacman -S grub

grub-install --target=i386-pc /dev/sda # Replace sda with your disk, not a partition!
- Generate GRUB configuration file:
bash

grub-mkconfig -o /boot/grub/grub.cfg
Finally, exit the chroot environment, unmount all partitions, and reboot:
exit
umount -R /mnt
reboot
Remove the USB installation media when prompted.
Post-Installation: Refining Your Arch System
Congratulations! You should now be able to boot into your freshly installed, minimal Arch Linux system. From here, the real customization begins. This section is where you sculpt Arch into your ideal computing environment for productivity and specific tasks.
Installing a Desktop Environment (DE) or Window Manager (WM)
A bare Arch system provides only a command-line interface. For graphical interaction, you need a DE or WM.
- Install Xorg (the display server):
bash

pacman -S xorg
- Choose and Install a Desktop Environment (e.g., KDE Plasma, GNOME, XFCE):
- KDE Plasma:
bash

pacman -S plasma konsole sddm # sddm is a display manager

systemctl enable sddm
- GNOME:
bash

pacman -S gnome gnome-extra gdm # gdm is a display manager

systemctl enable gdm
- XFCE:
bash

pacman -S xfce4 xfce4-goodies lightdm lightdm-gtk-greeter

systemctl enable lightdm
- KDE Plasma:
- Reboot after installing your DE and enabling its display manager, and you should be greeted by a graphical login screen.
Alternatively, for a more minimalist approach, you could install a Window Manager like i3, AwesomeWM, or Sway. This usually involves installing the WM package and configuring your .xinitrc file to launch it, then starting it with startx.
Network Configuration (Persistent)
While NetworkManager was recommended during installation, ensure it’s fully configured. If you relied on dhcpcd during the base install and didn’t install NetworkManager, now is the time to choose a persistent network solution. NetworkManager is generally recommended for desktop use as it provides a robust graphical interface and command-line tools (nmcli).
If you installed and enabled NetworkManager in arch-chroot, it should be running. If not:
sudo systemctl enable --now NetworkManager
You can manage connections graphically (if your DE supports it) or via nmcli.
Audio, Graphics, and Other Drivers
- Audio: Install
pulseaudioorpipewire(the modern successor) andpavucontrol(volume control).
bash

sudo pacman -S pipewire pipewire-pulse pavucontrol
Enable the user service:systemctl --user enable pipewire pipewire-pulse - Graphics Drivers: Arch’s
linuxpackage includes open-source drivers. For optimal performance, especially with gaming or specific hardware, you might need proprietary drivers (e.g., NVIDIA, AMDGPU-PRO). Consult the Arch Wiki for specific instructions for your GPU.- For Intel/AMD integrated graphics:
sudo pacman -S mesa - For NVIDIA:
sudo pacman -S nvidia(andnvidia-utilsif you want extra tools).
- For Intel/AMD integrated graphics:
Essential Software and Productivity Tools
With your graphical environment ready, you can now populate your system with applications:
- Web Browser:
firefox,chromium - Office Suite:
libreoffice-fresh - Text Editor/IDE:
code(VS Code),sublime-text,neovim - Terminal Emulator:
alacritty,kitty,konsole(if using KDE) - File Manager:
nautilus(GNOME),dolphin(KDE),thunar(XFCE) - Development Tools:
git,docker, compilers likegcc
Remember the power of the Arch User Repository (AUR). With an AUR helper like yay or paru (installable after your base system is up), you can easily install thousands of community-maintained packages not found in the official repositories, including proprietary software and niche tools.
# Example to install yay (after installing git and base-devel)
sudo pacman -S git base-devel
git clone https://aur.archlinux.org/yay.git
cd yay
makepkg -si

Conclusion: Embracing the Arch Way
Installing Arch Linux is more than just setting up an operating system; it’s an educational journey that empowers you with a deep understanding of how Linux systems operate. From disk partitioning and file system management to configuring bootloaders and desktop environments, each step provides insights that are invaluable for any tech enthusiast.
The Arch “do-it-yourself” philosophy fosters a mindset of self-reliance and continuous learning. Your custom-built Arch system will be lean, efficient, and perfectly tuned to your workflow, making it an incredibly productive environment for developers, power users, and anyone who appreciates having complete control over their digital domain. Welcome to the Arch community – a world of cutting-edge software, robust documentation, and endless customization possibilities. Enjoy your meticulously crafted Arch Linux experience!
aViewFromTheCave is a participant in the Amazon Services LLC Associates Program, an affiliate advertising program designed to provide a means for sites to earn advertising fees by advertising and linking to Amazon.com. Amazon, the Amazon logo, AmazonSupply, and the AmazonSupply logo are trademarks of Amazon.com, Inc. or its affiliates. As an Amazon Associate we earn affiliate commissions from qualifying purchases.