
In the fast-evolving landscape of technology, efficient software development hinges on robust tools and practices. For Python developers, whether crafting web applications, data science models, AI tools, or intricate automation scripts, managing project dependencies is a cornerstone of productivity and reproducibility. At the heart of this management lies the requirements.txt file – a simple yet incredibly powerful text file that dictates the exact Python packages and their versions necessary for a project to run.
This comprehensive guide will demystify requirements.txt, explaining its critical role, walking you through the prerequisites for its use, detailing the installation process, and equipping you with advanced tips and best practices. By mastering requirements.txt, you’ll streamline your development workflow, enhance collaboration, and ensure that your Python applications consistently “just work” across different environments. This isn’t just about installing packages; it’s about building reliable, maintainable, and scalable software solutions in the modern tech ecosystem.

Understanding requirements.txt: The Foundation of Python Project Reproducibility
Before diving into the mechanics of installation, it’s crucial to grasp what requirements.txt is and why it has become an indispensable part of almost every Python project. It represents a fundamental shift towards more organized and reliable dependency management, a critical aspect of modern software development.
What is requirements.txt?
At its core, requirements.txt is a plain text file that lists all the Python packages a specific project depends on. Each line in the file typically specifies a single package, often accompanied by a version specifier. This allows developers to declare precisely which libraries and tools are needed for their code to execute correctly.
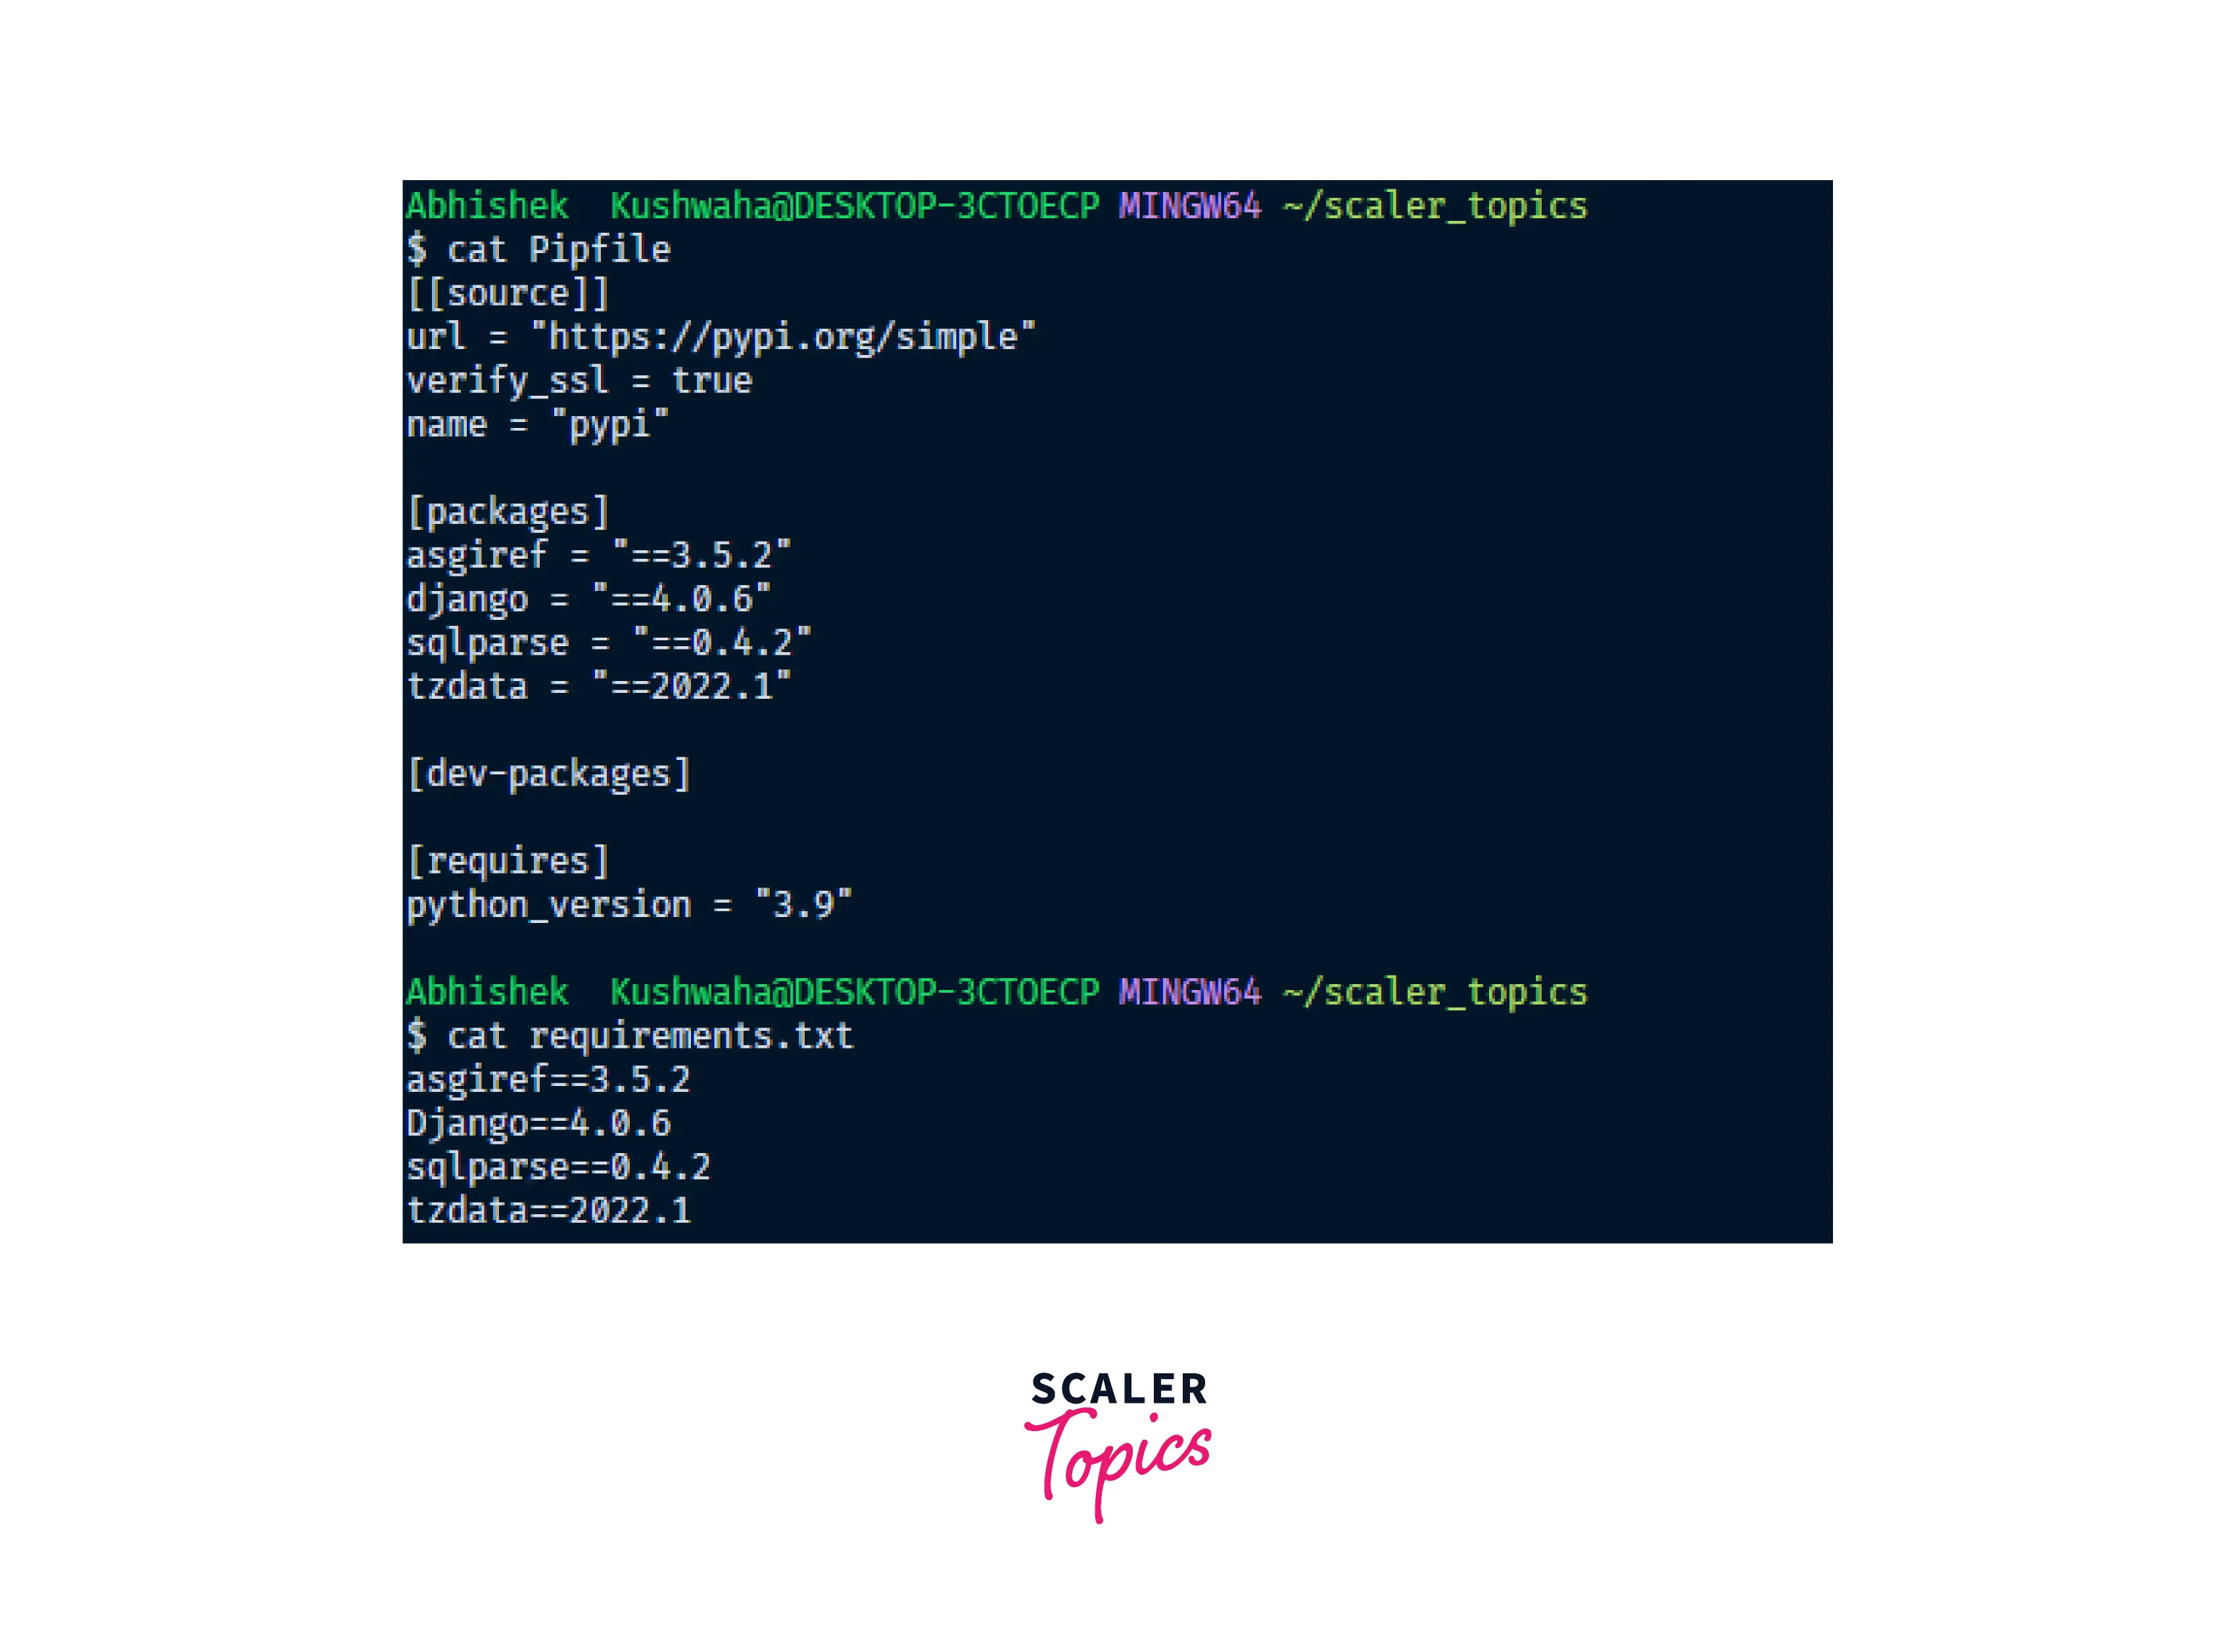
For instance, a requirements.txt file might look something like this:
requests==2.28.1
numpy>=1.22.0,<1.23.0
pandas~=1.4.0
scikit-learn
matplotlib
In this example:
requests==2.28.1pins therequestspackage to an exact version. This ensures that everyone working on the project uses the identical version.numpy>=1.22.0,<1.23.0specifies a version range fornumpy, allowing for minor updates within a particular major release without introducing breaking changes from a new major version.pandas~=1.4.0uses the “compatible release” operator, meaning any version of pandas from 1.4.0 up to, but not including, 1.5.0 (e.g., 1.4.1, 1.4.2 are fine, but 1.5.0 is not).scikit-learnandmatplotlibare listed without specific version numbers. While convenient, this is generally discouraged for production environments as it might lead to different versions being installed over time, potentially causing inconsistencies.
The simplicity of this text file belies its profound impact on project stability and developer productivity. It transforms dependency management from a manual, error-prone process into an automated, version-controlled operation.
Why is it Indispensable?
The utility of requirements.txt extends far beyond just listing packages. It serves multiple critical functions that are vital for any serious Python development project:
- Reproducibility: This is arguably the most significant benefit.
requirements.txtensures that a project’s environment can be perfectly replicated on any machine. Without it, different developers, or even the same developer at different times, might install varying versions of packages, leading to “it works on my machine” syndrome and difficult-to-debug issues. By specifying exact versions, you guarantee consistency. - Collaboration: In team-based development,
requirements.txtacts as a shared contract for dependencies. Every team member can set up an identical development environment with a single command, eliminating configuration headaches and allowing them to focus on writing code. It standardizes the tech stack across the entire team. - Deployment: When deploying a Python application to a server, cloud platform (like AWS, Google Cloud, Azure), or container (Docker),
requirements.txtis the go-to mechanism for provisioning the necessary libraries. Automated deployment pipelines heavily rely on this file to install the correct dependencies efficiently and reliably. - Version Control: By committing
requirements.txtto your version control system (like Git), you track the evolution of your project’s dependencies over time. This historical record is invaluable for debugging issues that might arise from package updates or for rolling back to a previous, stable configuration. - Security and Stability: Pinning package versions, especially major and minor versions, helps mitigate risks. It prevents unexpected breakages due to backward-incompatible changes in newer package versions. While not a direct security tool, knowing and controlling your dependency versions is a crucial step in maintaining a secure and stable application environment, allowing you to proactively address vulnerabilities as they are discovered for specific versions.
- Onboarding Efficiency: New team members can quickly get their development environment set up by simply cloning the repository and installing the requirements, significantly reducing onboarding time and friction.
In essence, requirements.txt elevates Python project management from ad-hoc solutions to a structured, professional approach, echoing the best practices seen in other mature programming ecosystems.
Preparing Your Environment: Prerequisites for Installation
Before you can effectively utilize requirements.txt to install project dependencies, your local system needs to be properly configured. This involves ensuring you have Python installed, access to its package installer, pip, and ideally, understanding how to use virtual environments. These preparatory steps are crucial for a smooth and conflict-free installation process.
Python Installation
The foundation of any Python project is, naturally, Python itself. Most modern operating systems come with Python pre-installed, but it’s essential to verify its presence and version.
To check your Python version, open your terminal or command prompt and type:
python --version
# or for newer systems
python3 --version
If Python is not installed, or if you need a specific version, you can download it from the official Python website (python.org). For macOS users, Homebrew (brew install python3) is a popular package manager. On Linux, apt (for Debian/Ubuntu) or yum/dnf (for Fedora/RHEL) can be used (e.g., sudo apt install python3). When installing, ensure you add Python to your system’s PATH environment variable, especially on Windows, to make it accessible from any directory.
It’s highly recommended to use Python 3 for new projects, as Python 2 is end-of-life and no longer supported. Throughout this guide, we’ll assume the use of Python 3.
Pip: Python’s Package Installer
Pip (Pip Installs Packages) is the standard package-management system used to install and manage software packages written in Python. It’s automatically installed with Python 3.4 and later versions. Pip is what reads your requirements.txt file and fetches the specified packages from the Python Package Index (PyPI).
To check if pip is installed and to see its version, use:
pip --version
# or more explicitly for Python 3
pip3 --version
It’s good practice to keep pip updated to its latest version to ensure compatibility with new packages and to benefit from bug fixes and performance improvements. You can upgrade pip using:
python -m pip install --upgrade pip
# or
python3 -m pip install --upgrade pip
This command ensures you’re using the pip associated with your primary Python interpreter.
Virtual Environments: Best Practice for Dependency Management
While you can install packages globally on your system, this is strongly discouraged for Python projects. Global installations can lead to “dependency hell,” where different projects require different versions of the same package, causing conflicts. This is where virtual environments come in.
A virtual environment is an isolated Python environment that allows you to install packages for a specific project without interfering with other projects or your system’s global Python installation. It creates a separate directory containing a Python interpreter and pip, allowing you to install packages only for that environment.
Why use virtual environments?
- Isolation: Each project gets its own set of dependencies, preventing conflicts.
- Cleanliness: Keeps your global Python installation clean and free from project-specific clutter.
- Reproducibility: Makes it easier to share your project, as others can recreate the exact environment.
How to create and activate a virtual environment:
-
Navigate to your project directory: Use your terminal to
cdinto the root directory of your project.cd path/to/your/project -
Create the virtual environment: Python’s
venvmodule (built-in since Python 3.3) is the recommended way. You can name your environment anything, but common names includevenvorenv.python3 -m venv myenvThis command creates a directory named
myenv(or whatever you choose) within your project folder. -
Activate the virtual environment: This step modifies your shell’s PATH variable to prioritize the Python interpreter and pip within your virtual environment.
- On Linux and macOS:
bash

source myenv/bin/activate
- On Windows (Command Prompt):
bash

myenvScriptsactivate
- On Windows (PowerShell):
bash

.myenvScriptsActivate.ps1
Once activated, your terminal prompt will usually show the name of the active virtual environment (e.g.,
(myenv) user@host:~/project$). This indicates that anypip installcommands you run will now install packages into this specific environment, not globally. - On Linux and macOS:
-
Deactivate the virtual environment: When you’re done working on the project, you can exit the virtual environment by typing:
deactivateYour terminal prompt will return to its normal state.
Always remember to activate your virtual environment before installing packages from requirements.txt to ensure they are confined to your project. This single practice drastically improves the robustness and maintainability of your Python projects.
The Core Process: Installing Dependencies from requirements.txt
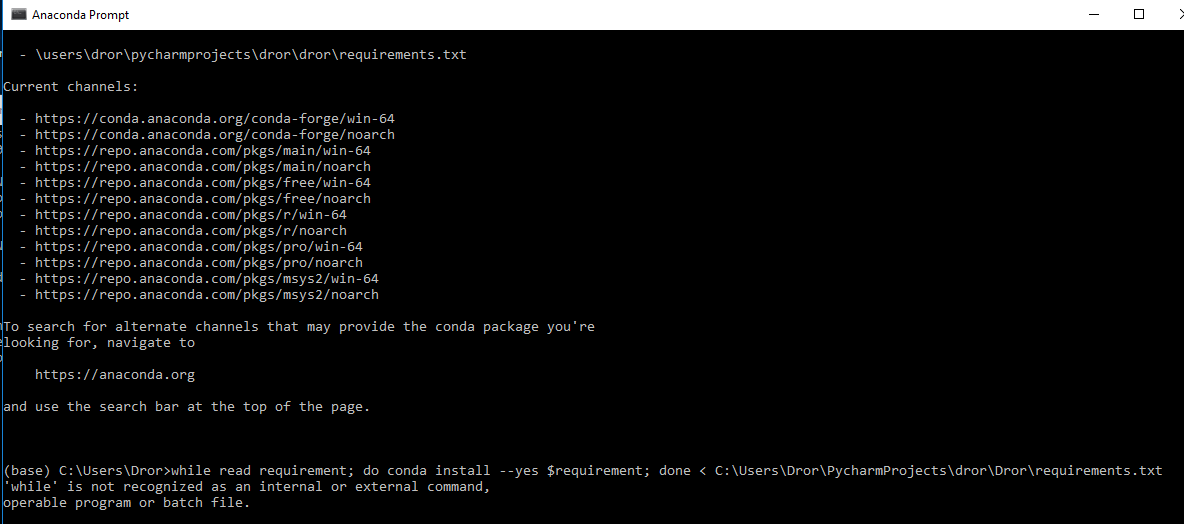
With your environment prepared and a clear understanding of requirements.txt and virtual environments, you’re ready for the main event: installing your project’s dependencies. This process is straightforward, but knowing the nuances can save you from common pitfalls.
Basic Installation Command
Once your virtual environment is activated and you are in your project’s root directory (where requirements.txt resides), installing all listed packages is done with a single, powerful command:
pip install -r requirements.txt
Let’s break down this command:
pip install: This is the standard command to install Python packages using pip.-r requirements.txt: The-rflag stands for “requirements file.” It tells pip to read the specified file (in this case,requirements.txt) and install all the packages listed within it. Pip will automatically handle downloading the packages from PyPI (or other specified sources) and installing them into your active virtual environment.
Step-by-step Execution:
- Navigate to your project directory: Ensure your terminal is open in the same directory where your
requirements.txtfile is located.
bash

cd my_python_project
- Activate your virtual environment:
bash

source myenv/bin/activate  # macOS/Linux

# or

myenvScriptsactivate      # Windows CMD
You should see(myenv)or similar in your prompt. - Run the installation command:
bash

pip install -r requirements.txt
Pip will then proceed to:
- Parse
requirements.txt. - Determine the correct versions of all direct and transitive dependencies (dependencies of your dependencies).
- Download them.
- Install them into your
myenvvirtual environment.
You’ll see output detailing the packages being collected, downloaded, and installed. Upon successful completion, all necessary libraries will be ready for your project to use.
Handling Common Scenarios and Potential Issues
While pip install -r requirements.txt is generally robust, you might encounter specific scenarios or errors. Knowing how to address them is key to a smooth development experience.
-
Specific Python Interpreters (
pip3vs.pip):
On some systems,pipmight default to an older Python 2 installation, even if Python 3 is present. If you explicitly want to usepipassociated with yourpython3interpreter, it’s safer to run:python3 -m pip install -r requirements.txtWhen within an activated virtual environment,
pipwill automatically refer to the environment’spip, so this distinction becomes less critical. -
Permissions Errors:
If you encounter errors related to permissions (e.g., “Permission denied”), it usually means pip is trying to install packages into a system-wide directory that requires administrative privileges. This is a strong indicator that you are not in an activated virtual environment.- Solution: Double-check that your virtual environment is activated. Never use
sudo pip installoutside of very specific circumstances, as it can corrupt your system’s Python packages.
- Solution: Double-check that your virtual environment is activated. Never use
-
Compilation Errors (C Extensions):
Some Python packages (likenumpy,scipy,pandas,lxml,Pillow) include parts written in C, C++, or Fortran for performance. Installing these on certain operating systems might require development tools (compilers, headers) to be present.- On Linux (Debian/Ubuntu): You might need
build-essentialand Python development headers:
bash

sudo apt update

sudo apt install build-essential python3-dev
- On macOS: Xcode Command Line Tools are often required:
bash

xcode-select --install
- On Windows: You might need to install “Build Tools for Visual Studio” from Microsoft, ensuring you select the C++ build tools workload. Alternatively, many complex packages provide pre-compiled wheels for Windows, which pip will try to use automatically.
- On Linux (Debian/Ubuntu): You might need
-
Internet Connectivity Issues:
Pip needs to download packages from PyPI. If you have no internet connection or are behind a restrictive proxy, downloads will fail.- Solution: Ensure you have a stable internet connection. If behind a corporate proxy, you might need to configure pip to use it (e.g.,
pip install --proxy http://user:pass@proxy.server:port -r requirements.txt).
- Solution: Ensure you have a stable internet connection. If behind a corporate proxy, you might need to configure pip to use it (e.g.,
-
Package Not Found Errors:
If pip reports that it cannot find a specific package, check for:- Typos in
requirements.txt. - Incorrect version specifiers (e.g., asking for a version that doesn’t exist).
- Private package repositories: If a package is hosted on a private PyPI-compatible server, you might need to configure pip to look there:
bash

pip install --index-url https://myprivaterepo.com/simple/ -r requirements.txt
- Typos in
By understanding these common issues and their resolutions, you can navigate the dependency installation process efficiently, ensuring your project environment is always correctly configured.
Beyond Basic Installation: Advanced Tips and Best Practices
While pip install -r requirements.txt is the fundamental command, effective dependency management involves more than just basic installation. Adopting advanced practices enhances project stability, security, and developer workflow.
Generating requirements.txt
Often, you’ll start a project, install packages ad-hoc, and then need to create a requirements.txt file from your current environment. The pip freeze command is designed for this purpose:
pip freeze > requirements.txt
How it works:
pip freezelists all packages installed in the current active environment (and their exact versions).- The
>operator redirects this output to a file namedrequirements.txt.
Important Considerations:
- Virtual Environment: Always run
pip freezefrom within your project’s activated virtual environment. If you run it globally, it will list all packages on your system, which is usually not what you want for a specific project. - Direct vs. Transitive Dependencies:
pip freezelists all installed packages, including both direct dependencies (those you explicitly installed) and transitive dependencies (packages that your direct dependencies rely on). For smaller projects, this is fine. For larger projects, you might want arequirements.txtthat only lists your direct dependencies, allowing pip to resolve transitive ones. Tools likepip-tools(specificallypip-compile) offer a more sophisticated way to manage this, generating a fully pinnedrequirements.txtfrom a simplerrequirements.infile.
Managing Multiple Requirements Files
For complex projects, especially those with different deployment environments (development, testing, production), a single requirements.txt might not suffice. It’s common practice to use multiple requirements files.
Typical Structure:
my_project/
├── requirements/
│   ├── base.txt           # Core dependencies for all environments
│   ├── dev.txt            # Development-specific dependencies (e.g., testing tools, linters)
│   └── prod.txt           # Production-specific dependencies (e.g., optimized versions, specific database drivers)
├── src/
├── manage.py
└── ...
How to use them:
base.txt: Contains common packages needed everywhere.
Django==4.2.7

psycopg2-binary>=2.9.0

gunicorn
dev.txt: Includesbase.txtand adds development tools.
-r base.txt

pytest==7.4.0

flake8==6.1.0

ipython
Note the-r base.txtwhich tells pip to first install everything inbase.txt.prod.txt: Might includebase.txtand add production-specific utilities or stricter version pins.
-r base.txt

newrelic==8.6.0.126 # Example for monitoring
To install development dependencies, you would run:
pip install -r requirements/dev.txt
This modular approach keeps your dependency lists clean, manageable, and tailored to specific environments, enhancing efficiency and reducing the footprint of non-essential packages in production.
Pinning Versions for Stability
As seen in requirements.txt examples, specifying package versions is critical. There are different ways to pin versions, each with its own implications:
-
Exact Version (
==):package==1.2.3- Pros: Guarantees perfect reproducibility. Ideal for production environments where stability is paramount.
- Cons: Can become outdated quickly. May prevent minor security updates if not regularly reviewed and updated.
-
Minimum Version (
>=):package>=1.2.3- Pros: Allows for newer, potentially more stable or secure versions.
- Cons: Can introduce breaking changes if a new major version is released without proper testing. Less predictable than exact pinning.
-
Compatible Release (
~=):package~=1.2.3- Pros: Allows minor updates (e.g., 1.2.4, 1.2.5) while preventing major breaking changes (e.g., 1.3.0, 2.0.0). A good balance for development or non-critical environments.
- Cons: Still allows for some level of change, requiring testing.
-
Specific Ranges (
>=X,<Y):package>=1.2.0,<1.3.0- Pros: Provides granular control, allowing updates within a specified range but preventing unwanted major version upgrades.
- Cons: Can be verbose to maintain manually.
Best Practice: For most projects, especially those headed to production, exact pinning (==) or compatible release pinning (~=) combined with regular updates and testing is recommended. Tools like pip-tools can help automate the creation of fully pinned requirements.txt files, making version management less manual.
Security Considerations
Dependency management isn’t just about functionality; it’s also about security. Old or unmaintained packages can introduce vulnerabilities into your application.
- Regular Updates: Periodically update your dependencies. Review the changelogs for breaking changes and test your application thoroughly after updates. Tools like
pip-outdatedorpip-reviewcan help identify packages that are behind their latest versions. - Vulnerability Scanning: Integrate tools that scan your
requirements.txtfor known vulnerabilities.safety:pip install safetythensafety check -r requirements.txt. It cross-references your dependencies against a database of known vulnerabilities.pip-audit: A newer tool from PyPA (creators of pip) that also scans for vulnerabilities.
- Source Verification: Be cautious when using
requirements.txtfiles from untrusted sources. Malicious actors could embed malicious packages. Stick to official PyPI packages and reputable private repositories.
By incorporating these advanced practices into your workflow, you move beyond mere installation to truly responsible and efficient dependency management, contributing to more robust, secure, and maintainable Python applications.
Conclusion
The requirements.txt file is far more than just a list of Python packages; it’s a critical tool for ensuring reproducibility, fostering collaboration, and maintaining the stability and security of your Python projects. From understanding its fundamental purpose to mastering the installation process and adopting advanced best practices, you now possess a comprehensive toolkit for managing your project dependencies effectively.
By consistently using virtual environments, precisely pinning package versions, and regularly reviewing your dependencies for updates and vulnerabilities, you empower yourself to build more reliable software. This systematic approach not only enhances your productivity as a developer but also contributes to the overall health and longevity of your tech endeavors, aligning perfectly with the principles of robust software engineering in today’s dynamic digital landscape. Embrace requirements.txt as your ally in creating clean, maintainable, and deployable Python applications, whether you’re working on cutting-edge AI tools, scalable web services, or data analysis scripts.