For years, the choice between Apple’s macOS and Microsoft’s Windows has been a defining factor for users. Each operating system offers unique strengths, from macOS’s intuitive design and robust creative tools to Windows’ unparalleled software compatibility and gaming ecosystem. However, what if you could harness the best of both worlds on a single machine? Many Mac users find themselves in situations where running Windows 10 becomes not just a convenience, but a necessity – perhaps for specialized software, specific gaming titles, or to comply with corporate IT requirements. Fortunately, Apple has long provided solutions, and third-party developers have created powerful alternatives, making it entirely feasible to install and run Windows 10 on your Mac.
This guide will delve into the primary methods for integrating Windows 10 onto your Apple hardware: Boot Camp, Apple’s native dual-boot utility, and various virtualization software options that allow Windows to run simultaneously with macOS. We’ll explore the advantages and disadvantages of each, provide step-by-step instructions, and highlight crucial considerations to help you make an informed decision that aligns with your technical needs, productivity goals, and even your financial planning for software acquisition. Whether you’re a developer needing a specific Windows environment, a gamer seeking cross-platform access, or a professional relying on Windows-exclusive applications, understanding these methods is key to unlocking the full potential and versatility of your Mac.
Boot Camp: The Native Windows Experience on Your Mac
Boot Camp is Apple’s built-in utility designed to allow Intel-based Macs to run Windows natively. When you use Boot Camp, Windows is installed on its own partition of your Mac’s hard drive, allowing it to access all of your Mac’s hardware resources directly. This means you get the full performance of your machine when running Windows, making it the ideal choice for demanding applications, high-performance gaming, or any task where maximum system resources are critical.
What is Boot Camp and Why Choose It?
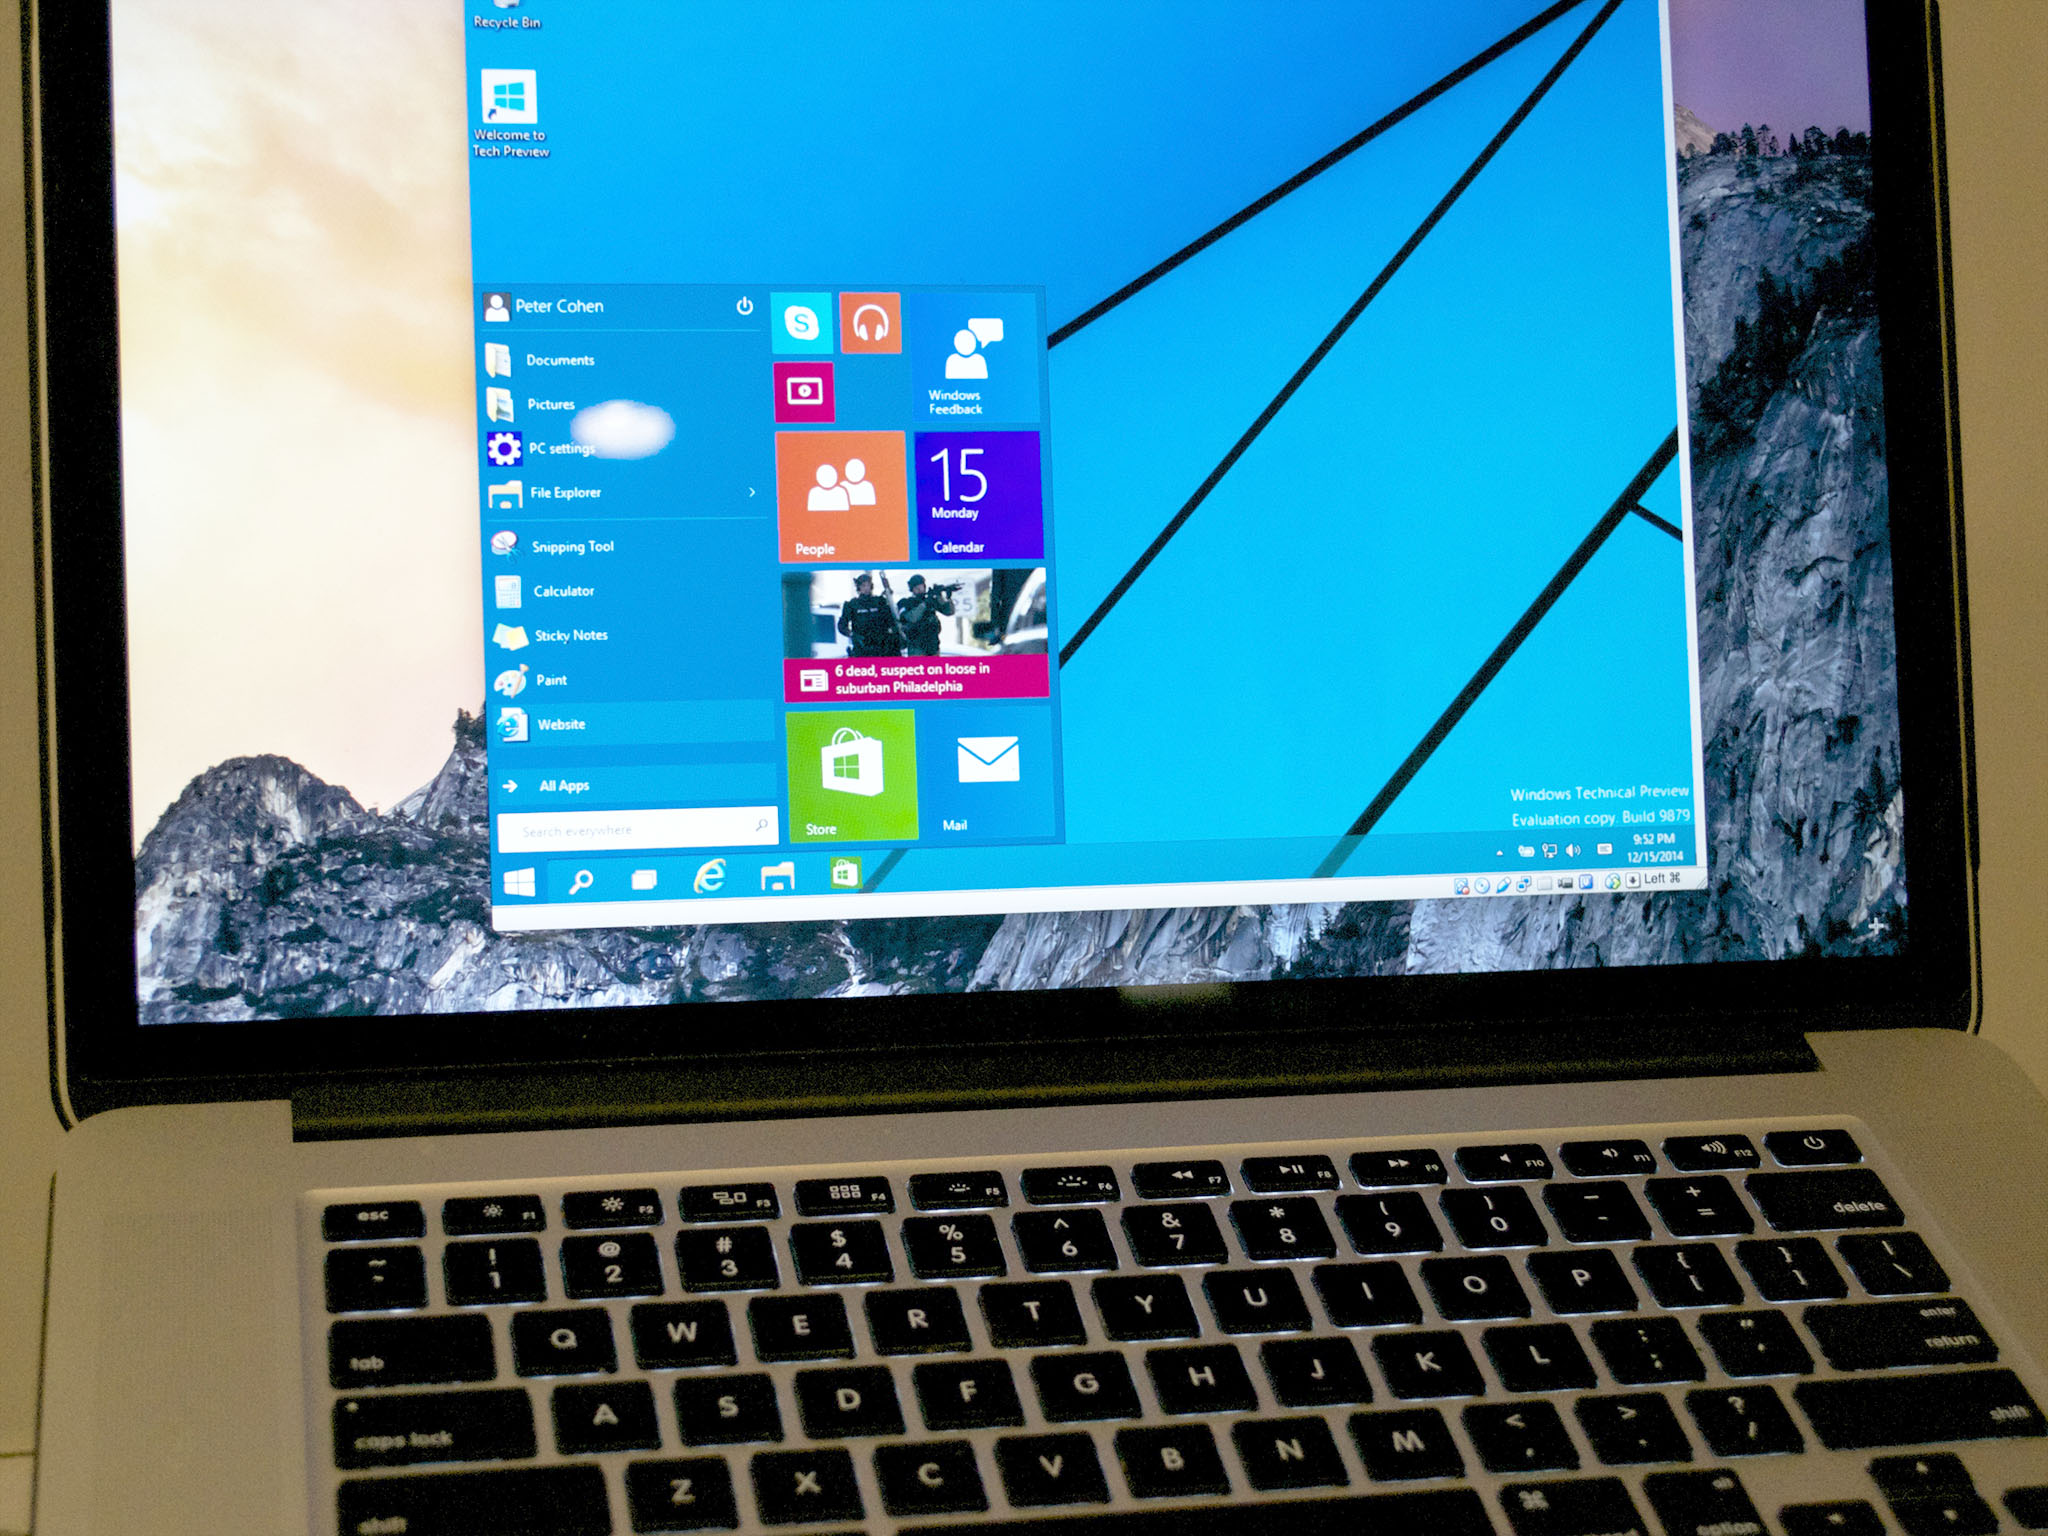
At its core, Boot Camp is a sophisticated assistant that guides you through the process of partitioning your hard drive, downloading necessary Windows support software (drivers for your Mac’s specific hardware), and installing Windows 10. The result is a true dual-boot setup: when you start your Mac, you can choose whether to boot into macOS or Windows 10. There’s no virtualization layer, no emulation, just Windows running as if it were on a dedicated PC.
Pros of Boot Camp:
- Full Performance: Because Windows runs directly on the hardware, you get the maximum possible performance from your Mac. This is a significant advantage for CPU-intensive tasks, graphic design applications, video editing software, and, crucially, gaming. If your “brand” relies on high-fidelity visual output or rapid processing, Boot Camp ensures no compromise.
- Direct Hardware Access: All your Mac’s components – from the graphics card to USB ports – are directly accessible by Windows, ensuring optimal compatibility with peripherals and drivers.
- Cost-Effective (for pre-existing Windows users): If you already own a Windows 10 license, the software itself is free to use on your Mac, making it a “money-saving” approach compared to purchasing virtualization software.
Cons of Boot Camp:
- Requires Restarting: To switch between macOS and Windows, you must restart your Mac, which can interrupt workflow and productivity.
- Disk Partitioning: Boot Camp requires a dedicated partition on your hard drive, reducing the storage available to macOS. You must carefully consider how much space to allocate to each operating system.
- Limited Integration: There’s no easy way to share files directly between the two operating systems without using a shared drive or cloud service, and you can’t run macOS applications while in Windows, or vice-versa.
Prerequisites for a Smooth Boot Camp Installation
Before embarking on the Boot Camp journey, a little preparation goes a long way to ensure a seamless and successful installation. Skipping these crucial steps can lead to frustration, data loss, or an incomplete setup.
- Intel-based Mac: Boot Camp is exclusively available on Intel-powered Macs. Apple Silicon (M1, M2, M3 chips) Macs do not support Boot Camp.
- Sufficient Free Disk Space: Apple recommends at least 64GB for Windows 10, but 128GB or more is highly advisable, especially if you plan to install multiple applications or games. For reference, the more space you allocate, the more versatile your Windows environment will be without impacting macOS performance.
- Windows 10 ISO File: You’ll need a legitimate Windows 10 (or 11) ISO file. You can download this directly from Microsoft’s website. Ensure you select the correct version (Home or Pro, 64-bit).
- USB Flash Drive (Optional, for older Macs): For some older Mac models (generally pre-2015), a 16GB or larger USB flash drive is required to store the Boot Camp support software (drivers). Newer Macs can download and integrate these drivers directly during the process.
- Windows 10 Product Key: While you can install Windows 10 without immediate activation, you will eventually need a valid product key to unlock all features and avoid watermarks. Plan for this “money” aspect.
- Crucial Data Backup: This is perhaps the most critical step. Anytime you repartition a hard drive or install a new operating system, there’s a small risk of data loss. Use Time Machine to back up your entire Mac before you begin. This safeguards your existing data and provides peace of mind.
- Power Adapter Connected: Ensure your Mac is plugged into power throughout the entire installation process to prevent unexpected shutdowns.
Step-by-Step Guide to Boot Camp Installation
Once you’ve gathered your prerequisites, follow these steps meticulously:
- Open Boot Camp Assistant: Navigate to
Applications>Utilities>Boot Camp Assistant. - Introduction and Disk Partitioning: The assistant will walk you through the initial steps. When prompted, you’ll need to drag the divider to choose how much space to allocate to Windows. Remember, you cannot change this easily later without reinstalling Windows. Click “Install.”
- Download Windows Support Software (Drivers): Boot Camp Assistant will then download the necessary drivers for your Mac’s hardware. This can take some time depending on your internet connection. On older Macs, you might be prompted to save these to a USB drive. On newer Macs, they’ll be integrated into the installation process.
- Windows Installation Begins: Your Mac will restart and boot into the Windows installer. Follow the on-screen prompts.
- When asked where to install Windows, select the partition labeled “BOOTCAMP.” Be extremely careful not to accidentally select your macOS partition. If you see multiple “BOOTCAMP” partitions, choose the one with the largest free space. You might need to format it (NTFS file system) before proceeding.
- Continue through the standard Windows installation steps, setting up your region, keyboard layout, and user account.
- Install Boot Camp Drivers (Post-Windows Installation): Once Windows 10 is installed and you’ve logged in for the first time, the Boot Camp installer will automatically launch. If it doesn’t, navigate to the “BootCamp” drive (either on your desktop or in File Explorer) and run the
setup.exefile. This is crucial for installing all the necessary drivers for Wi-Fi, Bluetooth, graphics, sound, and other Mac-specific hardware to function correctly in Windows. Restart your computer when prompted. - Switching Between macOS and Windows:
- From Windows to macOS: Click the “Show hidden icons” arrow in the Windows taskbar, right-click the Boot Camp icon, and choose “Restart in macOS.”
- From macOS to Windows: Go to
System Settings(orSystem Preferences) >General>Startup Disk, select “BOOTCAMP Windows,” and click “Restart.” - During Startup: Hold down the
Option (Alt)key immediately after restarting your Mac. This will bring up the Startup Manager, allowing you to choose which operating system to boot into.
With these steps complete, you now have a fully functional Windows 10 installation running natively on your Mac, ready to tackle any software or gaming challenges you throw at it.
Virtualization: Running Windows and macOS Simultaneously
While Boot Camp offers raw performance by dedicating your Mac’s hardware to Windows, it requires you to choose one operating system at a time. For users who need to switch frequently between environments, or who require immediate access to both operating systems, virtualization software offers a more integrated and flexible solution. Virtualization allows you to run Windows (and other operating systems) as an application within macOS, essentially creating a “virtual machine” that simulates a complete PC environment.
Understanding Virtual Machines and Their Advantages
A virtual machine (VM) is a software-based emulation of a physical computer system. It runs its own operating system and applications just like a physical computer, but it shares the hardware resources (CPU, RAM, storage) of the host machine (your Mac). This means you can have macOS running your primary applications while, in a separate window, Windows 10 runs concurrently.
Pros of Virtualization:
- Simultaneous Operation: Run macOS and Windows at the same time, switching between them with a click or keyboard shortcut. This dramatically improves “productivity” by eliminating the need for constant reboots.
- Seamless Integration: Most virtualization software offers features like drag-and-drop file sharing between OSes, shared clipboards, and even “Coherence” or “Unity” modes that allow Windows apps to appear directly on your macOS desktop.
- Snapshots and Rollbacks: VMs can be “snapshotted,” allowing you to save the exact state of your Windows installation. If something goes wrong (e.g., a bad update, malware), you can easily revert to a previous snapshot, a powerful feature for “digital security” and experimentation.
- Portability: A virtual machine is essentially a set of files. This makes it relatively easy to back up, move to another Mac, or even share with colleagues, making it a valuable asset for “brand” consistency in development or testing environments.
- No Disk Partitioning Required: VMs use a virtual disk file, so you don’t need to repartition your physical hard drive.
Cons of Virtualization:
- Performance Overhead: Since Windows is running on top of macOS, there’s a performance penalty. VMs won’t be as fast as a native Boot Camp installation, especially for graphically intensive tasks or gaming.
- Resource Demanding: Running two operating systems simultaneously requires more RAM and CPU power. Your Mac needs sufficient resources to comfortably handle both.
- Software Cost: Unlike Boot Camp, most premium virtualization software comes with a cost, either as a one-time purchase or an annual subscription, impacting your “money” considerations.
Popular Virtualization Software for Mac (Intel and Apple Silicon)
Several excellent virtualization solutions are available for Mac, each catering to slightly different needs and budgets. It’s crucial to note compatibility with Apple Silicon (M1/M2/M3 chips) as this is a significant differentiator.
- Parallels Desktop:
- Overview: Widely considered the most user-friendly and feature-rich virtualization solution for Mac. Parallels excels at seamlessly integrating Windows into the macOS experience.
- Features: “Coherence Mode” allows Windows applications to run directly on the macOS desktop, without showing the Windows desktop itself. Excellent performance for most productivity tasks and even light gaming. Offers robust support for shared folders, clipboard, and USB devices. Crucially, Parallels was one of the first to offer strong support for Windows 10/11 on Apple Silicon Macs (running the ARM version of Windows).
- Target Audience: Ideal for most users who need Windows for productivity, software compatibility, web development, or occasional use. Its ease of use makes it a top choice for professionals and everyday users.
- Cost: Available as a perpetual license (for a specific version) or an annual subscription, ranging from $100-$150. This is a direct “money” investment, but for many, the “productivity” gains justify the cost.
-
VMware Fusion:
- Overview: Another powerhouse in the virtualization space, VMware Fusion is often favored by IT professionals, developers, and advanced users. It’s known for its stability, robust network configurations, and compatibility with other VMware products.
- Features: Offers deep control over VM settings, powerful networking options, and excellent support for multiple operating systems (Linux, older Windows versions). Its “Unity View” is similar to Parallels’ Coherence, integrating Windows apps into macOS. VMware Fusion also supports Windows 10/11 on Apple Silicon Macs (ARM version).
- Target Audience: Best suited for developers, IT administrators, or users who need advanced networking features, virtual machine clustering, or compatibility with enterprise VMware environments.
- Cost: Similar to Parallels, VMware Fusion offers perpetual licenses and subscriptions, typically in the $80-$150 range.
-
VirtualBox (Free Open-Source):
- Overview: Oracle’s VirtualBox is a free and open-source virtualization product. While it lacks some of the polish and advanced integration features of its paid counterparts, it’s a perfectly capable solution for basic needs.
- Features: Supports a wide range of guest operating systems, provides essential virtualization features like shared folders and USB device passthrough, and offers a straightforward interface. It works on Intel Macs and has experimental support for Apple Silicon Macs (though with more limitations and requiring specific builds for ARM Windows).
- Target Audience: Excellent for budget-conscious users, students, developers who need basic test environments, or anyone who only needs occasional access to Windows and doesn’t require peak performance or seamless integration.
- Cost: Free. This is a significant “money” saver, but users should be aware that they might trade some convenience and advanced features for the zero price tag.
General Steps for Virtual Machine Setup
While specific steps vary slightly between virtualization applications, the general workflow for setting up a Windows 10 VM is quite similar:
- Download and Install Virtualization Software: Choose your preferred software (Parallels, VMware Fusion, or VirtualBox) and download/install it on your Mac.
- Create a New Virtual Machine: Launch the software and select the option to create a “New Virtual Machine.”
- Select Windows 10 ISO: The software will prompt you to point to your Windows 10 ISO file. Some tools can even detect the ISO automatically if it’s in your Downloads folder.
- Allocate Resources: This is a crucial step for performance. You’ll need to decide how much RAM, how many CPU cores, and how much virtual disk space to allocate to your Windows VM.
- RAM: Generally, 4GB of RAM is a minimum for Windows 10; 8GB or more is recommended for smooth operation, especially if you plan to run demanding applications. Don’t allocate more than half of your Mac’s total RAM.
- CPU: Allocate at least 2 CPU cores. If your Mac has more, you can assign 4 or more for better performance.
- Virtual Disk Size: Allocate at least 64GB, but preferably 128GB or more, especially if you plan on installing significant software. Most VM software allows for “dynamically expanding” disks, meaning the virtual disk file only grows as Windows uses more space, up to the maximum you set.
- Install Windows 10: The virtualization software will boot your VM from the ISO file, and the standard Windows 10 installation process will begin within the VM window. Follow the prompts just as you would for a physical PC installation.
- Install Guest Additions/Tools: After Windows 10 is installed and you’ve logged in, you must install the “Guest Additions” (VirtualBox), “Parallels Tools” (Parallels), or “VMware Tools” (VMware Fusion). These are essential driver packages provided by the virtualization software that optimize performance, enable shared folders, drag-and-drop, dynamic screen resolution, and other integration features. Without them, your VM experience will be clunky and slow.
- Activate Windows: Enter your Windows 10 product key to activate your operating system.
With these steps, your virtual Windows 10 environment will be up and running, allowing you to seamlessly switch between macOS and Windows, enhancing your “tech” capabilities and “productivity.”
Key Considerations Before You Begin
While the process of installing Windows 10 on a Mac is well-established, making an informed decision requires careful consideration of several factors. These not only impact your immediate experience but also have long-term implications for your Mac’s performance, your data, and your budget.
Storage and Performance
The most critical technical considerations revolve around your Mac’s specifications and how you allocate its resources.
- SSD vs. HDD: If your Mac has a Solid State Drive (SSD), both Boot Camp and virtualization will perform significantly better. SSDs offer dramatically faster boot times, application loading, and file operations compared to traditional Hard Disk Drives (HDDs). If you have an HDD, manage your expectations for speed, especially with VMs.
- RAM Allocation: For virtualization, RAM is paramount. macOS itself needs a substantial amount of RAM, and Windows 10 also requires a minimum (typically 2GB, but practically 4GB+ for usability). If your Mac has 8GB of RAM, allocating 4GB to a VM leaves only 4GB for macOS and its applications, which can lead to slowdowns. 16GB of RAM or more on your Mac provides a much smoother experience for simultaneous operations.
- CPU Cores: While all modern Macs have multi-core processors, allocating too many cores to a VM can sometimes over-optimize, or if your Mac is also doing demanding tasks in macOS, it can lead to resource contention. Start with 2-4 cores for a VM and adjust as needed.
- Disk Space Management: Be realistic about how much space you need for Windows. Factor in the OS itself, applications, updates, and user data. Underestimating can lead to frequent disk cleanup tasks or, worse, the need to reinstall and repartition (for Boot Camp) or re-create (for VMs) your Windows setup.
Licensing and Costs
Expanding your Mac’s capabilities with Windows 10 often involves financial considerations beyond the hardware itself.
- Windows 10/11 License: A legitimate Windows license is required for full functionality. Retail licenses typically cost around $100-$200, representing a direct “money” investment. Be wary of heavily discounted keys from unofficial sources, as these can lead to activation issues or security risks.
- Virtualization Software Cost: As discussed, premium virtualization software like Parallels Desktop and VMware Fusion come with a price tag. While VirtualBox is free, the added features, performance optimizations, and ease of use of paid solutions often justify their cost in terms of saved time and improved “productivity” for “brand” conscious professionals.
- Opportunity Cost: Consider the time you spend setting up and maintaining these systems. While this guide aims to simplify the process, any technical setup requires some investment of time. The long-term benefits in terms of software compatibility and expanded functionality often outweigh this initial cost.
Data Backup and Security
Protecting your data and ensuring the security of both your macOS and Windows environments is non-negotiable.
- Always Back Up: Before making any significant changes to your disk (like using Boot Camp) or installing new operating systems, always perform a full backup of your Mac. Time Machine is an excellent utility for this. For virtual machines, regular backups of the VM files themselves are crucial.
- Antivirus for Windows: Just because Windows is running on a Mac doesn’t mean it’s immune to Windows-specific malware. Install reputable antivirus software within your Windows 10 installation (even if it’s a VM) and keep it updated. This is a fundamental aspect of “digital security.”
- Firewall and Updates: Ensure both macOS and Windows 10 firewalls are enabled, and keep both operating systems and all installed software updated to patch security vulnerabilities.
- Password Management: Use strong, unique passwords for both your macOS and Windows user accounts.
Performance Expectations
It’s vital to set realistic expectations for the performance of Windows 10 on your Mac, especially concerning older hardware or resource-intensive tasks.
- Boot Camp vs. Virtualization: Remember that Boot Camp will always offer superior performance for tasks that demand maximum CPU, GPU, and RAM, such as high-end gaming or professional CAD software. Virtual machines, by their nature, will always have some overhead.
- Mac Hardware: An older Mac with less RAM and a slower processor will naturally provide a less fluid Windows experience, regardless of the method chosen. Be pragmatic about what your specific hardware can achieve.
- Graphics: While Boot Camp leverages your Mac’s dedicated graphics card directly (if it has one), virtualization typically offers a virtualized graphics adapter, which may limit performance for highly demanding 3D applications or games. Check the specific capabilities of your chosen virtualization software.
By carefully evaluating these points, you can choose the most appropriate installation method and prepare adequately, ensuring a smooth transition and a robust, efficient Windows 10 experience on your Mac.
Conclusion
The ability to run Windows 10 on a Mac is a powerful testament to the versatility of modern technology. Whether you opt for the native, high-performance experience offered by Boot Camp or the seamless, concurrent operation provided by virtualization software like Parallels Desktop or VMware Fusion, you are effectively transforming your Mac into a truly cross-platform powerhouse. This expanded capability is invaluable for a diverse range of users, from “tech” enthusiasts and gamers to “brand” professionals who rely on Windows-specific software for their work.
For those prioritizing raw power and direct hardware access for demanding applications or gaming, Boot Camp stands out as the optimal choice. However, be prepared for the need to restart your machine to switch between operating systems and careful disk partitioning. Conversely, if your workflow demands constant access to both macOS and Windows applications simultaneously, and you value convenience and integration over peak performance, virtualization is undoubtedly the superior path. The initial “money” investment in premium virtualization software often pays dividends in increased “productivity” and reduced friction in your daily tasks.
Regardless of your chosen method, meticulous preparation – including ensuring adequate disk space, a valid Windows license, and, critically, a complete data backup – is paramount. Understanding the performance implications for your specific Mac hardware and committing to good “digital security” practices will guarantee a stable and secure dual-boot or virtualized environment.
Ultimately, integrating Windows 10 onto your Mac isn’t just about technical accomplishment; it’s about unlocking new possibilities, enhancing your productivity, and maximizing the value of your hardware investment. By embracing these solutions, you’re not choosing between macOS and Windows, but rather gaining the flexibility to leverage the strengths of both, adapting your single machine to meet every challenge and opportunity that comes your way.
aViewFromTheCave is a participant in the Amazon Services LLC Associates Program, an affiliate advertising program designed to provide a means for sites to earn advertising fees by advertising and linking to Amazon.com. Amazon, the Amazon logo, AmazonSupply, and the AmazonSupply logo are trademarks of Amazon.com, Inc. or its affiliates. As an Amazon Associate we earn affiliate commissions from qualifying purchases.