
Fallout: New Vegas, released over a decade ago, stands as a testament to exceptional RPG design. Despite its age, its rich narrative, intricate faction system, and deep role-playing mechanics continue to captivate a dedicated global community. However, like many games of its era, FNV isn’t without its technical quirks, occasional crashes, or visual limitations by modern standards. This is where the vibrant world of modding steps in, transforming a beloved classic into a virtually limitless experience tailored precisely to your preferences.
Modding Fallout: New Vegas isn’t just about adding new content or shiny graphics; it’s about extending the game’s lifespan, improving its stability, and refining its core mechanics. For many, it unlocks hundreds, if not thousands, of additional hours of gameplay, making it an incredibly cost-effective way to refresh an existing investment. This guide will walk you through the process of setting up a stable, modded Fallout: New Vegas, focusing on best practices and utilizing the most recommended tools to ensure a smooth and enjoyable journey through the Mojave Wasteland. We’ll delve into the necessary software, provide step-by-step installation instructions, and equip you with the knowledge to troubleshoot common issues, turning what might seem like a daunting technical endeavor into a rewarding expansion of your gaming prowess.
The Enduring Appeal of Fallout: New Vegas and the Power of Modding
Fallout: New Vegas holds a unique place in the hearts of RPG enthusiasts. Developed by Obsidian Entertainment, it brought a level of player agency and consequence rarely seen in the genre. Its nuanced characters, morally ambiguous choices, and vast, explorable desert landscape have fostered a legacy that far outshines its initial technical performance. Even today, players return to the Mojave, eager to experience its intricate political landscape and myriad storylines.
Why Mod FNV? Revitalizing a Classic
The reasons to mod Fallout: New Vegas are as diverse as the mods themselves, but they generally fall into a few key categories, each contributing to the game’s continued relevance and enjoyment:
- Stability and Performance: This is often the primary motivation. FNV, especially on modern systems, can be prone to crashes, stuttering, and memory limitations. A suite of essential stability mods drastically improves performance, reduces crashes, and allows the game to utilize more system resources effectively. This essentially modernizes the game’s underlying tech infrastructure, ensuring a smoother ride.
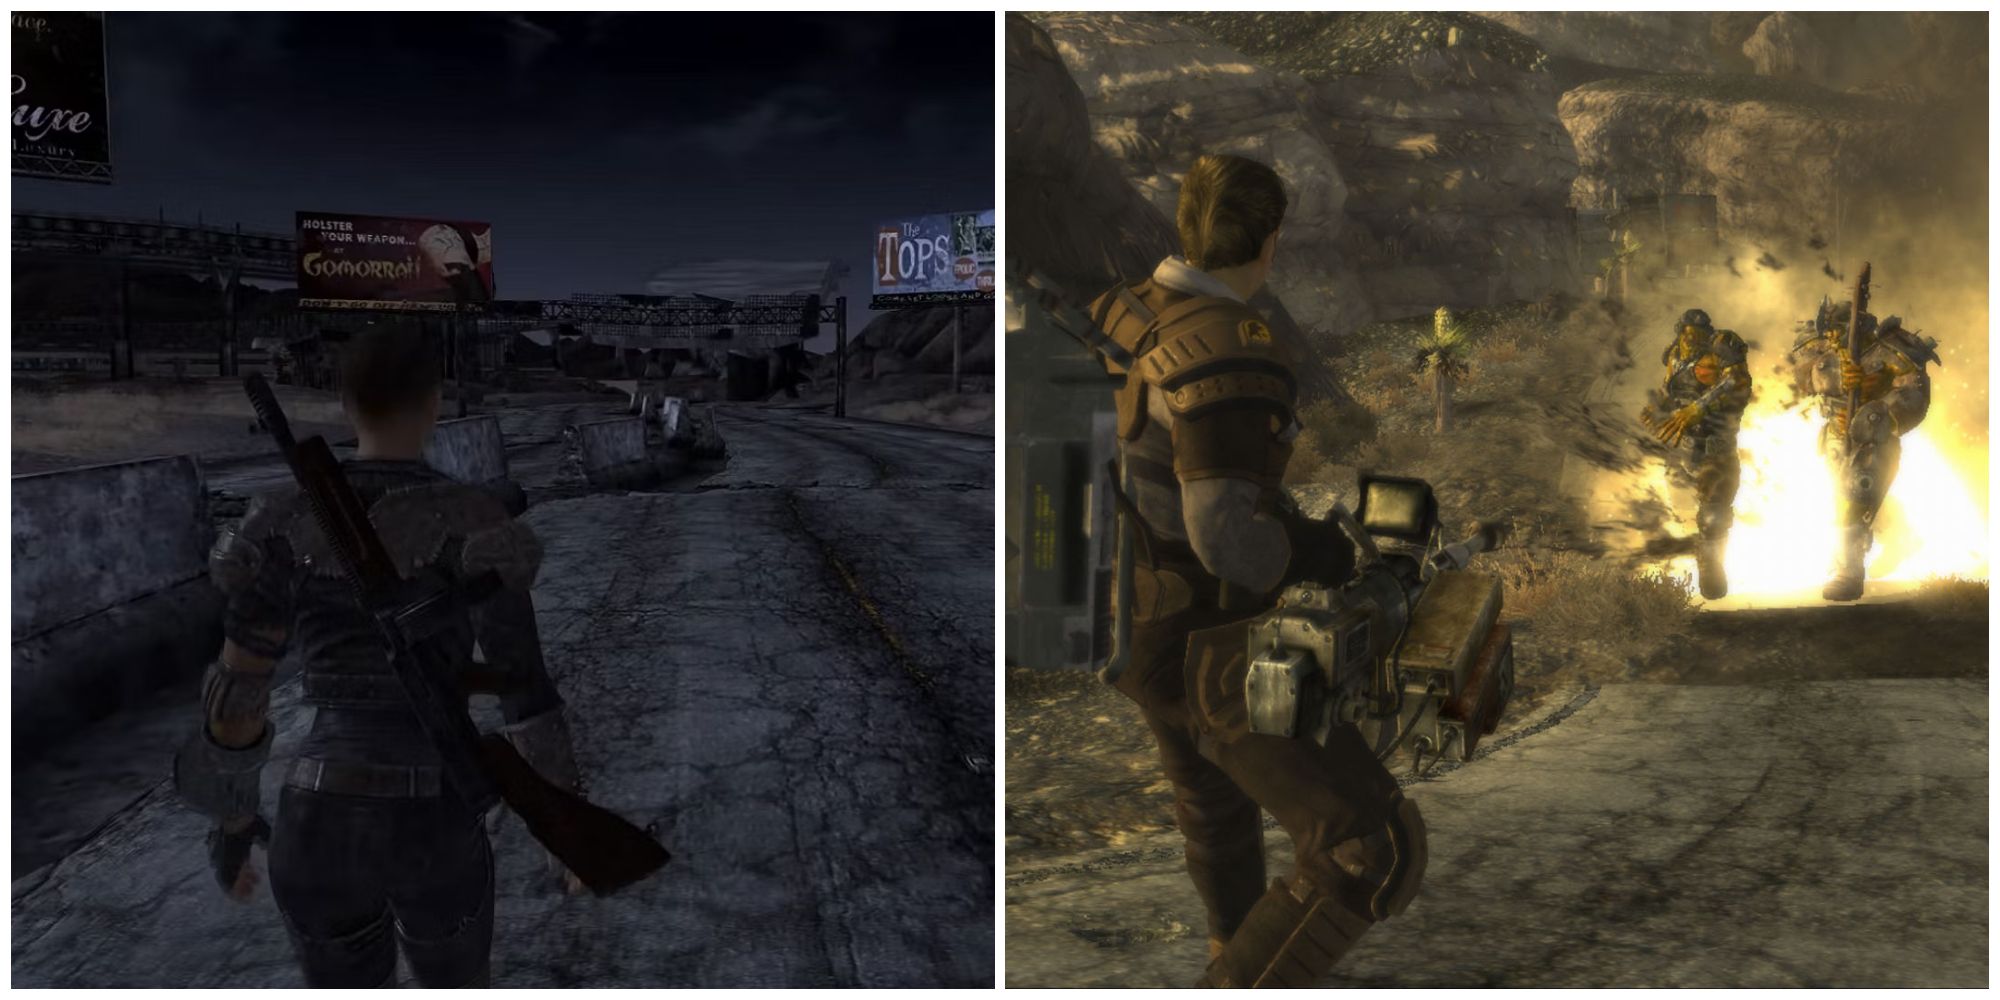
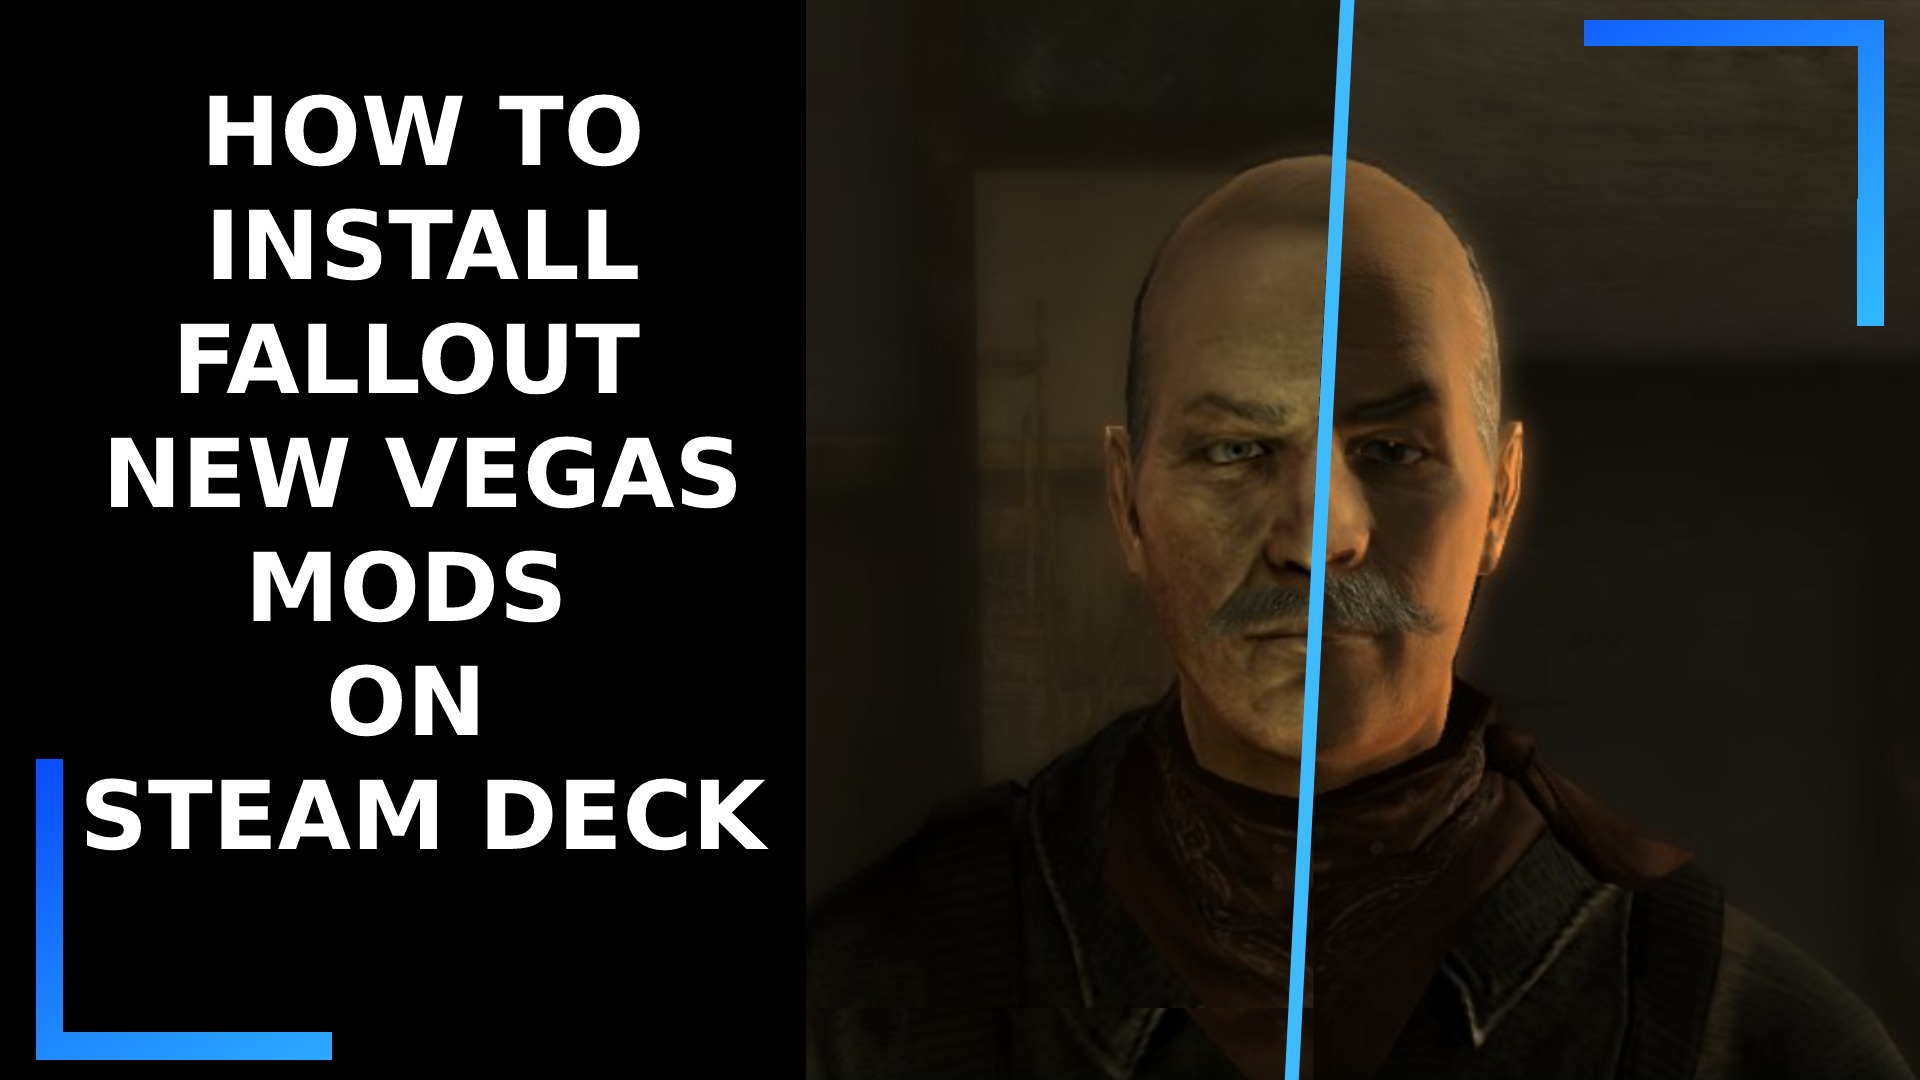
- Visual Enhancements: The graphical fidelity of a 2010 game can look dated on today’s high-resolution displays. Texture packs, weather overhauls, lighting mods, and ENB presets can dramatically elevate the visual experience, making the Mojave feel more vibrant, immersive, and contemporary. It’s like a digital remaster, but tailored by the community.
- Gameplay Refinements and Overhauls: Mods can fix minor annoyances, rebalance gameplay mechanics, introduce new combat systems, or even completely overhaul core aspects of the game. From hardcore survival modes to quality-of-life improvements like improved UI or inventory management, these mods can fine-tune FNV to your exact playstyle.
- New Content: This is where the community truly shines. Modders have created thousands of hours of new content, including additional quests, companions, weapons, armor, locations, and even entirely new lands to explore. These expansions offer fresh narratives and challenges, extending the game’s replayability almost infinitely.
- Personalization: Ultimately, modding is about making the game yours. It’s about crafting a unique experience that vanilla FNV simply can’t provide. From the aesthetic of your character to the very mechanics of combat, every aspect can be tweaked and tailored, allowing for an unprecedented level of personalization.
Embracing modding is about appreciating the dedication of a passionate community and leveraging their collective efforts to elevate a truly great game to legendary status. It’s an act of digital craftsmanship, transforming a product into a personalized masterpiece.
Essential Preparations: Setting the Foundation for a Stable Modded Game
Before diving into the exciting world of custom content, laying a solid foundation is crucial. A well-prepared game environment minimizes potential conflicts and ensures a more stable modding experience. Think of it as preparing your digital workshop before starting a complex project – the right tools and a clean workspace are paramount.
1. Starting with a Clean Slate: Your Game Installation
The absolute first step for any serious modding endeavor is a clean installation of Fallout: New Vegas. This means uninstalling any previous modded versions, manually deleting residual files, and then performing a fresh install.
- Uninstall Fallout: New Vegas: Use Steam’s uninstall function (or your equivalent platform).
- Manually Delete Residual Files: Even after uninstalling, some files often remain. Navigate to
Steamsteamappscommonand delete the “Fallout New Vegas” folder if it’s still present. Also checkDocumentsMy GamesFalloutNVfor any leftover.inifiles (though these might be safe to keep, it’s safer to let the game generate new ones). - Reinstall Fallout: New Vegas: Reinstall the game through Steam. Crucially, ensure you install all official DLCs (Dead Money, Honest Hearts, Old World Blues, Lonesome Road, Gun Runners’ Arsenal, Courier’s Stash). Many mods rely on these, and installing them after other mods can cause issues.
- Launch the Game Once (Vanilla): Run the game at least once from Steam to the main menu. This generates essential
.inifiles and ensures the game is functioning correctly in its unmodded state. Close it after reaching the main menu.
2. Choosing Your Arsenal: Key Modding Tools and Utilities
The modding community has developed an impressive suite of tools to simplify and enhance the modding process. Understanding and correctly implementing these tools is critical for a stable and enjoyable experience.
The Mod Manager Debate: Why Mod Organizer 2 Reigns Supreme
For Fallout: New Vegas, a mod manager is indispensable. While older options like Fallout Mod Manager (FMM) or more general tools like Vortex exist, Mod Organizer 2 (MO2) is overwhelmingly recommended by the community for FNV.
- Mod Organizer 2 (MO2): MO2 employs a “virtual file system.” This means it doesn’t directly install mod files into your game’s data folder. Instead, it creates a virtual data folder that the game “sees” when launched through MO2.
- Advantages of MO2:
- Clean Game Folder: Your actual Fallout: New Vegas directory remains untouched, making it easy to uninstall mods or revert to vanilla.
- Conflict Resolution: MO2 clearly shows file conflicts and allows you to easily decide which mod’s files take precedence, critical for stability.
- Profiles: You can create multiple modding profiles, each with its own set of active mods, load order, and even save games. This is perfect for experimenting or having different playstyles.
- Portability: You can move your entire MO2 installation (including mods) to another drive or system with relative ease.
- Where to Get It: Download MO2 from Nexus Mods. Follow the installation instructions provided on its page. Install MO2 to a separate directory outside of your game directory and outside of Program Files (e.g.,
D:Modding ToolsMod Organizer 2).
- Advantages of MO2:
Unlocking Potential: Script Extenders and Performance Patches
These are foundational technical enhancements that enable many complex mods and significantly improve the game’s stability and performance. They are non-negotiable for a modern modded FNV experience.
- xNVSE (New Vegas Script Extender): An updated, community-maintained version of the original NVSE. This tool expands the scripting capabilities of FNV, allowing modders to create far more complex and dynamic content. Many essential mods require xNVSE.
- Installation: Download xNVSE from GitHub. Extract the contents (all
.dlland.exefiles) into your main Fallout: New Vegas game directory (whereFalloutNV.exeis located). Do not install it via MO2.
- Installation: Download xNVSE from GitHub. Extract the contents (all
- 4GB Patcher (or FNV4GB): Fallout: New Vegas is a 32-bit application, meaning it can only natively access up to 2GB of RAM. The 4GB Patcher modifies the game’s executable to allow it to utilize up to 4GB of RAM, drastically reducing crashes and out-of-memory errors, especially with high-resolution textures and many mods.
- Installation: Download the 4GB Patcher from Nexus Mods. Place the
fnv4gb.exeinto your main Fallout: New Vegas game directory and run it once. It will patchFalloutNV.exe.
- Installation: Download the 4GB Patcher from Nexus Mods. Place the
- JIP LN NVSE Plugin: An essential xNVSE plugin that fixes numerous engine bugs and adds a multitude of new functions for modders to use, serving as a dependency for many other advanced mods.
- Installation: Download from Nexus Mods and install via MO2.
- JohnnyGuitar NVSE: Another crucial xNVSE plugin that fixes more bugs and provides additional functions, particularly for UI and animation mods.
- Installation: Download from Nexus Mods and install via MO2.
- NVAC (New Vegas Anti-Crash): A simple yet incredibly effective plugin that intercepts and handles many common crash types, significantly improving game stability.
- Installation: Download from Nexus Mods and install via MO2.
- NVTF (New Vegas Tick Fix): This mod addresses various engine bugs related to stuttering, framerate issues, and micro-freezes, particularly on high refresh rate monitors. It includes functionalities like a robust frame limiter.
- Installation: Download from Nexus Mods and install via MO2.
- Yukichigai Unofficial Patch (YUP): A community-driven bug fix compilation that addresses thousands of bugs, glitches, and inconsistencies left by the developers. It’s an absolute must-have for a stable and polished experience.
- Installation: Download from Nexus Mods and install via MO2.
- FNVEdit (or xEdit): While not directly installed into the game, FNVEdit is a powerful utility for viewing, cleaning, and resolving conflicts between mods. It’s essential for advanced modding and troubleshooting.
- Installation: Download FNVEdit from Nexus Mods. Extract it to a folder outside your game directory and MO2. You will add it as an executable in MO2 later.
These tools represent the backbone of a stable modded FNV experience. Installing them correctly and understanding their purpose is the most critical step in your modding journey.
Step-by-Step Mod Installation with Mod Organizer 2 (MO2)
With your clean game installation and essential tools identified, it’s time to put Mod Organizer 2 to work. This section will guide you through the process, from setting up MO2 to launching your first modded game.
1. Setting Up Mod Organizer 2
- Run MO2: After installing MO2, launch it. It will prompt you to create a new instance. Select “Create a new instance” -> “New Vegas” -> “Portable Instance” (recommended).
- Select Game Directory: MO2 will usually detect your Fallout: New Vegas installation. Confirm it’s pointing to the correct folder (e.g.,
SteamsteamappscommonFallout New Vegas). - Tutorial: You can choose to go through the basic tutorial or skip it.
- Configure Executables: In the top-right corner of MO2, click the “Executables” dropdown and select “Edit”.
- Add “xNVSE”: Click the ‘+’ button -> “Add executable”.
- Title:
xNVSE - Binary: Browse to your FNV installation folder and select
nvse_loader.exe. - Start In: Leave as is.
- Arguments: Leave blank.
- Click “Add”.
- Title:
- Add “Fallout New Vegas (4GB)”: If you want to use the 4GB Patcher’s directly patched executable.
- Title:
Fallout New Vegas (4GB) - Binary: Browse to your FNV installation folder and select
FalloutNV.exe(the one patched by the 4GB Patcher). - Start In: Leave as is.
- Arguments: Leave blank.
- Click “Add”.
- Title:
- Add “FNVEdit”: (Optional, but highly recommended for advanced users).
- Title:
FNVEdit - Binary: Browse to where you extracted FNVEdit and select
FNVEdit.exe. - Start In: Leave as is.
- Arguments: Leave blank.
- Click “Add”.
- Title:
- Important: Set
xNVSEas your primary executable in the dropdown menu when you intend to play the modded game, as most mods require it.
- Add “xNVSE”: Click the ‘+’ button -> “Add executable”.
2. Installing Core Utilities Through MO2
Now, let’s install the essential stability mods and plugins using MO2. Remember, MO2 virtualizes these files, so they won’t directly appear in your game’s data folder.
Integrating xNVSE and its Essential Plugins
- JIP LN NVSE Plugin:
- Download the “JIP LN NVSE Plugin” from Nexus Mods. Choose the “Mod Manager Download” option if available, or “Manual Download” if not.
- If manual, drag the downloaded archive (e.g.,
.7z,.zip) into MO2’s “Downloads” tab or click the “Install a new mod from an archive” button (looks like a CD icon) in the top-left of MO2 and navigate to the downloaded file. - Double-click the mod in the “Downloads” tab, or select it and click “Install”. Give it a descriptive name (e.g., “JIP LN NVSE”).
- Ensure the mod is enabled by checking the box next to its name in the left pane of MO2.
- JohnnyGuitar NVSE: Follow the exact same steps as for JIP LN NVSE Plugin.
- NVAC (New Vegas Anti-Crash): Follow the exact same steps.
- NVTF (New Vegas Tick Fix): Follow the exact same steps.
- Yukichigai Unofficial Patch (YUP): Follow the exact same steps.
Implementing the 4GB Patcher
As mentioned, the 4GB Patcher directly modifies the game’s executable. You should have already run it on your FalloutNV.exe in the game directory. MO2 will automatically recognize and use this patched executable when you launch the game via the Fallout New Vegas (4GB) or xNVSE executables you configured.
3. Downloading and Installing Your First Mods
With the essential foundation laid, you’re ready for more fun mods. Nexus Mods is the primary hub for Fallout: New Vegas mods.
- Browse Nexus Mods: Head to the Fallout: New Vegas section on Nexus Mods (nexusmods.com/newvegas).
- Choose a Mod: Find a mod you’d like to install (e.g., a texture pack, a small quest mod). Always read the mod description carefully, paying attention to:
- Requirements: Does it need xNVSE, specific DLCs, or other mods?
- Installation Instructions: While MO2 simplifies most, some mods have unique setup steps.
- Load Order Notes: Any specific placement suggestions.
- Compatibility: Are there known conflicts with other popular mods?
- Download the Mod:
- Mod Manager Download (Recommended): Click this button on the mod page. MO2 should automatically detect and download it into its “Downloads” tab.
- Manual Download: If no mod manager download is available, download the file manually. Then, drag and drop the downloaded archive into MO2’s “Downloads” tab or use the “Install from archive” button.
- Install via MO2: In MO2, go to the “Downloads” tab, double-click the newly downloaded mod, or select it and click “Install”.
- Installer Pop-up: Some mods have their own installers (e.g., FOMOD installers). Follow the on-screen prompts.
- Structure Check: If MO2 warns about the file structure, it usually means the mod is packaged incorrectly. You might need to manually extract the
Datafolder or.esp/.esmfiles. Consult the mod’s page comments or support.
- Enable the Mod: Once installed, check the box next to the mod’s name in the left pane of MO2 to activate it.
4. Mastering Your Load Order with LOOT
Load order is critical for stability. It determines which mod’s changes take precedence when multiple mods modify the same game assets. An incorrect load order is a leading cause of crashes and bugs. While MO2 handles file priority on the left pane (higher mods overwrite lower ones), LOOT (Load Order Optimization Tool) handles the plugin load order on the right pane.
- Install LOOT: Download LOOT from GitHub. Install it to a separate directory outside your game and MO2 folders.
- Add LOOT to MO2 Executables: Similar to FNVEdit, add LOOT as an executable in MO2’s “Edit Executables” menu.
- Title:
LOOT - Binary: Path to
LOOT.exe.
- Title:
- Run LOOT via MO2: Select
LOOTfrom the executable dropdown in MO2 and click “Run”. - Sort Plugins: In the LOOT interface, click the “Sort” button (usually in the top right). LOOT will analyze your active plugins and automatically arrange them in a recommended order.
- Apply Sort: After sorting, click the “Apply” button to save the new load order. Close LOOT.
- Verify in MO2: In MO2’s right pane (“Plugins”), you’ll see your
.esmand.espfiles. Their order should now reflect LOOT’s sorting.
While LOOT is excellent, it’s not foolproof. Always check mod descriptions for specific load order instructions that might override LOOT’s suggestions.
5. Launching Your Modded Game
With all your mods installed and your load order sorted, you’re ready to experience the enhanced Mojave.
- Select Executable: In MO2’s top-right dropdown, ensure
xNVSEis selected. - Launch Game: Click the “Run” button next to the executable dropdown. MO2 will launch Fallout: New Vegas with all your enabled mods.
- Start a New Game: It is highly recommended to start a new game after installing a significant number of mods, especially those that alter gameplay or introduce new content. Existing save games might not correctly integrate new mod assets and can lead to instability.
Troubleshooting Common Issues and Best Practices for a Smooth Journey
Modding, by its nature, can be prone to issues. However, understanding common problems and adopting best practices can significantly reduce frustration and keep your Wasteland adventures running smoothly.
Navigating Conflicts with FNVEdit
Even with careful planning and LOOT, conflicts can arise, leading to crashes, broken quests, or unexpected behavior. This is where FNVEdit becomes an invaluable tool.
- What it does: FNVEdit allows you to view the exact changes each plugin (
.esp,.esm) makes to the game’s records. You can see which mods conflict by highlighting conflicting entries. - Basic Use:
- Launch FNVEdit through MO2 (as an executable).
- Wait for it to load all your active plugins.
- On the left pane, expand plugins. Conflicting records will often be highlighted in red or yellow.
- Right-clicking on a plugin and selecting “Apply Filter for Conflicts” can help pinpoint issues.
- You can create a “merged patch” (right-click on a blank area in the left pane -> “Other” -> “Create Merged Patch”) to automatically resolve minor conflicts, allowing the last-loaded mod’s changes to take precedence, or to combine certain records for better compatibility.
- Advanced Use: FNVEdit allows manual conflict resolution by deciding which mod’s changes you want to keep or even creating custom patches. This requires a deeper understanding of game records and modding principles, so proceed with caution and consult specific guides.
Essential Modding Principles for Longevity
- Read Mod Descriptions: This cannot be stressed enough. Most mod conflicts, technical requirements, and installation quirks are explicitly detailed on the mod’s page. Neglecting this step is a recipe for disaster.
- Install Mods Incrementally: Don’t install 50 mods at once. Install a few, test the game thoroughly, and then add more. This helps you pinpoint which specific mod might be causing a problem.
- Backup Your Saves: Regularly back up your save games (located in
DocumentsMy GamesFalloutNVSaves). Modding can sometimes corrupt saves, so having a clean backup is your best defense. - Understand Load Order: While LOOT helps, a fundamental understanding of load order is vital. Generally, larger overhauls should load earlier, and smaller patches/fixes for those overhauls should load later. Mods that make broad changes should load before mods that make specific changes to the same asset.
- Don’t Uninstall Mods Mid-Playthrough: While MO2 makes it easy to disable mods, uninstalling or enabling complex mods mid-game can often lead to corrupted save files, missing assets, or persistent bugs. It’s best to start a new game after major modlist changes.
- Stay Updated: Keep your core utilities (xNVSE, MO2, LOOT) updated to their latest versions, as they often include bug fixes and improved compatibility.
Backup Strategies: Your Digital Security Net
Beyond just saving game files, consider backing up your entire MO2 instance, especially once you have a stable and curated mod list.
- MO2’s “Archive Instance” Feature: MO2 has a built-in feature to archive your entire portable instance, including all mods, profiles, and configurations. This is an excellent way to create a point-in-time backup.
- Manual Folder Backup: Simply copy your entire MO2 installation folder to an external drive or cloud storage. This gives you a complete snapshot of your modding environment.
These backup strategies are your digital security net, ensuring that even if things go awry, you can revert to a known working state without having to restart your entire modding journey.

Conclusion: Embrace the Infinite Possibilities of a Modded Wasteland
Modding Fallout: New Vegas is more than just a technical exercise; it’s an immersive hobby that breathes new life into an already incredible game. By following the steps outlined in this guide, you’ve not only set up a stable foundation for countless hours of enhanced gameplay but also gained valuable technical skills in managing complex software environments, resolving conflicts, and optimizing performance – skills that transcend just gaming.
From the essential stability fixes that iron out the kinks of a decade-old engine, to the expansive new quests and breathtaking visual overhauls, the modding community has ensured that the Mojave Wasteland remains a vibrant, ever-evolving canvas. It’s a testament to the collaborative spirit of the gaming community and how user-driven innovation can dramatically extend the value and enjoyment of a digital product.
So, arm yourself with knowledge, proceed with patience, and don’t be afraid to experiment (responsibly, with backups!). The world of Fallout: New Vegas is now yours to customize, explore, and conquer like never before. Welcome to the truly ultimate Mojave experience.
aViewFromTheCave is a participant in the Amazon Services LLC Associates Program, an affiliate advertising program designed to provide a means for sites to earn advertising fees by advertising and linking to Amazon.com. Amazon, the Amazon logo, AmazonSupply, and the AmazonSupply logo are trademarks of Amazon.com, Inc. or its affiliates. As an Amazon Associate we earn affiliate commissions from qualifying purchases.