
In today’s fast-paced digital world, whether you’re a professional navigating complex software, a gamer seeking peak performance, or simply someone who juggles countless browser tabs, the responsiveness of your computer is paramount. Nothing grinds productivity to a halt quite like a sluggish system, characterized by long loading times, stuttering applications, and frequent freezes. Often, the unsung hero behind your computer’s speed and multitasking prowess is its Random Access Memory (RAM). A RAM upgrade is one of the most impactful, yet surprisingly straightforward, hardware enhancements you can undertake, offering a significant boost to your system’s performance without the hefty price tag of a brand-new machine.
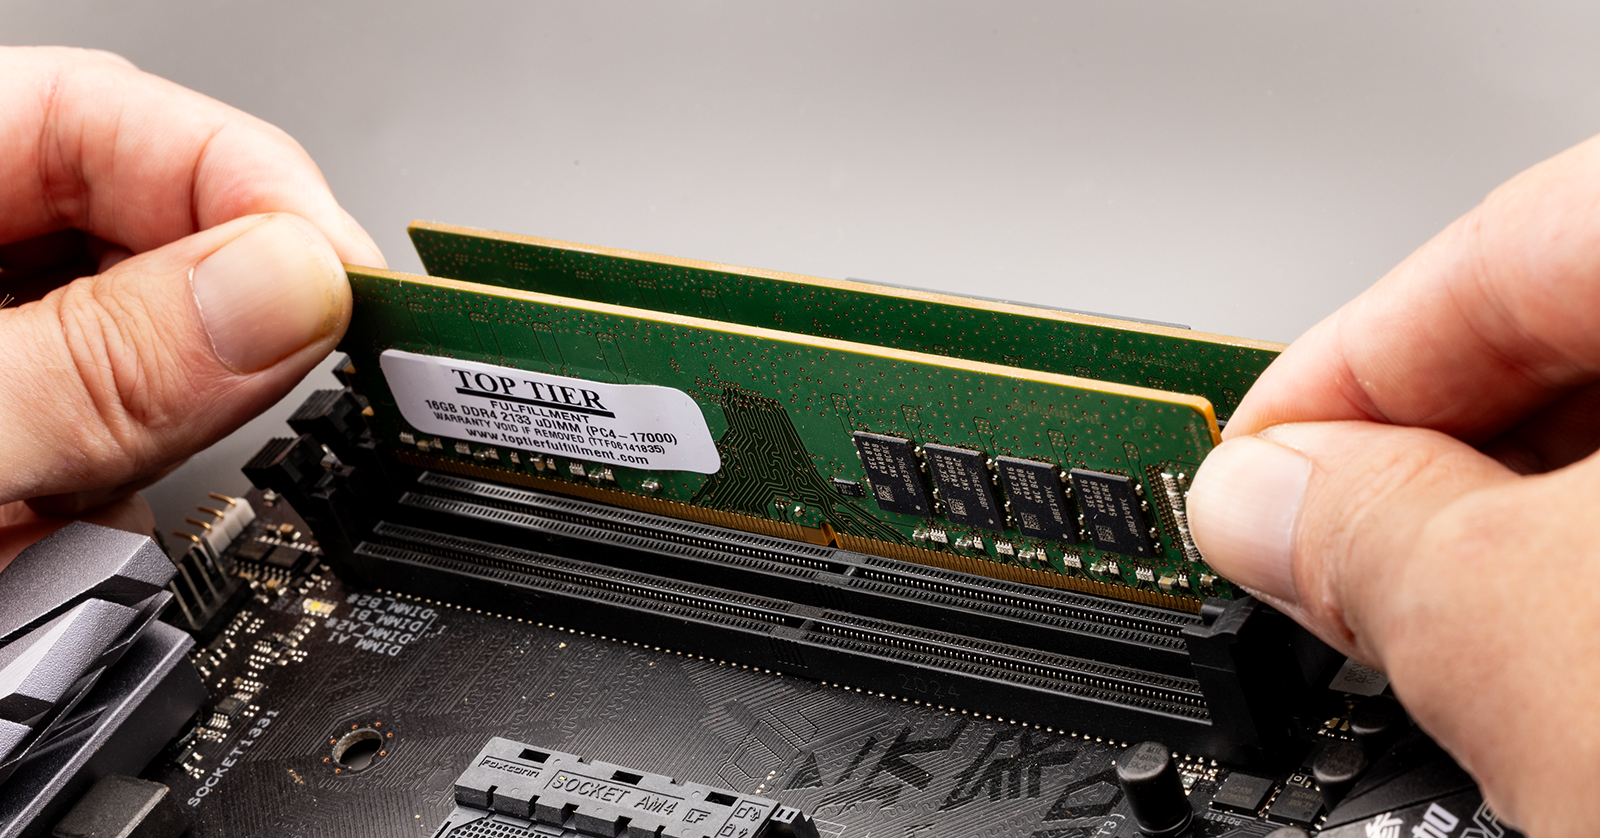
This comprehensive guide will demystify the process of installing more RAM, transforming what might seem like a daunting technical task into an empowering DIY project. Beyond the technical steps, we’ll explore why RAM is critical, how to choose the right modules for your specific needs, and the tangible benefits this upgrade can bring to your digital life – touching upon not just technological efficiency but also financial prudence and even your professional brand.
Understanding RAM: The Foundation of Digital Performance
Before we delve into the mechanics of installation, it’s crucial to grasp what RAM is, how it functions, and why it’s so vital for your computer’s overall health and speed. This foundational knowledge will empower you to make informed decisions and appreciate the impact of your upgrade.
What is RAM and How Does It Work?
RAM, or Random Access Memory, is essentially your computer’s short-term memory. Unlike your hard drive or SSD, which stores data persistently, RAM holds the data and instructions that your CPU (Central Processing Unit) needs to access quickly and frequently. Think of your CPU as the chef and your RAM as the kitchen countertop. The chef (CPU) needs ingredients (data) to prepare meals (tasks). If the countertop (RAM) is small or cluttered, the chef has to constantly go to the pantry (storage drive) to retrieve ingredients, which slows down the cooking process significantly. A larger, more organized countertop allows the chef to have many ingredients readily available, speeding up meal preparation.
RAM is volatile, meaning its contents are lost when the computer is turned off. Its primary role is to provide rapid access to active programs and data, enabling your system to multitask efficiently, switch between applications seamlessly, and load large files almost instantaneously. The more RAM you have, the more applications and data your computer can hold in its “active memory” at once, leading to a smoother and more responsive user experience.
Different types of RAM exist, with DDR4 and the newer DDR5 being the current standards for modern PCs. These specifications refer to the generation of Double Data Rate synchronous dynamic random-access memory, each offering improvements in speed and efficiency over its predecessors. Key metrics like capacity (e.g., 8GB, 16GB, 32GB), speed (measured in MHz), and latency (measured in CL or CAS Latency) all contribute to RAM’s performance profile, and understanding these will be critical for selecting the right modules.
Recognizing the Need for a RAM Upgrade
How do you know if you truly need more RAM? The signs are often clear, if frustrating. Your computer might exhibit several symptoms that point directly to insufficient memory:
- Sluggish Performance: The most obvious indicator. Applications take an unusually long time to open, and switching between programs feels like wading through treacle.
- Frequent Freezes and Crashes: If your system often locks up or applications unexpectedly quit, it could be struggling to manage its active memory.
- “Not Responding” Messages: When an application becomes unresponsive for extended periods, it’s often because it can’t access the memory it needs quickly enough.
- Disk Activity Spikes: If your hard drive or SSD activity light is constantly flashing, even when you’re not actively saving or loading files, your system might be resorting to “paging” or “swapping” data from RAM to your slower storage drive to compensate for a lack of physical RAM. This is known as using virtual memory and is a major performance bottleneck.
- Specific Application Demands: Modern software, especially professional tools for graphic design, video editing, 3D rendering, CAD, and even many high-end games, are increasingly memory-hungry. If you’re consistently bumping against minimum or recommended RAM specifications for your core applications, an upgrade is likely overdue.
- Multitasking Struggles: Opening multiple browser tabs, running several applications simultaneously (e.g., a video editor, a web browser, and a communication app), or using virtual machines will quickly reveal RAM limitations.
Monitoring your system’s performance using tools like Task Manager (Windows) or Activity Monitor (macOS) can provide concrete evidence. Look at the “Memory” tab; if your RAM usage is consistently at or near 80-100% during typical workloads, you’re a prime candidate for an upgrade. This investment isn’t just about faster computing; it’s about reclaiming lost productivity, reducing frustration, and extending the useful life of your existing hardware, which is a sound financial strategy.
Preparing for Your RAM Upgrade: The Smart Approach
A successful RAM upgrade hinges on meticulous preparation. This phase involves understanding your system’s specific requirements, choosing the right components, and setting up a safe workspace. Skipping these steps can lead to compatibility issues, wasted money, or even potential damage to your system.
Compatibility Check: The Crucial First Step
The most critical aspect of upgrading RAM is ensuring compatibility with your existing hardware. Not all RAM is created equal, and mismatching components can lead to system instability or outright failure to boot.
-
Identify Your Current RAM:
- Software Method: Tools like CPU-Z (Windows) or “About This Mac” (macOS) can display detailed information about your installed RAM (type, speed, capacity, number of sticks).
- Physical Inspection: Open your computer case (after powering down and unplugging) and look at the labels on your existing RAM sticks. Note down the DDR generation (e.g., DDR4), capacity (e.g., 8GB), and speed (e.g., 3200MHz).
-
Check Your Motherboard’s Specifications: Your motherboard dictates the type, maximum capacity, and number of RAM slots available.
- Motherboard Manual: The most reliable source. It will specify the supported DDR generation, maximum total RAM, maximum RAM per slot, and supported speeds (often with an “overclocked” or “XMP” profile list). It will also illustrate the correct slot configuration for dual-channel or quad-channel memory.
- Manufacturer’s Website: If you don’t have the manual, search for your motherboard model online.
- System Information Tools: Software can also identify your motherboard model, which you can then use to look up specifications.
-
Consider Your CPU: While less common than motherboard limitations, some older CPUs might have specific RAM speed limitations. For most modern systems, if the RAM is compatible with the motherboard, it will be compatible with the CPU.
-
Operating System Limitations: Ensure you’re running a 64-bit version of Windows or macOS. 32-bit operating systems can only utilize around 3.5GB to 4GB of RAM, regardless of how much you physically install.
-
Dual-Channel Configuration: For optimal performance, RAM should generally be installed in pairs to take advantage of dual-channel memory architecture. Your motherboard manual will specify which slots to use (often marked with alternating colors or numbers, e.g., slots 2 and 4). Buying RAM in a “kit” (e.g., 2x8GB) ensures the sticks are matched for ideal performance.
Choosing the Right RAM: Balancing Performance and Budget
Once you know your compatibility parameters, it’s time to select your new RAM. This decision involves a balance between desired performance, current needs, and your budget.
-
Capacity:
- 8GB: Bare minimum for basic computing, web browsing. Not recommended for modern multitasking or gaming.
- 16GB: The sweet spot for most users, including gamers and general productivity. Allows for smooth multitasking and handles most demanding applications adequately.
- 32GB: Ideal for professionals working with large files, video editing, 3D rendering, CAD, virtual machines, or high-end gaming/streaming. Provides significant headroom for future needs.
- 64GB+: Niche for extreme workstations, specific scientific simulations, or server-grade tasks.
-
Speed (MHz) and Latency (CL):
- Speed: Higher MHz generally means faster data transfer.
- Latency: Lower CL (CAS Latency) means data can be accessed more quickly.
- For most users, a good balance is key. For DDR4, 3200MHz to 3600MHz with CL16 or CL18 is often considered the sweet spot for performance per dollar. For DDR5, higher speeds (e.g., 5200MHz to 6000MHz) with reasonable latency are desirable. Always check what your motherboard officially supports at advertised speeds, as higher speeds often rely on XMP (Extreme Memory Profile) or DOCP (Direct Over Clock Profile) settings in your BIOS/UEFI.
-
Brands and Reliability: Reputable brands like Corsair, G.Skill, Crucial, Kingston, and Samsung are generally reliable. While specific models may vary, sticking to established names often comes with better quality control and warranty support.
-
Pricing Considerations: RAM prices fluctuate, but they generally offer one of the best “bang for your buck” upgrades. Compare prices across different retailers. Consider whether you truly need the absolute fastest RAM or if a slightly slower, more affordable option provides sufficient benefit for your workflow. This is where the “Money” aspect of your website’s themes truly comes into play – optimizing your spending for maximum return on investment in performance. Sometimes, a modest speed increase might not be perceptible enough to justify a significant price hike.
Gathering Your Tools and Workspace Setup
Before you open your computer, gather everything you’ll need:
- Phillips Head Screwdriver: For opening the case.
- Anti-static Wrist Strap: Crucial for preventing electrostatic discharge (ESD) which can damage sensitive components. If you don’t have one, frequently touch a grounded metal object (like your PC’s unpainted metal chassis) before handling components.
- Clean, Well-Lit Workspace: A clear, flat surface with good lighting will make the process easier and help prevent dropping small screws. Avoid working on carpet, which can generate static electricity.
- Your New RAM Modules: Carefully unboxed and ready.
- Motherboard Manual (Optional but Recommended): Especially useful for identifying optimal RAM slots.
The Step-by-Step RAM Installation Guide
With your preparation complete, it’s time for the hands-on part. Follow these steps carefully to ensure a smooth and safe installation.
Safety First: Power Down and Ground Yourself
This is the most critical step to prevent damage to your components or yourself.
- Shut Down Completely: Not just sleep, but a full shutdown from your operating system.
- Unplug All Cables: Disconnect the power cord, monitor cables, USB devices, Ethernet, etc.
- Discharge Residual Power: Press and hold your computer’s power button for 10-15 seconds. This helps drain any remaining power from the system’s capacitors.
- Ground Yourself: Put on your anti-static wrist strap and attach its clip to an unpainted metal part of your PC case. If you don’t have a strap, periodically touch the metal chassis (ensuring it’s still plugged into the wall, but switched off at the wall socket, for a stable ground – never touch the inside while the power supply is actively live and plugged in with the switch on).
Accessing Your PC’s Interior
- Remove the Side Panel: Most PC cases have a removable side panel, usually on the left side when viewed from the front. This is typically secured by a few thumbscrews or standard Phillips head screws at the rear. Remove them and slide the panel off.
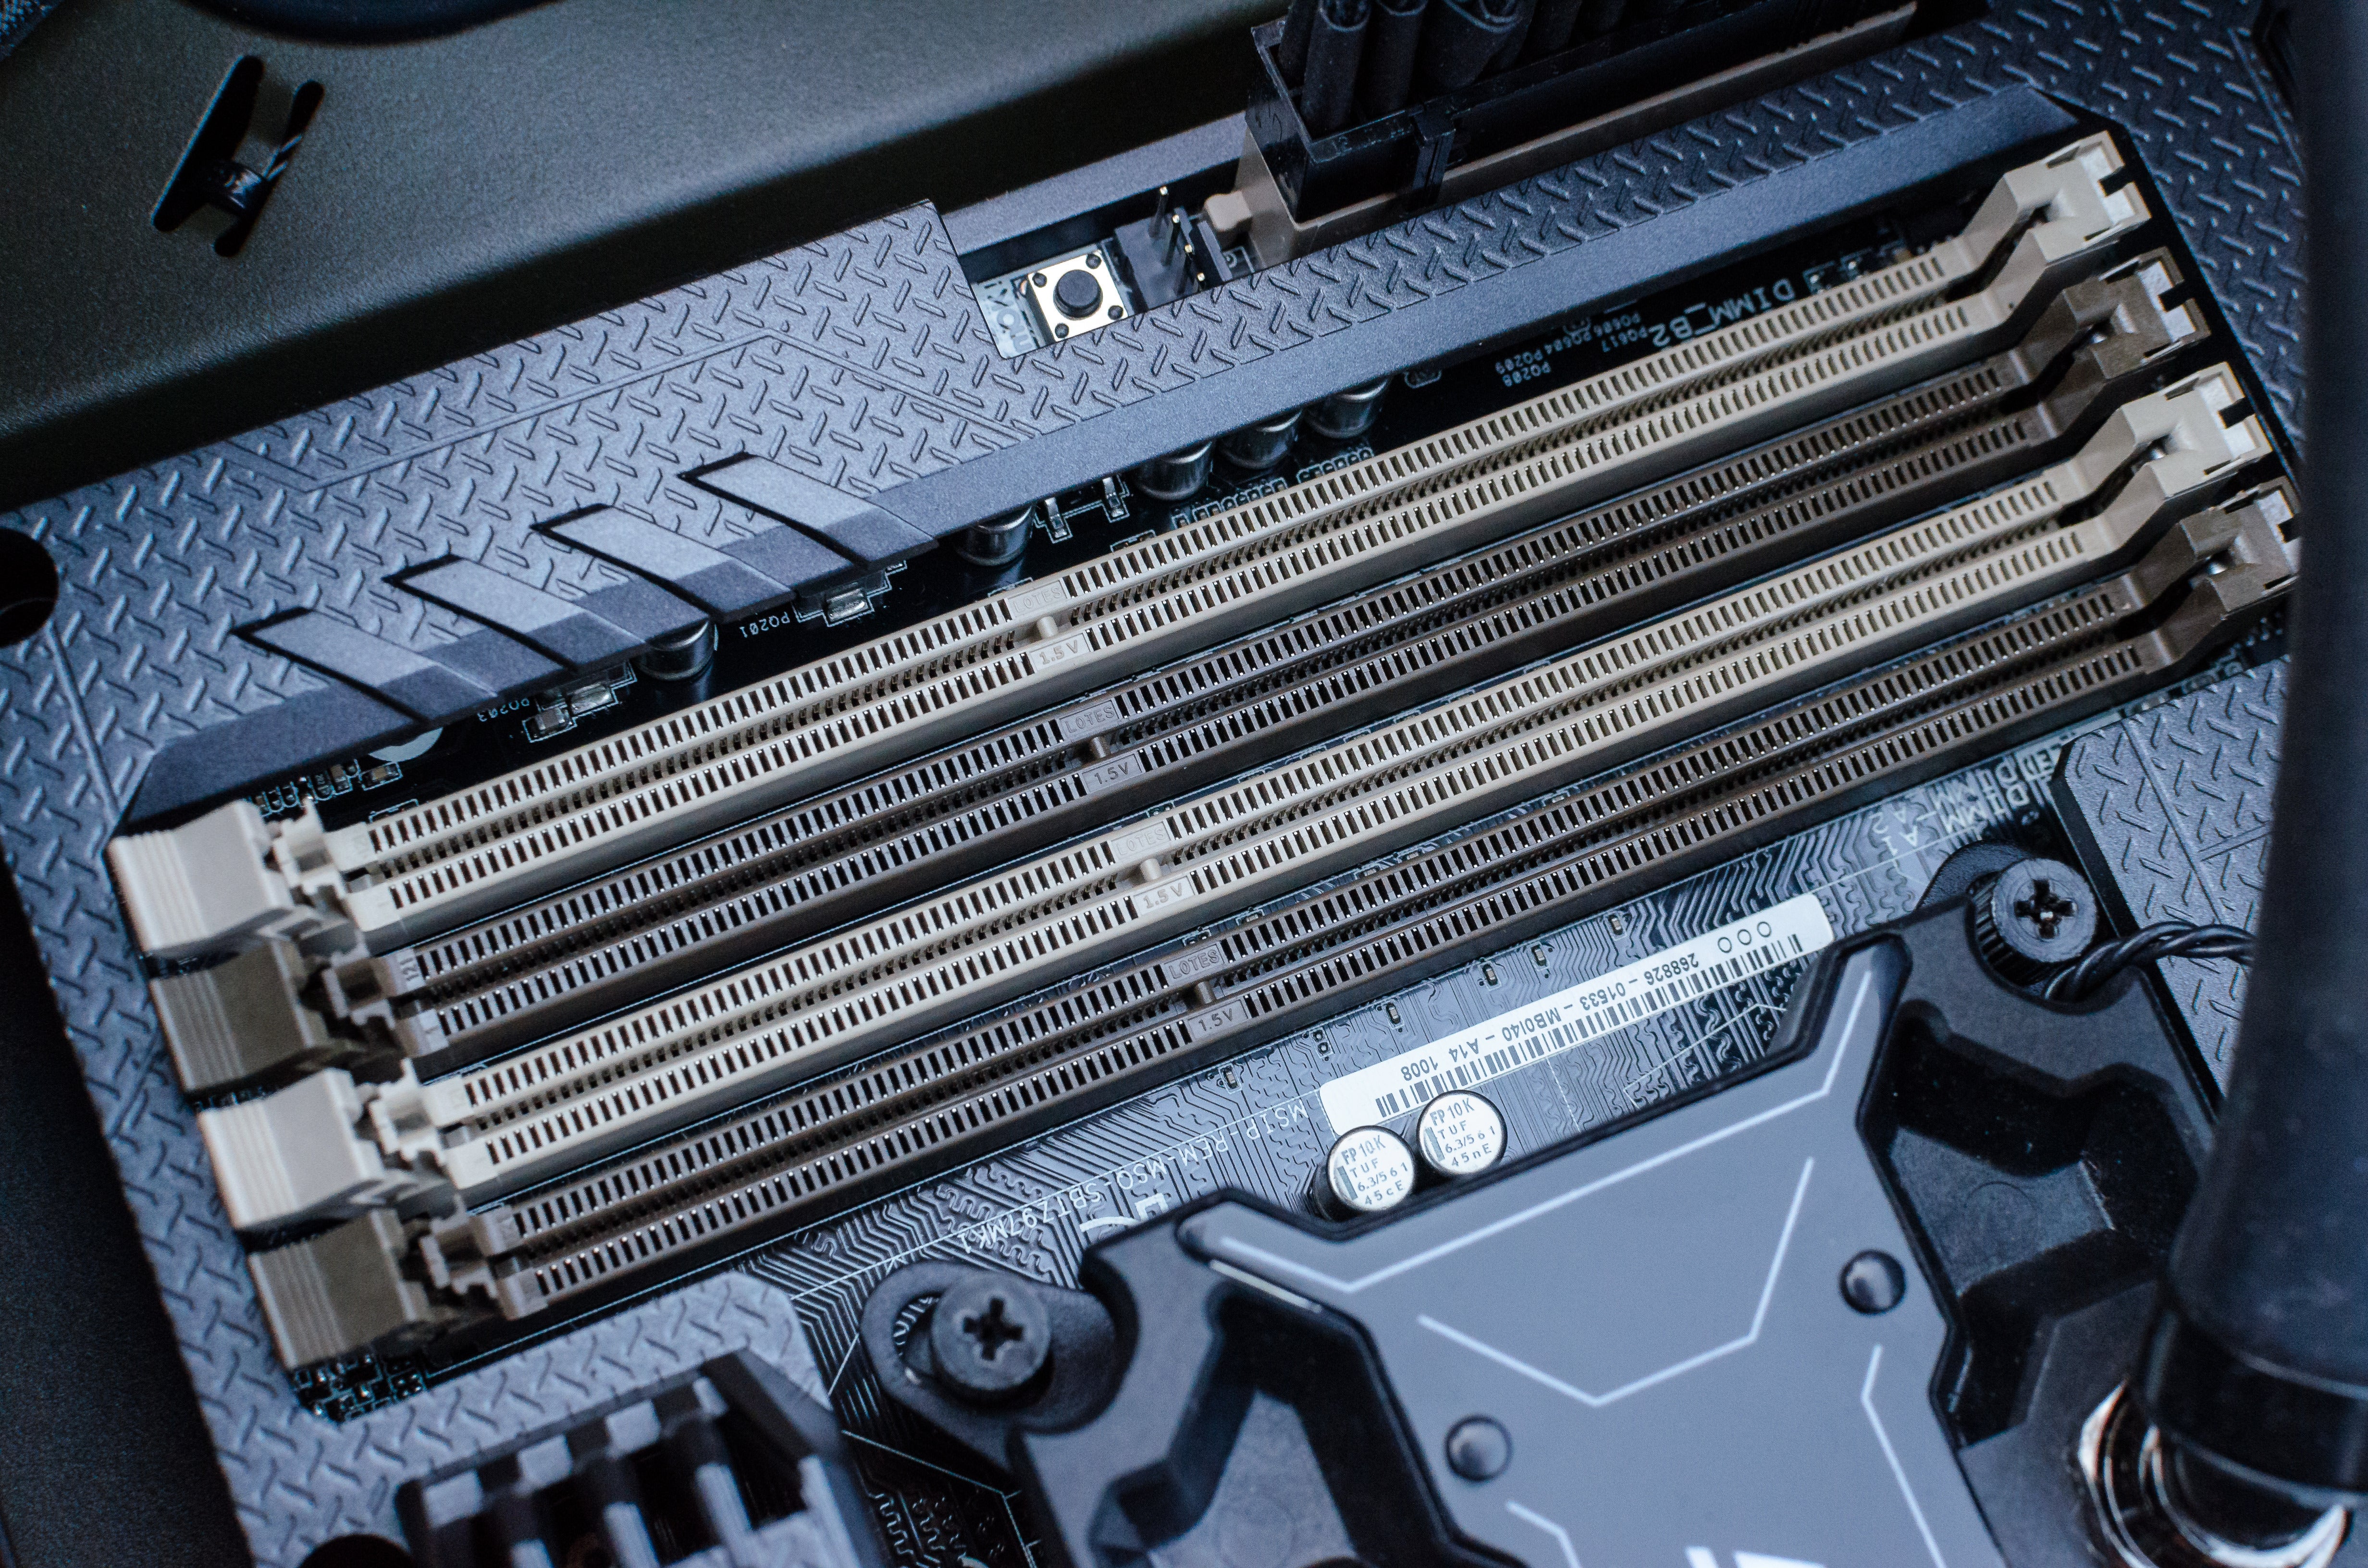
- Locate RAM Slots: Inside, you’ll see your motherboard. The RAM slots are long, narrow slots usually located to the right of your CPU cooler. They will have clips on either end (or sometimes just one end).
Removing Old RAM (If Applicable)
If you’re replacing existing RAM modules:
- Open the Clips: Gently push down on the clips at both ends of each RAM stick. They should spring open.
- Gently Pull Out: Once the clips are open, the RAM module should slightly pop up. Grasp the module by its edges (avoid touching the gold contacts) and carefully pull it straight out of the slot. Place the old RAM in an anti-static bag if you plan to keep it.
Installing the New RAM
This is where your new memory modules find their home.
- Align the Notch: Pick up one of your new RAM sticks by its edges. Look at the gold contacts on the bottom; you’ll notice a small notch or key. This notch must align with a corresponding raised section in the RAM slot. This prevents incorrect installation.
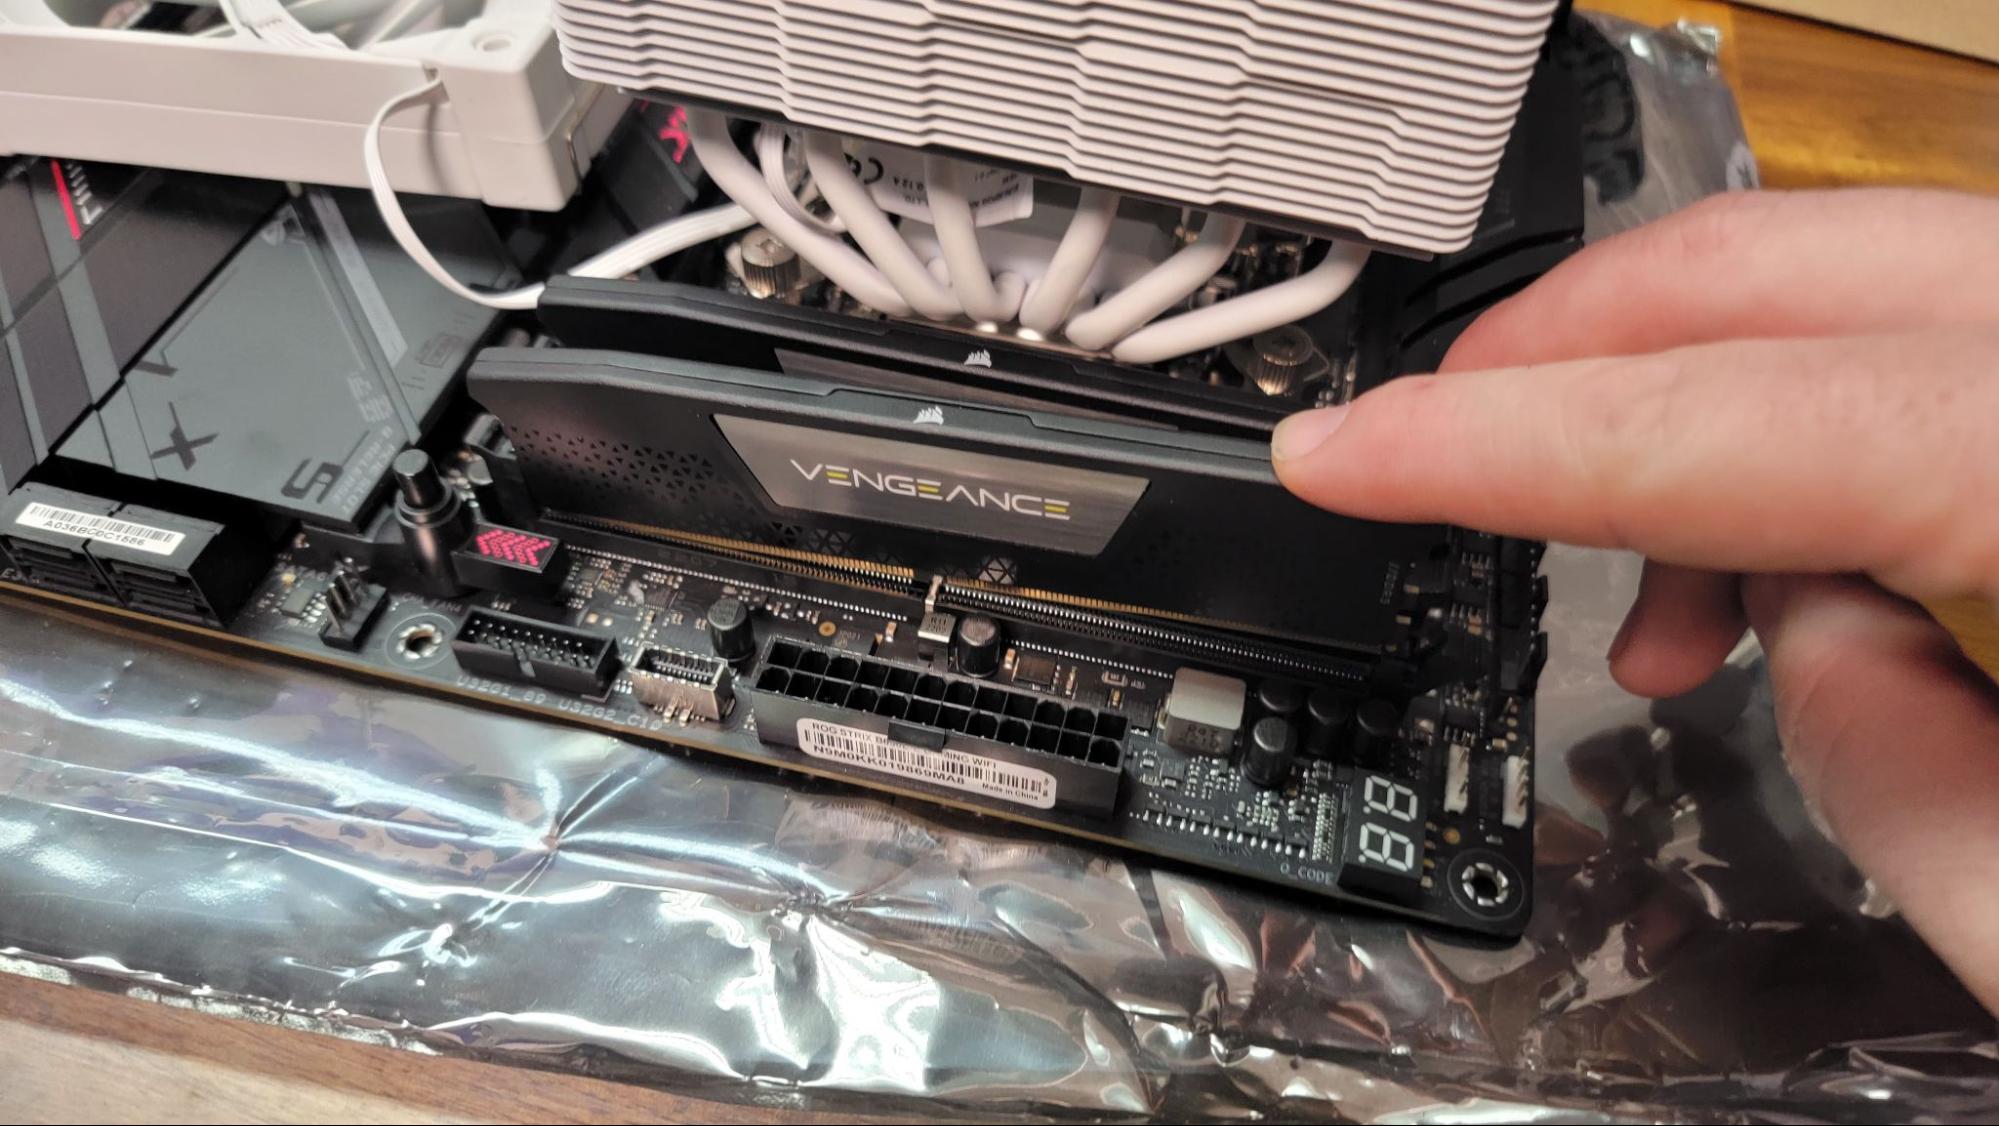
- Insert and Press Firmly: Place the RAM stick into the slot, ensuring the notch is correctly aligned. With the clips already open (if they aren’t, gently push them open), press down firmly and evenly on both ends of the RAM module. You should hear and feel the clips snap into place, securing the stick. Do not force it if it doesn’t align; recheck the notch.
- Confirm Seating: Double-check that both clips are fully closed and the RAM stick is seated flush in the slot, with no gold contacts showing above the slot.
- Optimal Slot Configuration: If you’re installing multiple sticks (e.g., two 8GB sticks), refer to your motherboard manual for the correct dual-channel (or quad-channel) slot configuration. These are often marked, or the manual will show which slots to populate first (e.g., A2 and B2). Incorrect slot placement won’t damage the RAM, but it might reduce performance by preventing dual-channel operation.
- Repeat for Additional Sticks: Install any remaining RAM modules following the same procedure.
Post-Installation Checks
Once all RAM is installed:
- Close Case and Reconnect: Carefully replace the side panel of your PC case and secure it. Reconnect all power cables, monitor cables, and peripherals.
- Boot Up System: Turn on your computer. The first boot after a RAM upgrade might take slightly longer than usual as the BIOS/UEFI detects and configures the new memory.
- Verify RAM in BIOS/UEFI: Before your operating system loads, you might see the new RAM capacity displayed during the boot sequence. You can also enter your computer’s BIOS/UEFI settings (usually by pressing DEL, F2, F10, or F12 during startup, depending on your motherboard) to confirm the new total RAM and ensure it’s running at the correct speed (and enable XMP/DOCP if necessary).
- Verify in Operating System: Once logged into your OS:
- Windows: Open Task Manager (Ctrl+Shift+Esc), go to the “Performance” tab, and select “Memory.” You should see the new total RAM capacity.
- macOS: Click the Apple menu, select “About This Mac.” The overview will show your installed memory.
- Troubleshooting:
- No Display/No Boot: If your computer doesn’t display anything or fails to boot, power down, unplug, and re-check that the RAM modules are firmly seated in their slots and the clips are fully closed. Ensure they are in the correct slots according to your motherboard manual. If you have multiple sticks, try booting with just one stick at a time to isolate a potentially faulty module or slot.
- Incorrect Capacity Detected: If the OS or BIOS shows less RAM than you installed, double-check all connections and ensure your OS is 64-bit.
Beyond the Upgrade: Maximizing Your Investment
Installing more RAM is more than just a technical tweak; it’s a strategic enhancement that ripples through various aspects of your digital life, impacting productivity, financial efficiency, and even your professional presence.
The Performance Payoff: What to Expect
The immediate and most noticeable benefit of a successful RAM upgrade is a dramatically snappier computer. You’ll experience:
- Smoother Multitasking: Effortlessly switch between multiple demanding applications, browser tabs, and documents without slowdowns.
- Faster Application Loading: Programs, especially large ones like video editors or games, will launch and load files much more quickly.
- Improved Responsiveness: Overall system interactions, from opening menus to navigating folders, will feel instant and fluid.
- Enhanced Gaming and Creative Work: Expect higher frame rates in games (especially minimums), quicker rendering times in creative software, and a generally more enjoyable and efficient workflow for resource-intensive tasks.
- Reduced Frustration: The intangible benefit of not constantly waiting for your computer to catch up, freeing up mental bandwidth and reducing stress.
Strategic Implications for Professionals and Businesses
For professionals, freelancers, and small businesses, the decision to upgrade RAM transcends mere convenience; it becomes a strategic investment with measurable returns.
- Maintaining a Competitive Edge (Brand): In a world where digital presence is key, a slow, lagging computer during a video conference, client presentation, or crucial deadline can project an image of inefficiency or unprofessionalism. A snappy system ensures smooth operation, allowing you to focus on the content and delivery, enhancing your personal and corporate brand.
- Resource Optimization and Financial Prudence (Money): Instead of prematurely investing in an entirely new computer – a significant capital outlay – a targeted RAM upgrade can extend the lifespan of your existing hardware by several years. This is a highly cost-effective strategy for managing IT budgets and achieving a better return on your initial hardware investment. It aligns with smart financial planning, ensuring you get the most out of your assets.
- Increased Productivity and Revenue (Money): Time is money. Every minute saved waiting for applications to load, files to render, or systems to respond directly translates into more productive work hours. For professionals, this means more clients served, more projects completed, and ultimately, higher earning potential. For businesses, it means a more efficient workforce.
- Future-Proofing: While no component is truly “future-proof,” a generous RAM allocation provides significant headroom for upcoming software updates and more demanding applications, delaying the need for further hardware investments.
Maintaining Your Optimized System
While a RAM upgrade is a powerful boost, remember that it’s one part of a holistic system. To maximize your investment and maintain peak performance:
- Keep Drivers Updated: Ensure your motherboard chipset drivers and graphics card drivers are current.
- Regular System Clean-up: Periodically clean up unnecessary files, uninstall unused programs, and manage your startup applications.
- Monitor RAM Usage: Continue to monitor your RAM usage occasionally to understand your typical workloads and identify any new bottlenecks that might emerge (e.g., if a new application suddenly consumes all your memory).
- Consider Other Bottlenecks: If, after a RAM upgrade, your system still feels slow, investigate other potential bottlenecks. A slow hard drive (upgrading to an SSD is another highly impactful upgrade), an aging CPU, or an inadequate graphics card might be the next area to address.
Conclusion
Installing more RAM is a surprisingly accessible and incredibly rewarding upgrade for any computer user. It’s a prime example of how a relatively simple technical intervention can yield profound benefits, significantly improving your daily digital interactions, boosting your productivity, and offering a smart financial alternative to a complete system overhaul. By understanding the ‘how’ and ‘why’ – from the technical intricacies of compatibility to the strategic implications for your personal brand and wallet – you’re not just adding memory; you’re investing in a faster, more efficient, and more enjoyable computing experience. Empower yourself with this knowledge, take the leap, and unlock your computer’s full potential.
aViewFromTheCave is a participant in the Amazon Services LLC Associates Program, an affiliate advertising program designed to provide a means for sites to earn advertising fees by advertising and linking to Amazon.com. Amazon, the Amazon logo, AmazonSupply, and the AmazonSupply logo are trademarks of Amazon.com, Inc. or its affiliates. As an Amazon Associate we earn affiliate commissions from qualifying purchases.