
Building or purchasing a new PC is a significant investment in your digital productivity and entertainment. However, a computer is merely a collection of high-end hardware until an Operating System (OS) is introduced to bridge the gap between human and machine. Despite the release of Windows 11, Windows 10 remains one of the most stable, widely supported, and preferred operating systems for professionals and gamers alike.
Installing Windows 10 on a “clean” or “naked” PC—one without an existing operating system—can seem daunting to the uninitiated. However, the process is remarkably streamlined if you follow the correct technical procedures. This guide provides a comprehensive walkthrough, ensuring your hardware is configured correctly and your software environment is optimized from the first boot.
1. Prerequisites and Hardware Preparation
Before you begin the installation, you must ensure your hardware meets the necessary specifications and that you have the required licensing to activate the software. A clean installation requires more than just the software; it requires a foundational understanding of your machine’s capabilities.
Minimum System Requirements
While most modern PCs easily exceed these requirements, it is vital to confirm compatibility, especially if you are repurposing older hardware or building a specialized low-power rig. For Windows 10, the minimum requirements include:
- Processor: 1 gigahertz (GHz) or faster compatible processor or System on a Chip (SoC).
- RAM: 1 gigabyte (GB) for 32-bit or 2 GB for 64-bit.
- Hard Drive Space: 32 GB or larger.
- Graphics Card: Compatible with DirectX 9 or later with WDDM 1.0 driver.
- Display: 800×600 resolution.
In a professional tech environment, we recommend at least 8GB of RAM and an SSD (Solid State Drive) rather than an HDD to ensure the OS performs fluidly.
Securing a Valid License
Windows 10 is not free software. To use it legally and receive security updates, you need a digital license or a 25-character product key. If you purchased a pre-built PC, the key might be embedded in the motherboard’s firmware (UEFI). If you built your own PC, you will need to purchase a retail or OEM license. During the installation, you can skip the key entry, but you will face customization limitations and persistent watermarks until the OS is activated.
Gathering the Tools
You will need a functional computer with internet access to create the installation media and a USB flash drive with at least 8GB of space. Note that the creation process will format the USB drive, erasing all existing data, so ensure any important files on that drive are backed up elsewhere.
2. Creating Windows 10 Installation Media
The most reliable method for installing Windows 10 is using the official Media Creation Tool provided by Microsoft. This tool downloads the latest version of the OS and creates a bootable environment on your USB drive.
Using the Media Creation Tool
Navigate to the official Microsoft “Download Windows 10” page. Download the tool and run the executable. Once you accept the license terms, select “Create installation media (USB flash drive, DVD, or ISO file) for another PC.”
When prompted to select language, architecture, and edition, it is usually best to check the “Use the recommended options for this PC” box if the technician’s computer matches the target PC’s architecture (usually 64-bit). Select “USB flash drive” as the media to use, and the tool will begin downloading the Windows 10 files and preparing the drive.
Configuring the Target PC’s BIOS/UEFI
Once your USB drive is ready, insert it into the new PC. Before the installation can begin, you must instruct the computer to boot from the USB drive rather than the empty internal hard drive.
- Power on the new PC and immediately tap the BIOS/UEFI entry key (usually F2, F12, Del, or Esc).
- Navigate to the Boot tab.
- Change the Boot Priority or Boot Order so that the USB Flash Drive is the primary device.
- Ensure that Secure Boot is enabled if you are using a modern UEFI-based system, as this enhances security by preventing unauthorized code from running at startup.
- Save changes and exit. The PC will now restart and load the Windows installer.
3. The Installation Process
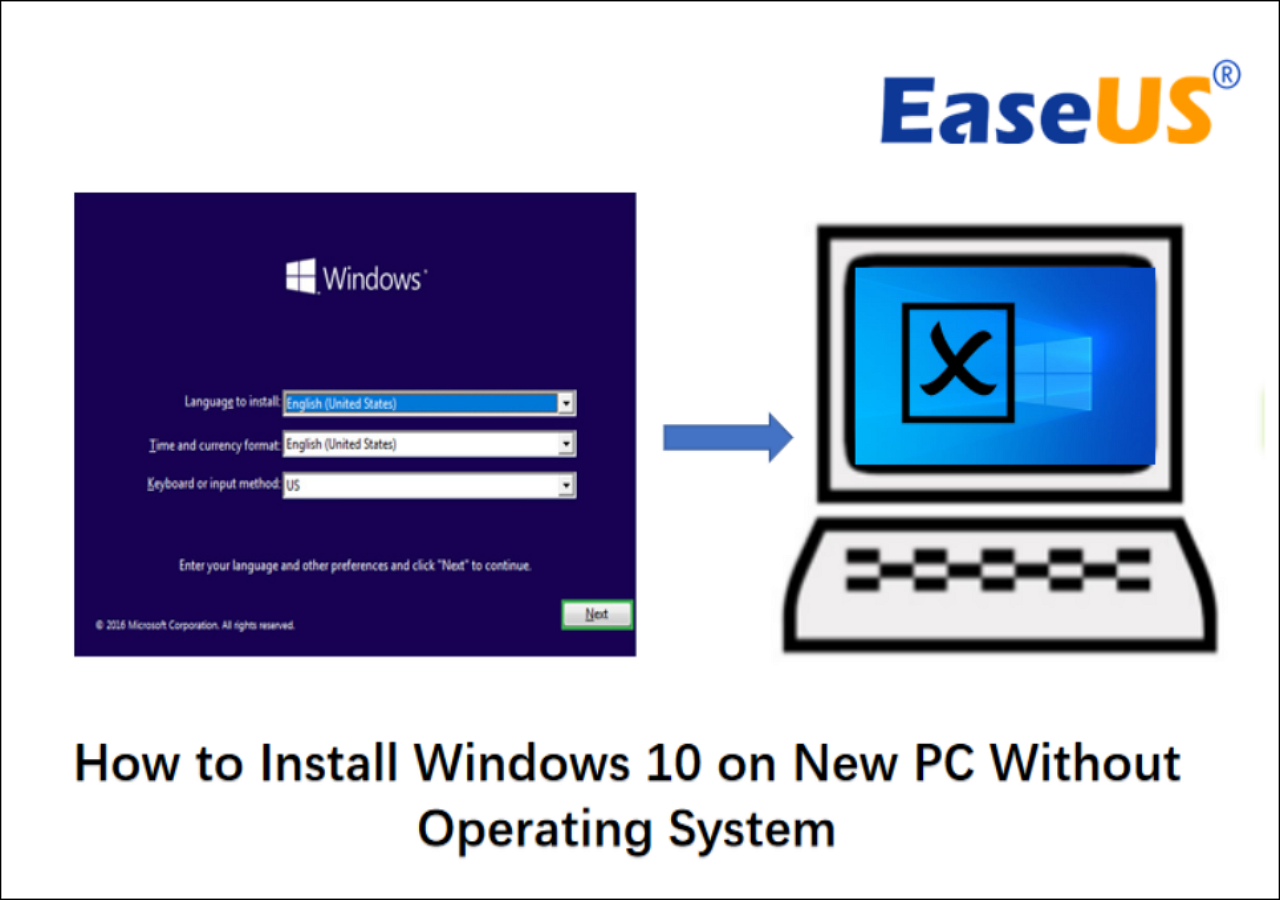
With the PC booting from the USB drive, you will see the Windows logo followed by a prompt to select your language, time and currency format, and keyboard method.
Custom vs. Upgrade Installation
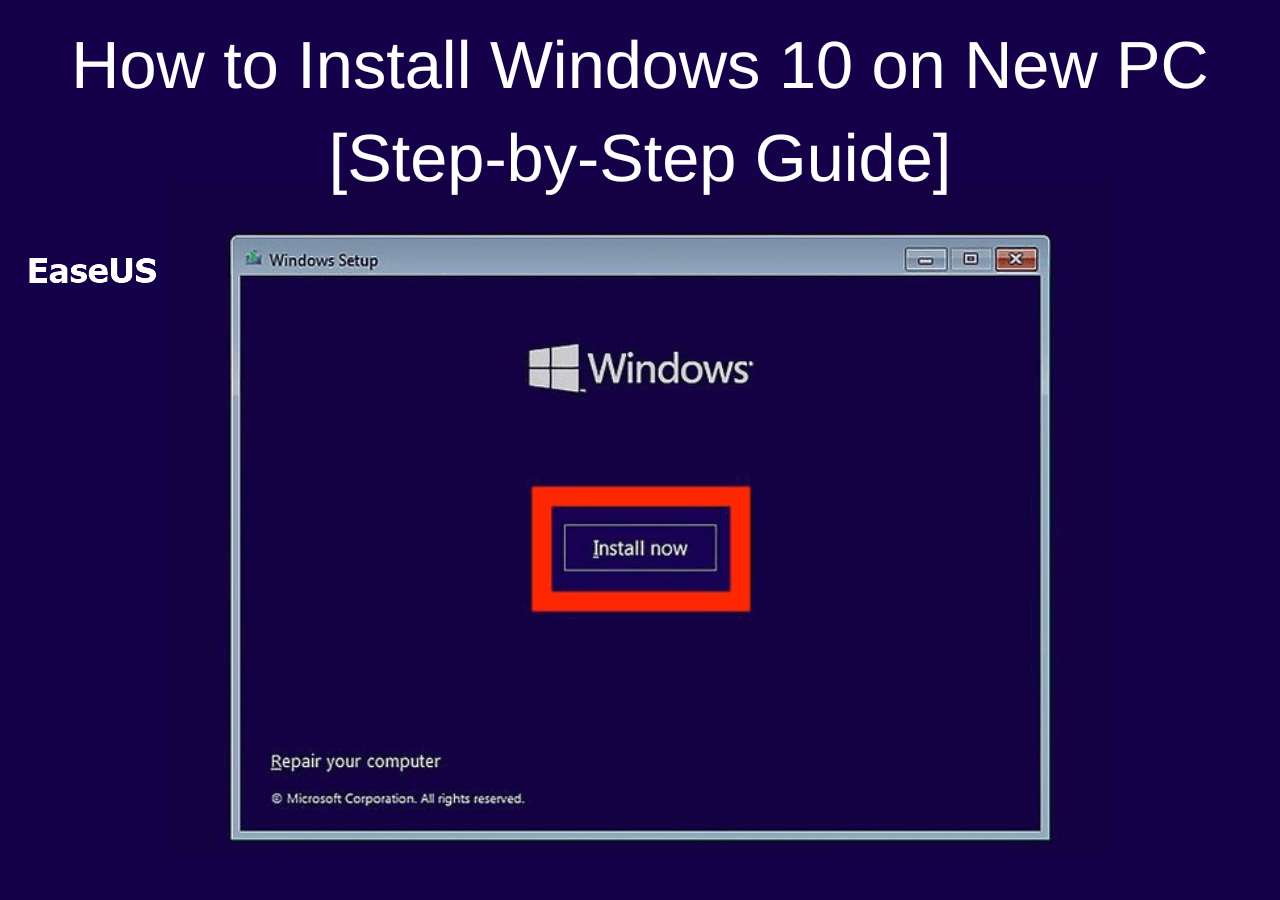
After clicking “Install Now” and entering your product key (or selecting “I don’t have a product key”), you will be presented with two options: “Upgrade” or “Custom.”
Since you are working with a new PC, you must select “Custom: Install Windows only (advanced).” The upgrade option is intended for systems that already have an older version of Windows installed.
Partitioning the Drive
This is the most critical technical step. You will see a list of drives and partitions. On a brand-new PC, this will usually show as “Drive 0 Unallocated Space.”
- Select the unallocated space and click “Next.”
- Windows will automatically create the necessary system partitions (Recovery, EFI, and MSR) and a primary partition for your OS.
- If you have a very large drive and wish to separate your OS from your data files, you can manually create a smaller partition (e.g., 100GB to 200GB) for the C: drive and leave the rest for a secondary D: drive.
The Out-of-Box Experience (OOBE)
Once the files are copied and the system reboots (you can remove the USB drive at this point), you will enter the OOBE. Here, you will select your region and keyboard layout. You will also be prompted to connect to a Wi-Fi network.
Pro Tip: If you prefer to set up a “Local Account” rather than signing in with a Microsoft Account, disconnect from the internet or select “I don’t have internet” during this phase. This allows you to create a traditional username and password without linking it to the cloud immediately.
4. Post-Installation Optimization and Drivers
Completing the installation wizard is only 80% of the job. To ensure the PC runs at peak performance and remains secure, you must perform several post-installation tasks.
Windows Update and Security
The very first task after reaching the desktop is to connect to the internet and navigate to Settings > Update & Security > Windows Update. Click “Check for updates.” Windows will download essential security patches and, in many cases, generic drivers for your hardware. Expect several restarts during this process. This step is non-negotiable for digital security, as it patches vulnerabilities that may have been discovered since your installation media was created.
Installing Proprietary Drivers
While Windows Update is efficient, it often installs older versions of hardware drivers. For the best performance, especially for gaming or creative work, visit the manufacturers’ websites for your specific components:
- GPU: Visit NVIDIA, AMD, or Intel for the latest graphics drivers.
- Motherboard: Visit the manufacturer’s site (ASUS, MSI, Gigabyte, etc.) to download the latest Chipset, Audio, and LAN/Wi-Fi drivers.
- Firmware: Check if there is a BIOS/UEFI update available, which can improve system stability and compatibility with newer hardware.
System Optimization and Cleanup
Windows 10 comes with a degree of “bloatware”—pre-installed applications like games or trial software. Take the time to go to Settings > Apps and uninstall anything unnecessary. Additionally, configure your Startup Apps in the Task Manager (Ctrl+Shift+Esc) to ensure that only essential services run when you turn on your computer. This keeps boot times fast and preserves system resources.
5. Finalizing the Setup and Data Management
The final phase involves tailoring the environment to your specific needs and ensuring that your data is handled correctly moving forward.
Setting Up a Backup Strategy
A new PC is a fresh start, making it the perfect time to implement a robust backup solution. Windows 10 includes “File History,” which can automatically back up versions of your files to an external drive. Alternatively, you can configure OneDrive for cloud synchronization or use third-party imaging software to create a “system image”—a snapshot of your entire drive that you can restore if the OS ever becomes corrupted.
Privacy Settings Review
Technical proficiency also involves managing how your data is shared. Navigate to Settings > Privacy and review the permissions granted to apps. You can disable advertising IDs, location tracking, and background apps that do not need to be running. Taking ten minutes to audit these settings significantly improves your digital footprint and system privacy.
Installing Essential Software
Finally, install your core software suite. We recommend starting with a secure browser (such as Chrome, Firefox, or Brave), a password manager, and any specialized tools you require for your niche. By following this structured approach, you have transformed a pile of hardware into a high-performance, secure, and professional workstation.
Installing Windows 10 on a new PC is a foundational skill in the tech world. By understanding the nuances of BIOS configurations, partition management, and driver optimization, you ensure that your computer operates with the reliability and speed intended by its manufacturers.
aViewFromTheCave is a participant in the Amazon Services LLC Associates Program, an affiliate advertising program designed to provide a means for sites to earn advertising fees by advertising and linking to Amazon.com. Amazon, the Amazon logo, AmazonSupply, and the AmazonSupply logo are trademarks of Amazon.com, Inc. or its affiliates. As an Amazon Associate we earn affiliate commissions from qualifying purchases.