
In today’s increasingly interconnected world, the desire for enhanced safety and security for our homes and businesses is paramount. Whether you’re looking to deter potential intruders, monitor your property remotely, or simply gain peace of mind, security cameras have become an indispensable tool. But the question often arises: “How can I install security cameras?” This comprehensive guide will walk you through the entire process, from understanding the different types of cameras available to their physical installation and final setup, all while keeping in mind the broader technological landscape, brand considerations, and even financial implications.
Understanding Your Security Camera Options
Before you embark on the installation journey, it’s crucial to understand the diverse array of security cameras on the market. The “Tech” pillar of our website, which explores technology trends, gadgets, and digital security, is particularly relevant here. Your choice will significantly impact the installation process and the overall effectiveness of your security system.
Wired vs. Wireless Cameras
One of the most fundamental distinctions lies between wired and wireless security cameras.
Wired Cameras: The Robust and Reliable Choice
Wired cameras, often referred to as IP (Internet Protocol) cameras, typically offer a more stable and reliable connection. They transmit data and power through Ethernet cables, which are less susceptible to interference than wireless signals.
-
Pros:
- Superior Signal Stability: Less prone to dropouts or signal degradation compared to wireless.
- Higher Bandwidth: Can support higher video resolutions and frame rates, leading to clearer footage.
- No Battery Concerns: Continuously powered by the cable, eliminating the need for frequent battery changes.
- Enhanced Security: Hardwired connections can be more difficult for hackers to intercept.
-
Cons:
- Installation Complexity: Requires running cables through walls, ceilings, and potentially outdoors, which can be labor-intensive and may require professional assistance.
- Limited Placement Flexibility: Camera placement is dictated by the proximity of power outlets and network access points.
- Aesthetic Considerations: Visible cables can be unsightly, although they can often be hidden during installation.
Wireless Cameras: Convenience and Flexibility
Wireless cameras connect to your network via Wi-Fi, offering unparalleled ease of installation and placement flexibility.
-
Pros:
- Easy Installation: No need to run extensive cabling. Cameras can be mounted and connected to your Wi-Fi network quickly.
- Flexible Placement: Can be mounted virtually anywhere with a strong Wi-Fi signal, allowing for more strategic surveillance.
- Aesthetically Pleasing: Minimal cabling reduces visual clutter.
- Portability: Can be easily relocated if you move or want to change their position.
-
Cons:
- Signal Reliability: Susceptible to Wi-Fi dead zones, interference from other devices, and signal degradation over distance.
- Power Source: Many wireless cameras rely on batteries, requiring periodic recharging or replacement. Some can be powered via a separate adapter.
- Bandwidth Limitations: May not support the highest video resolutions or frame rates as efficiently as wired cameras.
- Security Risks: Wi-Fi networks can be vulnerable to hacking if not properly secured.
Camera Types and Features
Beyond wired and wireless, consider the specific types of cameras and features that best suit your needs:
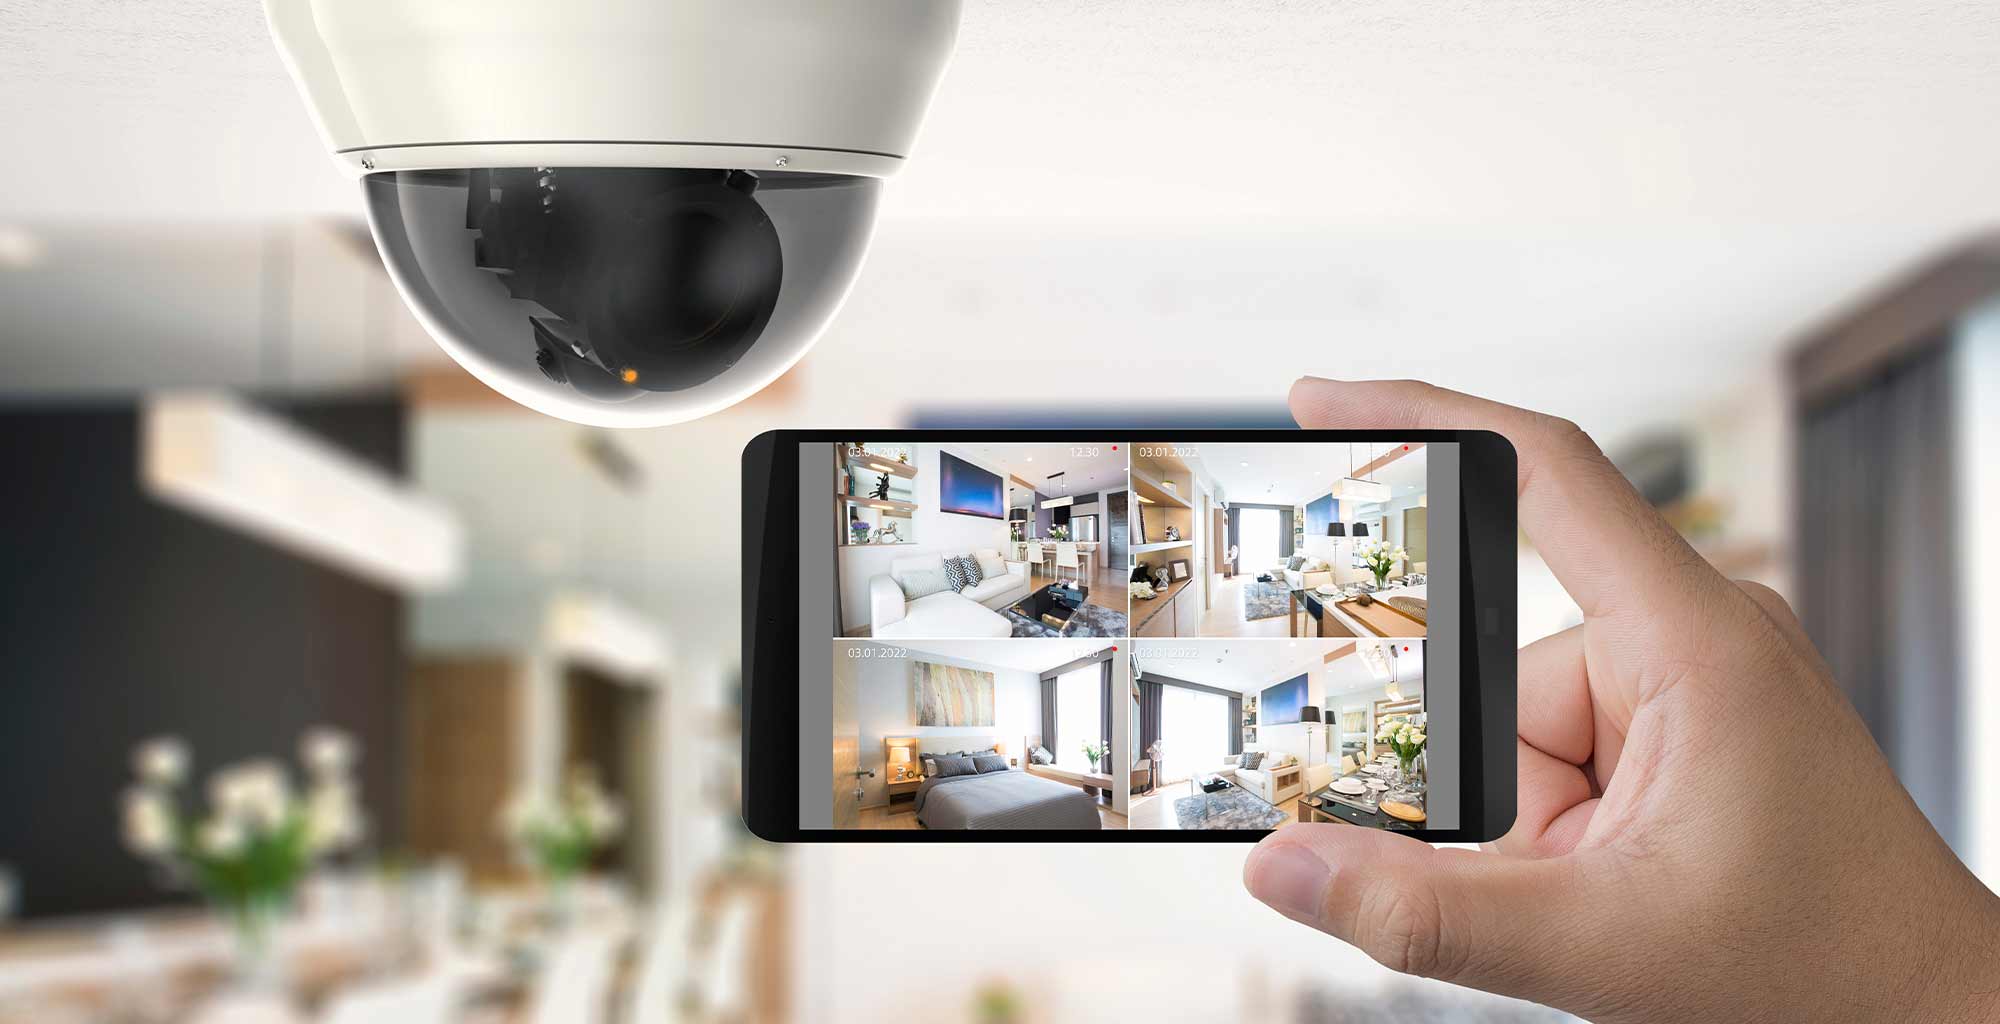
- Dome Cameras: Discreet and vandal-resistant, often used in commercial settings.
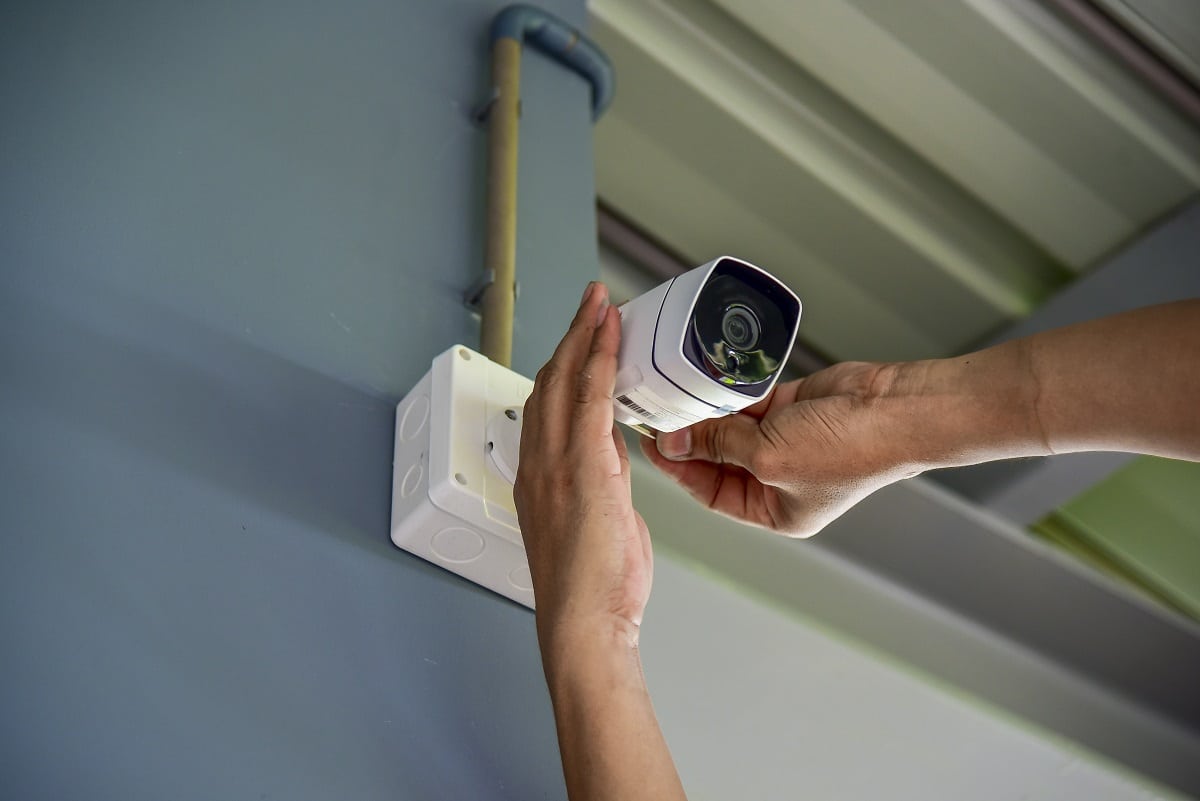
- Bullet Cameras: Traditional, visible cameras designed to deter intruders.
- Turret Cameras: A hybrid between dome and bullet, offering a balance of discreteness and adjustability.
- PTZ (Pan-Tilt-Zoom) Cameras: Offer remote control over their movement and zoom capabilities, ideal for covering large areas.
- Doorbell Cameras: Integrate security cameras into your doorbell system, allowing you to see and speak to visitors.
- Indoor vs. Outdoor Cameras: Ensure your cameras are rated for the intended environment (e.g., weatherproof for outdoor use).
- Night Vision (Infrared): Essential for capturing clear footage in low-light conditions.
- Motion Detection: Alerts you when movement is detected, saving storage space and highlighting important events.
- Two-Way Audio: Allows you to communicate with individuals via the camera.
- Resolution (HD, 4K): Higher resolutions provide sharper, more detailed images.
- Field of View (FOV): The wider the FOV, the larger the area the camera can capture.
Planning Your Security Camera Installation
A well-planned installation is the foundation of an effective security system. This phase draws on principles from “Brand” (strategic placement for deterrence) and “Tech” (understanding signal strength and power).
Assessing Your Security Needs and Goals
Before purchasing any equipment, take a step back and define what you want to achieve.
- Identify Vulnerable Areas: Walk around your property and note entry points (doors, windows), driveways, garages, backyards, and any blind spots that could be exploited.
- Determine Coverage Zones: Decide which areas require constant monitoring and which areas are less critical.
- Consider Deterrence: Visible cameras can act as a powerful deterrent. Strategically placed outdoor cameras can discourage potential trespassers.
- Remote Monitoring Requirements: Do you need to check in on your property while you’re away? This will influence your choice of smart cameras and connectivity options.
- Budgetary Constraints: The “Money” pillar is highly relevant here. Security systems can range from a few hundred dollars for a basic DIY setup to thousands for a professional, multi-camera installation.
Choosing the Right Location for Your Cameras
Strategic placement is key to maximizing the effectiveness of your security cameras.
- Entry Points: Cover all main entrances, including front doors, back doors, and basement access points.
- Ground-Floor Windows: Large or easily accessible ground-floor windows are often targets.
- Driveways and Garages: Monitor vehicle activity and potential break-ins.
- Backyards and Side Yards: Secure your perimeter and monitor activity in less visible areas.
- High-Traffic Areas: Consider areas where people are likely to congregate or pass through.
- Avoid Direct Sunlight: Direct sunlight can cause glare and wash out images, especially during certain times of the day. Position cameras to avoid this.
- Consider Height and Angle: Mount cameras high enough to prevent tampering but low enough to capture identifiable details. Angle them to cover the desired areas without significant blind spots.
- Power and Network Access: For wired systems, ensure proximity to power outlets and network ports. For wireless systems, verify strong Wi-Fi signal strength in the desired location.
Selecting Your Security Camera System
Based on your needs and budget, you can now select a system. This is where “Tech” and “Money” intersect.

- DIY vs. Professional Installation:
- DIY: More cost-effective, suitable for simpler setups and tech-savvy individuals. Requires time and effort.
- Professional: Higher upfront cost but ensures correct installation, optimal performance, and often includes warranty and support.
- Brand Reputation and Reviews: Research brands and read reviews to gauge reliability, customer support, and software usability. This aligns with the “Brand” pillar, as a trusted brand often correlates with a better user experience.
- Scalability: Consider if the system can be expanded in the future to add more cameras or features.
- Storage Solutions:
- Local Storage (SD Card, NVR/DVR): Footage is stored on devices at your location. NVR (Network Video Recorder) is for IP cameras, and DVR (Digital Video Recorder) is for analog cameras.
- Cloud Storage: Footage is uploaded to a remote server. Offers convenience and off-site backup but often involves recurring subscription fees.
Installing Your Security Cameras: Step-by-Step
The physical installation process will vary depending on whether you’ve chosen wired or wireless cameras.
Installing Wired Security Cameras
This process is more involved and often benefits from professional installation.
-
Mount the Cameras:
- Drill Pilot Holes: For mounting brackets, drill pilot holes at your chosen locations.
- Secure Brackets: Use the provided screws to firmly attach the mounting brackets.
- Attach Cameras: Connect the cameras to their respective brackets.
-
Run the Cables: This is the most challenging part of wired installations.
- Plan Your Route: Determine the most efficient and discreet path for your Ethernet cables (for IP cameras) or coaxial cables (for analog cameras).
- Through Walls and Ceilings: Use a drill to create holes where necessary. Consider using fish tape to pull cables through tight spaces.
- Outdoor Routing: If running cables outdoors, use weather-resistant conduit to protect them from the elements and potential damage.
- Connect to Network/Power: Connect one end of the cable to the camera and the other to your network switch/router (for IP cameras) or your NVR/DVR and power source. For PoE (Power over Ethernet) cameras, a single Ethernet cable can provide both data and power, simplifying installation.
-
Connect to NVR/DVR or Network:
- NVR/DVR: Connect your cameras to the NVR/DVR unit using Ethernet or coaxial cables.
- IP Cameras: Connect the Ethernet cables to your network switch or directly to your router. Ensure your router has enough available ports.
-
Power Up: Connect the NVR/DVR or individual camera power adapters to a power source.
Installing Wireless Security Cameras
Wireless installations are generally simpler and quicker.
-
Charge or Connect Power: If your camera is battery-powered, ensure the batteries are fully charged. For cameras that plug into an outlet, locate a nearby power source.
-
Mount the Cameras:
- Secure Brackets: Similar to wired cameras, mount the provided brackets to your chosen locations.
- Attach Cameras: Affix the cameras to their brackets.
-
Connect to Wi-Fi:
- Download App: Most wireless cameras come with a companion mobile app. Download it from your device’s app store.
- Follow App Instructions: The app will guide you through connecting your camera to your home Wi-Fi network. This typically involves entering your Wi-Fi password.
- Network Strength: Ensure you have a strong Wi-Fi signal in the camera’s location. You might need to use a Wi-Fi extender if the signal is weak.
-
Power Up: Once connected to Wi-Fi, power on the camera (if not already on).
Configuring and Maintaining Your Security System
Installation is only half the battle. Proper configuration and ongoing maintenance are crucial for a functional and reliable security system. This draws heavily on the “Tech” and “Digital Security” aspects of our website.
Initial Setup and Configuration
Once your cameras are physically installed, it’s time to bring them online and tailor their settings.
- Accessing Camera Feeds: Use the dedicated mobile app or web interface provided by the camera manufacturer to view live feeds.
- Network Settings: Ensure your cameras are properly connected to your network. For IP cameras, you might need to assign them IP addresses (often handled automatically by DHCP).
- Motion Detection Zones: Configure motion detection settings to avoid false alarms. Draw specific zones within the camera’s view where you want motion to be detected. Adjust sensitivity levels accordingly.
- Recording Settings:
- Continuous Recording: Records 24/7. Requires significant storage.
- Motion-Activated Recording: Records only when motion is detected. Saves storage space and makes reviewing footage easier.
- Scheduled Recording: Records during specific times of the day.
- Notification Preferences: Set up push notifications or email alerts for when motion is detected.
- Storage Management: If using local storage, monitor disk space and set up overwriting for older footage. If using cloud storage, ensure your subscription is active.
Enhancing Security and Privacy
Protecting your security system from unauthorized access is as important as the cameras themselves. This is a critical aspect of “Digital Security.”
- Strong Passwords: Change default passwords on your cameras and NVR/DVR immediately. Use strong, unique passwords that are difficult to guess.
- Secure Your Wi-Fi Network: Use WPA3 encryption for your Wi-Fi network and change the default router password.
- Firmware Updates: Regularly update the firmware on your cameras and NVR/DVR. Manufacturers release updates to patch security vulnerabilities and improve performance.
- Remote Access Security: If you enable remote access, ensure it’s secured with strong authentication methods. Consider using a VPN for an extra layer of security.
- Privacy Zones: Some cameras allow you to mask out specific areas within the camera’s view (e.g., a neighbor’s window) to protect their privacy.
- Data Encryption: Look for cameras and systems that offer end-to-end encryption for footage transmission and storage.
Ongoing Maintenance
Regular maintenance ensures your security cameras continue to function optimally.
- Clean Lenses: Dust and debris can obscure camera views. Periodically clean the lenses with a soft, microfiber cloth.
- Check Connections: For wired systems, ensure all cable connections are secure.
- Test Functionality: Regularly test motion detection, recording, and notification features to ensure they are working correctly.
- Monitor Storage: Keep an eye on your storage capacity and manage recordings as needed.
- Review Footage Periodically: Make it a habit to review some of your recorded footage to ensure the cameras are capturing clear images and that your settings are appropriate.
By following these steps, you can successfully install and configure a security camera system that provides enhanced safety and peace of mind. Remember to consider the evolving technological landscape, the branding of reputable manufacturers, and your financial goals to make informed decisions throughout the process.
aViewFromTheCave is a participant in the Amazon Services LLC Associates Program, an affiliate advertising program designed to provide a means for sites to earn advertising fees by advertising and linking to Amazon.com. Amazon, the Amazon logo, AmazonSupply, and the AmazonSupply logo are trademarks of Amazon.com, Inc. or its affiliates. As an Amazon Associate we earn affiliate commissions from qualifying purchases.