Upgrading or building a new PC can be an exciting endeavor, and at the heart of every powerful machine lies its Power Supply Unit (PSU). The PSU is the unsung hero, silently converting wall power into the energy your components need to function. Installing one might seem daunting, but with a clear understanding of the process and a bit of caution, it’s a straightforward task that can significantly enhance your computing experience. This guide will walk you through the essential steps, from understanding your PSU to securing it within your PC case and making all the necessary connections.
Understanding Your PSU: More Than Just Watts
Before diving into the installation, it’s crucial to understand what a PSU is and why choosing the right one matters. The “PSU” stands for Power Supply Unit, and its primary function is to regulate and deliver electrical power to all the components within your computer. This includes your motherboard, CPU, graphics card, storage drives, and any other peripherals.
Wattage: The Core of Your Power Needs
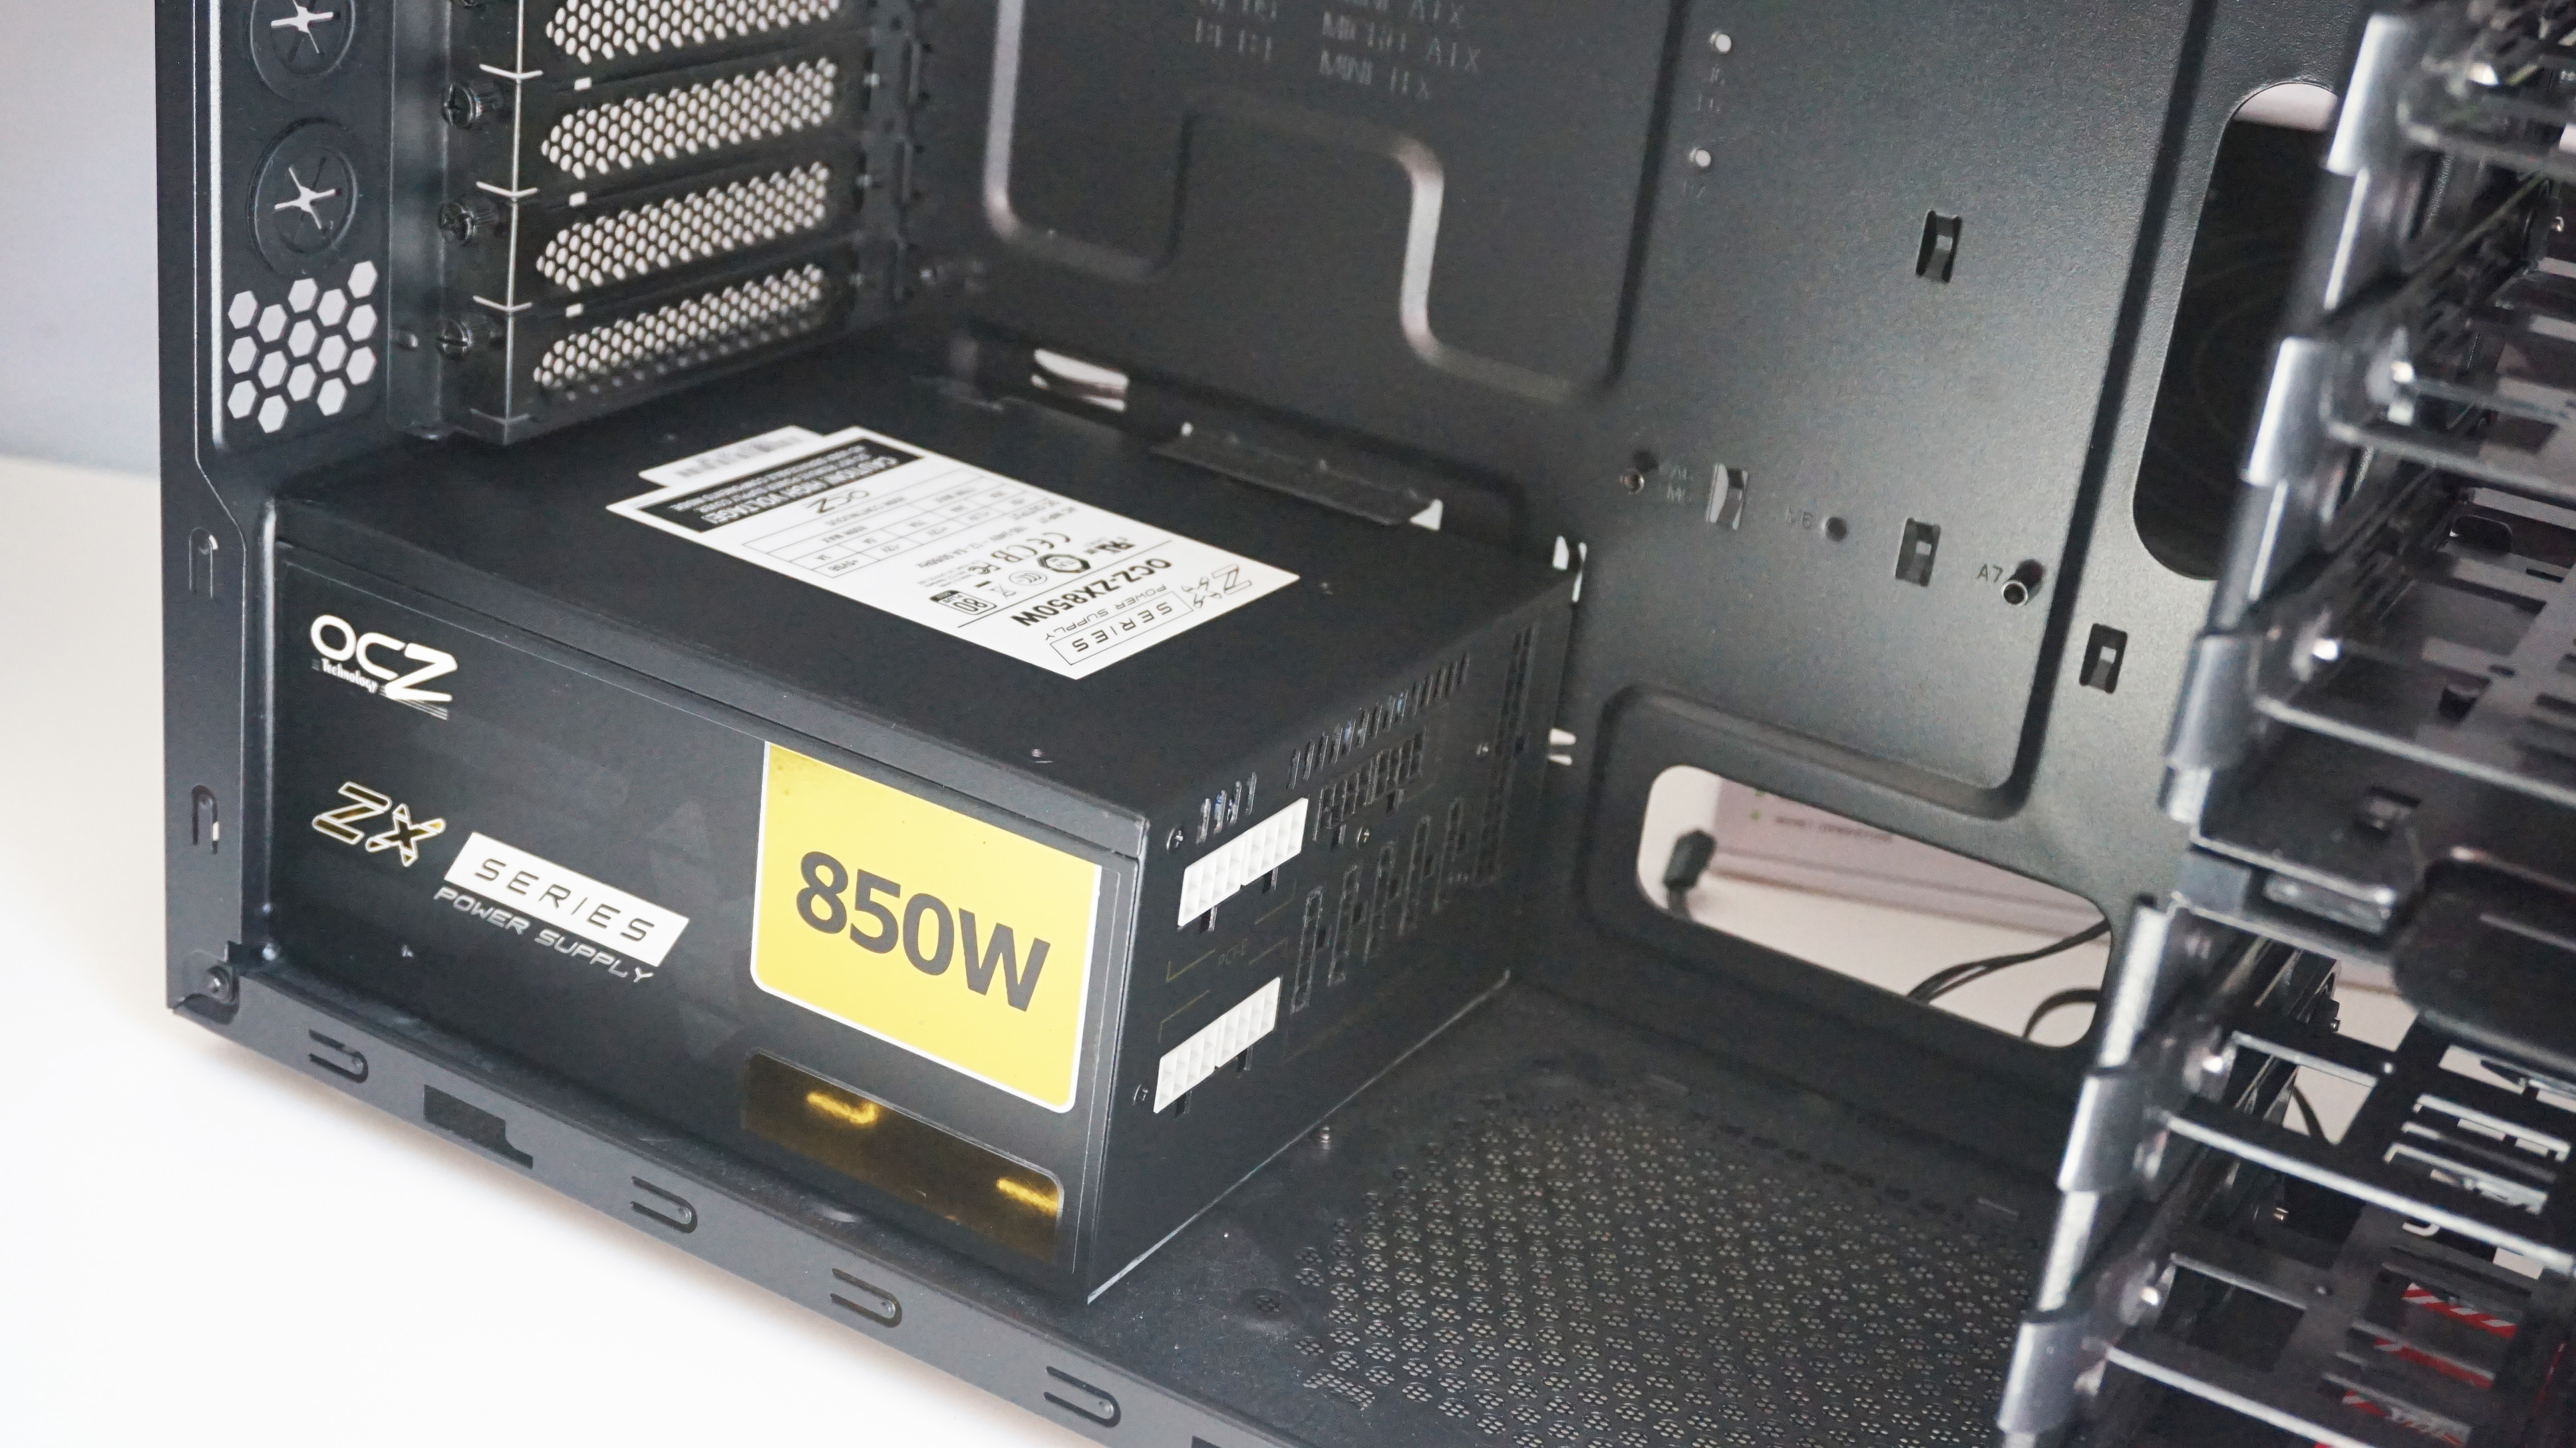
The most critical specification of any PSU is its wattage. This indicates the maximum amount of power it can deliver. Determining the correct wattage for your system is paramount. Overestimating can lead to unnecessary expense, while underestimating can result in instability, performance issues, or even component damage.
How to Estimate Wattage:
- Component Power Draw: Each component in your PC has a power consumption rating, typically measured in watts. The CPU and graphics card are usually the biggest power consumers. You can find these ratings in your component’s specifications or by searching online for “[component name] TDP” (Thermal Design Power).
- Online PSU Calculators: The easiest way to get a reliable wattage estimate is to use an online PSU calculator. Websites like OuterVision, PCPartPicker, and Cooler Master offer free tools where you input your components, and they provide a recommended PSU wattage. These calculators often factor in some headroom for future upgrades and peak power draw.
- Headroom for Future Upgrades: It’s wise to invest in a PSU with a bit more wattage than your current system strictly requires. This provides headroom for future upgrades, such as a more powerful graphics card or additional storage, without needing to replace the PSU. A good rule of thumb is to add 100-200 watts to your estimated needs.
Efficiency Ratings: Saving Energy and Reducing Heat
PSUs come with efficiency ratings, commonly denoted by the “80 Plus” certification (e.g., 80 Plus Bronze, Silver, Gold, Platinum, Titanium). This rating indicates how efficiently the PSU converts AC power from the wall into DC power for your components.
- What it Means: A PSU with an 80 Plus Bronze rating, for instance, is at least 80% efficient at 20%, 50%, and 100% load. Higher ratings mean less energy is wasted as heat, leading to lower electricity bills and a cooler-running system.
- Why it Matters: While a higher efficiency rating might seem like a minor detail, it translates to tangible benefits: less heat generated by the PSU itself (reducing strain on your case fans), quieter operation as the PSU fan doesn’t need to work as hard, and ultimately, lower electricity consumption. For users concerned with environmental impact or simply looking to optimize their energy usage, a higher efficiency rating is a worthwhile investment.
Modular vs. Non-Modular vs. Semi-Modular: Cable Management Matters
The type of PSU (modular, semi-modular, or non-modular) significantly impacts cable management and ease of installation.
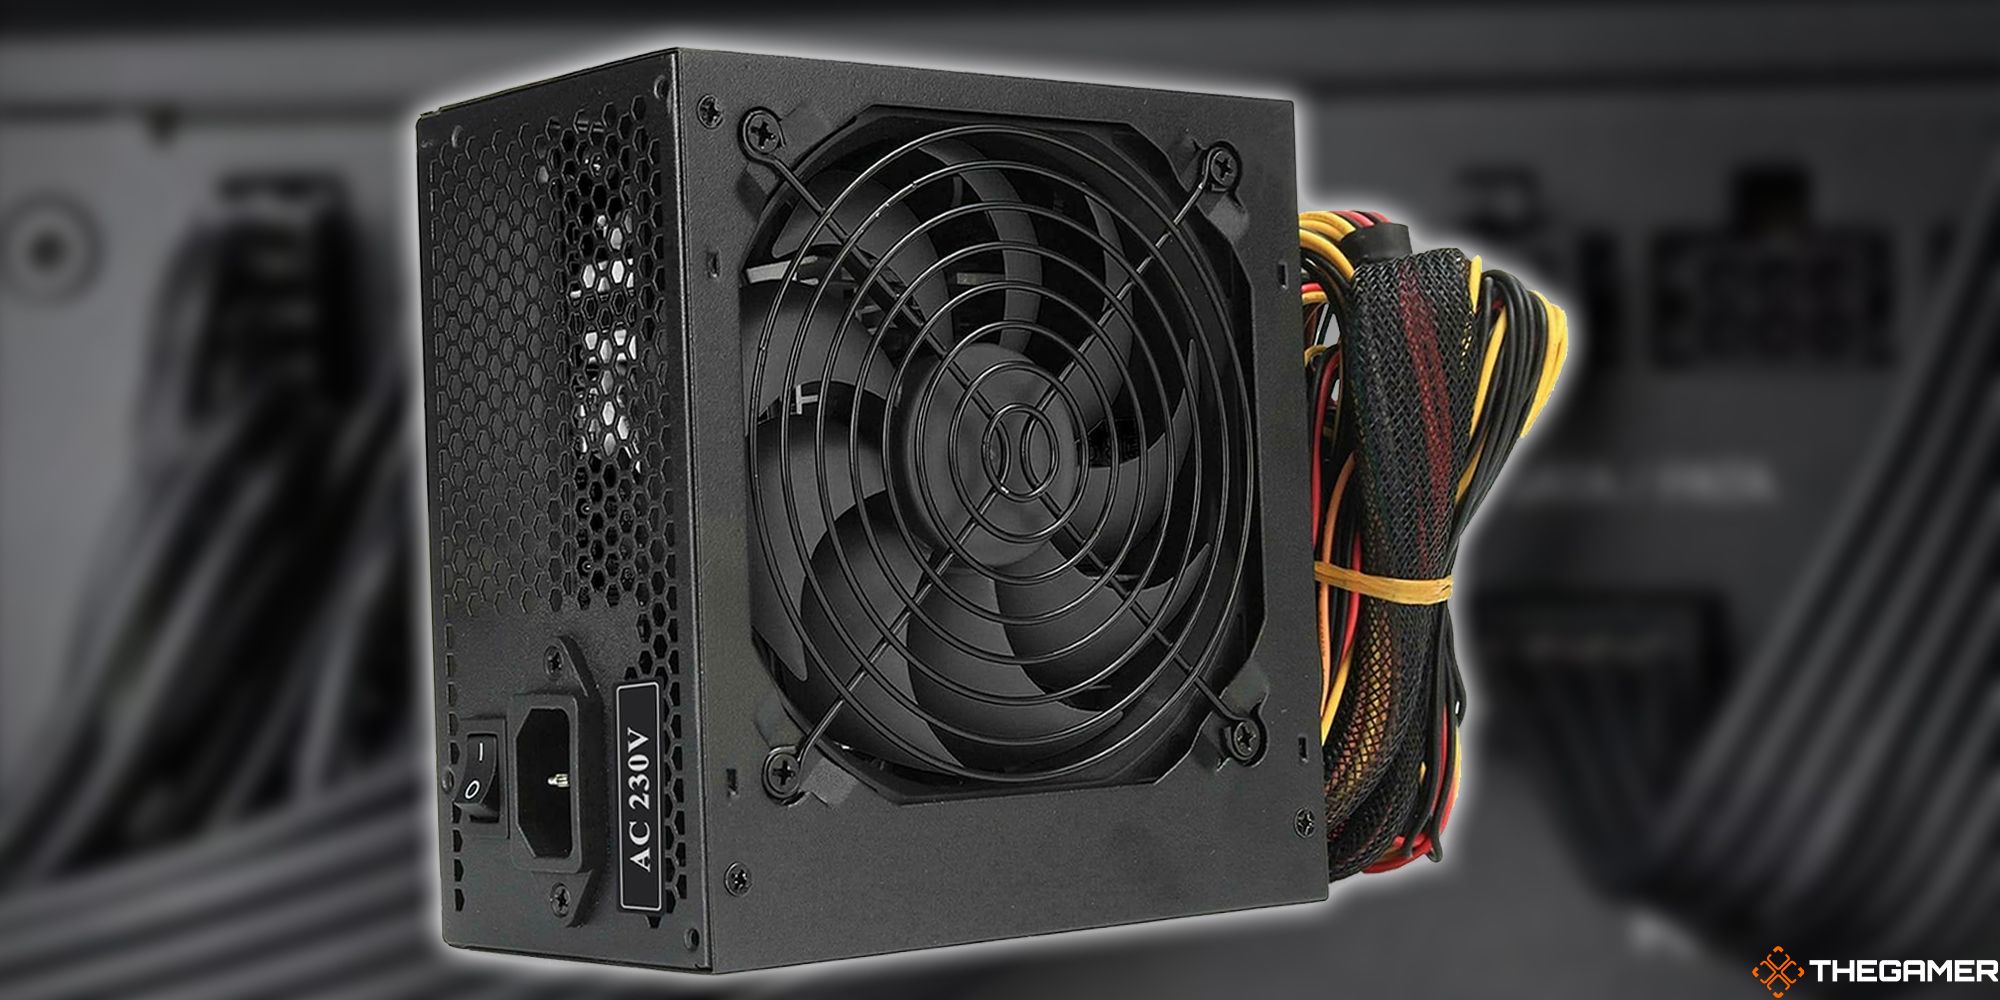
- Non-Modular: These PSUs have all their cables permanently attached. This is the most basic and often the cheapest option. However, it can lead to a lot of unused cables cluttering your case, hindering airflow and making the build look messy.
- Semi-Modular: These PSUs have essential cables (like the motherboard 24-pin and CPU power cables) permanently attached, while other cables (for PCIe devices, SATA drives, etc.) are detachable. This offers a good balance between cost and cable management flexibility.
- Fully Modular: All cables are detachable. This provides the ultimate flexibility in cable management, allowing you to connect only the cables you need. This results in the cleanest builds, best airflow, and easiest installation. While typically the most expensive, the benefits for cable management and aesthetics are significant.
Step-by-Step PSU Installation Guide
Now that you understand the critical aspects of a PSU, let’s get down to the installation process.
Safety First: Disconnecting Power and Grounding Yourself
Before you even think about touching any internal components, always ensure your computer is completely powered off and unplugged from the wall outlet.
- Power Down: Shut down your operating system normally.
- Unplug: Disconnect the power cord from the back of your PC.
- Ground Yourself: Static electricity can damage sensitive electronic components. Before touching anything inside your computer, touch a grounded metal object, such as the unpainted metal part of your PC case or a metal desk leg. Many PC cases have a grounding point, often a small screw or bracket. For added safety, consider using an anti-static wrist strap, which clips onto your wrist and connects to a grounded object.
Removing the Old PSU (If Applicable)
If you are replacing an existing PSU, you’ll need to remove the old one first.
- Disconnect All Cables: Carefully unplug all power cables from your components. This includes the large 24-pin ATX connector to the motherboard, the 4/8-pin CPU power connector, PCIe power connectors to your graphics card, SATA power connectors to your hard drives and SSDs, and any Molex connectors for older devices. Note where each cable was connected – taking pictures can be helpful.
- Unscrew the PSU: Locate the PSU at the rear of your PC case. It’s typically held in place by four screws. Unscrew these and gently slide the PSU out of its bay. If it’s a modular PSU, ensure all internal cables from the PSU to the motherboard and components are disconnected first.
Mounting the New PSU in the Case
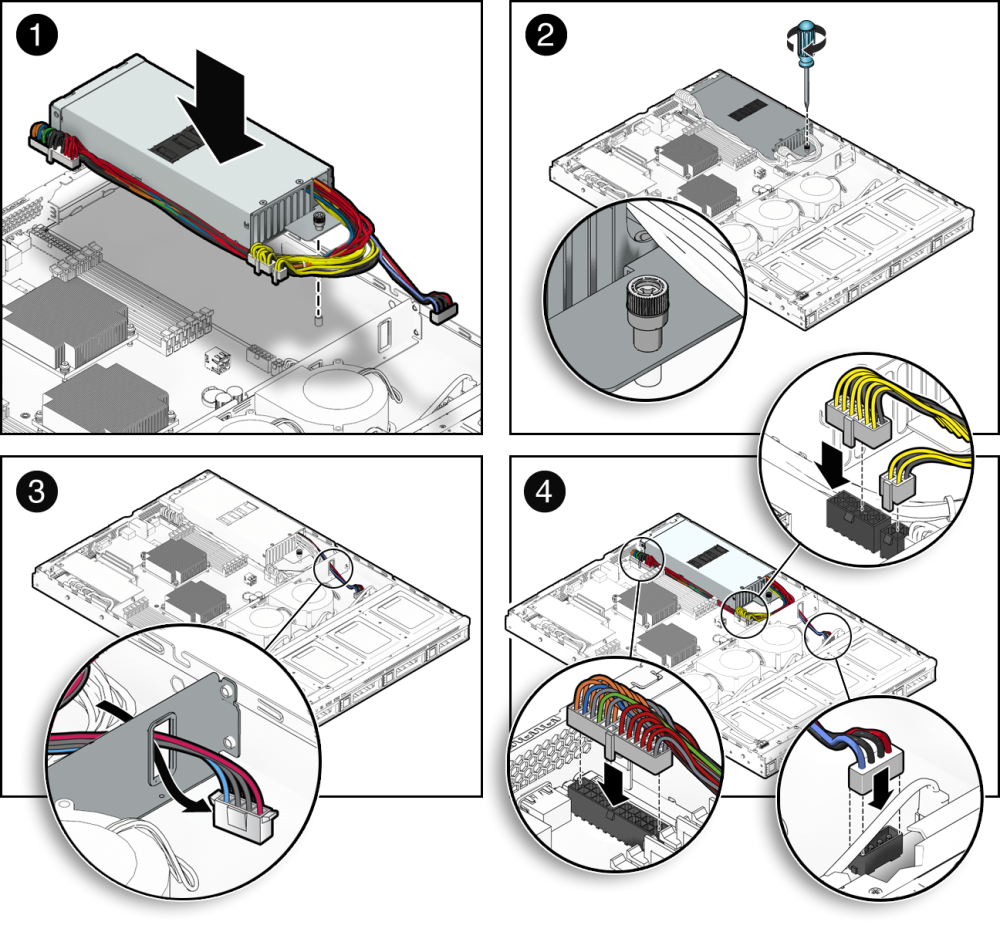
- Orient the PSU: Most modern PC cases have the PSU mount at the bottom, with the fan facing downwards. This allows the PSU to draw cool air from outside the case. If your case has a bottom fan mount with a dust filter, this is the ideal orientation. If your case has a top-mounted PSU, orient it so the fan faces upwards, drawing air from inside the case.
- Position the PSU: Carefully slide the new PSU into its designated bay from the outside of the case. Ensure it’s flush with the rear panel.
- Secure the PSU: Align the screw holes on the PSU with those on the case. Use the screws provided with your new PSU (or the case) to firmly secure it in place. Don’t overtighten.
Connecting the Cables: The Heart of the Process
This is where the modularity of your PSU becomes a significant factor.
Connecting PSU Cables to Components
- Motherboard Power (24-pin ATX): This is the largest connector. Plug it firmly into the corresponding slot on your motherboard. Ensure it clicks into place.
- CPU Power (4-pin or 8-pin EPS): This connector is usually located near the CPU socket on the motherboard. Connect the appropriate cable from your PSU. Note that some motherboards have an 8-pin EPS connector, while others have a 4-pin, or even an 8-pin and a 4-pin. Match the PSU cable to the motherboard’s requirement.
- Graphics Card Power (PCIe 6-pin, 8-pin, or 6+2 pin): If your graphics card requires additional power, you’ll use PCIe power cables. These are often labeled “PCIe” or “VGA.” Connect the appropriate connectors to your graphics card. High-end GPUs may require two or even three such connectors.
- Storage Device Power (SATA Power): For SSDs, HDDs, and optical drives, use the SATA power cables. These are flatter and have an L-shaped connector.
- Peripherals and Accessories: For older components or case fans, you might need to use Molex connectors.
Modular PSU Cable Management Tips:
- Connect Cables Before Mounting: If you have a fully modular PSU, it’s often easier to attach the necessary cables to the PSU unit before mounting it inside the case.
- Plan Your Cable Runs: Route cables behind the motherboard tray or through designated cutouts in your case for a cleaner look and better airflow.
- Use Zip Ties or Velcro Straps: Once all cables are connected, use zip ties or Velcro straps to neatly bundle them together. This not only improves aesthetics but also prevents cables from obstructing fans.
Cable Management and Airflow: The Final Touches
Proper cable management is not just about looks; it directly impacts your PC’s cooling performance.
- Avoid Blocking Airflow: Ensure that no cables are obstructing the intake or exhaust fans of your case or components. Poor airflow can lead to higher temperatures, reduced component lifespan, and performance throttling.
- Tuck Away Unused Cables: If you have a non-modular or semi-modular PSU and end up with unused cables, try to tuck them away in an unused drive bay or behind the motherboard tray.
- Consider Cable Sleeving: For a premium look, many builders opt for custom-sleeved cables. While an aesthetic choice, they can also be easier to manage and route.
Testing Your New PSU
Once everything is connected, it’s time to power up and test your system.
- Double-Check Connections: Before plugging in the power cord, perform a final visual inspection to ensure all cables are securely seated and that no loose wires are touching anything they shouldn’t.
- Connect Power Cord: Plug the power cord back into the PSU and the wall outlet.
- Power On: Press the power button on your PC.
- Successful Boot: If your PC boots up successfully and all components are recognized, congratulations! You’ve successfully installed your new PSU.
- Troubleshooting: If your PC doesn’t power on, or if you hear unusual noises, immediately shut down, unplug the power, and re-check all your connections. Ensure the PSU’s power switch (if it has one) is in the “on” position. If the problem persists, the PSU might be faulty, or there could be an issue with another component.
By following these steps carefully, you can confidently install a new PSU and ensure your PC receives the stable power it needs to perform at its best. This fundamental upgrade is a cornerstone for any PC enthusiast looking to optimize their system’s performance, reliability, and longevity.
aViewFromTheCave is a participant in the Amazon Services LLC Associates Program, an affiliate advertising program designed to provide a means for sites to earn advertising fees by advertising and linking to Amazon.com. Amazon, the Amazon logo, AmazonSupply, and the AmazonSupply logo are trademarks of Amazon.com, Inc. or its affiliates. As an Amazon Associate we earn affiliate commissions from qualifying purchases.