
Upgrading your computer’s power supply unit (PSU) might seem like a daunting task, especially for those new to the inner workings of their machines. However, with a clear understanding of the process and a methodical approach, it’s a remarkably achievable DIY project. This guide will walk you through every step, from selecting the right PSU to safely powering up your freshly upgraded system. Whether you’re a seasoned gamer needing more juice for your graphics card, a content creator expanding your storage, or simply looking to replace a failing unit, this tutorial is designed to equip you with the knowledge to confidently tackle this essential PC upgrade.
Understanding Your PSU Needs: More Than Just Wattage
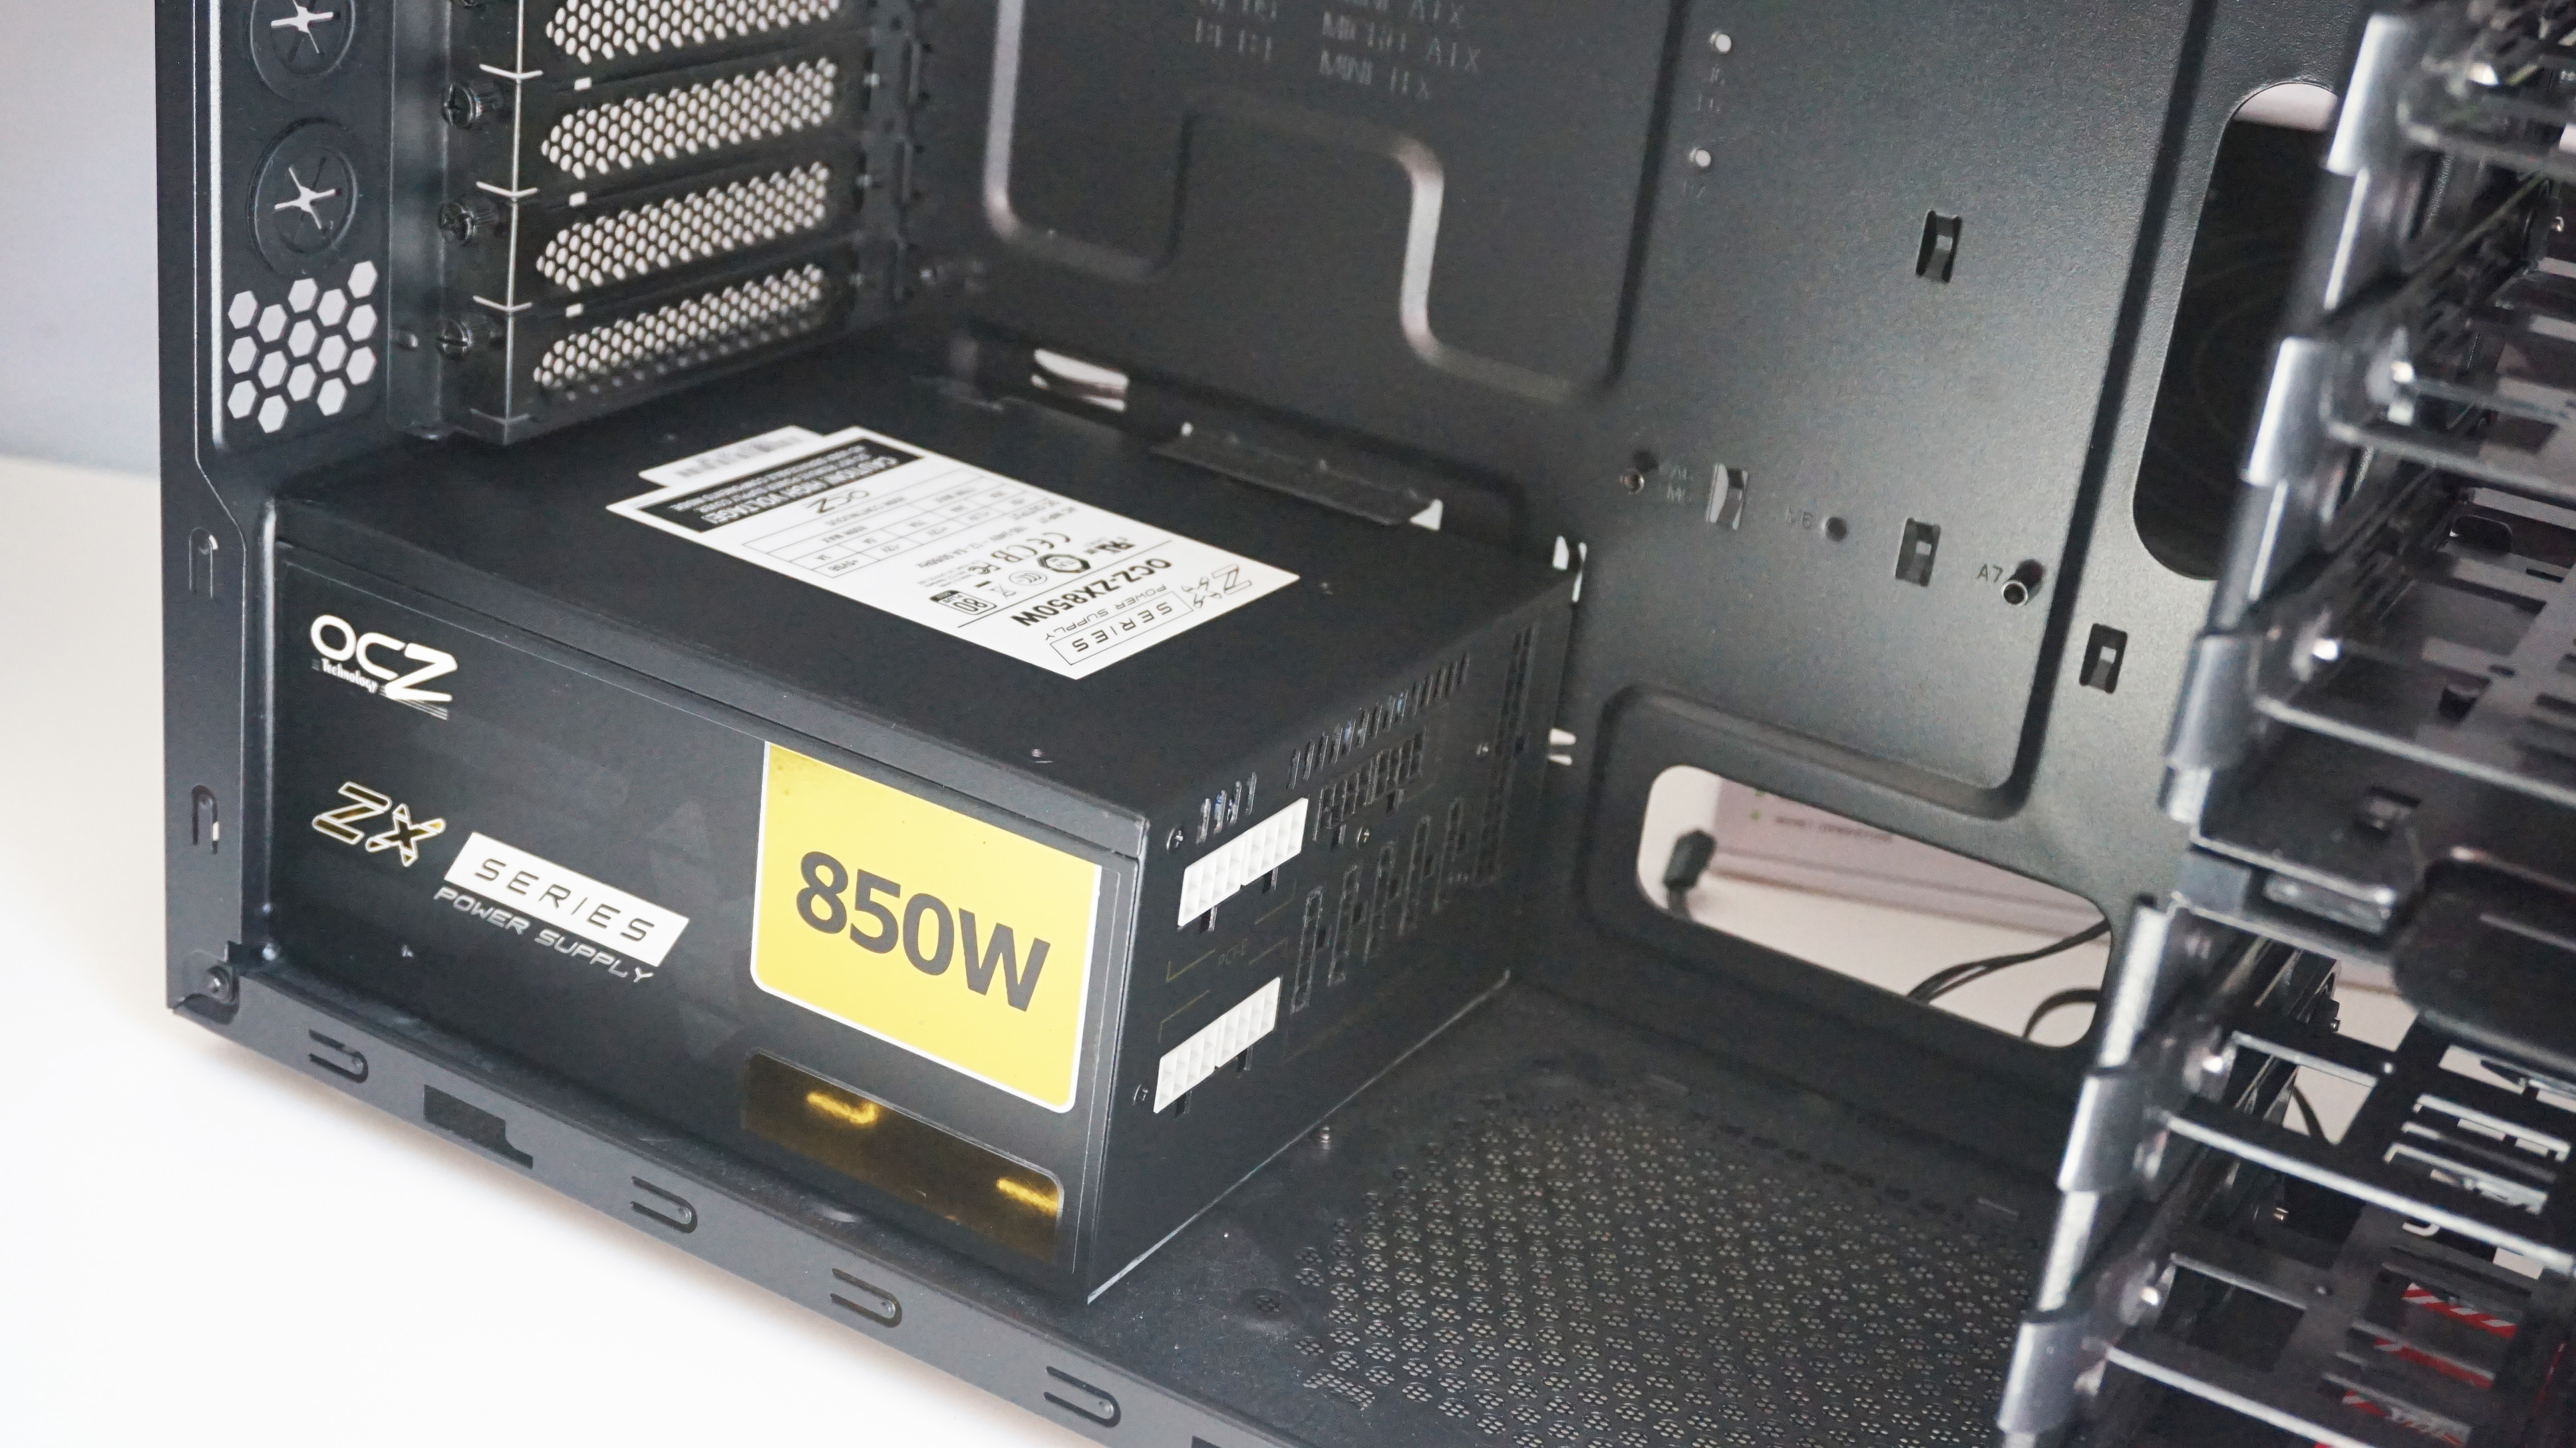
Before you even think about unscrewing your old PSU, the most critical step is determining what kind of new unit your system actually requires. This isn’t just about picking the highest wattage you can find; it’s a nuanced decision that impacts your system’s stability, efficiency, and longevity.
1. Calculating Your Wattage Requirements
The core function of a PSU is to deliver stable power to all your PC components. Each component, from the CPU and GPU to storage drives and even USB peripherals, draws a certain amount of power. Overestimate, and you might be paying for unused capacity. Underestimate, and you risk system instability, random shutdowns, or even component damage.
CPU and GPU: The Power Hungry Giants
Your Central Processing Unit (CPU) and Graphics Processing Unit (GPU) are typically the biggest power consumers in your system. Their power draw can fluctuate significantly, especially under load (e.g., during gaming or video rendering).
- CPU: Check the Thermal Design Power (TDP) rating of your CPU. While TDP isn’t a direct measure of power consumption, it’s a good indicator. Higher-end CPUs can draw anywhere from 65W to over 200W.
- GPU: This is often the single most power-hungry component. Modern high-performance GPUs can easily consume 200W to 400W or even more. Always check the manufacturer’s recommended PSU wattage for your specific graphics card model.
Other Components: The Supporting Cast
While less demanding, other components also contribute to the overall power draw.
- Motherboard: Typically consumes around 25-50W.
- RAM: Each stick of RAM uses a small amount of power, usually 3-5W per module.
- Storage Drives: SSDs generally use less power than HDDs. An SSD might draw 2-5W, while an HDD could be around 5-10W.
- Fans and Peripherals: Case fans, RGB lighting, and any USB-powered devices also add to the load.
Using Online PSU Calculators
The easiest and most reliable way to get an accurate wattage estimate is to use an online PSU calculator. Reputable manufacturers like Cooler Master, Seasonic, and be quiet! offer these tools on their websites. You simply input your CPU, GPU, RAM, storage devices, and other components, and the calculator will provide a recommended minimum wattage, often suggesting a headroom of 100-200W for overclocking and future upgrades. This headroom is crucial for ensuring your PSU isn’t constantly running at its maximum capacity, which can lead to reduced lifespan and increased noise due to fan activity.
2. Understanding PSU Form Factors and Connectors
Beyond wattage, you need to ensure the new PSU physically fits in your case and has the correct connectors for your motherboard and components.
Form Factors: Size Matters
The most common PSU form factor for desktop PCs is ATX. However, smaller form factors exist for compact builds, such as SFX and SFX-L. Always confirm the PSU mounting specifications of your computer case. Most standard ATX cases will accommodate standard ATX PSUs. If you have a mini-ITX or micro-ATX build, you might need to consider an SFX or SFX-L PSU.
Modular, Semi-Modular, and Non-Modular PSUs
This refers to how the cables are attached to the PSU:
- Non-Modular: All cables are permanently attached to the PSU. This is the most basic and often cheapest option, but it can lead to cable clutter if you don’t need all the cables.
- Semi-Modular: Some essential cables (like the motherboard 24-pin and CPU power) are permanently attached, while others can be detached. This offers a good balance of convenience and cable management.
- Fully-Modular: All cables are detachable. This is the most flexible option, allowing you to connect only the cables you need, resulting in the cleanest build and best airflow.
Connectors Explained
Familiarize yourself with the common PSU connectors:
- 24-pin ATX Power Connector: The largest connector, providing power to the motherboard.
- 4+4-pin or 8-pin EPS CPU Power Connector: Powers your CPU. Most modern motherboards require at least one 8-pin connector; high-end boards might have two.
- 6+2-pin or 8-pin PCIe Power Connectors: These power your graphics card. High-performance GPUs often require one, two, or even three of these.
- SATA Power Connectors: For powering SSDs, HDDs, and optical drives.
- Molex Connectors: Older connectors used for some case fans, older hard drives, or certain accessories.
When choosing a PSU, verify that it has enough of the necessary PCIe and CPU power connectors for your specific components.
The Installation Process: Step-by-Step
With your new PSU selected and ready, it’s time to get your hands dirty. Safety is paramount throughout this process.
1. Preparation and Safety Precautions
Before you begin any internal work on your computer, it’s crucial to take a few safety precautions to protect both yourself and your components.
Grounding Yourself: Static electricity is the enemy of sensitive electronic components. Before touching anything inside your PC, discharge any static electricity from your body. The easiest way to do this is to touch a grounded metal object, such as the unpainted metal part of your computer case (when it’s unplugged from the wall), or a metal desk leg. It’s also highly recommended to use an anti-static wrist strap, which you can clip to a grounded metal surface.
Unplug Everything: The absolute first step before opening your case is to shut down your computer completely. Then, unplug the power cord from the wall outlet. For extra safety, disconnect all other peripherals like your monitor, keyboard, mouse, and any USB devices.
Clear Your Workspace: Ensure you have a clean, well-lit, and spacious area to work in. Having a small container for screws is also a good idea, as you’ll be removing several.
Gather Your Tools: You’ll primarily need a Phillips head screwdriver. A magnetic tip can be helpful for preventing dropped screws.
2. Removing the Old PSU
This is where you’ll physically disconnect and remove the existing power supply.
Open the PC Case: Most PC cases have side panels that can be removed by unscrewing a few screws on the back of the case. Gently slide or pull off the side panel.
Disconnect All Internal Cables: This is the most tedious part. Trace every cable originating from the PSU and leading to your components.
- Motherboard Power: Disconnect the large 24-pin ATX connector and the 4+4-pin or 8-pin CPU power connector. These usually have clips that need to be pressed to release them.
- Graphics Card Power: If your GPU has power cables connected, unplug them.
- Storage Drives: Disconnect SATA power cables from your SSDs and HDDs.
- Other Components: Disconnect any Molex or other power connectors attached to fans, RGB controllers, or other devices.
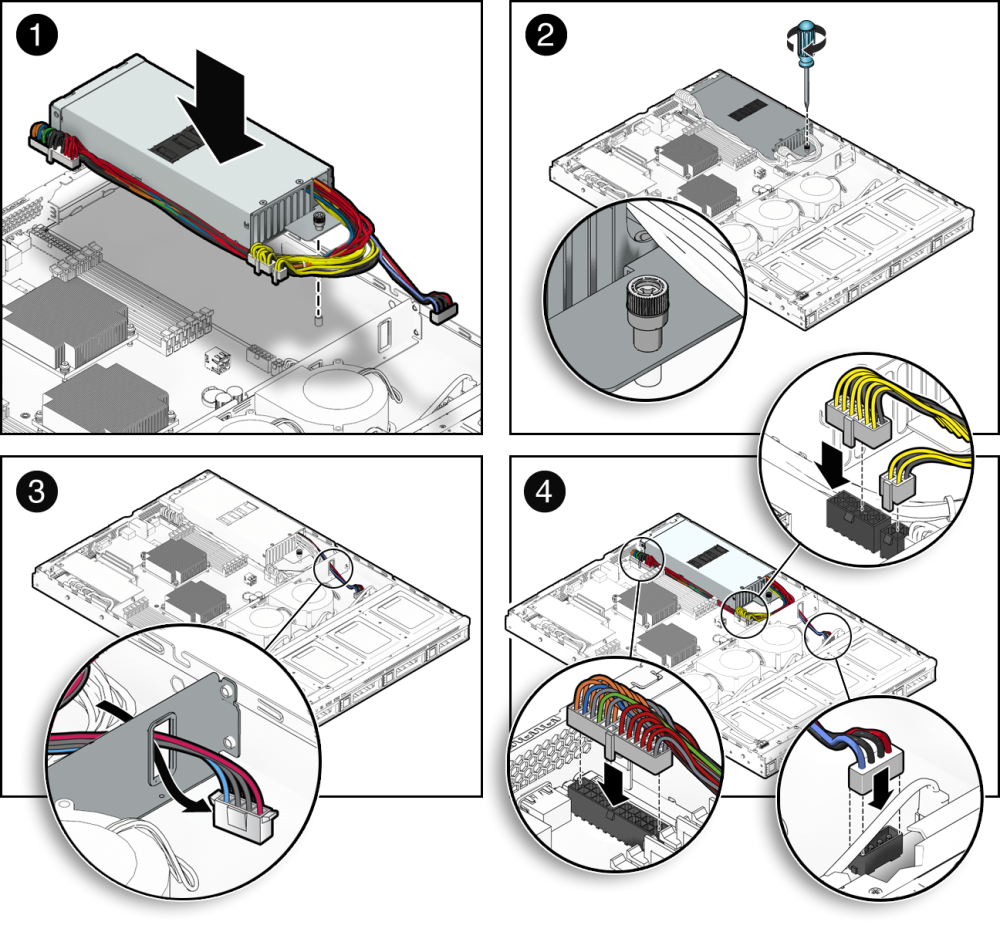
Release the PSU from the Case: Most PSUs are secured by four screws on the back of the computer case, where the power cord plugs in. Unscrew these.
Carefully Remove the PSU: Once the screws are out and all cables are disconnected, gently slide the PSU out of its bay. Be mindful of any cables that might still be snagged. If you have a non-modular PSU, you’ll need to untangle the cables as you pull it out.
3. Installing the New PSU
Now, it’s time to fit the new PSU into its place.
Position the New PSU: Carefully slide the new PSU into the PSU bay, ensuring it’s oriented correctly. The fan should typically be facing downwards if your case has a bottom PSU shroud with ventilation, or upwards if it’s mounted at the top and the fan is meant to exhaust air out the back.
Secure the New PSU: Screw the PSU into place using the four screws on the back of the case. Make sure it’s snug and doesn’t wobble.
Connect the New PSU Cables: This is where modularity comes in handy. If you have a modular PSU, only attach the cables you need.
- Motherboard Power: Connect the 24-pin ATX cable to the motherboard and the 4+4-pin or 8-pin EPS CPU power cable to the corresponding connector on the motherboard.
- Graphics Card Power: Connect the required 6+2-pin or 8-pin PCIe power cables to your GPU.
- Storage Drives: Connect SATA power cables to your SSDs and HDDs.
- Other Components: Connect any necessary Molex or other power cables.
Cable Management (Crucial for Airflow): This is an excellent opportunity to tidy up your internal cabling. Use zip ties or Velcro straps to bundle cables neatly. Route cables behind the motherboard tray or in designated cable management channels in your case. Good cable management not only looks aesthetically pleasing but also improves airflow within the case, helping to keep your components cool.
Powering Up and Testing Your New PSU
After the physical installation, the final and most exciting step is powering on your system and ensuring everything is working correctly.
1. Initial Power-On Test
Double-Check Connections: Before plugging in the power cord, take a final, thorough look at all your connections. Ensure every cable is firmly seated and that you haven’t accidentally left any loose. Check that no cables are obstructing any fans.
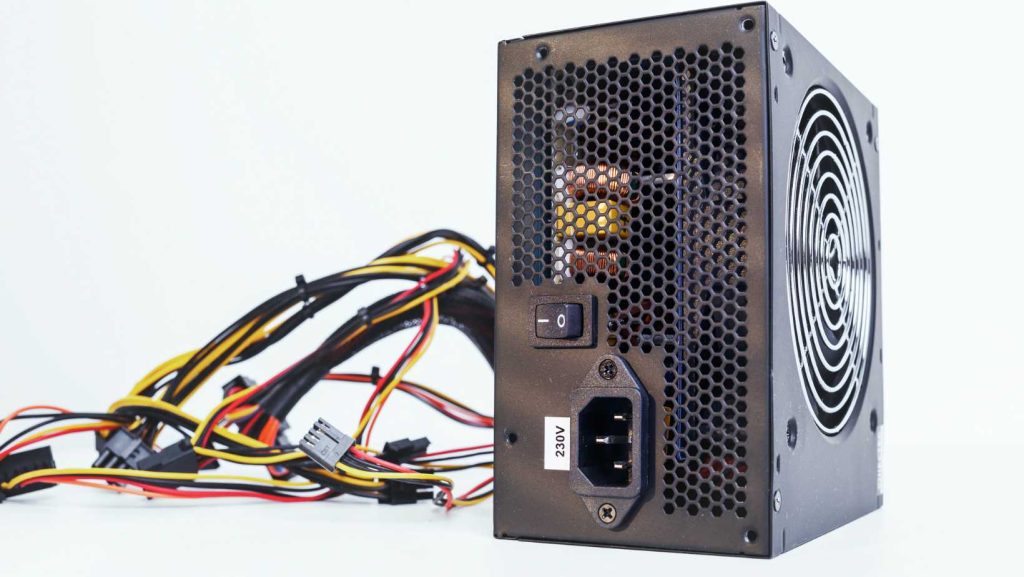
Plug In and Boot Up: Connect the power cord to the PSU and then to the wall outlet. Flick the main power switch on the back of the PSU to the “I” (On) position. Then, press the power button on your computer case.
Observe for Signs of Life:
- Fans Spinning: You should immediately see your CPU cooler fan, case fans, and graphics card fans (if they don’t have a zero-RPM mode) spin up.
- Lights On: Any case lighting or motherboard LEDs should illuminate.
- POST (Power-On Self-Test): Listen for any beeps from your motherboard (if it has a speaker) and watch your monitor for the BIOS or motherboard splash screen. If you get a display, this is a very good sign.
Troubleshooting Initial Boot Issues:
If your computer doesn’t power on, or if it powers on but doesn’t display anything, don’t panic.
- PSU Switch: Ensure the switch on the back of the PSU is in the “On” position.
- Wall Outlet: Try a different wall outlet.
- Power Cord: Ensure the power cord is securely plugged into both the PSU and the wall.
- Motherboard Power Cables: Re-seat the 24-pin ATX and 8-pin CPU power cables. Sometimes they need a firm push to fully engage.
- RAM: Try booting with only one stick of RAM installed.
- Component Interference: Make sure no cables are shorting out against the motherboard or other components.
2. Stress Testing and Monitoring
Once you’ve successfully booted into your operating system, it’s time to ensure the new PSU is handling the load reliably.
Download Monitoring Software: Use free software like HWMonitor, MSI Afterburner, or CPU-Z to monitor your system’s voltages and temperatures.
Run a Stress Test: A stress test pushes your CPU and GPU to their maximum capacity, mimicking demanding tasks like gaming or video editing. This is the best way to identify any potential issues with the PSU under load.
- CPU Stress Test: Programs like Prime95 or OCCT are excellent for this.
- GPU Stress Test: FurMark or 3DMark are popular choices.
Monitor Voltages: During the stress test, keep a close eye on the voltage readings in your monitoring software. The key rails to watch are:
- +3.3V: Should generally stay within 3.135V to 3.465V.
- +5V: Should stay within 4.75V to 5.25V.
- +12V: This is the most critical rail, powering your CPU and GPU. It should stay within 11.4V to 12.6V.
Observe for Instability: Look for any signs of instability, such as:
- Random Shutdowns or Reboots: This is a strong indicator that the PSU cannot handle the power draw.
- System Freezes: Your computer becoming unresponsive.
- Blue Screen of Death (BSOD): Critical system errors.
- Unexpectedly High Temperatures: While not directly a PSU issue, an inefficient PSU can contribute to excess heat.
If you experience any of these issues during a stress test, it’s crucial to investigate. This could mean the PSU is faulty, your wattage calculation was incorrect, or there’s an issue with another component.
Conclusion: A Stable Foundation for Your Tech Dreams
Installing a new PSU is a fundamental PC upgrade that pays dividends in system stability, efficiency, and the potential for future expansion. By carefully calculating your needs, choosing the right unit, and following these installation steps with diligence and safety in mind, you’ve not only successfully upgraded a critical component but also gained valuable hands-on experience with your computer’s hardware. A robust and reliable power supply is the unsung hero of any high-performing PC, providing the steady current that allows all your other components to function at their best. So, power up, run those demanding applications, and enjoy the peace of mind that comes with a well-powered system!
aViewFromTheCave is a participant in the Amazon Services LLC Associates Program, an affiliate advertising program designed to provide a means for sites to earn advertising fees by advertising and linking to Amazon.com. Amazon, the Amazon logo, AmazonSupply, and the AmazonSupply logo are trademarks of Amazon.com, Inc. or its affiliates. As an Amazon Associate we earn affiliate commissions from qualifying purchases.