
Minecraft, the universally acclaimed sandbox game, offers an almost limitless canvas for creativity. From building colossal castles to surviving treacherous landscapes, the vanilla experience is already rich and engaging. However, for many players, the true magic of Minecraft lies in its vibrant and ever-expanding modding community. Mods, short for modifications, can transform the game in countless ways, introducing new items, creatures, biomes, gameplay mechanics, and even entirely new dimensions. Whether you’re looking to add realistic physics, explore fantastical realms, or simplify tedious tasks, there’s a mod out there for you.
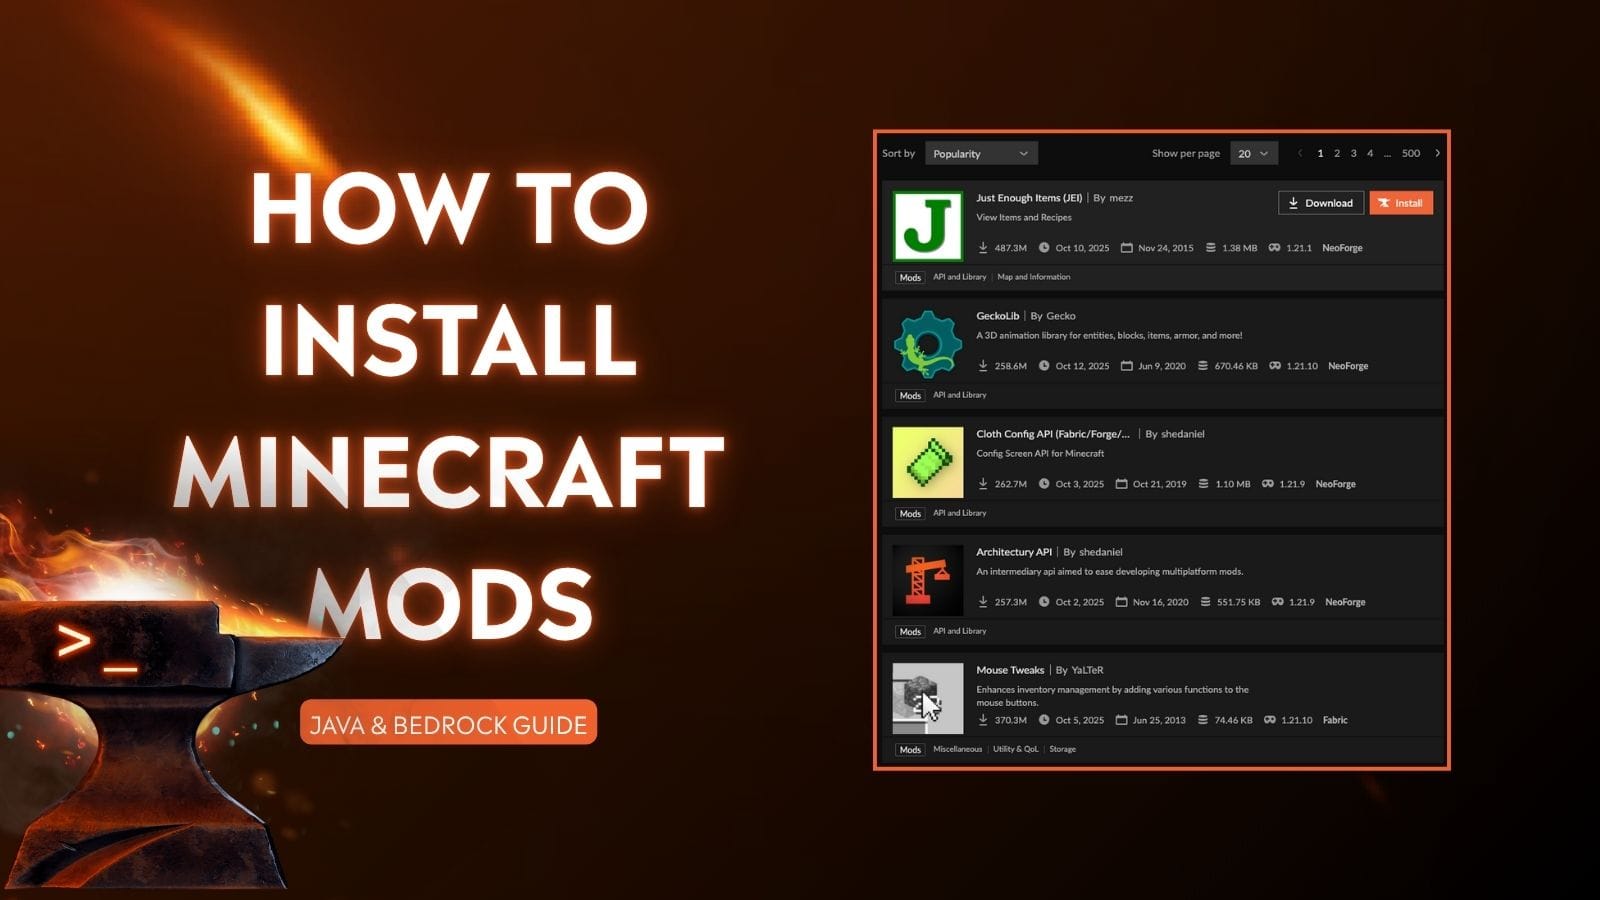
But the question remains: how do you install a mod in Minecraft PC? While the prospect might seem daunting to newcomers, the process is, in fact, quite manageable with a clear understanding of the steps involved. This guide will break down the installation process, covering everything from understanding mod types to troubleshooting common issues, ensuring you can unlock the full potential of your Minecraft world.
Understanding Minecraft Mods: Types and Prerequisites
Before diving into the installation, it’s crucial to understand what a Minecraft mod is and the different types you might encounter. Mods generally fall into two broad categories: client-side mods and server-side mods.
Client-Side vs. Server-Side Mods
-
Client-Side Mods: These are mods that only need to be installed on your individual computer to function. They primarily alter the visual experience, add new features to your user interface, or introduce minor gameplay tweaks that don’t affect other players directly. Examples include shaders for improved graphics, minimaps, or inventory management tools. The vast majority of mods you’ll find are client-side.
-
Server-Side Mods: These mods are more complex and require installation on the Minecraft server itself. This is necessary when a mod introduces new content or mechanics that need to be shared among all players connected to that server. Think of mods that add new mobs, blocks, or complex crafting recipes. If you’re playing on a multiplayer server that isn’t yours, you’ll likely only be able to use client-side mods unless the server owner specifically installs server-side mods and allows them.
Essential Prerequisites for Modding
To successfully install most Minecraft mods, you’ll generally need to meet a few basic requirements:
-
A Legitimate Copy of Minecraft: Mods are designed to work with the official Java Edition of Minecraft. You’ll need to have purchased and installed the game from the official Minecraft website.
-
Java Development Kit (JDK) or Java Runtime Environment (JRE): While modern Minecraft installations often bundle the necessary Java components, some older mods or specific mod loaders might require you to have the JDK or JRE installed on your system. You can download the latest versions from Oracle’s website.
-
A Mod Loader: This is perhaps the most critical piece of software for modding. A mod loader is a program that allows Minecraft to load and run mods. The two most popular mod loaders are:
-
Forge: This is the oldest and most widely used mod loader. It supports a vast array of mods and is known for its stability and extensive compatibility. Many larger, more complex mods are developed exclusively for Forge.
-
Fabric: A newer, more lightweight alternative to Forge, Fabric is gaining popularity due to its faster loading times and more modular design. It’s often preferred for performance-oriented mods or when you want to install a smaller number of mods.
You cannot simply place mod files directly into your Minecraft game folder. They need to be “loaded” by either Forge or Fabric.
-
Step-by-Step Guide to Installing Minecraft Mods
Now that you understand the basics, let’s get to the core of the matter: how to install a mod. The process typically involves downloading a mod loader, installing it, and then placing your chosen mods into the correct folder.
Step 1: Download and Install a Mod Loader (Forge or Fabric)
This is the foundational step for most modding endeavors. You need to choose a mod loader and install it for the specific version of Minecraft you intend to play.
Installing Minecraft Forge:
- Visit the Official Forge Website: Go to https://files.minecraftforge.net/.
- Select Your Minecraft Version: On the left-hand side, you’ll see a list of Minecraft versions. Choose the version you want to play with mods. It’s crucial that the mod loader version matches your Minecraft version.
- Download the Installer: For your chosen version, download the “Installer” file. There might be a “Recommended” and a “Latest” build. The “Recommended” build is generally more stable and well-tested.
- Run the Installer: Locate the downloaded
.jarfile and double-click it. This will open the Forge installer window. - Choose “Install client”: Ensure that “Install client” is selected. This will install Forge into your Minecraft launcher.
- Click “OK”: The installer will download necessary files and set up Forge. Once it’s complete, you’ll see a success message.
- Launch Minecraft: Open your Minecraft launcher. You should now see a new profile in the launcher labeled “forge” (or something similar). Select this profile and click “Play.” Minecraft will launch with Forge enabled.
Installing Minecraft Fabric:
- Visit the Official Fabric Website: Go to https://fabricmc.net/use/.
- Download the Universal JAR: Download the Fabric installer file (usually a
.jarfile). - Run the Installer: Double-click the downloaded Fabric installer
.jarfile. - Select Your Minecraft Version and Loader Version: In the installer window, choose the Minecraft version you want to mod and the Fabric loader version (usually the latest is fine).
- Choose “Install”: Click the “Install” button. This will install Fabric into your Minecraft launcher.
- Launch Minecraft: Open your Minecraft launcher. You should see a new profile for Fabric. Select it and click “Play.”
Step 2: Download Your Desired Mods
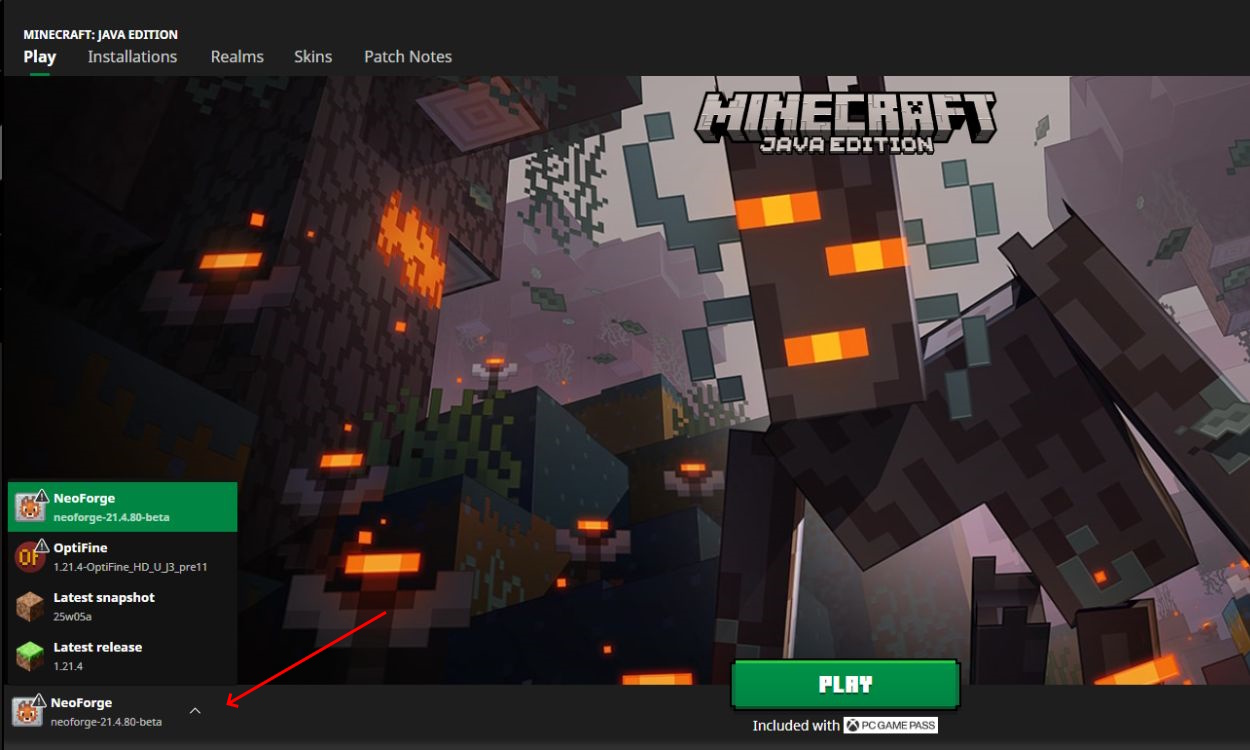
With your mod loader installed, you can now start downloading mods. It’s vital to download mods from reputable sources to avoid malware or corrupted files.
-
Popular Modding Websites:
- CurseForge: This is the largest and most popular platform for Minecraft mods. You can find a vast library of mods for both Forge and Fabric, along with descriptions, download links, and user reviews.
- Modrinth: Another excellent platform that hosts a wide variety of mods, often with a focus on open-source projects and a modern interface.
-
Important Considerations When Downloading Mods:
- Minecraft Version Compatibility: Always ensure the mod you download is specifically for the version of Minecraft you are playing. A mod for 1.16.5 will not work with Minecraft 1.20.1.
- Mod Loader Compatibility: Check if the mod requires Forge or Fabric. They are not interchangeable.
- Dependencies: Some mods require other mods or libraries to function. These are called dependencies. The mod’s download page will usually list any required dependencies. Make sure to download and install these as well.
- File Type: Mods typically come as
.jarfiles.
Step 3: Install the Mods
Once you have your mod loader set up and your mod .jar files downloaded, it’s time to place them in the correct folder.
-
Locate Your Minecraft Mods Folder:
- Windows: Press
Windows Key + Rto open the Run dialog. Type%appdata%.minecraftmodsand press Enter. - macOS: Open Finder, click “Go” in the menu bar, then select “Go to Folder…” and type
~/Library/Application Support/minecraft/mods. - Linux: The path is typically
~/.minecraft/mods.
- Windows: Press
-
Create the “mods” Folder (if it doesn’t exist): If you don’t see a folder named “mods” inside your
.minecraftdirectory, simply create one. The mod loader will automatically look for this folder. -
Place Mod Files: Drag and drop the downloaded mod
.jarfiles directly into the “mods” folder you just located or created. -
Launch Minecraft: Start Minecraft using the mod loader profile you set up earlier (Forge or Fabric). If everything is done correctly, the mods you placed in the folder should now be active within your game.
Step 4: Verify and Troubleshoot
After launching the game, you can verify that your mods are working.
-
In-Game Check:
- Look for new items in the creative inventory.
- Check for new blocks, creatures, or GUI elements that the mod is supposed to add.
- Some mods have in-game commands or configuration menus accessible via chat or specific keybinds.
-
Common Issues and Troubleshooting:
- Game Crashes on Launch: This is the most common problem.
- Version Mismatch: Double-check that your Minecraft version, mod loader version, and mod versions all match.
- Missing Dependencies: Ensure you’ve downloaded and installed all required dependency mods.
- Corrupted Mod File: Try re-downloading the mod from a different source or try a different version of the mod.
- Too Many Mods: If you’ve installed many mods, try removing half of them and see if the game launches. Then gradually add them back to pinpoint the conflict.
- Mod Loader Issues: Reinstall Forge or Fabric.
- Mod Not Appearing in Game:
- Incorrect Folder: Ensure the
.jarfile is directly in the “mods” folder and not in a subfolder. - Incorrect Mod Loader: Confirm you downloaded the correct version for Forge or Fabric.
- Incorrect Folder: Ensure the
- Conflicting Mods: Sometimes, two mods might try to alter the same game aspect, leading to crashes or unexpected behavior. This is harder to diagnose and often requires trial and error or checking mod compatibility forums.
- Outdated Mod Loader: Make sure your mod loader is updated to the latest compatible version for your Minecraft version.
- Game Crashes on Launch: This is the most common problem.
Advanced Modding: Configuration and Shaders
Once you’ve mastered the basic installation, you might want to explore more advanced aspects of Minecraft modding.
Mod Configuration Files
Many mods come with configuration files that allow you to customize their behavior, disable specific features, or adjust game balance.
- Locating Configuration Files: After running Minecraft with mods installed for the first time, a
configfolder will usually appear inside your.minecraftdirectory. Inside this folder, you’ll find subfolders or individual files (often.json,.toml, or.cfgfiles) corresponding to your installed mods. - Editing Configuration: You can open these files with a simple text editor like Notepad (Windows) or TextEdit (macOS). Be very careful when editing these files, as incorrect changes can cause issues. Always back up configuration files before making modifications. Most configuration options are well-documented on the mod’s respective download page or wiki.
Installing Shader Packs
Shaders are a special type of client-side mod that dramatically enhances Minecraft’s visual fidelity, adding realistic lighting, shadows, water effects, and more.
-
Install OptiFine or Iris Shaders:
- OptiFine: This is a highly popular performance-enhancing mod that also adds support for shader packs. Download OptiFine from https://optifine.net/downloads and install it as you would a regular Forge mod (run the
.jarfile, select “Install client”). - Iris Shaders (Fabric): For Fabric users, Iris Shaders is the go-to solution. It’s often installed alongside Sodium (a performance mod). Download Iris from its official GitHub page or Modrinth.
- OptiFine: This is a highly popular performance-enhancing mod that also adds support for shader packs. Download OptiFine from https://optifine.net/downloads and install it as you would a regular Forge mod (run the
-
Download Shader Packs: Shader packs are separate downloads, usually found on websites like CurseForge or dedicated shader forums. They also typically come as
.zipor.jarfiles. -
Place Shader Packs:
- Launch Minecraft with OptiFine or Iris installed.
- Go to
Options > Video Settings > Shaders. - Click the “Shaders Folder” button in the bottom-left corner. This will open the shader packs folder.
- Drag and drop your downloaded shader pack
.zipor.jarfiles into this folder.
-
Select and Apply: Back in the Shaders menu in-game, you should see your newly added shader packs listed. Click on the shader pack you want to use to select it, and the game will apply the visual changes.
Conclusion
Installing mods in Minecraft PC is a gateway to an almost infinite number of gameplay experiences. While it requires a little patience and attention to detail, following these steps—downloading and installing a mod loader like Forge or Fabric, carefully selecting and downloading compatible mods from reputable sources, and placing them in the correct folder—will empower you to customize your game to your heart’s content. Remember to always check version compatibility, download dependencies, and be prepared to troubleshoot. With the vast array of mods available, from simple quality-of-life improvements to massive content overhauls and stunning visual enhancements, your Minecraft adventure is about to get a whole lot more exciting. Happy modding!
aViewFromTheCave is a participant in the Amazon Services LLC Associates Program, an affiliate advertising program designed to provide a means for sites to earn advertising fees by advertising and linking to Amazon.com. Amazon, the Amazon logo, AmazonSupply, and the AmazonSupply logo are trademarks of Amazon.com, Inc. or its affiliates. As an Amazon Associate we earn affiliate commissions from qualifying purchases.