
In the dynamic world of online presence, your website is often the first impression prospective clients, customers, or readers have of your brand. For millions, WordPress serves as the robust foundation for this digital storefront, and at its heart lies the theme – the very essence of your site’s appearance, user experience, and underlying functionality. A well-chosen and correctly installed WordPress theme doesn’t just make your site look good; it empowers your brand, streamlines your operations, and can significantly impact your online success, whether you’re running a personal blog, an e-commerce store, or a corporate portal.
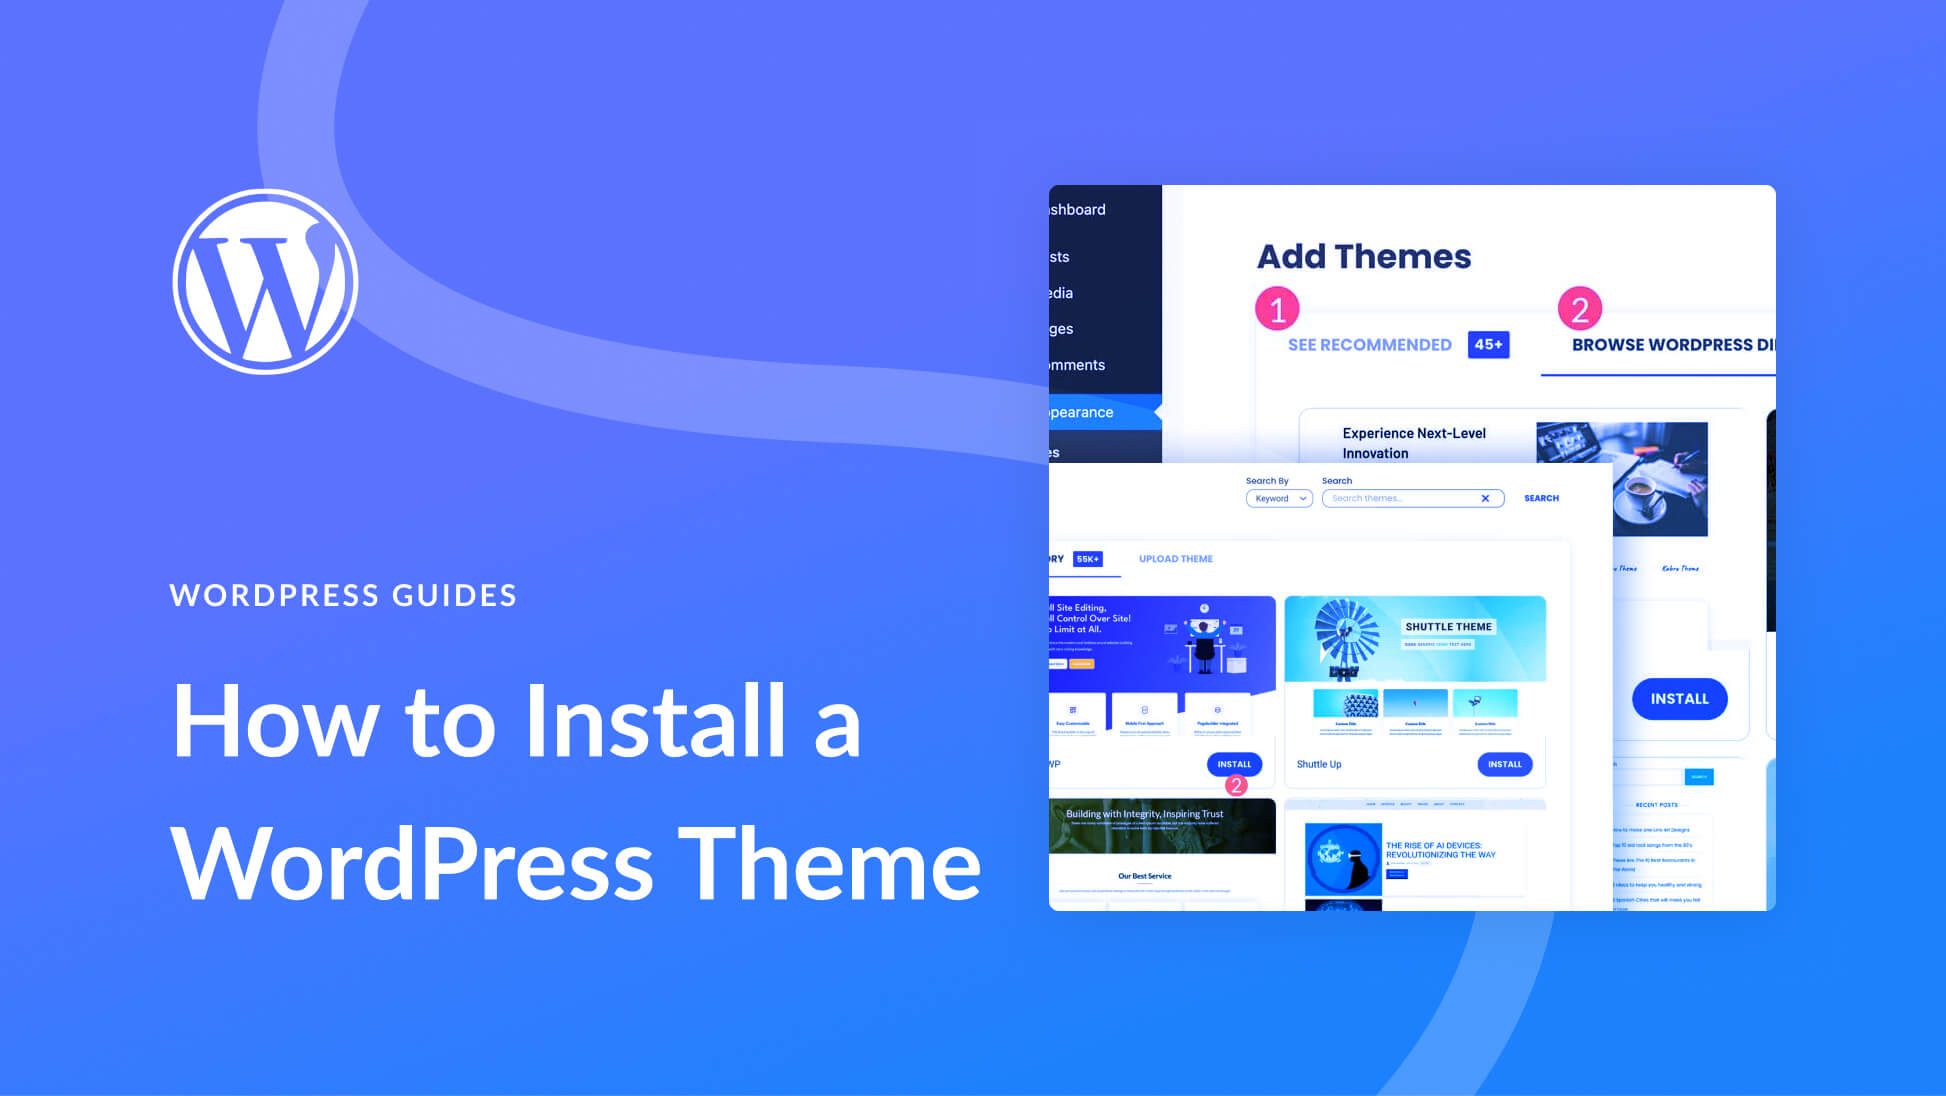
This comprehensive guide will walk you through everything you need to know about installing a WordPress theme, from understanding its importance to navigating the various installation methods and troubleshooting common issues. By the end, you’ll be equipped to give your WordPress site the perfect makeover, ensuring it’s not just functional, but also captivating and aligned with your strategic objectives.
Understanding WordPress Themes: More Than Just Aesthetics
Before diving into the technicalities of installation, it’s crucial to grasp what a WordPress theme truly represents and why its selection is a strategic decision for any website owner. A theme acts as the skin of your WordPress site, controlling everything from the layout, colors, and fonts to specific functionalities like portfolio displays, e-commerce features, or custom blog post formats.
Why a Theme Matters for Your Digital Presence
The choice and proper installation of your WordPress theme are pivotal for several reasons, extending far beyond superficial beauty:
- Visual Appeal and User Experience (UX): A visually appealing and intuitively designed theme is paramount for captivating visitors and encouraging them to explore your content. A poor UX, on the other hand, can lead to high bounce rates and lost opportunities. Modern themes prioritize responsive design, ensuring your site looks great and functions perfectly across all devices – desktops, tablets, and smartphones – which is a non-negotiable in today’s multi-device world.
- Functionality and Features: Many themes come packed with specific functionalities tailored for various niches. For instance, an e-commerce theme will integrate seamlessly with plugins like WooCommerce, offering product pages, shopping carts, and checkout processes. A portfolio theme will provide elegant ways to showcase visual work, while a news theme will optimize for content hierarchy and readability. The right theme can save you countless hours and resources that would otherwise be spent integrating disparate plugins.
- Branding and Identity Consistency: Your theme is a critical component of your brand’s visual identity online. It helps maintain consistency in your logo placement, color schemes, typography, and overall tone. A consistent brand identity fosters trust, recognition, and professionalism, which are invaluable assets for any business or personal brand.
- Search Engine Optimization (SEO) Implications: While content is king, the underlying code of your theme significantly impacts your site’s SEO performance. A well-coded theme is lightweight, loads quickly, and is structured in a way that search engine crawlers can easily understand and index. Conversely, a bloated or poorly optimized theme can hinder your rankings, making it harder for your target audience to find you. This also ties into user experience, as Google prioritizes fast-loading, mobile-friendly sites.
Choosing the Right Theme: Free vs. Premium Considerations
The WordPress ecosystem offers an astounding array of themes, broadly categorized into free and premium options. Understanding the pros and cons of each is vital for making an informed decision that aligns with your budget, technical skills, and long-term goals.
- Free Themes: Available directly from the WordPress.org theme directory, free themes are an excellent starting point, especially for beginners or those with limited budgets. They are reviewed by WordPress volunteers for basic coding standards and security, offering a reliable foundation.
- Pros: Cost-effective, accessible, large community support, good for learning.
- Cons: Often have limited features, customization options, and may not come with dedicated support, making advanced troubleshooting challenging. Design can sometimes be generic, making it harder to stand out. Updates might be less frequent.
- Premium Themes: Purchased from marketplaces like ThemeForest, Elegant Themes (Divi), or directly from developers, premium themes offer a more robust and feature-rich experience.
- Pros: Advanced functionality, extensive customization options (often with drag-and-drop builders), unique and professional designs, dedicated customer support, frequent updates (critical for security and compatibility), and often better code quality and SEO optimization.
- Cons: Involves an upfront cost or subscription. Can sometimes be more complex to set up due to the sheer number of options, and poorly coded premium themes can be just as problematic as bad free ones.
- Factors to Consider When Choosing: Regardless of whether you go free or premium, always look for:
- Responsiveness: Essential for mobile users.
- Customization Options: How much control do you have over colors, fonts, layouts?
- Speed Optimization: Does the theme load quickly? Check demo sites with tools like GTmetrix or PageSpeed Insights.
- Developer Support & Documentation: Especially for premium themes, good support can be a lifesaver.
- Reviews & Ratings: See what other users are saying.
- Compatibility: Ensure it’s compatible with the latest WordPress version and essential plugins (like WooCommerce, Elementor, Yoast SEO).
- Niche-Specificity: Does it fit the purpose of your website (e.g., blog, portfolio, e-commerce, corporate)?
Investing in a high-quality premium theme can be a wise financial decision, offering a significant return on investment through enhanced user experience, better branding, and improved SEO, ultimately contributing to higher conversions and online income.
Preparing for Installation: Essential Pre-Flight Checks
Before you embark on the theme installation process, a few critical preparatory steps can save you from potential headaches and ensure a smooth transition. Think of these as your pre-flight checks before launching your new website look.
Backup Your WordPress Site (Crucial Step)
This cannot be stressed enough: always back up your entire WordPress site before making any significant changes, including theme installation or updates. While installing a theme generally doesn’t delete your content, conflicts can arise, or you might accidentally make a change that destabilizes your site. A recent backup is your safety net, allowing you to restore your site to its previous state if anything goes wrong.
- How to Backup:
- Backup Plugins: Tools like UpdraftPlus, Duplicator, or BackWPup make backing up incredibly easy. Install and activate one, then follow its instructions to create a full backup of your files and database.
- Hosting Provider Backups: Many web hosts offer automated daily or weekly backups. Check with your provider to see if this service is included and how you can restore from a backup.
- Manual Backup via FTP/cPanel: For advanced users, you can manually download all your WordPress files via FTP and export your database via phpMyAdmin in your cPanel.
Store your backups in a safe, external location, not just on your server.
System Requirements and Compatibility
While most themes are built to be widely compatible, it’s prudent to quickly check your server environment against any specific requirements your chosen theme might have.
- PHP Version: WordPress and many modern themes require a relatively recent version of PHP (e.g., PHP 7.4 or 8.x) for optimal performance and security. You can usually check and update your PHP version through your hosting control panel.
- Memory Limit: Some complex themes or those utilizing page builders might require more PHP memory. If you encounter errors, you might need to increase your PHP memory limit (often done by editing your
wp-config.phpfile or through your hosting panel). - WordPress Version: Ensure your WordPress installation is up-to-date. Themes are typically developed and tested with the latest stable version of WordPress.
- Theme Documentation: Always review the theme’s documentation for any specific server or software requirements.
Step-by-Step Theme Installation Methods
WordPress offers several straightforward ways to install a theme, catering to different scenarios and user comfort levels. We’ll cover the three primary methods: via the WordPress theme directory, by uploading a .zip file, and manually via FTP.
Method 1: Installing a Theme from the WordPress Theme Directory (Free Themes)
This is the easiest and most common method for installing free themes available on WordPress.org.
- Log in to your WordPress Dashboard: Navigate to
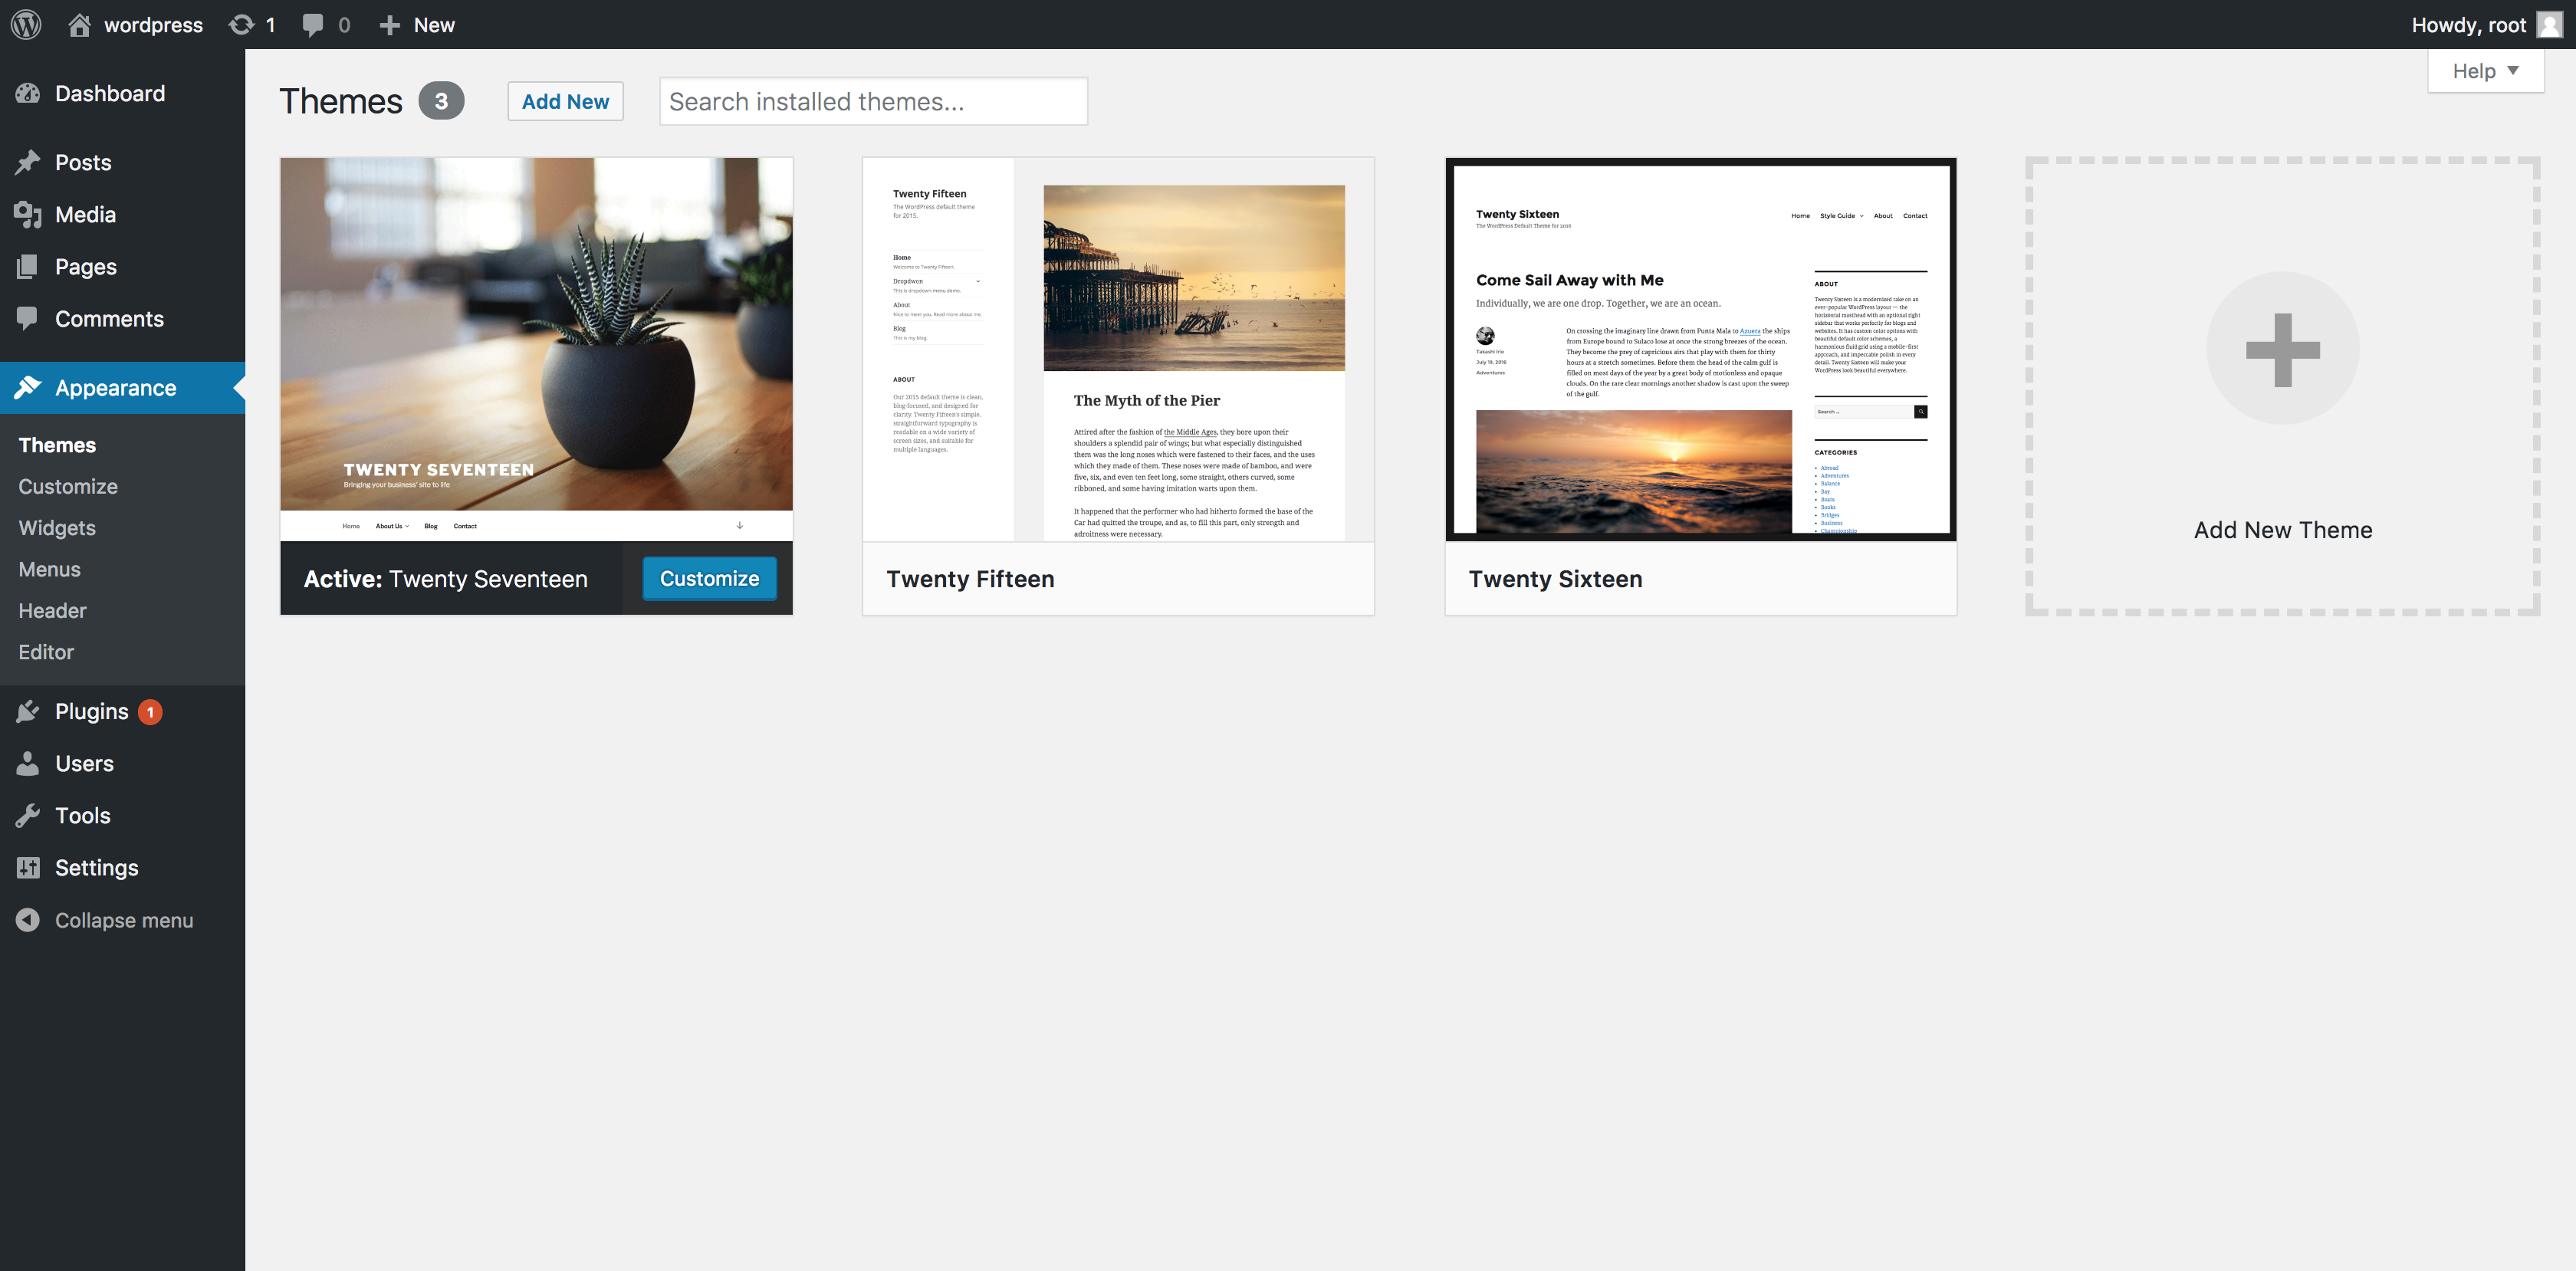
yourdomain.com/wp-admin. - Go to Appearance > Themes: In the left-hand navigation menu, click on “Appearance” then “Themes.”
- Click “Add New”: At the top of the Themes page, you’ll see an “Add New” button. Click it.
- Browse or Search for a Theme:
- You’ll be presented with featured, popular, latest, and favorite themes.
- Use the search bar on the right to look for specific themes by name or keywords (e.g., “blog,” “portfolio,” “business”).
- Use the “Feature Filter” to narrow down themes based on specific layouts, features, or subjects.
- Preview the Theme: Hover over a theme you’re interested in, and options like “Details & Preview,” “Install,” and “Preview” will appear. Click “Details & Preview” to see a live demo of the theme and read its description, ratings, and features. The “Live Preview” option allows you to see how the theme would look with your current content.
- Install the Theme: Once you’ve found the perfect theme, click the “Install” button. WordPress will download and install the theme files onto your server.
- Activate the Theme: After installation, the “Install” button will change to “Activate.” Click “Activate” to make the theme live on your website. Your site’s appearance will immediately change.
- Note on Preview: It’s good practice to preview the theme first, but remember that demo content displayed in previews might not be included by default. You’ll likely need to customize the theme to match your desired look after activation.
Method 2: Uploading a Premium or Custom Theme (Using a .zip file)
This method is used for themes purchased from third-party marketplaces or custom themes provided by a developer. You’ll typically receive the theme as a compressed .zip file.

- Download the Theme .zip File: Ensure you download the correct installable theme
.zipfile from your vendor. Often, premium theme purchases include a main.zipfile containing the theme, documentation, demo content, and child themes. You need to extract this main.zipfile first to locate the actual theme.zip(e.g.,themename.zip) inside. Uploading the wrong.zipfile (the main package) is a common cause of the “missing stylesheet” error. - Log in to your WordPress Dashboard: Navigate to
yourdomain.com/wp-admin. - Go to Appearance > Themes: In the left-hand navigation menu, click on “Appearance” then “Themes.”
- Click “Add New” and then “Upload Theme”: At the top of the Themes page, click “Add New,” then click the “Upload Theme” button at the very top.
- Choose File and Install Now: Click “Choose File,” locate the correct theme
.zipfile on your computer, select it, and then click “Install Now.” - Activate the Theme: WordPress will upload the theme from your computer to your website, unpack it, and install it. Once the installation is complete, click “Activate” to apply the theme to your site.
- Child Themes: If your premium theme includes a child theme, it’s highly recommended to install and activate the child theme instead of the parent theme. A child theme inherits all functionality from the parent theme but allows you to make customizations without modifying the parent theme’s core files. This means when the parent theme updates, your customizations won’t be lost.
Method 3: Manual Installation via FTP (Advanced Method)
This method is useful if you’re experiencing issues with the direct upload method (e.g., file size limits from your hosting provider) or prefer to manage files directly. It requires an FTP client (like FileZilla) and your FTP credentials (provided by your hosting company).
- Download and Extract the Theme: Download the theme
.zipfile to your computer. Crucially, unzip the file on your local machine. You should now have a folder named after your theme (e.g.,themename). - Connect to Your Website via FTP: Open your FTP client and connect to your web server using your FTP hostname, username, and password.
- Navigate to the Themes Directory: Once connected, browse to your WordPress installation directory, then navigate to
wp-content/themes/. - Upload the Theme Folder: Drag and drop the unzipped theme folder (e.g.,
themename) from your computer’s local site pane into thewp-content/themes/directory on your remote site pane. Wait for all files to upload completely. This can take a few minutes depending on your internet speed and the size of the theme. - Activate the Theme from WordPress Dashboard: Once the upload is complete, log in to your WordPress Dashboard. Go to
Appearance > Themes. You should now see your newly uploaded theme listed there. Hover over it and click “Activate.”
Post-Installation: Bringing Your Theme to Life
Installing a theme is just the first step. To truly make it your own and align it with your brand, you’ll need to configure and customize it.
Essential Configuration and Customization
Immediately after activation, your site might not look exactly like the theme’s demo. This is where customization comes in:
- Accessing the Customizer: Go to
Appearance > Customize. The WordPress Customizer is a powerful tool that allows you to make real-time changes to your theme’s appearance (colors, typography, header, footer, etc.) with a live preview. - Site Identity: Set your site title, tagline, and upload your logo/site icon (favicon). This is fundamental for branding.
- Menus: Create or assign navigation menus (
Appearance > Menus). This defines how visitors navigate your site. - Widgets: Configure sidebars and footer areas using widgets (
Appearance > Widgets). These are small blocks of content (e.g., recent posts, search bar, social media links). - Homepage Settings: Decide whether your homepage displays your latest posts or a static page (
Settings > Reading). If using a static page, you’ll need to create that page first. - Importing Demo Content: Many premium themes offer one-click demo import functionality. While this can quickly make your site look like the demo, be cautious. It imports images, pages, posts, and settings, which you’ll then need to delete or replace. Only import if you’re starting a new site or on a staging environment.
Installing Recommended Plugins and Optimizing Performance
Many themes recommend specific plugins to unlock their full potential (e.g., page builders like Elementor or Beaver Builder, contact form plugins, SEO plugins, gallery plugins).
- Install Recommended Plugins: If prompted by your theme, install and activate the recommended plugins. These often provide core functionality expected by the theme.
- Performance Optimization: Once your theme and essential content are in place, focus on optimization:
- Caching Plugins: Install a caching plugin (e.g., WP Rocket, LiteSpeed Cache, WP Super Cache) to improve site speed.
- Image Optimization: Use plugins like Smush or EWWW Image Optimizer to compress images without losing quality, reducing page load times.
- Minification: Combine and minify CSS and JavaScript files to reduce server requests.
- A fast-loading site isn’t just good for SEO; it significantly enhances the user experience and can contribute to higher engagement and conversions.
Testing Your New Theme Thoroughly
After customization, comprehensive testing is crucial to ensure everything works as expected.
- Responsiveness: Check your site on various devices (desktop, tablet, mobile) and screen sizes to ensure it’s fully responsive and looks good everywhere.
- Browser Compatibility: Test your site across different web browsers (Chrome, Firefox, Safari, Edge) as rendering can sometimes vary.
- Functionality: Test all links, forms, buttons, and special features of your theme (e.g., sliders, carousels, pop-ups).
- Page Load Speed: Re-test your site’s speed using tools like GTmetrix or Google PageSpeed Insights.
- User Experience (UX): Ask a friend or colleague to navigate your site to identify any usability issues or confusing elements.
Common Issues and Troubleshooting Tips
Even with careful preparation, you might encounter issues during or after theme installation. Here are some common problems and how to address them:
Theme Installation Failure (e.g., “Missing Stylesheet” Error)
This is one of the most frequent errors when uploading a theme via .zip file.
- Cause: You’ve likely uploaded the main theme package
.zipfile directly, instead of the actual installable theme.zipfile contained within it. Premium themes often come in a master package that includes the theme, child theme, documentation, and demo content. - Solution: Unzip the main downloaded package on your computer. Inside, you should find a
.zipfile specifically named after the theme (e.g.,themename.zip). This is the file you need to upload. If you’re still unsure, check the theme’s documentation for installation instructions.
White Screen of Death (WSOD) or Internal Server Error
This indicates a critical error, often related to PHP limits or plugin/theme conflicts.
- Cause: Often, a newly activated theme might conflict with an existing plugin, or exceed your server’s PHP memory limit.
- Solution:
- Deactivate Plugins/Switch to Default Theme via FTP: If you can’t access your admin dashboard, connect via FTP. Navigate to
wp-content/themes/and temporarily rename your new theme’s folder (e.g.,themename_old). This will force WordPress to activate a default theme like Twenty Twenty-Four, allowing you to access your dashboard. - Alternatively, you can rename the
pluginsfolder (wp-content/plugins) toplugins_oldvia FTP. This deactivates all plugins, helping you determine if a plugin conflict is the cause. If your site comes back, reactivate plugins one by one to find the culprit. - Check Error Logs: Your hosting provider’s control panel usually provides access to error logs, which can pinpoint the exact issue.
- Increase PHP Memory Limit: If the error is memory-related, increase your PHP memory limit. You can typically do this by adding
define('WP_MEMORY_LIMIT', '256M');to yourwp-config.phpfile, just above the/* That's all, stop editing! Happy publishing. */line.
- Deactivate Plugins/Switch to Default Theme via FTP: If you can’t access your admin dashboard, connect via FTP. Navigate to
Theme Not Displaying Correctly or Functionality Issues
If your site looks broken or specific features aren’t working.
- Cause: Cache issues, JavaScript errors, conflicts with other plugins, or incorrect theme settings.
- Solution:
- Clear Cache: If you’re using a caching plugin or your host has server-level caching, clear all caches. Also, clear your browser’s cache.
- Check Browser Console: Open your browser’s developer tools (usually F12 or right-click > Inspect) and look for errors in the “Console” tab. JavaScript errors can often break theme functionality.
- Deactivate Plugins: Temporarily deactivate all plugins except those absolutely essential for the theme to function (e.g., a page builder recommended by the theme). If the issue resolves, reactivate plugins one by one to identify the conflict.
- Review Theme Documentation: Ensure you’ve followed all setup instructions outlined in the theme’s documentation.
- Contact Theme Support: For premium themes, dedicated support is a major benefit. Reach out to the theme developers with detailed information about your issue.
Conclusion
Installing a WordPress theme is a foundational step in building a powerful and engaging online presence. It’s an opportunity to define your brand’s aesthetic, enhance user experience, and equip your website with the functionalities it needs to succeed. By carefully choosing the right theme, performing essential pre-installation checks, and following the correct installation methods, you lay the groundwork for a robust and visually stunning website.
Remember, the journey doesn’t end with activation. Customization, content population, and ongoing optimization are equally crucial in bringing your vision to life. A well-designed, functional, and fast-loading website is not just a digital asset; it’s a strategic tool that reflects your brand’s professionalism, attracts your target audience, and ultimately contributes to your online income and overall business success. So, take the leap, experiment with designs, and start building the WordPress site of your dreams today!
aViewFromTheCave is a participant in the Amazon Services LLC Associates Program, an affiliate advertising program designed to provide a means for sites to earn advertising fees by advertising and linking to Amazon.com. Amazon, the Amazon logo, AmazonSupply, and the AmazonSupply logo are trademarks of Amazon.com, Inc. or its affiliates. As an Amazon Associate we earn affiliate commissions from qualifying purchases.