In today’s rapidly evolving technological landscape, efficiency and flexibility are paramount. Developers, IT professionals, and even hobbyists are constantly seeking ways to streamline their workflows, isolate environments, and deploy applications seamlessly. Docker has emerged as a game-changer in this regard, offering a powerful containerization platform that simplifies the management of applications and their dependencies. One of the most common and practical use cases for Docker is running a Linux distribution like Ubuntu within a container. This allows for a clean, reproducible, and isolated environment for testing, development, or running specific services without cluttering your host operating system.
This comprehensive guide will walk you through the process of installing and running Ubuntu within Docker. We’ll cover everything from the initial setup of Docker itself to pulling the Ubuntu image, creating and running your first Ubuntu container, and even exploring some common commands and best practices. Whether you’re new to Docker or looking to enhance your Linux environment management skills, this tutorial will provide you with the knowledge and confidence to leverage the power of Ubuntu in Docker.
Getting Started with Docker
Before we dive into installing Ubuntu, it’s essential to have Docker installed and configured on your system. Docker is the engine that powers containerization, allowing you to create, run, and manage containers. The installation process varies slightly depending on your operating system (Windows, macOS, or Linux), but the general principle remains the same.
Installing Docker
For most users, the simplest and most recommended way to install Docker is by downloading and running the official Docker Desktop application. Docker Desktop includes Docker Engine, Docker CLI client, Docker Compose, Kubernetes, and other essential tools.
-
Windows: Download the Docker Desktop for Windows installer from the official Docker website. Run the installer and follow the on-screen instructions. You might need to enable virtualization in your system’s BIOS if it’s not already enabled.
-
macOS: Download the Docker Desktop for Mac installer from the official Docker website. Drag and drop the Docker application into your Applications folder.
-
Linux: Docker can be installed directly on Linux distributions using their respective package managers. The official Docker documentation provides detailed instructions for various Linux distributions like Ubuntu, Debian, Fedora, CentOS, and more. For Ubuntu, you can typically use commands like:
sudo apt update
sudo apt install docker.io
After installation, it’s often recommended to add your user to the
dockergroup to run Docker commands withoutsudo:sudo usermod -aG docker $USER newgrp dockerNote: You’ll need to log out and log back in for the group changes to take effect.
Verifying Your Docker Installation
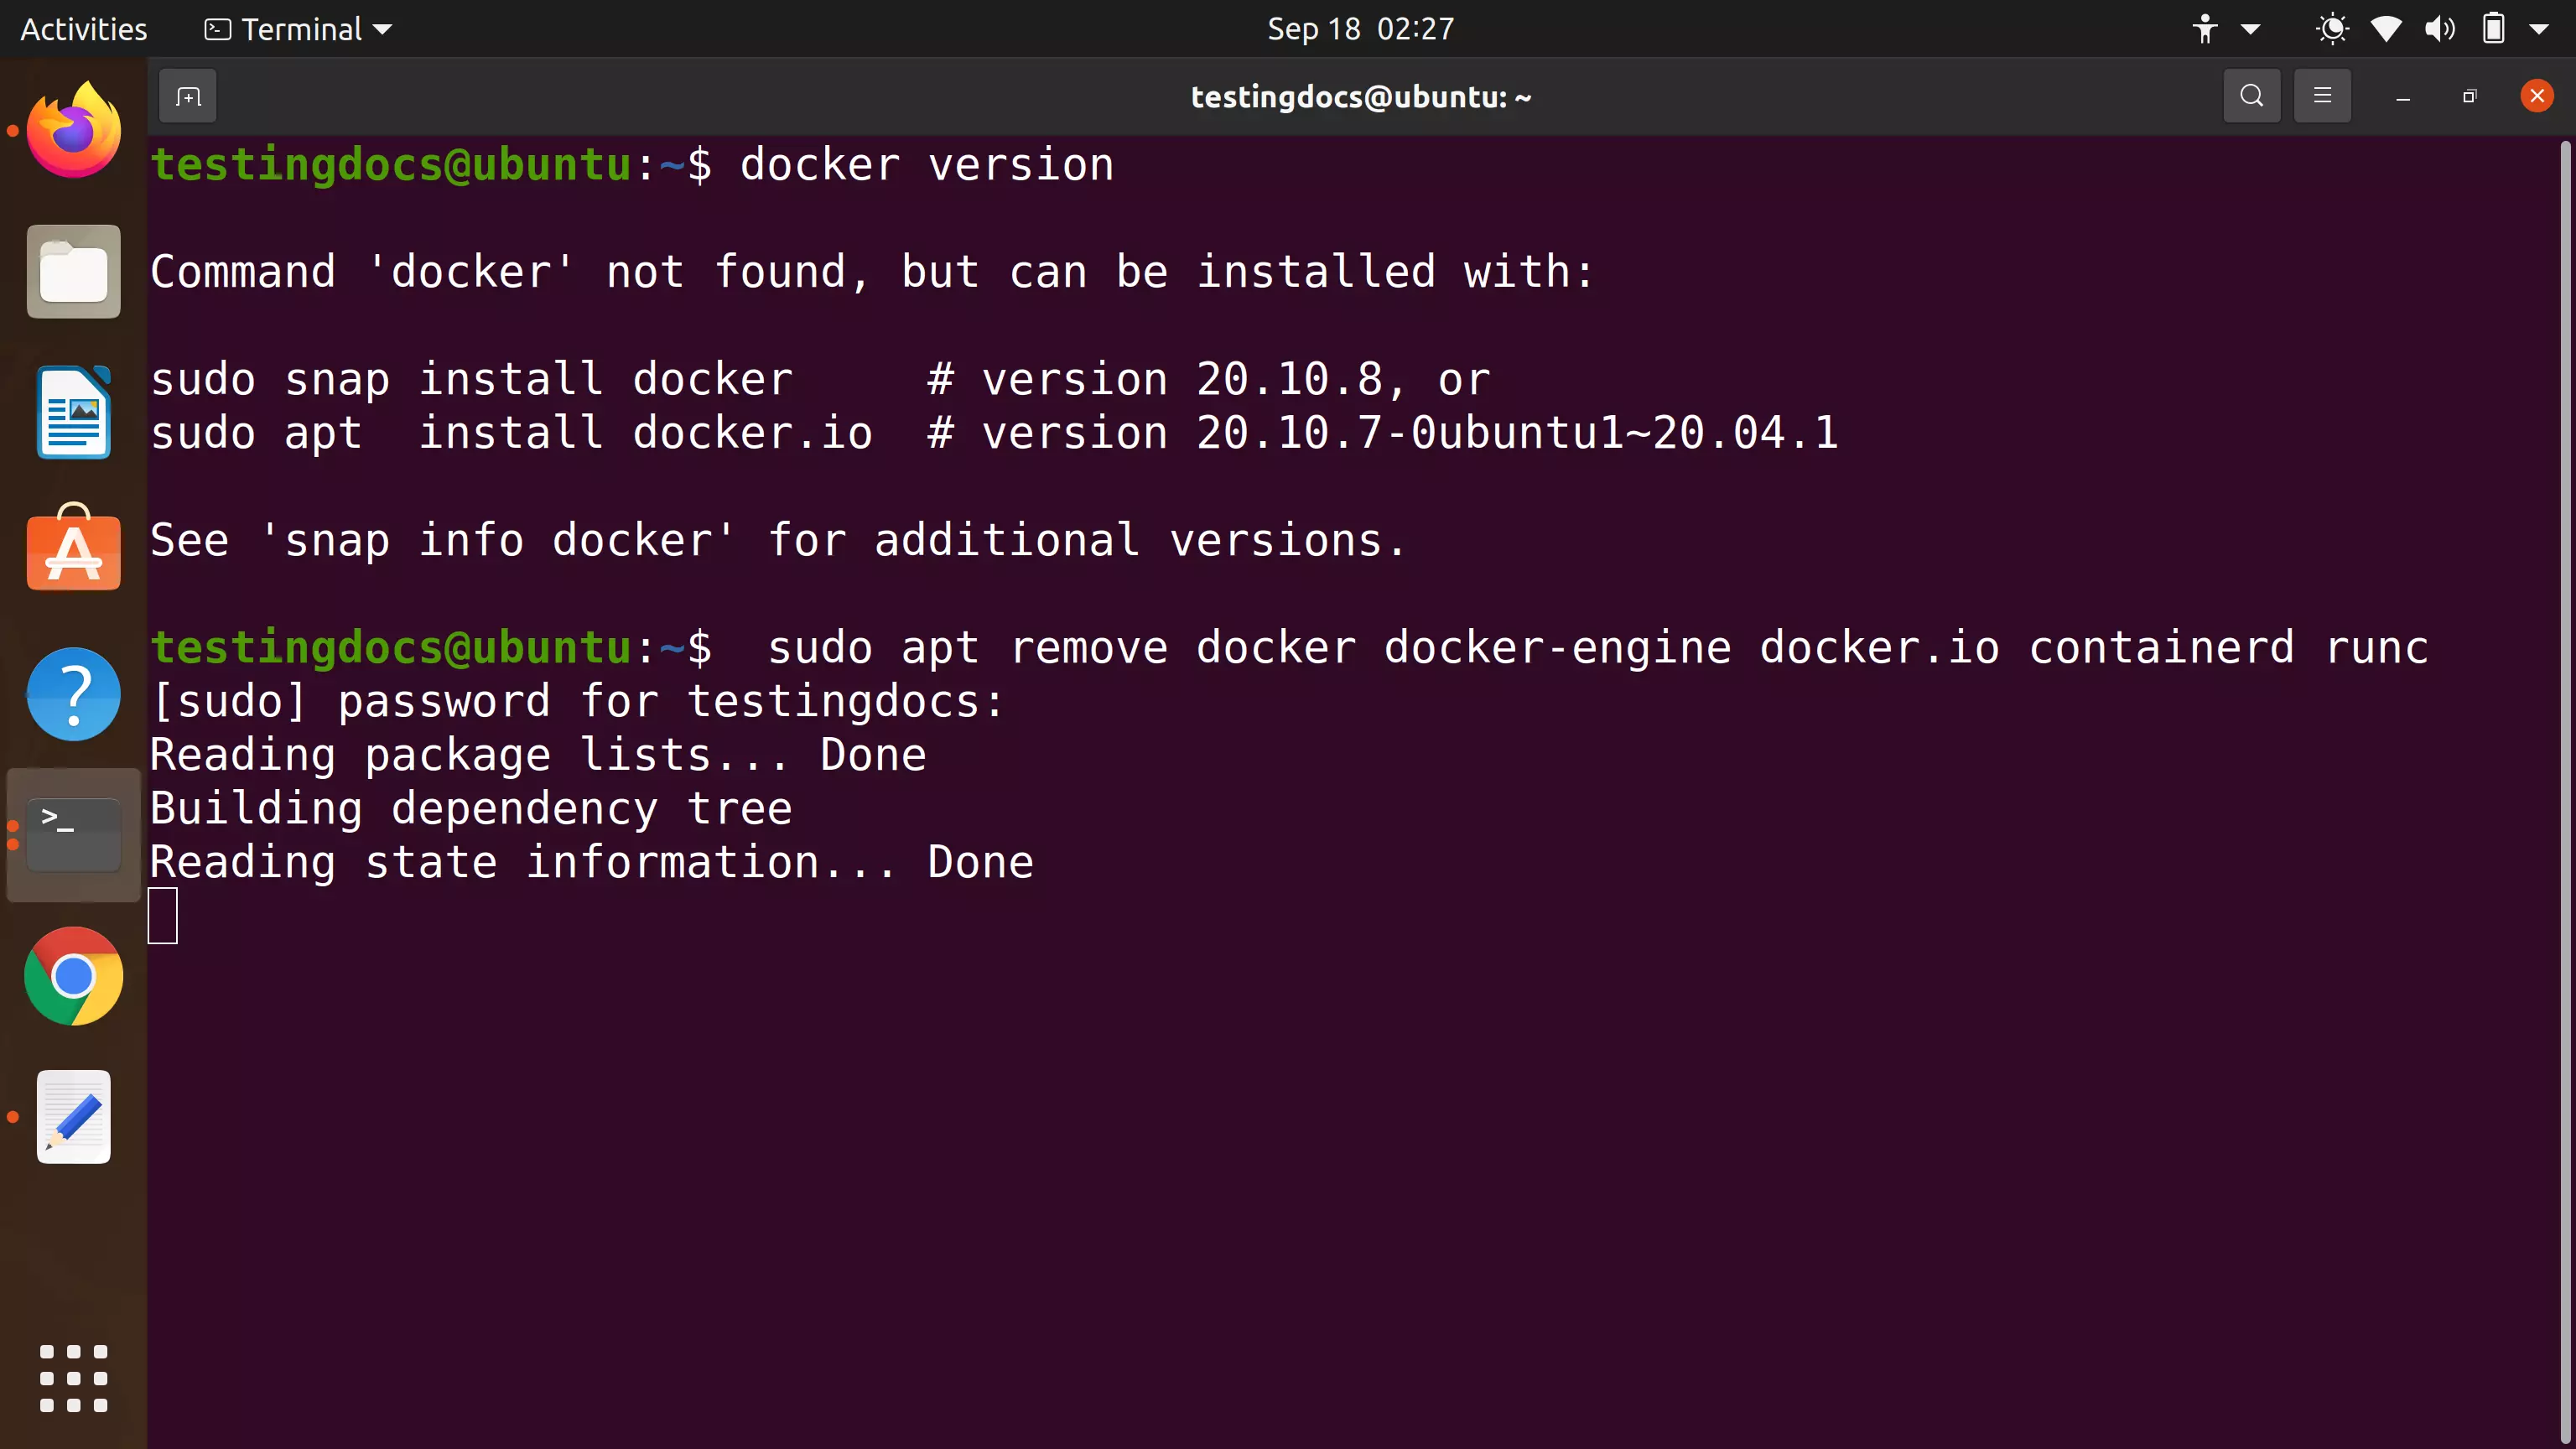
Once Docker is installed, it’s crucial to verify that it’s working correctly. Open your terminal or command prompt and run the following command:
docker --version
This should output the installed Docker version. To further confirm that Docker Engine is running, you can run the hello-world container:
docker run hello-world
This command downloads a small test image and runs it in a container. If the installation is successful, you’ll see a message indicating that Docker is working correctly.
Pulling the Ubuntu Docker Image
Docker images are the blueprints for creating containers. They contain everything needed to run an application, including the code, runtime, libraries, environment variables, and configuration files. To install Ubuntu on Docker, we first need to download the official Ubuntu Docker image.
Understanding Docker Images
Docker images are built in layers. When you pull an image, Docker downloads these layers. This layered approach allows for efficient storage and sharing, as multiple images can share common layers. The official Ubuntu image is maintained by Canonical, the company behind Ubuntu, ensuring its quality and up-to-dateness.
Pulling the Ubuntu Image from Docker Hub
Docker Hub is the default public registry for Docker images. It hosts a vast collection of images, including official images for many operating systems and applications.
To pull the latest version of the Ubuntu image, open your terminal or command prompt and execute the following command:
docker pull ubuntu
This command instructs Docker to download the latest stable release of the Ubuntu image from Docker Hub. If you need a specific version of Ubuntu (e.g., Ubuntu 20.04 LTS), you can specify the tag:
docker pull ubuntu:20.04
You can also find other tags for different Ubuntu releases and architectures on the official Ubuntu page on Docker Hub.
Verifying the Downloaded Image
After the download is complete, you can list the images available on your system to confirm that the Ubuntu image has been downloaded:
docker images
This command will display a list of all Docker images on your machine, including their repository, tag, image ID, creation date, and size. You should see ubuntu listed with the tag you specified (or latest if you didn’t specify one).
Creating and Running an Ubuntu Container
Now that you have the Ubuntu Docker image, you can use it to create and run an Ubuntu container. A container is a runnable instance of a Docker image.
Running an Interactive Ubuntu Container
The most common way to start with an Ubuntu container is to run it interactively. This allows you to open a shell session inside the container and execute commands as if you were logged into a regular Ubuntu system.
To run an Ubuntu container interactively, use the docker run command with the -it flags:
docker run -it ubuntu
Let’s break down these flags:
-i(interactive): Keeps STDIN open even if not attached. This is crucial for interacting with the container.-t(tty): Allocates a pseudo-TTY. This makes the container behave like a real terminal.
When you execute this command, Docker will:
- Create a new container from the
ubuntuimage. - Start the container.
- Attach your terminal to the container’s shell (typically
/bin/bash).
You will then see a prompt like root@<container-id>:/#, indicating that you are now inside the Ubuntu container with root privileges.
Exploring Your Ubuntu Container
Once inside the container, you can execute any standard Ubuntu commands. For example:
- Check the Ubuntu version:
bash

cat /etc/os-release
- List installed packages:
bash

dpkg --list
- Update package lists:
bash

apt update
- Install new software:
bash

apt install <package-name>
For instance, to installcurl:
bash

apt install curl
Remember that any changes you make inside this container (like installing software) are isolated to this specific container. If you exit the container, these changes will persist if the container is stopped and restarted, but they won’t affect your host system.
Running a Non-Interactive Ubuntu Container (Detached Mode)
Sometimes, you might want to run an Ubuntu container in the background without attaching your terminal to it. This is useful for running services or background tasks. You can achieve this using the -d flag (detached mode).
docker run -d ubuntu sleep infinity
Here’s what’s happening:
-d: Runs the container in detached mode.sleep infinity: This is a simple command that keeps the container running indefinitely. Without a command to execute, the container would exit immediately after starting.
After running this command, Docker will output the container ID. You won’t see a shell prompt. To verify that the container is running, you can use the docker ps command:
docker ps
This command lists all running containers. You should see your Ubuntu container in the list.
Stopping and Removing Containers
When you’re done with a container, it’s good practice to stop and remove it to free up resources.
- To stop a running container: You need its container ID or name. You can find this using
docker ps.
bash

docker stop <container-id-or-name>
- To remove a stopped container:
bash

docker rm <container-id-or-name>
You can also remove a running container usingdocker rm -f <container-id-or-name>, but it’s generally better to stop it first.
To remove all stopped containers (a useful cleanup command):
docker container prune
Advanced Usage and Best Practices
Running a basic Ubuntu container is straightforward, but Docker offers many advanced features to customize and optimize your containerized environments.
Naming Your Containers
By default, Docker assigns random names to containers. Giving your containers meaningful names makes them easier to manage and identify. You can use the --name flag when running a container:
docker run -it --name my-ubuntu-instance ubuntu
Now, when you use docker ps or docker stop, you can refer to the container as my-ubuntu-instance.
Persistent Storage with Volumes
By default, any data written inside a container is lost when the container is removed. If you need to store data persistently, you can use Docker volumes. Volumes are the preferred mechanism for persisting data generated by and used by Docker containers.
To create a volume and mount it into your Ubuntu container:
- Create a named volume:
bash

docker volume create ubuntu-data
- Run the container and mount the volume:
bash

docker run -it --name ubuntu-with-volume -v ubuntu-data:/mnt/data ubuntu
-v ubuntu-data:/mnt/data: This mounts theubuntu-datavolume to the/mnt/datadirectory inside the container.
Now, any files you save in /mnt/data within the container will be stored in the ubuntu-data volume on your host machine. Even if you remove the container, the data in the volume will remain, and you can mount it to another container.
Networking
Docker containers can communicate with each other and with the host system. By default, containers are connected to a bridge network. You can also create custom networks for more complex setups. For basic Ubuntu installations, the default networking is usually sufficient.
Dockerfile for Custom Ubuntu Images
For more complex scenarios, you’ll want to create your own Dockerfile. A Dockerfile is a script that contains instructions for building a Docker image. This allows you to define exactly what goes into your image, install specific software, configure settings, and set up your environment precisely how you need it.
Here’s a simple example of a Dockerfile to create a custom Ubuntu image with curl and wget installed:
# Use the official Ubuntu 22.04 LTS image as the base
FROM ubuntu:22.04

# Set the maintainer label
LABEL maintainer="Your Name <your.email@example.com>"

# Update package lists and install curl and wget
RUN apt-get update &&
    apt-get install -y curl wget &&
    rm -rf /var/lib/apt/lists/*

# Set a default command to run when the container starts
CMD ["/bin/bash"]
To build this image:
- Save the content above into a file named
Dockerfilein an empty directory. - Navigate to that directory in your terminal.
- Build the image using:
bash

docker build -t my-custom-ubuntu .
-t my-custom-ubuntu: Tags the image with the namemy-custom-ubuntu..: Indicates that the Dockerfile is in the current directory.
Once built, you can run a container from this custom image:
docker run -it my-custom-ubuntu
You’ll find curl and wget already installed within this container.

Conclusion
Installing and running Ubuntu on Docker opens up a world of possibilities for development, testing, and deployment. By leveraging Docker’s containerization technology, you can create isolated, reproducible, and efficient environments that mirror a full Ubuntu system without the overhead of a virtual machine.
We’ve covered the essential steps: installing Docker, pulling the official Ubuntu image, running interactive and detached containers, and exploring basic commands. Furthermore, we touched upon advanced concepts like naming containers, persistent storage with volumes, and building custom images with Dockerfiles.
Mastering Ubuntu on Docker is a valuable skill that enhances your productivity and agility in the fast-paced world of technology. Whether you’re a seasoned developer or just starting your journey into containerization, this guide provides a solid foundation for your continued exploration and experimentation. Embrace the power of Docker and unlock new levels of efficiency in your tech endeavors.
aViewFromTheCave is a participant in the Amazon Services LLC Associates Program, an affiliate advertising program designed to provide a means for sites to earn advertising fees by advertising and linking to Amazon.com. Amazon, the Amazon logo, AmazonSupply, and the AmazonSupply logo are trademarks of Amazon.com, Inc. or its affiliates. As an Amazon Associate we earn affiliate commissions from qualifying purchases.