
The macOS ecosystem is often lauded for its intuitive interface and seamless user experience. However, for those transitioning from other operating systems or for power users looking to optimize their workflow, the nuances of software installation on a Mac can be surprisingly deep. Unlike the monolithic “setup.exe” world of Windows, macOS utilizes a variety of deployment methods—ranging from sandboxed App Store downloads to complex package installers and command-line package managers.
Understanding how to efficiently install, manage, and secure software on your Mac is essential for maintaining system performance and digital security. This guide explores the diverse landscape of macOS software installation, providing a technical deep dive into the mechanisms that keep your Apple hardware running at its peak.
1. The Primary Gateways: App Store and Direct Distribution
For the vast majority of users, software acquisition begins in one of two places: the official Mac App Store or a direct download from a developer’s website. Each method carries its own set of technical implications regarding security, updates, and system integration.
The Apple App Store: The Gold Standard for Security
The Mac App Store is the most streamlined method for installing programs. From a technical standpoint, apps downloaded here are “sandboxed.” This means they operate within a restricted environment where they cannot access data from other apps or make unauthorized changes to the system hardware without explicit permission.
The primary advantage of the App Store is the centralized update mechanism. When a developer pushes a patch, macOS handles the background installation, ensuring you are always running the most secure version. Furthermore, because Apple reviews every submission, the risk of encountering malware is significantly lower compared to open-web downloads.
DMG and PKG: Understanding Disk Images and Packages
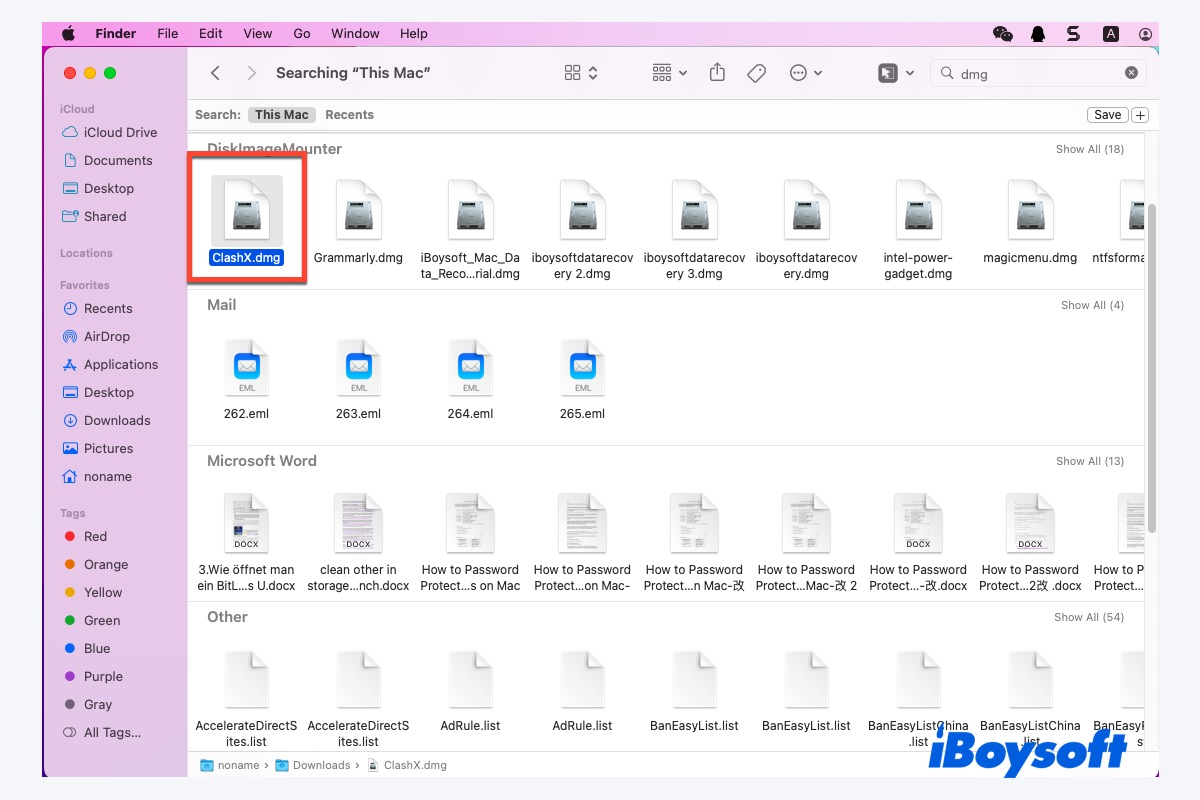
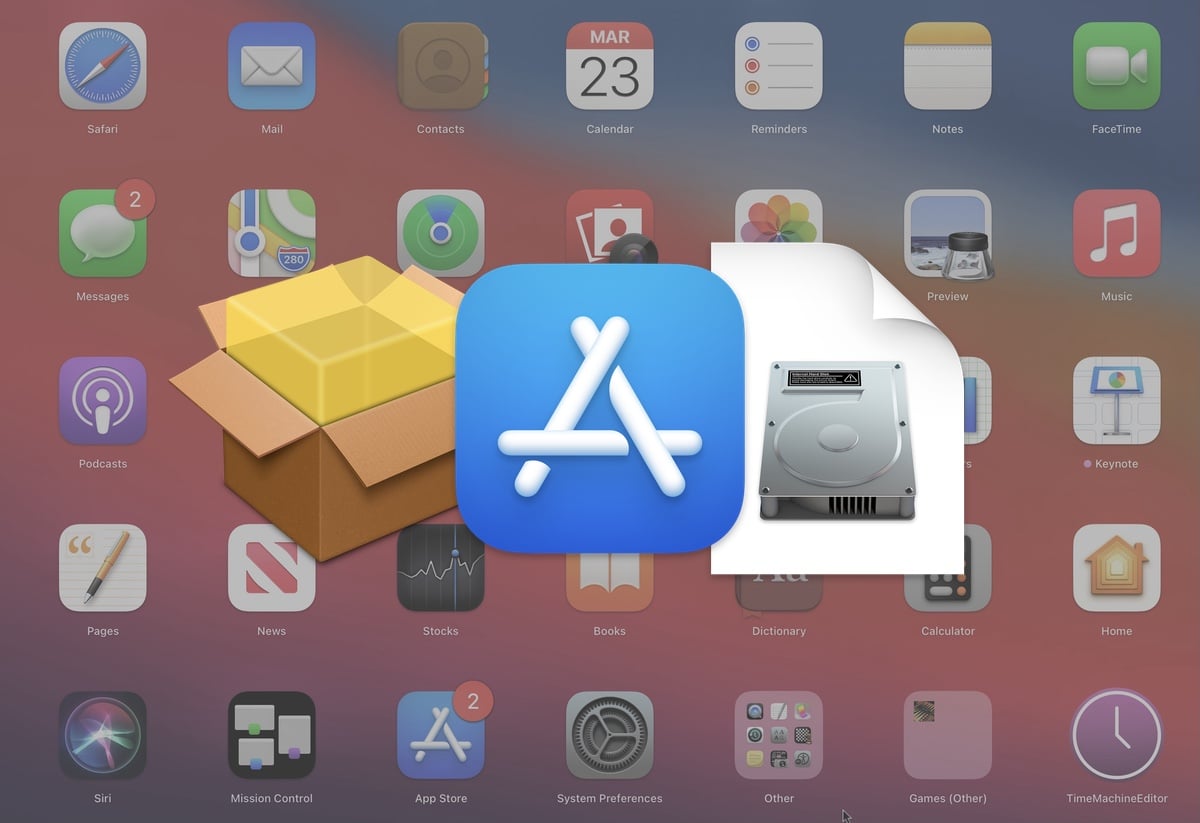
When software isn’t available on the App Store, you will typically encounter two file types: .dmg and .pkg.
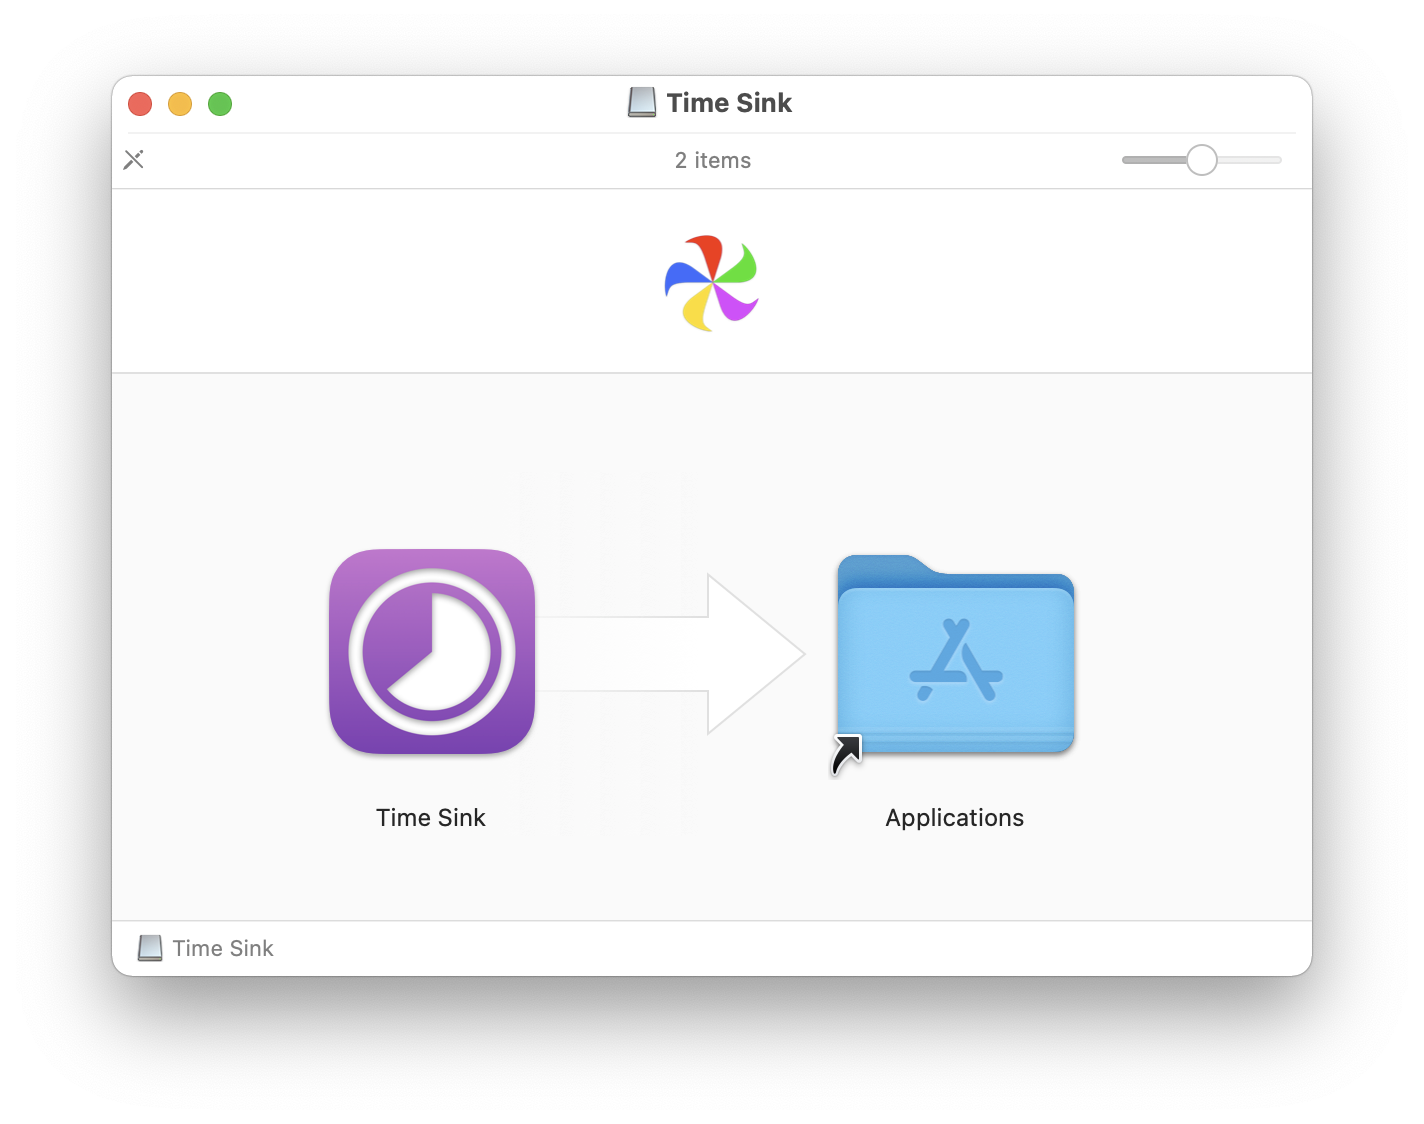
- DMG (Disk Image): A DMG file is essentially a virtual disk. When you double-click it, macOS “mounts” it as if you had plugged in an external drive. Inside, you will usually find the
.appbundle. To “install” it, you simply drag the bundle into your/Applicationsfolder. This process is unique to macOS and highlights the “bundle” nature of Mac software, where the folder itself contains all the necessary resources to run the program. - PKG (Installer Packages): Some software requires deeper system integration—such as drivers, system extensions, or shared libraries. In these cases, developers use
.pkgfiles. These are script-based installers that guide you through a setup wizard. Unlike DMGs, which are a simple “copy-paste” operation, PKG files often require administrative privileges because they write data to protected system directories like/Libraryor/usr/local.
2. Security Protocols: Navigating Gatekeeper and Notarization
As a professional user, encountering security blocks during installation is common. Apple’s security architecture, specifically Gatekeeper, is designed to ensure that only trusted software runs on your machine.
Gatekeeper and the “Unidentified Developer” Dilemma
Gatekeeper is a built-in security feature that verifies the integrity of downloaded applications. If you download a program from the web that hasn’t been “notarized” by Apple, you may see a warning stating the app “cannot be opened because it is from an unidentified developer.”
Technically, this happens because the app lacks a digital signature from a registered Apple Developer. While this is a vital defense against trojans, it can be a hurdle for niche or open-source tools. To bypass this safely, users must navigate to System Settings > Privacy & Security and manually allow the application to run. Professional users should always verify the SHA-256 checksum of such files to ensure the installer hasn’t been tampered with.
The Evolution of Notarization
In recent versions of macOS (from Catalina onwards), Apple introduced “Notarization.” This is a process where developers submit their apps to an automated Apple service that scans for malicious content. Even if an app is distributed outside the App Store, a notarized app provides a higher level of confidence. When you install a notarized program, Gatekeeper shows a more welcoming prompt, confirming that Apple has checked the software for known malware.
3. Power User Tools: Homebrew and Command Line Installation
For developers, IT professionals, and tech enthusiasts, the graphical user interface (GUI) can sometimes be too slow. This is where command-line interface (CLI) tools come into play, offering a level of precision and automation that standard installers cannot match.
Homebrew: The “Missing” Package Manager
Homebrew has become the de facto standard for software management on macOS for technical users. It allows you to install, update, and manage software via the Terminal. By using a simple command like brew install [package-name], you can bypass the manual process of searching websites, downloading DMGs, and dragging icons.
Homebrew excels at managing dependencies. For example, if you are installing a video processing tool that requires specific libraries, Homebrew will automatically identify, download, and configure those libraries for you. It keeps your /usr/local (or /opt/homebrew on Apple Silicon) directory clean and organized, preventing the “DLL hell” often associated with older operating systems.
Leveraging Casks for GUI Applications
While Homebrew started as a tool for CLI utilities, “Homebrew Cask” extended its functionality to include standard GUI applications like Google Chrome, VS Code, and Slack. Using brew install --cask allows a professional to script the setup of a brand-new Mac. Within minutes, a single script can install every piece of software a user needs, perfectly configured and ready to go.
4. Architectural Considerations: Intel vs. Apple Silicon
The transition from Intel processors to Apple Silicon (M1, M2, and M3 chips) has introduced a new layer of complexity to software installation. Ensuring you are running the correct architecture is vital for both performance and battery life.
The Role of Rosetta 2
When you install an older program designed for Intel-based Macs on a new Apple Silicon Mac, macOS uses a translation layer called Rosetta 2. Upon the first installation of an Intel app, the system will prompt you to install Rosetta. While the performance of translated apps is impressively high, it is not as efficient as running “Native” or “Universal” binaries.
Identifying Native vs. Intel Apps
As a tech-savvy user, it is beneficial to audit your installed programs. By using the “Activity Monitor” or the “About This Mac > System Report > Software > Applications” section, you can see the “Kind” of each app (Intel, Apple Silicon, or Universal). Whenever possible, you should seek out the Apple Silicon version of a program to take full advantage of the chip’s Neural Engine and efficiency cores.
5. Maintenance and Clean Uninstallation
Installation is only one half of the software lifecycle. Because macOS allows many apps to be “installed” by simply dragging them to a folder, many users mistakenly believe that dragging them to the Trash is the proper way to uninstall them.
Managing Residual Files
When an app runs, it creates support files, caches, and logs in the ~/Library/Application Support, ~/Library/Caches, and ~/Library/Preferences folders. Simply deleting the .app bundle leaves these “orphaned” files behind, which can accumulate over time and consume gigabytes of storage.
To maintain a lean system, professionals often use uninstallation utilities or manual inspection to ensure that when a program is removed, its footprint is entirely erased. This prevents configuration conflicts if you decide to reinstall the software in the future and keeps the system indexing (Spotlight) running quickly.
System Permissions and Background Tasks
Modern macOS versions require apps to ask for permission to access folders like “Desktop,” “Documents,” or “Downloads.” During and after installation, it is prudent to review System Settings > Privacy & Security > Full Disk Access. Over-provisioning permissions can be a security risk, while under-provisioning can lead to “broken” software that fails to save files or sync data.
Conclusion
Installing a program on a Mac is deceptively simple on the surface, yet it involves a sophisticated interplay of security layers, architectural translations, and file management. By mastering the various installation paths—from the curated App Store to the robust Homebrew package manager—you can ensure your macOS environment remains secure, efficient, and tailored to your professional needs.
Whether you are a developer managing dependencies or a creative professional ensuring your suite of tools is running natively on Apple Silicon, understanding the “how” and “why” behind macOS software installation is the key to a superior computing experience. As the platform continues to evolve, staying informed on these technical nuances will help you maintain a high-performance digital workspace.
aViewFromTheCave is a participant in the Amazon Services LLC Associates Program, an affiliate advertising program designed to provide a means for sites to earn advertising fees by advertising and linking to Amazon.com. Amazon, the Amazon logo, AmazonSupply, and the AmazonSupply logo are trademarks of Amazon.com, Inc. or its affiliates. As an Amazon Associate we earn affiliate commissions from qualifying purchases.