In today’s interconnected digital landscape, safeguarding your online privacy and ensuring secure access to networks has become paramount. Whether you’re a remote worker needing to connect to your company’s internal resources, a traveler wanting to access geo-restricted content, or simply an individual concerned about your digital footprint, a Virtual Private Network (VPN) is an indispensable tool. Among the most robust and widely adopted VPN protocols is OpenVPN, renowned for its flexibility, strong encryption, and open-source nature.
This comprehensive guide will walk you through the process of installing and configuring OpenVPN, transforming your digital experience by enhancing security and expanding your connectivity options. We’ll delve into the fundamental concepts, explore different installation scenarios, and provide step-by-step instructions to get you up and running with OpenVPN swiftly and effectively. Our focus will be on the “Tech” aspect of your website, emphasizing the practical application of this powerful technology for improved digital security and productivity.
Understanding OpenVPN: The Foundation of Secure Connectivity
Before diving into the installation process, it’s crucial to grasp what OpenVPN is and why it’s such a preferred choice for VPN solutions. OpenVPN is an open-source software application that implements VPN techniques to create secure point-to-point or site-to-site connections in routed or bridged configurations. Its open-source nature means its code is publicly available, allowing for constant scrutiny by security experts, which in turn leads to a more secure and reliable product.
The Power of Encryption and Protocols
At its core, OpenVPN utilizes a custom security protocol that leverages SSL/TLS for key exchange. This means that all data transmitted through your VPN tunnel is encrypted, rendering it unreadable to anyone who might intercept it – be it your Internet Service Provider (ISP), hackers on public Wi-Fi, or government surveillance agencies. The strength of this encryption is a primary reason for OpenVPN’s popularity.
Unlike some older VPN protocols that have known vulnerabilities, OpenVPN is highly configurable. You can choose from various encryption ciphers and hash algorithms to tailor the security level to your specific needs. Common choices include AES-256 (Advanced Encryption Standard with a 256-bit key), which is considered one of the strongest encryption algorithms available today, and SHA-256 (Secure Hash Algorithm 256-bit) for data integrity.
Client-Server Architecture Explained
OpenVPN operates on a client-server model. This means you’ll need two main components:
- OpenVPN Server: This is the gateway that encrypts and routes your traffic. It can be set up on a dedicated server (either your own or a commercial VPN provider’s), a router with VPN server capabilities, or even a Raspberry Pi.
- OpenVPN Client: This is the software installed on your device (laptop, smartphone, tablet) that connects to the OpenVPN server. The client software establishes a secure tunnel, encrypts your data, and sends it to the server, which then decrypts it and forwards it to its intended destination on the internet.
Understanding this architecture is key to comprehending the installation process. You’ll either be setting up your own server or, more commonly, installing client software to connect to an existing VPN service.
Installing OpenVPN: Client-Side Setup for Everyday Use
For the vast majority of users, installing OpenVPN will involve setting up the client on their devices to connect to a commercial VPN provider or a privately hosted server. This is where the “how-to” aspect truly comes into play. The process can vary slightly depending on your operating system, but the core principles remain the same.
Installing OpenVPN on Windows
Windows users have a straightforward path to installing the OpenVPN client.
- Download the OpenVPN Client: Visit the official OpenVPN website (openvpn.net) and download the appropriate installer for your Windows version (e.g., Windows 10, Windows 11). Ensure you download the 64-bit version if your system is 64-bit.
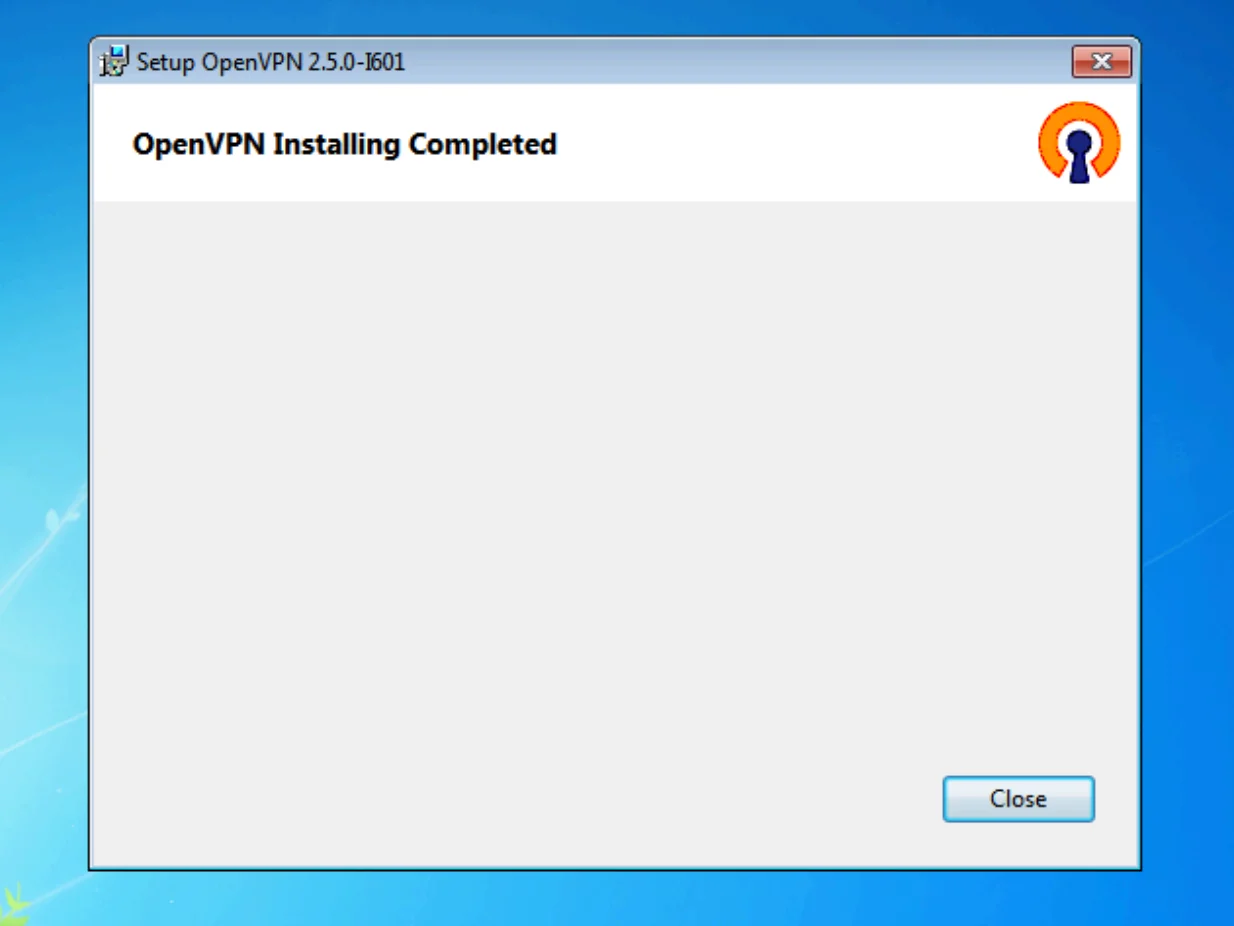
- Run the Installer: Locate the downloaded
.exefile and run it. Accept the license agreement and proceed with the installation. The default installation options are usually sufficient. You might be prompted to install a TAP-Windows adapter – this is essential for the VPN to function, so allow its installation. - Obtain Configuration Files: This is a critical step. To connect to a VPN server, you need configuration files, typically ending in
.ovpn. These files contain the server’s address, port number, protocols, certificates, and other settings required to establish a secure connection.- For Commercial VPN Providers: Most reputable VPN services provide downloadable
.ovpnfiles for their servers. You’ll usually find these in your account dashboard on their website. Download the files for the server locations you wish to connect to. - For a Self-Hosted Server: If you’ve set up your own OpenVPN server, you’ll have generated these configuration files during the server setup process.
- For Commercial VPN Providers: Most reputable VPN services provide downloadable
- Import Configuration Files:
- Open the OpenVPN GUI application (which you’ll find in your Start Menu after installation).
- Right-click on the OpenVPN GUI icon in the system tray (near the clock).
- Select “Import file…”.
- Browse to the location where you saved your
.ovpnfiles and select one to import. - Repeat this for all the
.ovpnfiles you wish to import.
- Connect to the VPN:
- Right-click on the OpenVPN GUI icon again.
- You will see the imported configuration files listed. Hover over the desired server and click “Connect”.
- You may be prompted for your VPN username and password if your configuration requires it.
- Once connected, the OpenVPN GUI icon will turn green, indicating a successful and secure connection.
Installing OpenVPN on macOS
macOS users can also leverage OpenVPN for secure connections.
- Download the OpenVPN Client: Similar to Windows, visit the OpenVPN community downloads page and download the macOS installer.
- Install the Application: Run the downloaded
.dmgfile and follow the on-screen instructions to install the OpenVPN Connect application. - Obtain Configuration Files: As with Windows, you’ll need
.ovpnconfiguration files. Download them from your VPN provider or your self-hosted server. - Import Configuration Files:
- Launch the OpenVPN Connect application.
- Click the “+” button or the “Import Profile” option.
- You can either drag and drop your
.ovpnfiles into the application window or browse to select them.
- Connect to the VPN:
- Once imported, your VPN profiles will be listed in the OpenVPN Connect app.
- Toggle the switch next to the desired profile to initiate the connection.
- You might be asked for your credentials.
- A successful connection will be indicated by a status change within the app and often a VPN icon in your macOS menu bar.
Installing OpenVPN on Linux
Linux users have the advantage of robust command-line tools and flexible graphical clients.
Using the Command Line (Recommended for Advanced Users)
- Install OpenVPN: Open your terminal and use your distribution’s package manager to install OpenVPN.
- Debian/Ubuntu:
sudo apt update && sudo apt install openvpn - Fedora/CentOS/RHEL:
sudo dnf install openvpnorsudo yum install openvpn
- Debian/Ubuntu:
- Obtain Configuration Files: Download your
.ovpnfiles. It’s good practice to store them in a dedicated directory, for example,/etc/openvpn/client/. - Connect to the VPN: Navigate to the directory where you stored your
.ovpnfiles in the terminal and run OpenVPN with the configuration file.sudo openvpn --config your_config_file.ovpn- You will be prompted for your username and password if required.
- Running in the Background (Optional): To run OpenVPN in the background, you can use the
--daemonflag:sudo openvpn --config your_config_file.ovpn --daemon
- Disconnecting: To stop the VPN, you’ll need to find the OpenVPN process ID (PID) and kill it:
ps aux | grep openvpnsudo kill <PID>
Using Network Manager (Graphical Interface)
Many Linux distributions use Network Manager for handling network connections, offering a more user-friendly graphical approach.
- Install the Network Manager Plugin: You’ll need the OpenVPN plugin for Network Manager.
- Debian/Ubuntu:
sudo apt install network-manager-openvpn-gnome(for GNOME desktop) ornetwork-manager-openvpnfor other desktop environments. - Fedora:
sudo dnf install NetworkManager-openvpn-gnome
- Debian/Ubuntu:
- Import Configuration:
- Open your system’s Network settings.
- Look for a VPN section and click the “+” button to add a new VPN connection.
- Choose “Import from file…” and select your
.ovpnfile. - Network Manager will attempt to parse the configuration. You might need to enter your username and password if not embedded in the file.
- Connect to the VPN: Once the profile is saved, you can toggle the VPN connection from your network applet in the system tray or within the Network settings.
Benefits of Using OpenVPN Beyond Installation
While the primary focus of this guide is installation, it’s worth reiterating the significant advantages OpenVPN offers, aligning with the “Tech” and “Digital Security” pillars of your website.
Enhanced Privacy and Security
By encrypting your internet traffic, OpenVPN shields your online activities from prying eyes. This is crucial when using public Wi-Fi networks, which are notorious for their security vulnerabilities. Your browsing history, login credentials, and sensitive financial information remain protected.
Bypassing Geo-Restrictions and Censorship
OpenVPN allows you to connect to servers in different geographical locations. This capability is invaluable for accessing content that might be restricted in your region, such as streaming services, websites, or news outlets. It’s also a powerful tool for circumventing internet censorship in restrictive countries.
Secure Remote Access
For businesses and individuals who need to access private networks remotely, OpenVPN provides a secure and reliable tunnel. This ensures that sensitive company data remains confidential and protected from unauthorized access.
Increased Productivity
With secure and reliable access to necessary resources, remote workers can maintain their productivity without compromising security. The ability to access internal networks from anywhere fosters flexibility and efficiency.
Conclusion: Empowering Your Digital Life with OpenVPN
Installing OpenVPN is a straightforward yet powerful step towards securing your online presence and expanding your digital horizons. Whether you’re a seasoned tech enthusiast or a beginner looking to enhance your privacy, the steps outlined in this guide provide a clear path to implementing this robust VPN solution.
By understanding the core principles of OpenVPN and following the platform-specific installation instructions, you can effectively secure your internet connection, protect your sensitive data, and enjoy greater freedom online. Embrace the power of OpenVPN and take control of your digital security and connectivity today. Remember to always download software from official sources and obtain configuration files from trusted VPN providers to ensure the integrity and security of your setup.
aViewFromTheCave is a participant in the Amazon Services LLC Associates Program, an affiliate advertising program designed to provide a means for sites to earn advertising fees by advertising and linking to Amazon.com. Amazon, the Amazon logo, AmazonSupply, and the AmazonSupply logo are trademarks of Amazon.com, Inc. or its affiliates. As an Amazon Associate we earn affiliate commissions from qualifying purchases.