
In an increasingly digital landscape, the choice of operating system profoundly impacts our daily productivity, digital security, and overall computing experience. While Windows and macOS dominate the market, the open-source world offers compelling alternatives that often excel in areas like performance, customization, and privacy. Among these, Linux Mint stands out as a beacon of user-friendliness and stability, making it an excellent choice for both seasoned Linux enthusiasts and newcomers alike. This comprehensive guide will walk you through the entire process of installing Linux Mint from a USB drive, ensuring a smooth transition into a powerful and versatile operating environment.
Preparing for Your Linux Mint Journey: Why and What You Need
Before diving into the technical steps, it’s crucial to understand why Linux Mint might be the perfect fit for you and what preparations are necessary to ensure a seamless installation. This initial phase sets the foundation for a successful migration, minimizing potential roadblocks along the way.
The Allure of Linux Mint: Stability, Security, and Freedom
Linux Mint is a community-driven Linux distribution based on Ubuntu, renowned for its ease of use, robust security features, and a commitment to providing a classic desktop experience. Unlike proprietary operating systems, Linux Mint is free, open-source, and offers unparalleled flexibility.
- Stability and Performance: Linux Mint is designed to be lightweight and efficient, often breathing new life into older hardware or delivering snappy performance on modern machines. Its robust kernel provides a solid foundation, ensuring fewer crashes and a more reliable computing experience.
- Enhanced Security: Linux has a strong reputation for security. With a smaller attack surface compared to more widely targeted operating systems and a vibrant community constantly patching vulnerabilities, Linux Mint offers a more secure environment for your digital life. This is particularly relevant in an age where digital security and privacy are paramount concerns, aligning perfectly with the ‘Digital Security’ aspect of our website’s ‘Tech’ focus.
- User-Friendliness: One of Mint’s biggest strengths is its intuitive interface. Whether you choose Cinnamon, MATE, or XFCE desktop environments, you’ll find a familiar layout reminiscent of traditional Windows desktops, complete with a start menu, taskbar, and file manager. This makes the learning curve significantly shallower for those migrating from other systems.
- Software Availability: Linux Mint comes pre-loaded with a suite of essential applications, including a web browser (Firefox), an office suite (LibreOffice), media players, and image editors. Thousands more applications are readily available through its software manager, covering virtually any need from creative work to development tools, highlighting its utility as a ‘Productivity’ tool.
- Freedom and Customization: As an open-source system, Linux Mint empowers users with complete control over their operating environment. You can customize almost every aspect, from themes and icons to system behavior, tailoring it precisely to your preferences and workflow.
Embracing Linux Mint isn’t just about installing an OS; it’s about opting for a more secure, efficient, and flexible digital future, an ideal step for anyone interested in ‘Technology Trends’ and optimizing their ‘Apps’ and ‘Software’.
Essential Pre-Installation Checklist: Backups, Downloads, and Hardware
Thorough preparation is key to a stress-free installation. Before you even think about booting from a USB, ensure you have these elements in place:
- Backup Your Precious Data: This is arguably the most critical step. If you’re installing Linux Mint alongside an existing operating system or completely replacing one, there’s always a slim chance of data loss if something goes wrong. Back up all important documents, photos, videos, and other files to an external hard drive, cloud storage, or another safe location. Don’t skip this!
- Identify System Requirements: While Linux Mint is resource-friendly, it still has minimum requirements for optimal performance:
- RAM: 2GB for comfortable use (4GB recommended for Cinnamon, 1GB for MATE/XFCE minimal).
- Disk Space: 20GB of free space (100GB recommended for a comfortable experience).
- Processor: A modern 64-bit processor (32-bit ISOs are available for older machines but 64-bit is standard).
- Display: 1024×768 resolution.
- USB Drive: An 8GB or larger USB flash drive to create the bootable installation media.
- Download the Linux Mint ISO Image: You’ll need the installation file, known as an ISO image. Visit the official Linux Mint website (linuxmint.com) and navigate to the download section. You’ll typically find three main editions based on desktop environments:
- Cinnamon (Recommended): The flagship edition, offering a modern, elegant, and feature-rich desktop experience.
- MATE: A more traditional and lightweight desktop, excellent for older hardware or those who prefer a classic interface.
- XFCE: The lightest edition, perfect for very old machines or users who prioritize minimal resource usage.
Choose the 64-bit version unless your computer is very old and only supports 32-bit. Download the ISO file to a location you can easily find, such as your Downloads folder.
- Download a USB Bootable Creator Tool: To transfer the ISO image onto your USB drive and make it bootable, you’ll need specialized software. Popular and reliable choices include:
- BalenaEtcher (Cross-platform): Simple, intuitive, and works on Windows, macOS, and Linux. Highly recommended for its ease of use.
- Rufus (Windows only): A powerful and feature-rich tool for Windows users.
Download your preferred tool and install it if necessary.
- Secure a Reliable Internet Connection: While not strictly necessary for the core installation, an internet connection is highly recommended for downloading updates and multimedia codecs during and immediately after the installation.
With these preparations complete, you’re ready to move on to creating your installation media.
Crafting and Booting Your Installation Media
This section covers the crucial steps of preparing your USB drive and configuring your computer to launch the Linux Mint installer. This is where you transform your downloaded ISO file into a functional installation tool and direct your computer to use it.
Downloading the Linux Mint ISO and Choosing Your Edition
As mentioned in the preparation, downloading the correct ISO is the first practical step.
Go to https://linuxmint.com/download.php.
You will see options for Cinnamon, MATE, and XFCE editions. If you’re unsure, Cinnamon is the most popular and generally recommended for a modern experience.
Click on your chosen edition. You’ll be presented with a list of mirrors. Choose one geographically close to you for faster download speeds.
Verify the integrity of the downloaded ISO using the SHA256 checksum provided on the download page. While optional, this step ensures your download isn’t corrupted and prevents potential installation issues. You can typically do this via command line (Linux/macOS) or with a specific tool (Windows).
Creating a Reliable Bootable USB Drive with Etcher or Rufus
Now, let’s turn your USB drive into a bootable Linux Mint installer.
Using BalenaEtcher (Recommended for most users):
- Insert USB: Plug your 8GB+ USB flash drive into an available USB port. Ensure there’s no important data on it, as it will be completely erased.
- Launch Etcher: Open BalenaEtcher. Its interface is incredibly straightforward.
- Select Image: Click “Flash from file” and browse to locate the Linux Mint ISO file you downloaded.
- Select Target: Click “Select target” and choose your USB drive from the list. Be extremely careful to select the correct drive, as selecting the wrong one could erase a different hard drive! Etcher usually tries to prevent you from selecting system drives, but always double-check.
- Flash! Click the “Flash!” button. Etcher will start writing the ISO image to the USB drive. This process can take several minutes, depending on your USB drive’s speed and your computer’s performance.
- Verification: After writing, Etcher will automatically verify the written data, ensuring its integrity. Once complete, you’ll get a “Flash Complete!” message. Your bootable USB is now ready.
Using Rufus (For Windows users):
- Insert USB: Plug your 8GB+ USB flash drive into an available USB port. Again, back up any important data on it.
- Launch Rufus: Open the Rufus executable file.
- Device Selection: Under “Device,” select your USB drive from the dropdown list.
- Boot Selection: Click “SELECT” next to “Boot selection” and browse to your Linux Mint ISO file.
- Partition Scheme: For most modern computers, “GPT” for UEFI is the appropriate partition scheme. If you have an older BIOS-only system, “MBR” for BIOS (or UEFI-CSM) might be necessary. When you select the ISO, Rufus often suggests the correct one.
- Start: Click “START.” Rufus might warn you that all data on the USB will be destroyed. Confirm to proceed. If prompted about ISOHybrid image, select “Write in ISO Image mode (Recommended)”.
- Wait: Rufus will write the image to the USB drive. This process can take a few minutes. Once done, the status bar will show “READY.”
Configuring Your System’s BIOS/UEFI to Boot from USB
With your bootable USB created, the next step is to tell your computer to boot from it instead of your primary hard drive. This involves accessing your system’s firmware settings (BIOS or UEFI).
- Restart Your Computer: With the USB drive plugged in, restart your computer.
- Access BIOS/UEFI: As your computer starts up, you’ll need to repeatedly press a specific key to enter the BIOS/UEFI setup utility. Common keys include:
DelF2F10F12Esc
The exact key varies by manufacturer (Dell, HP, Lenovo, ASUS, Acer, etc.). Look for a message on the screen during startup, like “Press F2 to enter Setup” or “Press DEL for BIOS.” If you miss it, restart and try again.
- Navigate to Boot Options: Once in the BIOS/UEFI interface (which can range from simple text menus to graphical interfaces), look for a “Boot,” “Boot Options,” “Boot Order,” or “Startup” tab/menu.
- Change Boot Order:
- Locate your USB drive (it might be listed by brand, model, or simply as “USB Hard Drive” or “Removable Device”).
- Use the arrow keys and follow the on-screen instructions (often F5/F6 or +/-) to move your USB drive to the top of the boot order list. This tells the computer to try booting from the USB first.
- If you have a UEFI system, you might also need to disable “Secure Boot” and enable “Legacy Mode” or “CSM (Compatibility Support Module)” if you encounter issues, though many modern Linux distributions handle Secure Boot well.
- Save and Exit: Find the “Save and Exit” or “Exit Saving Changes” option (often F10). Confirm your choice. Your computer will restart and should now boot from the Linux Mint USB drive.
Exploring the Linux Mint Live Session
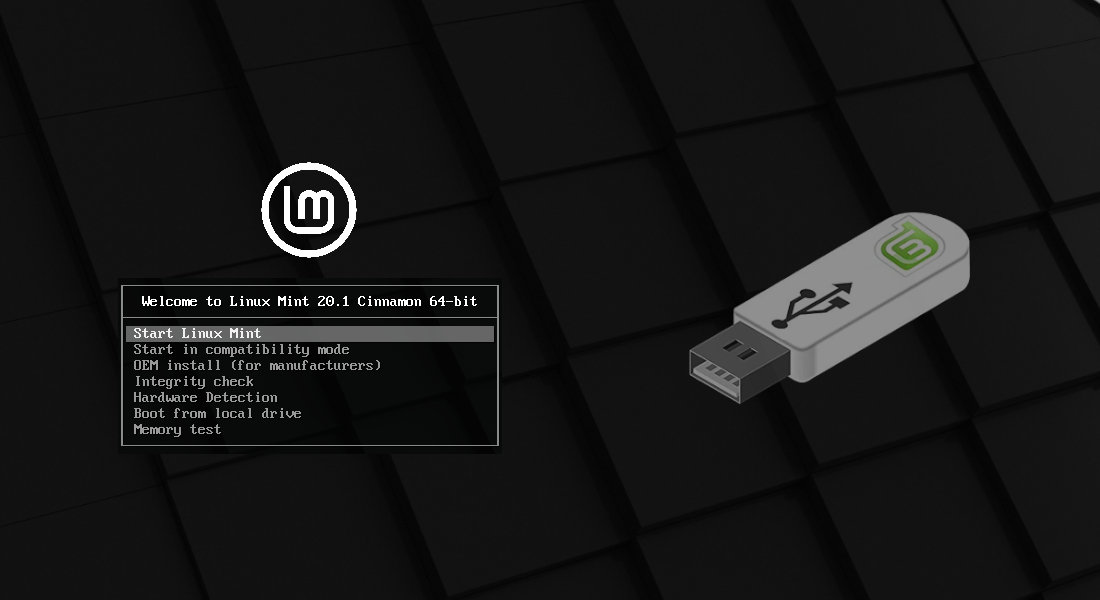
After successfully booting from the USB, you’ll see a Grub menu. Select “Start Linux Mint” (or the default option) and press Enter. Your computer will load the Linux Mint desktop directly from the USB drive without installing anything to your hard drive. This is called the “Live Session.”
The Live Session is incredibly useful:
- Test Drive: You can try out Linux Mint, explore its features, browse the web, and get a feel for the desktop environment before committing to an installation.
- Hardware Compatibility: It allows you to check if all your hardware (Wi-Fi, sound, graphics, etc.) works correctly with Linux Mint.
- Data Recovery: In an emergency, you can use the Live Session to access and back up data from your computer’s internal drives if your primary OS is unbootable.
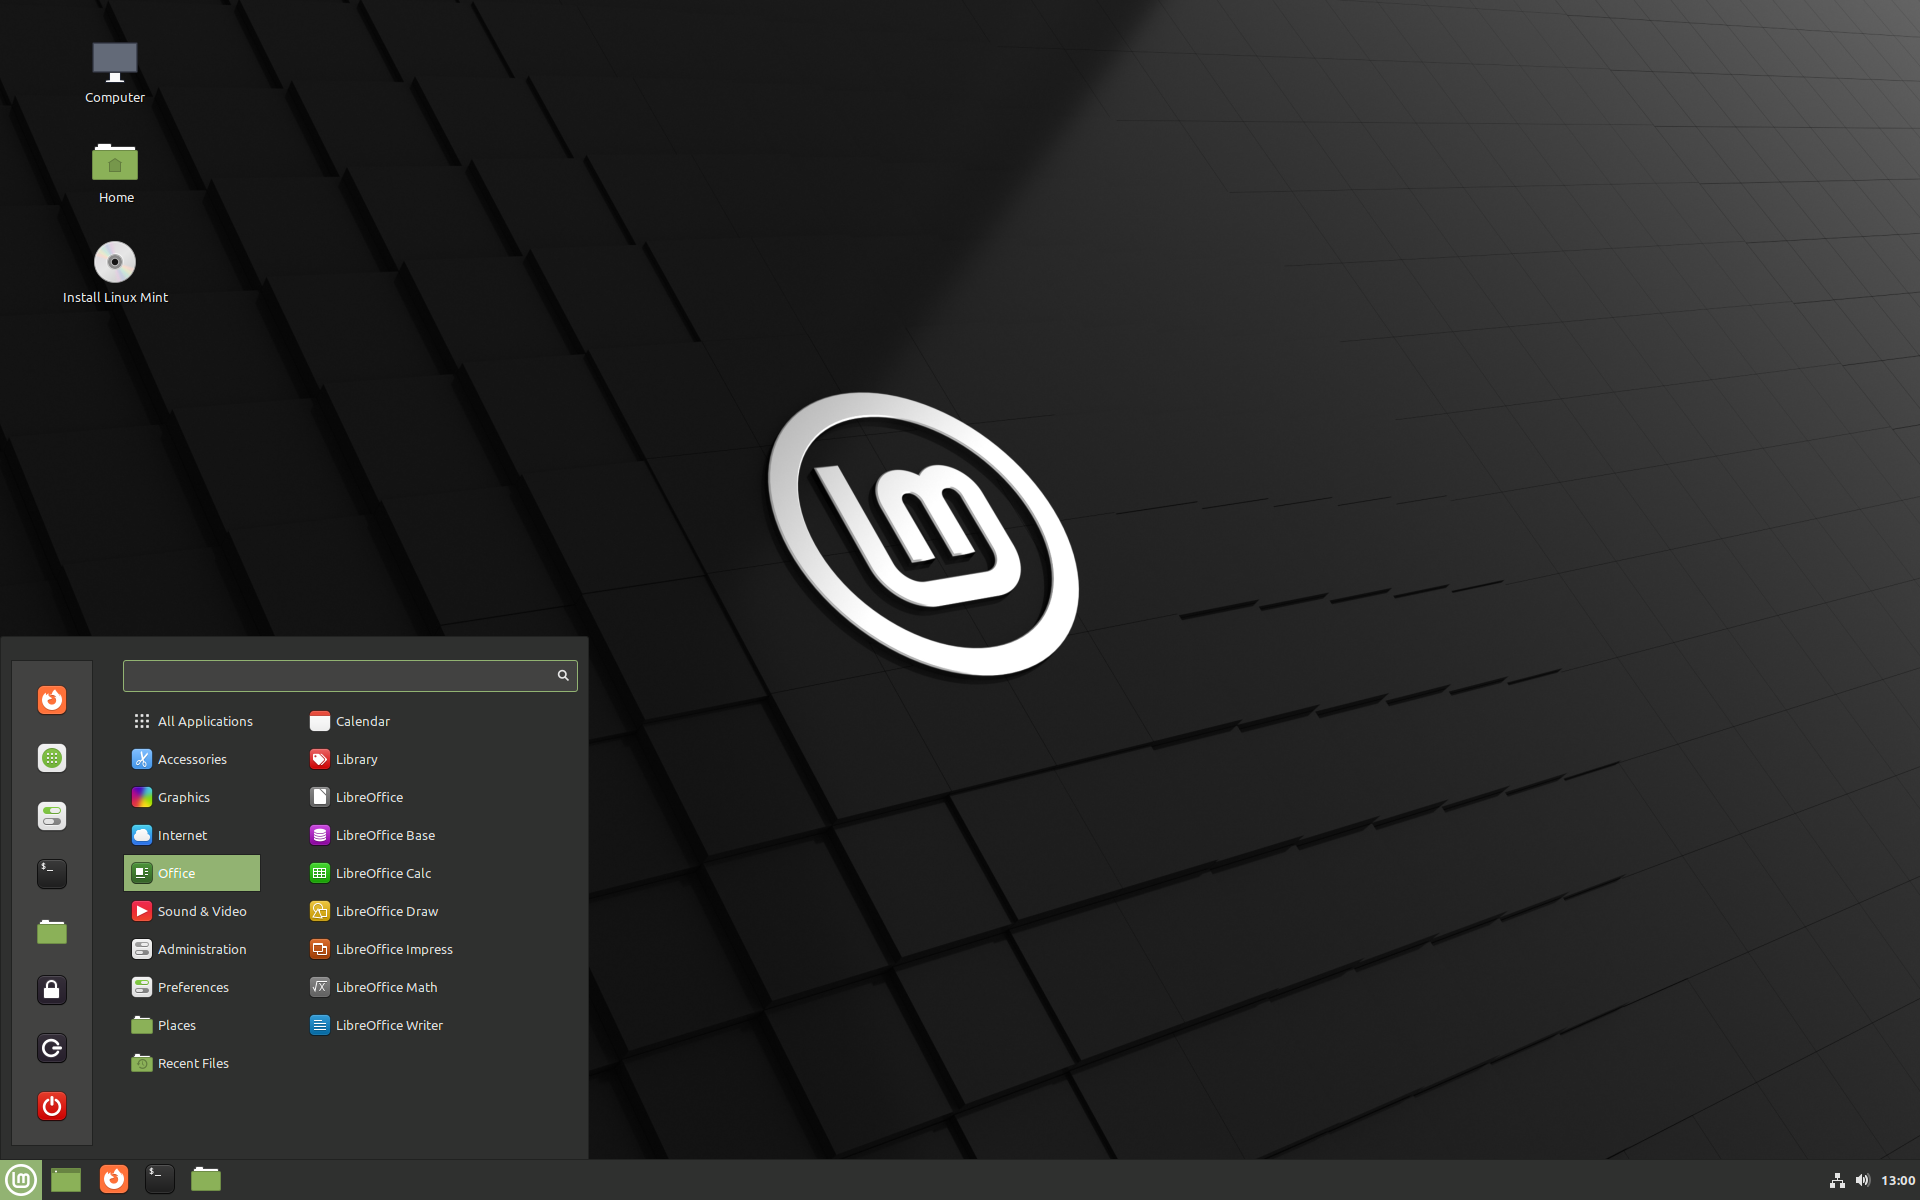
- Start Installation: You’ll find an “Install Linux Mint” icon prominently displayed on the desktop. Double-click this icon when you’re ready to proceed with the full installation.
The Linux Mint Installation Process: A Step-by-Step Guide
This is the core of our guide, detailing each step of the installation wizard. Pay close attention to the partitioning choices, as this is where critical decisions about your hard drive are made.
Launching the Installer and Initial Setup (Language, Keyboard, Codecs)
Double-click the “Install Linux Mint” icon on the Live Session desktop to launch the installer.
- Welcome Screen (Language Selection): The first screen asks you to choose your preferred installation language. Select your language and click “Continue.”
- Keyboard Layout: Next, you’ll select your keyboard layout. The installer usually auto-detects this, but you can test it in the provided text field. Choose your layout and click “Continue.”
- Multimedia Codecs: You’ll be asked if you want to “Install multimedia codecs.” It’s highly recommended to check this box. These codecs are essential for playing various audio and video formats, including MP3s, MP4s, and Flash content, which are not included by default due to licensing restrictions. You’ll need an active internet connection for this step. Click “Continue.”
Navigating Partitioning: Crucial Decisions for Your Hard Drive
This is the most critical part of the installation. How you partition your hard drive determines whether Linux Mint replaces your current OS, coexists with it, or is installed in a custom setup.
The “Erase Disk” Option: A Fresh Start
- Description: This option will wipe your entire hard drive, deleting all existing operating systems and data, and install Linux Mint as the sole operating system.
- When to Use:
- You want Linux Mint to be the only OS on your computer.
- You have a new computer with no OS.
- You’ve thoroughly backed up all important data and wish to start fresh.
- Caution: This is destructive! Ensure you’ve backed up everything important before selecting this.
- Recommendation: If you’re new to Linux and want a straightforward installation, and you’re comfortable with replacing your current OS, this is the easiest option.
“Install Linux Mint alongside another operating system”: Dual-Booting
- Description: This option detects existing operating systems (like Windows) and automatically resizes their partitions to create space for Linux Mint. It then sets up a dual-boot menu, allowing you to choose which OS to load each time you start your computer.
- When to Use:
- You want to keep your existing operating system (e.g., Windows) and run Linux Mint alongside it.
- You’re new to Linux and want to experiment without fully committing.
- Caution: While generally safe, resizing partitions carries a small risk. Always back up your data. Ensure you have enough free space on your existing OS drive for Mint.
- Recommendation: This is the best option for most users who want to try Linux Mint without fully abandoning their current OS.
“Something else”: Advanced Manual Partitioning
- Description: This option gives you complete manual control over partitioning your hard drive. You can create, resize, and delete partitions yourself.
- When to Use:
- You have specific partitioning requirements (e.g., separate
/home,/boot, orswappartitions). - You want to install Linux Mint on a specific drive or partition.
- You’re an experienced user who understands disk partitioning.
- You have specific partitioning requirements (e.g., separate
- Caution: This option requires a good understanding of disk partitioning. Incorrect choices can lead to data loss or an unbootable system. If you’re unsure, choose one of the simpler options.
- Common Manual Partitions (Example):
- Root Partition (
/): At least 20-30GB, Ext4 filesystem. This is where the core OS files are installed. - Swap Partition/File: Typically equal to or double your RAM (or 2-4GB if you have ample RAM, e.g., 8GB+), depending on your usage (e.g., hibernation). Can also be a swap file.
- Home Partition (
/home): The rest of your disk space, Ext4 filesystem. This stores all your personal files and user settings, keeping them separate from the OS. - EFI System Partition (ESP): (Only for UEFI systems) Around 100-500MB, FAT32 filesystem. This is where bootloaders reside. If Windows is already installed, you’ll likely use its existing EFI partition.
- Root Partition (
Choose your preferred installation type and click “Install Now.” If you chose “Something else,” you’ll be taken to the partitioning editor to create or modify partitions before proceeding. The installer will then show you a summary of the changes it’s about to make to your disk. Review it carefully before confirming.
Finalizing Setup: Time Zone, User Account, and Installation Execution
After partitioning, the installer moves to personal setup details:
-
Where Are You? (Time Zone): Click on your location on the world map or type your city to set the correct time zone. Click “Continue.”
-
Who Are You? (User Account Creation): This is where you create your primary user account.
- Your name: Enter your full name.
- Your computer’s name: This is how your computer will appear on a network. A suggestion will be provided.
- Pick a username: This is your login name (e.g., ‘johnsmith’).
- Choose a password: Create a strong, memorable password and confirm it.
- Log in automatically: You can choose to log in automatically without a password, but this is less secure. It’s generally recommended to require a password.
- Encrypt your home folder: This enhances security by encrypting your personal files. It adds a slight performance overhead but is highly recommended for sensitive data. You’ll need a strong password.
Click “Continue.”
-
Installation in Progress: The installer will now begin copying files and configuring your system. This process can take anywhere from 15 to 45 minutes, depending on your computer’s speed. You’ll see a slideshow highlighting Linux Mint features during this time.
-
Installation Complete: Once finished, a dialog box will appear stating “Installation is complete.” You’ll be prompted to either “Continue Testing” (remaining in the Live Session) or “Restart Now.” Click “Restart Now.”
Post-Installation: Optimizing Your New Linux Mint System
Congratulations! Linux Mint is now installed. The journey doesn’t end there, though. A few post-installation steps will help optimize your system and personalize it to your needs.
First Boot and Initial Updates
- Remove USB: When prompted to restart, make sure to remove the USB installation drive as the screen goes black, or just as the manufacturer logo appears. If you don’t remove it, your computer might boot back into the Live Session.
- Grub Bootloader: If you dual-booted, you’ll now see the Grub bootloader menu, allowing you to choose between Linux Mint and your other operating system (e.g., Windows). Select “Linux Mint” and press Enter.
- Welcome Screen and Driver Manager: After logging in, you’ll be greeted by the Linux Mint Welcome Screen. This useful tool guides you through common post-installation tasks. The first thing to do is to launch the Update Manager from the Welcome Screen or by searching for it in the Start Menu. Apply all available updates. This ensures your system has the latest security patches and software versions.
- System Snapshot (Timeshift): The Welcome Screen will also recommend setting up Timeshift. Do this! Timeshift allows you to create system snapshots, which are invaluable for restoring your system to a previous working state if an update or configuration change causes issues. Think of it as a Linux version of System Restore.
Installing Essential Drivers (Graphics, Wi-Fi)
While Linux Mint often works out of the box with most hardware, proprietary drivers can significantly improve performance, especially for graphics cards and Wi-Fi adapters.
- Driver Manager: Open the “Driver Manager” from the Welcome Screen or the Start Menu.
- Scan for Drivers: The Driver Manager will scan your system for proprietary hardware that requires specific drivers (e.g., NVIDIA or AMD graphics cards, Broadcom Wi-Fi chips).
- Install Recommended Drivers: If it finds any, it will list them and recommend which ones to install. Select the recommended driver and click “Apply Changes.” You may need to restart your computer after installing drivers for them to take full effect. This step is crucial for getting the best performance and compatibility from your hardware.
Personalizing Your Desktop and Installing Favorite Applications
With your system updated and drivers installed, it’s time to make Linux Mint truly yours.
- Desktop Settings (Themes, Icons, Fonts):
- Right-click on the desktop and select “Change Desktop Background” to choose a new wallpaper.
- Go to “System Settings” (found in the Start Menu) and explore “Themes,” “Fonts,” and “Effects” to customize the look and feel of your desktop. Linux Mint offers a vast array of options.
- Software Manager:
- The Software Manager (accessible from the Start Menu) is your gateway to thousands of free and open-source applications. Browse by category, search for specific software, or explore popular choices.
- Popular Applications to Consider:
- Web Browsers: Chrome/Chromium, Brave (if you want alternatives to Firefox).
- Communication: Discord, Skype, Zoom, Telegram.
- Productivity: OnlyOffice, WPS Office (alternatives to LibreOffice), FocusWriter.
- Media: VLC Media Player, Spotify, Audacity.
- Graphics/Creativity: GIMP (Photoshop alternative), Krita, Inkscape (Illustrator alternative).
- Development Tools: VS Code, Git, various programming language runtimes.
- Simply click “Install” on the desired software, and the Software Manager will handle the rest.
- Flatpaks: Linux Mint now heavily supports Flatpak, a universal packaging system. Many applications available through the Software Manager are Flatpaks, providing access to newer versions of software and improved sandboxing.
- Terminal (Advanced): For more advanced users, the terminal (Ctrl+Alt+T) allows you to install software using
aptcommands or manage system configurations. This provides even more control and flexibility.
Conclusion: Your Journey into Linux Mint Begins
Installing Linux Mint from a USB drive is a straightforward process that unlocks a world of stable, secure, and customizable computing. By following this detailed guide, you’ve not only successfully installed a powerful operating system but also taken a significant step towards greater digital freedom and efficiency.
Linux Mint is more than just an operating system; it’s a gateway to understanding technology at a deeper level, aligning perfectly with the ‘Tech’ and ‘Productivity’ themes of our website. Whether you’re a student, a professional, or simply a curious user, Mint provides a robust platform for learning, creating, and exploring without the constraints of proprietary software. Embrace your new Linux Mint system, continue to explore its capabilities, and enjoy a computing experience that truly puts you in control.
aViewFromTheCave is a participant in the Amazon Services LLC Associates Program, an affiliate advertising program designed to provide a means for sites to earn advertising fees by advertising and linking to Amazon.com. Amazon, the Amazon logo, AmazonSupply, and the AmazonSupply logo are trademarks of Amazon.com, Inc. or its affiliates. As an Amazon Associate we earn affiliate commissions from qualifying purchases.