
Deciding to close a bank account, especially one with a major institution like Chase, is a significant financial decision that requires careful planning and execution. Whether you’re consolidating your finances, unhappy with fees or services, moving to a new financial institution, or simply no longer need the account, understanding the correct procedure is crucial to ensure a smooth transition and avoid potential headaches. This guide will walk you through every step, focusing on the financial implications and best practices for cancelling your Chase account.
Closing an account isn’t just about making a phone call; it’s about strategically managing your funds, safeguarding your financial history, and ensuring no loose ends jeopardise your credit or future banking relationships. Approaching this process methodically can save you time, stress, and potential financial penalties.

The Strategic Decision to Close Your Account: Why and When
Before you initiate the cancellation process, it’s beneficial to reflect on your reasons for doing so. Understanding your motivations can help you assess if closing the account is truly the best course of action, or if alternatives might serve you better.
Common Reasons for Account Closure
Many factors can lead individuals to consider closing their Chase account. These include:
- High Fees: Unwanted monthly maintenance fees, overdraft charges, or ATM fees can chip away at your savings, prompting a search for more cost-effective banking solutions.
- Dissatisfaction with Service: Poor customer service experiences, inconvenient branch locations, or a lack of desired digital banking features can drive customers away.
- Consolidating Finances: Managing multiple accounts across different banks can be cumbersome. Closing inactive or less-used accounts simplifies financial oversight and streamlines budgeting.
- Relocation: Moving to a new city or country where Chase has limited presence might necessitate switching to a local bank.
- Seeking Better Offers: Competitor banks often offer attractive sign-up bonuses, higher interest rates on savings, or more robust rewards programs that might lure you away.
- Life Changes: Marriage, divorce, inheritance, or changes in employment can all trigger a reassessment of banking needs and lead to account closures.
- Risk Mitigation: If an account has been compromised or is subject to fraud, closing it might be a necessary step to protect your finances.
Is Account Closure Always the Best Option?
While cancelling an account might seem like the straightforward solution, consider if there are alternatives that better suit your needs.
- Downgrading Account Type: If high fees are the primary concern, check if Chase offers a no-fee checking or savings account you could switch to. This allows you to maintain your banking relationship without the unwanted costs.
- Modifying Account Features: Can you waive fees by maintaining a certain balance, setting up direct deposits, or using Zelle? Sometimes a simple adjustment to your banking habits can negate the need for closure.
- Temporarily Freezing Account: If you’re unsure about future needs, some banks offer options to temporarily freeze or put an account into a dormant state, though this isn’t a common feature for standard checking/savings. This is more common for credit cards.
- Communicating with Chase: Before making a final decision, speak with a Chase representative. They might be able to offer solutions, waive fees, or provide insights into other products that could meet your needs.
Preparing for Account Closure: Essential Pre-cancellation Steps
Closing a bank account involves more than just emptying it; it’s a strategic financial maneuver that requires meticulous preparation. Skipping these crucial steps can lead to bounced payments, missed deposits, and financial headaches.
1. Transferring Funds Out
The first and most critical step is to move all funds out of the account you intend to close.
- External Transfers: The safest and most common method is to transfer funds electronically to another bank account you own. This can usually be done through Chase’s online banking portal or via your new bank’s external transfer service. Allow several business days for the transfer to clear.
- Wire Transfers: For large sums requiring immediate transfer, a wire transfer is an option, though it typically incurs a fee.
- Cash Withdrawal: You can withdraw cash at an ATM (up to daily limits) or a Chase branch. For significant amounts, a branch visit is necessary.
- Cashier’s Check: Request a cashier’s check for the remaining balance. This is a secure way to transfer funds, particularly if you’re not ready to deposit them into another account immediately.
Important Note: Do not leave a zero balance initially. Leave a small amount (e.g., $1-$5) until you have confirmation that all automated transactions have been switched and no final fees are pending. A completely zero balance might trigger an automatic closure before you’ve fully prepared.
2. Updating Automatic Transactions
This is arguably the most overlooked and problematic aspect of account closure. Failing to update recurring payments and direct deposits can lead to serious issues.
- Direct Deposits: Contact your employer, government agencies (e.g., Social Security, VA benefits), or any other source of recurring income to update your direct deposit information to your new account. Do this several weeks in advance.
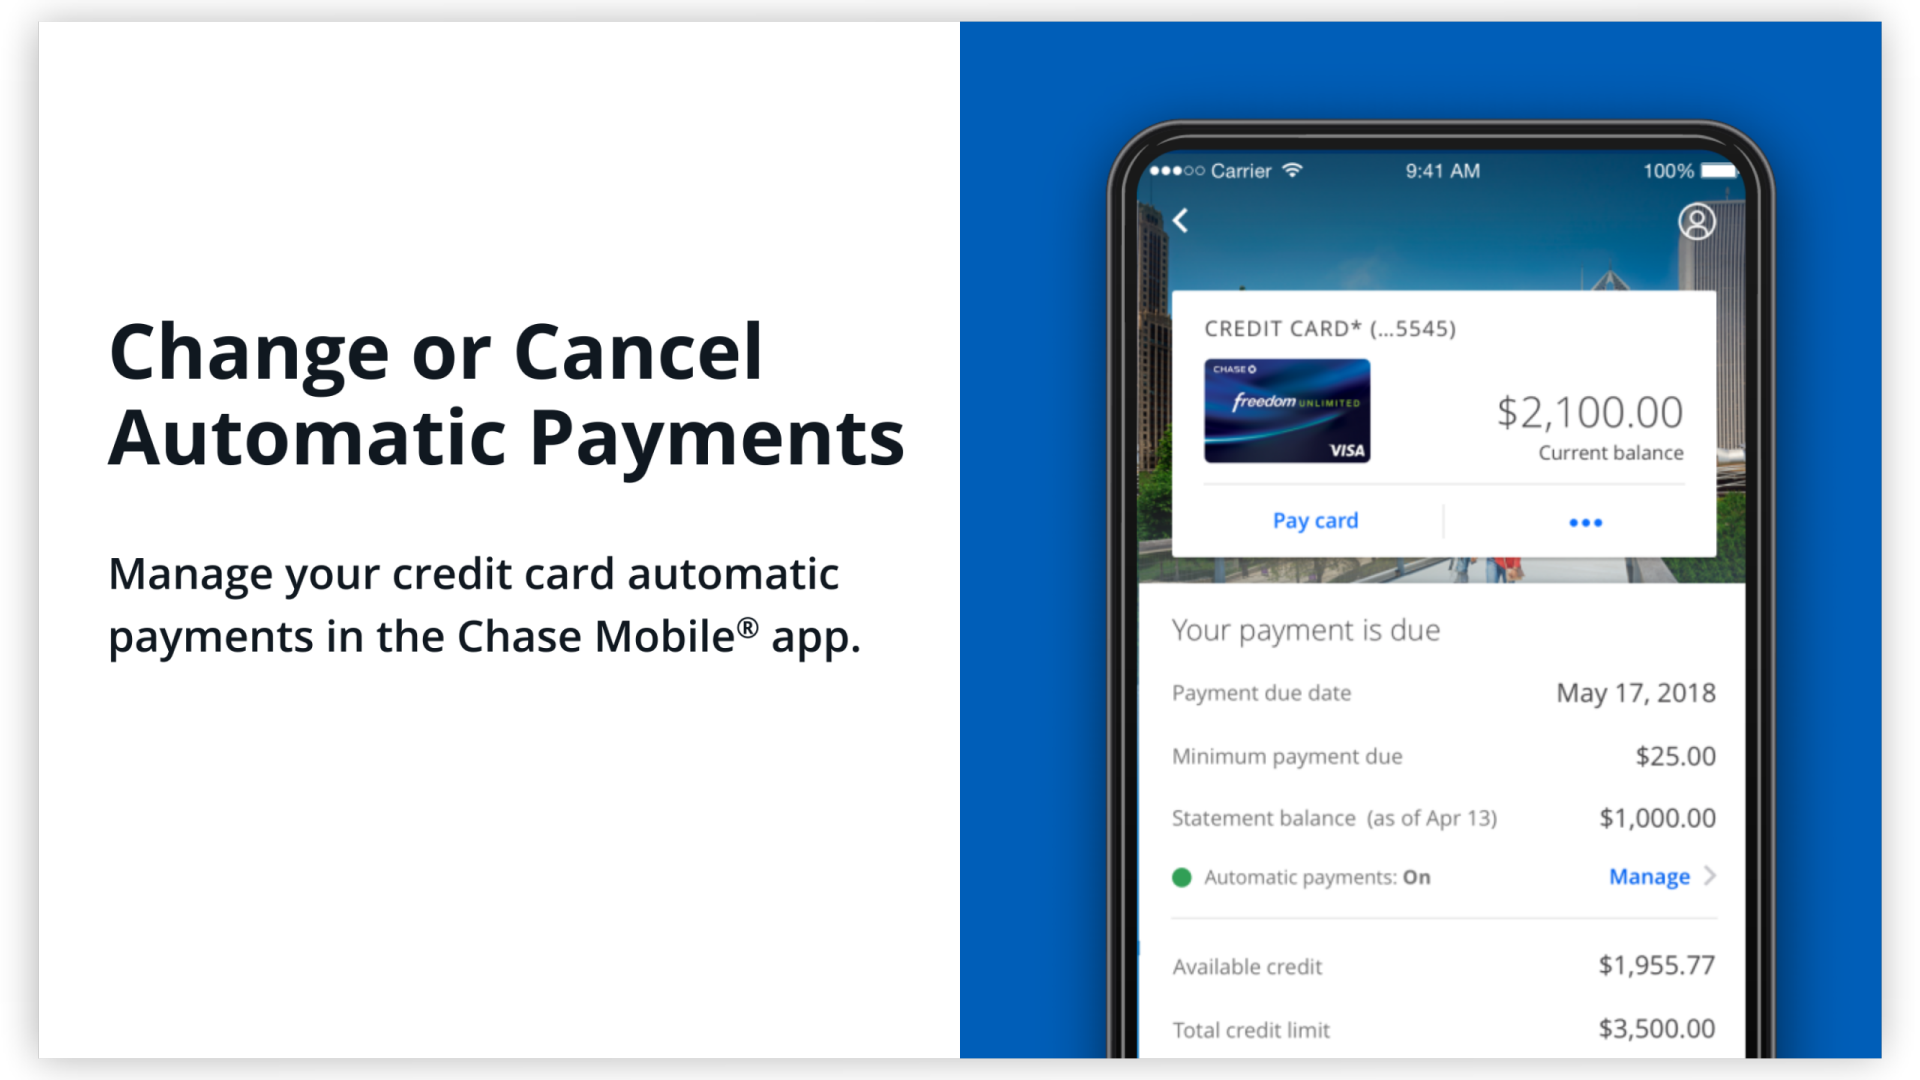
- Automatic Payments/Bill Pay: Make a comprehensive list of all recurring bills and subscriptions tied to your Chase account. This includes utility bills, loan payments, credit card payments, streaming services, gym memberships, insurance premiums, and any other automatic withdrawals. Update each one with your new bank account information. Many services allow this through their online portals.
- ACH Transfers: If you have set up recurring transfers from your Chase account to other personal accounts or investment platforms, remember to update these as well.
Pro-Tip: Review your last 12-18 months of bank statements to ensure you capture all periodic and annual automated transactions that might not occur monthly.
3. Preserving Financial Records
Once your account is closed, accessing past statements and transaction history can become difficult or incur fees.
- Download Statements: Before closing, download and save all your bank statements, transaction history, and any other relevant documents for at least the past 7 years (or longer, depending on your tax and financial planning needs). Store them securely, both digitally and potentially physically.
- Tax Implications: Ensure you have access to any tax-relevant documents, such as interest earned statements (1099-INT) for the current year and previous years.
4. Considering Connected Accounts
If you have other Chase products (e.g., credit cards, loans, investment accounts) linked to the account you’re closing, ensure these relationships are properly severed or updated. For instance, if your Chase credit card bill is automatically paid from the checking account you’re closing, update that payment method immediately.
The Cancellation Process: Step-by-Step Instructions
Once you’ve thoroughly prepared, you can proceed with officially closing your Chase account. Chase offers several methods for closure, each with its own nuances.
Option 1: Calling Chase Customer Service (Recommended)
This is often the most efficient and recommended method, as it allows for direct communication and immediate clarification of any issues.
- Gather Information: Have your account number, routing number, Social Security number, and a form of identification (like your driver’s license number) ready.
- Call the Right Number: For checking and savings accounts, call Chase’s general customer service line (usually found on their website or the back of your debit card).
- State Your Intent: Clearly inform the representative that you wish to close your account.
- Confirm Details: The representative will likely verify your identity and ask about the reason for closure.
- Final Balance: Confirm the exact final balance and how any remaining funds will be disbursed (e.g., transferred to another linked Chase account, sent via cashier’s check).
- Request Confirmation: Ask for a confirmation number or an email confirming the account closure. Note the date and time of your call and the name of the representative.
Option 2: Visiting a Chase Branch
For those who prefer in-person service or have complex situations, visiting a branch can be beneficial.
- Bring ID and Account Info: Take a valid government-issued ID (driver’s license, passport) and your account details.
- Speak to a Banker: Inform the banker you wish to close your account.
- In-Person Assistance: The banker can help you transfer any remaining funds, issue a cashier’s check, and provide immediate confirmation of closure.
- Get Written Confirmation: Always request a written confirmation of closure, such as a printed document with the account closure date and time stamp.
Option 3: Online Banking Portal (Limited Availability)
While Chase’s online portal is robust, direct account closure functionality for checking and savings accounts is often limited or not explicitly available for all account types. For credit cards, online closure might be an option.
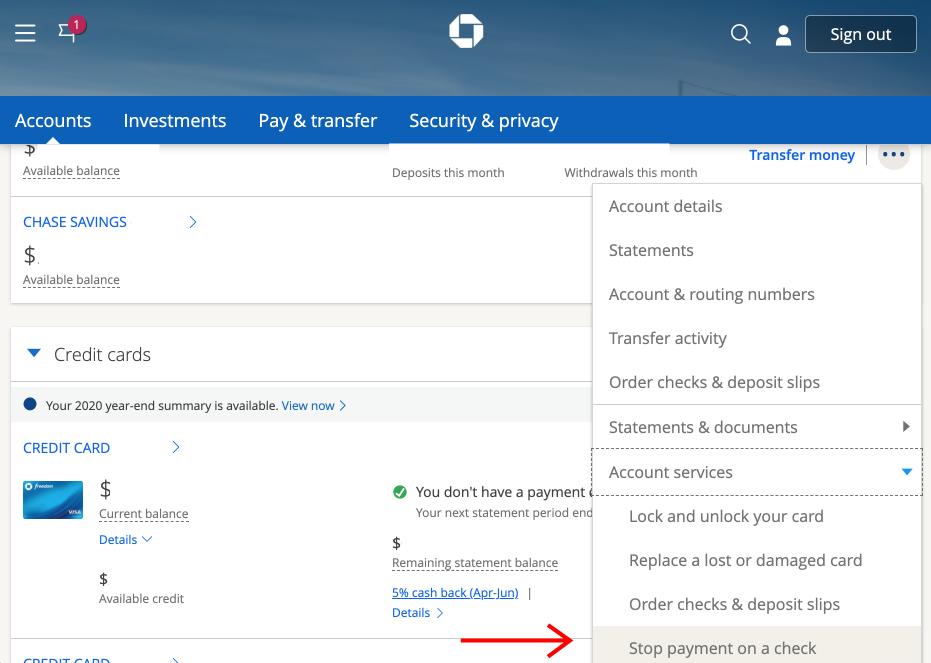
- Check Availability: Log into your Chase online banking account. Navigate through the account management or customer service sections to see if an “Account Closure” option is present. If it is, follow the prompts carefully.
- Use Secure Messaging: If direct closure isn’t an option, you can send a secure message requesting closure. Be prepared for a delayed response and follow-up. This method is generally less immediate and less preferred for finality.
Option 4: By Mail (Least Recommended)
Sending a written request by mail is the least recommended method due to delays and lack of immediate confirmation.
- Write a Letter: Include your full name, account number, contact information, and a clear statement requesting account closure. Sign the letter.
- Notarize (Optional but Recommended): Consider having your signature notarized for added security.
- Send Certified Mail: Send the letter via certified mail with a return receipt requested. This provides proof that Chase received your request.
- Follow Up: Be prepared to follow up with a phone call if you don’t receive confirmation within a reasonable timeframe (e.g., 2-3 weeks).
What Happens After You Cancel: Post-Closure Considerations
Closing your account isn’t the absolute end of the process. Several follow-up steps and considerations ensure everything is finalized smoothly.
1. Confirming Closure
This is paramount. Do not assume the account is closed until you have received official confirmation.
- Wait for Official Notice: Chase should send you a confirmation email or letter stating the account has been closed.
- Check Online Banking: After a few days, try logging into your Chase online banking. The closed account should no longer appear or should be marked as closed.
- Zero Balance Check: If you left a small amount in the account, ensure it’s now at a zero balance and that the account status reflects closure.
2. Impact on Your Credit Score
For checking and savings accounts, closing an account generally has no direct impact on your credit score, as these accounts are not typically reported to credit bureaus.
However, indirect impacts can occur:
- Bounced Payments: If you failed to update automatic payments before closure, bounced payments can lead to late payment fees from creditors, which can negatively affect your credit score if reported.
- Outstanding Balances/Fees: If you close an account with a negative balance or leave unpaid fees, Chase might report this to collection agencies, which would severely damage your credit. Ensure all outstanding fees are paid before closure.
- Credit Cards: If you are closing a Chase credit card account, this can affect your credit score, especially if it’s an old account with a high credit limit. Closing old credit lines can reduce your average age of accounts and increase your credit utilization ratio, potentially lowering your score.
3. Final Statements and Tax Implications
- Final Statement: You will receive a final statement covering the period up to the closure date. Keep this with your other financial records.
- Interest Reporting: If your account earned interest in the year it was closed, Chase will still issue a 1099-INT form for tax purposes in the following January, provided the interest earned exceeds the IRS reporting threshold.
4. Debit Card and Checks
Once the account is closed, destroy your debit card by cutting through the magnetic strip and chip. Shred any unused checks associated with the account. Do not simply throw them away, as this could pose a security risk.
Conclusion: A Smooth Transition to Your Next Financial Chapter
Closing a Chase account, or any bank account, is more than a simple transaction; it’s a critical step in managing your personal finances effectively. By carefully preparing, understanding the available methods for closure, and following through with post-closure confirmations, you can ensure a smooth, stress-free transition.
Remember, the goal is to protect your financial integrity, avoid unnecessary fees or complications, and set yourself up for success with your new banking arrangements. Take your time, be thorough, and approach the process with diligence. Your financial well-being depends on it.
aViewFromTheCave is a participant in the Amazon Services LLC Associates Program, an affiliate advertising program designed to provide a means for sites to earn advertising fees by advertising and linking to Amazon.com. Amazon, the Amazon logo, AmazonSupply, and the AmazonSupply logo are trademarks of Amazon.com, Inc. or its affiliates. As an Amazon Associate we earn affiliate commissions from qualifying purchases.