
Venmo has revolutionized the way we send and receive money, transforming casual payments between friends, family, and even small businesses into a seamless digital experience. Its widespread adoption, particularly among younger demographics, has made it a de facto standard for splitting bills, contributing to group gifts, or receiving payments for small services. However, the convenience of receiving money into your Venmo balance often leads to a practical question: how do you get that money out and into your traditional bank account, or use it for everyday spending?

This guide delves into the various methods for withdrawing funds from your Venmo account, providing a professional, insightful, and engaging look at the financial tools and strategies available. We’ll cover everything from standard bank transfers to instant options and direct spending with the Venmo Debit Card, ensuring you can manage your digital funds effectively and integrate Venmo into your broader personal finance strategy. Understanding these options is key to leveraging Venmo not just as a payment app, but as a component of your overall financial ecosystem.
Understanding Your Venmo Balance and Withdrawal Options
Before diving into the specifics of transferring funds, it’s essential to grasp what your Venmo balance represents and the fundamental ways you can access those funds. Your Venmo balance acts like a digital wallet within the app, holding any money you’ve received from others, cashback from Venmo credit products, or refunds. While convenient for peer-to-peer transactions within the Venmo network, most users eventually need to move these funds to a more traditional banking environment for bills, savings, or investing.
The Basics of Your Venmo Balance
Your Venmo balance isn’t a bank account, nor does it earn interest like a savings account. It’s essentially a holding place for funds that are ready to be used within the Venmo ecosystem or transferred out. The primary reasons users choose to move money out of Venmo include:
- Paying Bills: Most utility bills, rent, or loan payments require funds from a traditional bank account.
- Saving and Investing: To grow your money, you’ll need to transfer it to a savings account, brokerage, or other investment vehicle.
- Consolidating Funds: Many prefer to keep all their liquid funds in one primary bank account for easier tracking and budgeting.
- Cash Access: For situations requiring physical cash, withdrawing from an ATM linked to your bank account or a Venmo Debit Card is necessary.
Understanding these motivations clarifies why Venmo provides multiple withdrawal pathways, each with its own benefits and considerations regarding speed and cost.
Overview of Withdrawal Methods
Venmo offers three primary ways to access the funds in your balance:
- Standard Bank Transfer: This is the most common and cost-effective method. Funds are transferred from your Venmo balance directly to your linked bank account. While it’s free, it typically takes 1-3 business days for the funds to arrive.
- Instant Transfer: For those times when you need immediate access to your money, Venmo offers an instant transfer option. This method transfers funds to your linked debit card or eligible bank account within minutes, but it comes with a small fee.
- Venmo Debit Card: If you prefer to spend your Venmo balance directly without initiating a transfer to your bank, the Venmo Debit Card allows you to use your funds like a regular debit card for purchases online, in stores, and even ATM withdrawals.
Each method caters to different needs and priorities. The choice depends on your urgency, willingness to pay a fee, and how you intend to use the money.
Step-by-Step Guide to Standard and Instant Transfers
Transferring money from your Venmo balance to your bank account is a straightforward process, but it requires a linked and verified bank account or debit card. Knowing the steps for both standard and instant transfers will allow you to make informed decisions about how and when to move your funds.
Initiating a Standard Bank Transfer
The standard transfer is the go-to option for most users due to its zero cost. Here’s how to do it:
- Open the Venmo App: Launch the Venmo app on your mobile device.
- Navigate to the ‘Me’ Tab: Tap on the single-person icon (or your profile picture) located at the bottom right of the screen. This is your personal feed.
- Tap ‘Transfer’: Below your Venmo balance, you’ll see a button labeled “Transfer.” Tap this.
- Enter Amount: Input the specific amount you wish to transfer from your Venmo balance.
- Choose Transfer Method: Select “Standard Transfer” (usually pre-selected or the default free option).
- Select Linked Account: Choose the bank account where you want the money to be sent. Ensure it’s the correct account, as transfers cannot be reversed once initiated.
- Review and Confirm: Double-check all the details, including the amount and the destination account. Then, tap “Transfer” to finalize the request.
Once confirmed, Venmo will process the transfer, and the funds typically appear in your bank account within 1-3 business days. Keep in mind that “business days” exclude weekends and holidays, so a transfer initiated on a Friday might not arrive until the following Tuesday or Wednesday.
Executing an Instant Transfer
For urgent needs, an instant transfer provides immediate access to your funds, albeit for a fee.
- Follow Steps 1-4 for Standard Transfer: Open the app, go to the ‘Me’ tab, tap ‘Transfer,’ and enter the amount.
- Choose ‘Instant Transfer’: When presented with transfer options, select “Instant Transfer.”
- Review Fee and Destination: Venmo will display the fee (currently 1.75% of the transferred amount, with a minimum of $0.25 and a maximum of $25.00). You’ll also confirm the destination, which can be an eligible debit card or bank account.
- Confirm Transfer: Tap “Transfer” to complete the instant transfer.
The funds should appear in your linked debit card or bank account within minutes, though some banks may take up to 30 minutes. This option is invaluable for unexpected expenses, last-minute bill payments, or when liquidity is critical.
Linking and Verifying Your Bank Account
Before you can initiate any transfers, you must link and verify a bank account or debit card with your Venmo profile. This is a crucial security measure and a prerequisite for all withdrawals.
- Go to Settings: From the ‘Me’ tab, tap the “Settings” gear icon in the top right corner.
- Select ‘Payment Methods’: Under settings, tap on “Payment Methods.”
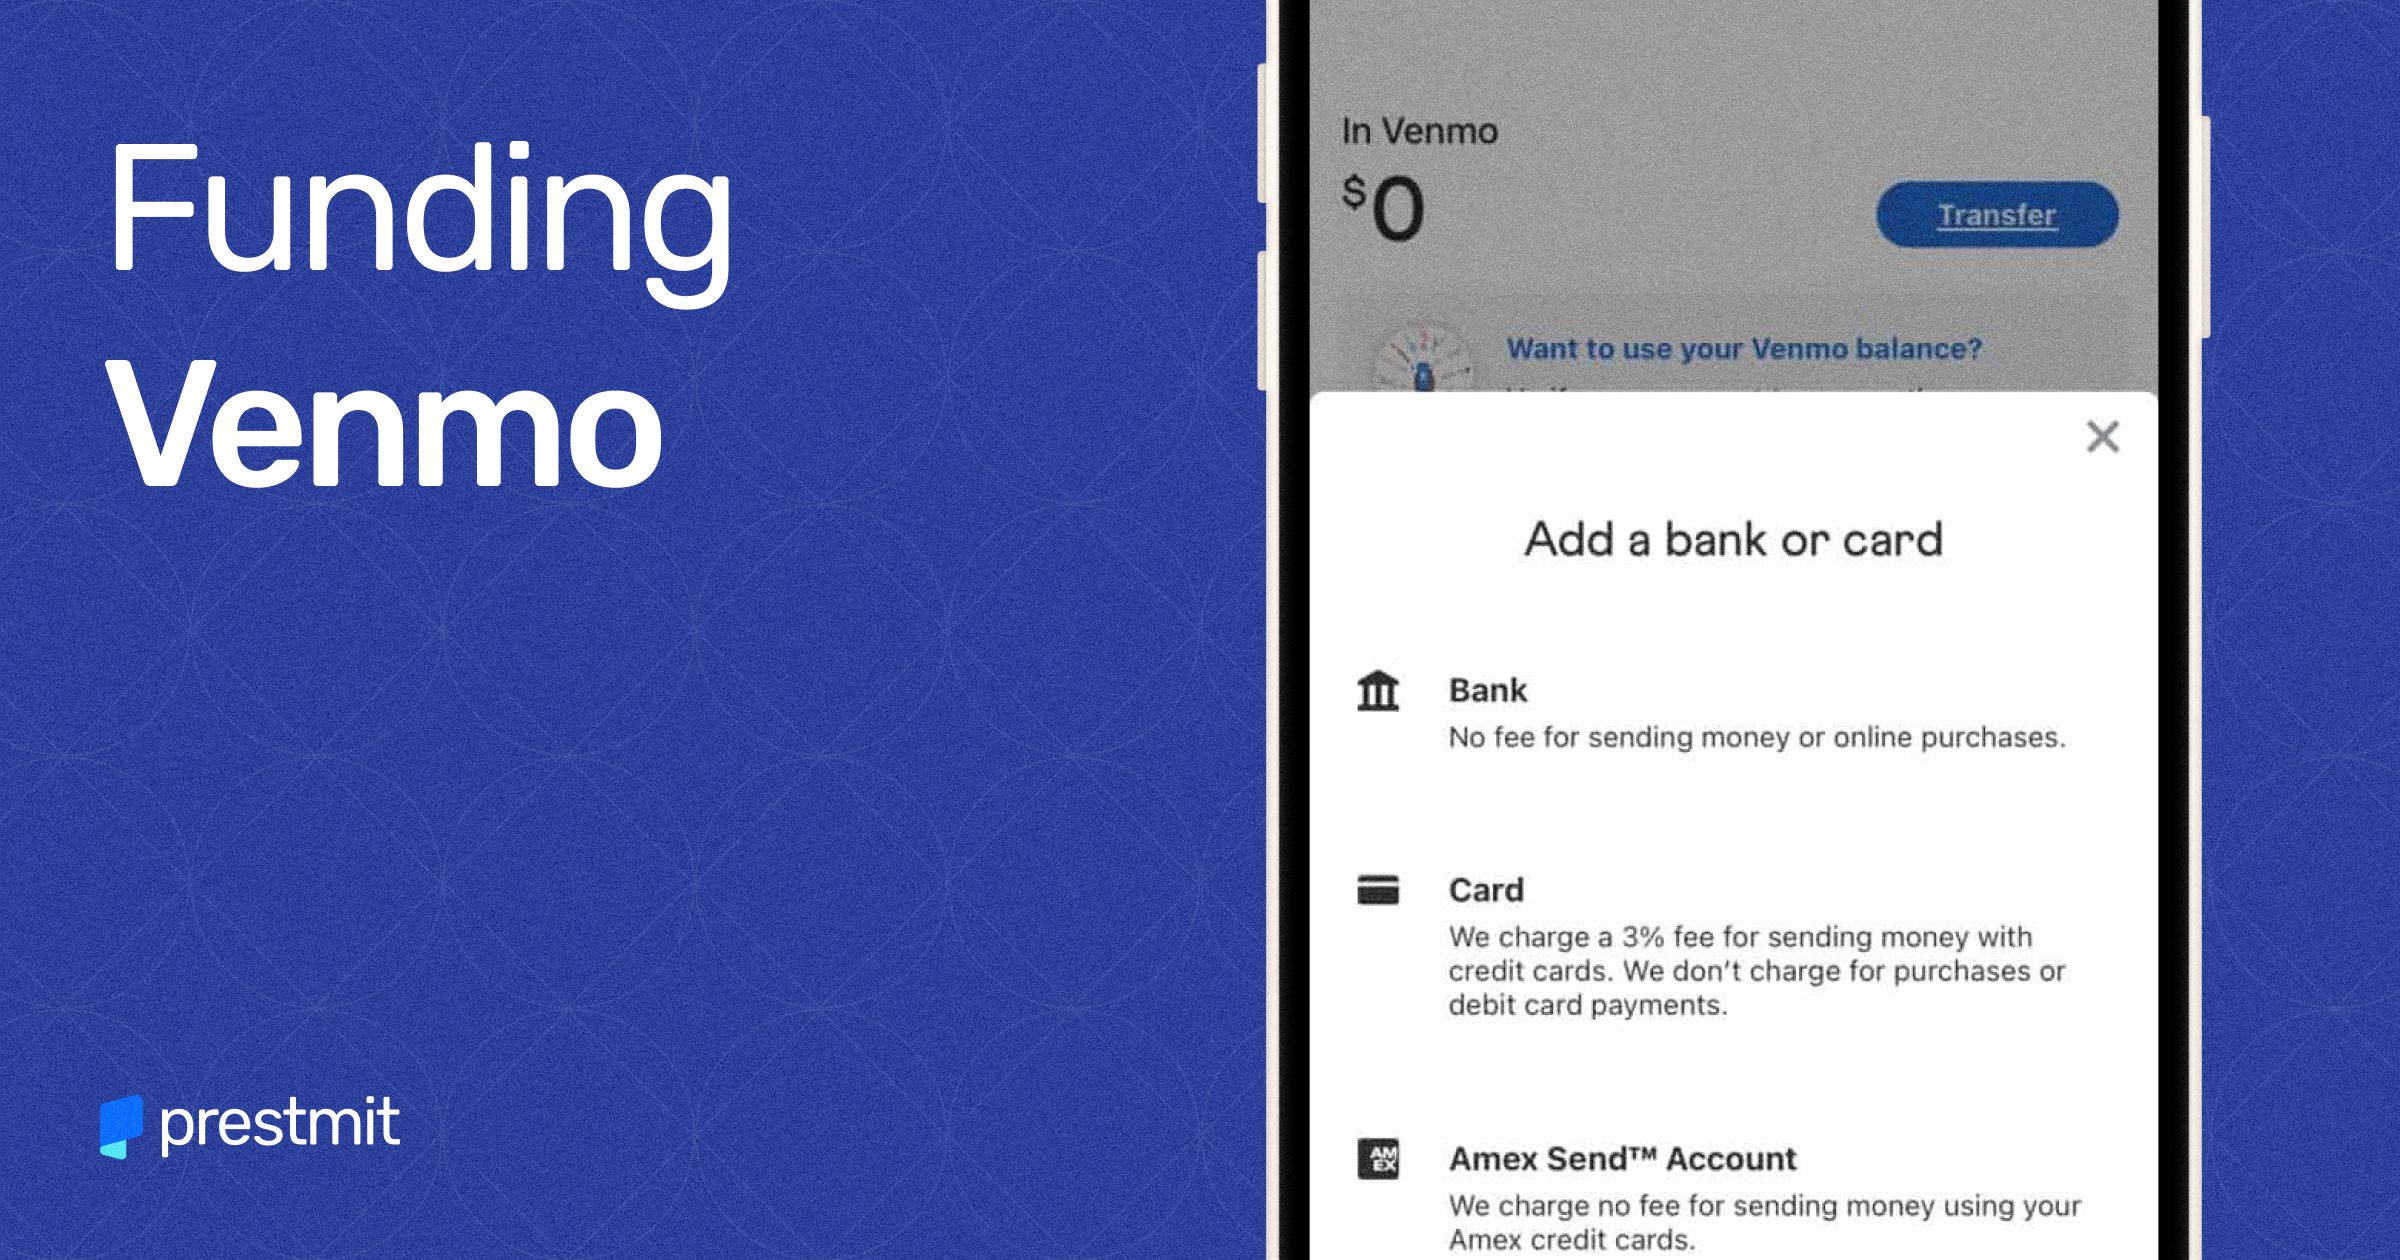
- Add a Bank or Card: Choose “Add a bank or card” and then select “Bank” or “Debit Card.”
- Link Your Bank:
- Instant Verification (via Plaid): This is the fastest method. Venmo uses Plaid, a secure third-party service, to connect to your bank account. You’ll log in to your bank’s online portal through Plaid, which verifies your account almost instantly.
- Manual Verification: If you prefer not to use Plaid or your bank isn’t supported, you can manually enter your bank’s routing and account numbers. Venmo will then send two small “micro-deposits” (usually a few cents) to your bank account within 1-3 business days. You’ll need to return to the Venmo app and enter the exact amounts of these deposits to verify your account.
- Link Your Debit Card: You can simply enter your debit card number, expiration date, and CVV. This usually allows for instant verification.
Ensuring your bank account is correctly linked and verified is paramount for seamless and secure transfers. Always double-check account numbers and routing information during manual entry to avoid delays or misdirected funds.
Leveraging the Venmo Debit Card for Direct Spending
For those who frequently receive money on Venmo and wish to use it directly without the intermediate step of a bank transfer, the Venmo Debit Card offers a compelling solution. This card effectively turns your Venmo balance into a spendable asset, functioning much like a traditional debit card but drawing funds directly from your Venmo account.
How the Venmo Debit Card Works
The Venmo Debit Card is a Mastercard that is directly linked to your Venmo balance. When you make a purchase, the funds are debited immediately from your available Venmo balance. If your Venmo balance isn’t sufficient for a transaction, you can set up a “Reload” feature to automatically draw additional funds from a linked bank account or debit card to cover the shortfall.

Key benefits of using the Venmo Debit Card include:
- Instant Access: No need to transfer funds to your bank; your Venmo balance is immediately spendable.
- Widespread Acceptance: Usable anywhere Mastercard is accepted, both online and in physical stores.
- ATM Access: Allows you to withdraw cash from ATMs, making it a direct way to get physical money from your Venmo balance.
This card is particularly useful for freelancers, gig workers, or anyone who frequently receives payments via Venmo and wants to simplify their spending process.
Ordering and Activating Your Venmo Debit Card
Getting a Venmo Debit Card is straightforward and can be done entirely within the app:
- Open the Venmo App: Navigate to the ‘Me’ tab.
- Find the Card Section: Look for the section related to “Venmo Debit Card” or “Cards.”
- Apply for the Card: Follow the prompts to apply. You’ll need to confirm your personal information, including your physical address for mailing the card. There’s no credit check involved as it’s a debit card.
- Receive Your Card: The card typically arrives by mail within 7-10 business days.
- Activate Your Card: Once you receive it, open the Venmo app, go back to the card section, and follow the activation steps, which usually involve entering the card’s expiration date and CVV.
Activating your card makes it ready for use, allowing you to start spending your Venmo balance directly.
ATM Withdrawals with the Venmo Debit Card
One of the most direct ways to “get money out” in its physical form is by using the Venmo Debit Card at an ATM.
- Locate a MoneyPass ATM: Venmo partners with the MoneyPass network, which offers fee-free ATM withdrawals. You can find MoneyPass ATMs using the locator tool in the Venmo app or on the MoneyPass website.
- Insert Your Card: Insert your Venmo Debit Card into the ATM.
- Enter Your PIN: Use the PIN you set up during card activation.
- Select ‘Withdrawal’: Choose the withdrawal option from your “Checking” account (even though it’s drawing from your Venmo balance, ATMs usually categorize debit transactions this way).
- Enter Amount: Input the desired cash amount. Be aware of daily ATM withdrawal limits, which Venmo typically sets (e.g., $400 per day).
- Collect Cash: Take your cash and your card.
While MoneyPass ATMs are free, using an out-of-network ATM may incur fees from both Venmo and the ATM operator. Always check for fee disclosures before proceeding with an out-of-network withdrawal. This direct access to cash makes the Venmo Debit Card a valuable tool for managing your immediate liquidity needs.
Optimizing Your Venmo Experience for Financial Management
Beyond simply transferring funds, there are ways to optimize your Venmo usage to better integrate it into your overall financial management strategy. Understanding limits, fees, and security protocols, as well as consciously positioning Venmo within your broader financial landscape, can enhance its utility.
Managing Transfer Limits and Fees
Venmo, like most financial platforms, imposes limits on transfers for security and regulatory compliance. These limits can vary based on your verification status and the type of transfer:
- Unverified Accounts: Typically have lower limits (e.g., $299.99 for weekly transfers).
- Verified Accounts: Enjoy significantly higher limits (e.g., $4,999.99 per week for bank transfers and $999.99 per week for Instant Transfers to a debit card, with daily ATM withdrawal limits on the debit card).
It’s crucial to verify your identity with Venmo to unlock higher limits, which usually involves providing your Social Security Number and other personal details.
Regarding fees:
- Standard Transfers are Free: Always opt for this when urgency isn’t a factor to save money.
- Instant Transfer Fees: The 1.75% fee (min $0.25, max $25) for instant access should be factored into your decision. Consider if the convenience truly outweighs the cost. For larger sums, the $25 cap means the percentage becomes less impactful.
- Venmo Debit Card Fees: Generally, spending with the card is free. ATM withdrawals at MoneyPass ATMs are free, but out-of-network ATMs will incur fees from both Venmo ($2.50) and potentially the ATM operator.
By planning your transfers, verifying your account, and understanding the fee structure, you can efficiently manage your funds without unnecessary costs.
Security Best Practices for Your Venmo Funds
Securing your Venmo account is paramount, as it’s directly linked to your financial assets.
- Strong, Unique Passwords: Use a complex password unique to Venmo and consider a password manager.
- Two-Factor Authentication (2FA): Enable 2FA to add an extra layer of security, requiring a code from your phone in addition to your password.
- Monitor Activity Regularly: Periodically review your Venmo transaction history for any unauthorized or suspicious activity.
- Link Trusted Accounts Only: Ensure that any bank accounts or debit cards linked to Venmo are secure and belong solely to you. Avoid linking shared accounts.
- Be Wary of Scams: Venmo is a target for scammers. Never send money to strangers, respond to unsolicited requests for payment information, or click suspicious links. Venmo transactions are generally irreversible once sent to the wrong person.
- Public vs. Private Transactions: By default, Venmo transactions are public. For financial privacy, always set your transactions to “Private.”
Adhering to these security practices will help protect your funds and personal information within the Venmo ecosystem.
Integrating Venmo into Your Broader Financial Strategy
For many, Venmo is just one of several financial tools. Integrating it thoughtfully into your broader financial strategy can maximize its benefits.
- Budgeting and Tracking: While Venmo has some basic transaction history, it’s not a full budgeting app. Periodically transfer your Venmo balance to your primary bank account and categorize these transactions within your budgeting software (e.g., Mint, YNAB) for a complete financial picture.
- Emergency Fund vs. Spending Money: Avoid letting significant amounts of emergency funds accumulate in Venmo, as it’s not FDIC-insured like a traditional bank account (though Venmo does hold user funds in pooled accounts at FDIC-insured banks). Use it more for transactional spending and move larger sums to dedicated savings or investment accounts.
- Business vs. Personal: If you use Venmo for both personal and business transactions (e.g., side hustles), consider using a separate Venmo Business Profile to keep finances distinct for tax purposes and easier accounting.
- Mindful Spending: The ease of spending with Venmo, especially with the debit card, can lead to less mindful spending. Treat your Venmo balance like any other bank balance and align your usage with your financial goals.
By conscientiously managing your Venmo funds and understanding its place among your other financial tools, you can ensure it serves as an efficient component of your overall money management, rather than a separate, untracked pot of funds.
Conclusion
Getting money out of Venmo is a fundamental aspect of managing your digital finances effectively. Whether you opt for the cost-effective standard bank transfer, the speedy instant transfer, or the direct spending power of the Venmo Debit Card, understanding each method’s nuances is crucial. By linking and verifying your accounts, being mindful of fees and limits, and implementing robust security practices, you can ensure your funds are accessible, secure, and contribute positively to your financial well-being.
Venmo continues to evolve as a versatile financial tool, and by actively integrating it into your broader financial strategy—from budgeting to securing your assets—you can unlock its full potential. Embrace these insights to make Venmo work for you, transforming received payments into accessible funds ready for your daily needs, savings goals, and investment ambitions.
aViewFromTheCave is a participant in the Amazon Services LLC Associates Program, an affiliate advertising program designed to provide a means for sites to earn advertising fees by advertising and linking to Amazon.com. Amazon, the Amazon logo, AmazonSupply, and the AmazonSupply logo are trademarks of Amazon.com, Inc. or its affiliates. As an Amazon Associate we earn affiliate commissions from qualifying purchases.