
In the modern era of PC gaming, the visual fidelity of a title is no longer strictly dictated by the developers’ original artistic choices. With the advent of advanced post-processing tools, players now have the power to reshape their visual environment in real-time. At the forefront of this revolution is NVIDIA Freestyle, a feature integrated into the GeForce Experience ecosystem that allows users to apply aesthetic filters to their games. Whether you are looking to gain a competitive edge in a dark shooter, capture the perfect cinematic screenshot, or simply compensate for a monitor with poor color reproduction, NVIDIA filters provide a robust, professional-grade solution.

Understanding NVIDIA Freestyle and the Power of Game Filters
NVIDIA Freestyle is a technology that allows gamers to apply post-processing filters while they play. Functionally, it acts as an injector that sits between the game engine and your display, modifying the frames after they have been rendered but before they hit your screen. This technology is built upon the same framework as ReShade, a popular open-source post-processing tool, but NVIDIA has streamlined the process to ensure stability, performance, and ease of use for the average consumer.
What Are NVIDIA Filters?
At their core, NVIDIA filters are shaders. These are small programs that execute mathematical operations on every pixel of a rendered frame. By adjusting values like luminance, chrominance, and contrast, these filters can drastically alter the mood and clarity of a game. Unlike traditional in-game settings which might only offer a simple “Gamma” slider, NVIDIA’s suite includes sophisticated tools like HDR Toning, Color Vibrance, and Sharpening+ which utilize advanced algorithms to enhance detail without introducing excessive noise or artifacts.
Hardware and Software Requirements
To utilize these filters, you must be within the NVIDIA ecosystem. The primary requirements include:
-
A Compatible GPU: You generally need a GeForce GTX 900-series card or newer.
-
GeForce Experience: This is the software hub where the overlay and filter settings reside.
-
Game Support: While NVIDIA supports thousands of titles, the game must be “Freestyle Compatible.” Most major AAA titles and popular indie games are supported, but some competitive titles may restrict certain filters to prevent unfair advantages.
-
Updated Drivers: Post-processing tech is frequently updated. Ensuring you are on the latest Game Ready Driver is essential for stability.
Setting Up Your System for NVIDIA Filters
Before you can start tweaking your visuals, you must ensure your software environment is correctly configured. NVIDIA filters operate through the “In-Game Overlay,” a secondary layer that runs on top of your gaming application.
Installing and Configuring GeForce Experience
If you haven’t already, download and install the NVIDIA GeForce Experience application from the official NVIDIA website. Once installed, log in and navigate to the settings (the gear icon). Under the “General” tab, look for the “In-Game Overlay” toggle. Ensure this is turned on. This overlay is the gateway to the filter menu, as well as recording, broadcasting, and performance monitoring tools.
Enabling Experimental Features
NVIDIA frequently tests new filtering technologies—such as AI-driven sharpening or specialized depth-aware filters—before they are released to the general public. To access these, check the box labeled “Enable experimental features” in the GeForce Experience settings. This may require a brief update or a restart of the application, but it unlocks the full potential of the filtering suite.
Verifying Game Compatibility
While NVIDIA filters work with a vast majority of DirectX 9, 10, 11, 12, and Vulkan games, it is worth checking the official NVIDIA support list if a specific game isn’t responding to the filter command. Some titles with strict anti-cheat software (like certain builds of Counter-Strike or Valorant) may limit the use of specific filters like “Depth” or “Motion Blur” to ensure a level playing field, though basic color and sharpening tools usually remain available.
How to Apply and Customize Filters In-Game
Once your system is configured, applying filters is a seamless process that happens entirely while the game is running. This allows for immediate visual feedback, letting you see exactly how a slider adjustment affects the current scene.
Accessing the Filter Menu
While in a supported game, press the default shortcut Alt + F3. This will bring up the “Game Filter” sidebar on the left side of your screen. You will notice three different numerical slots (1, 2, and 3). These represent separate presets, allowing you to save different looks for different scenarios—such as one preset for daytime gameplay and another for dark, underground environments.

Popular Filters and Their Practical Applications
The library of available filters is extensive, but a few key options stand out for their utility:
-
Details: This is perhaps the most powerful filter. It includes “Sharpen,” “Clarity,” “HDR Toning,” and “Bloom.” “Clarity” is particularly useful for making textures pop and reducing the “muddiness” found in some modern temporal anti-aliasing (TAA) implementations.
-
Color: This filter allows you to adjust “Tint,” “Vibrance,” and “Temperature.” If a game feels too washed out or overly “blue,” you can use this to warm up the image or add saturation to make colors feel more alive.
-
Brightness/Contrast: Beyond basic brightness, this filter includes “Gamma” and “Shadows.” By boosting the “Shadows” setting, you can see into dark corners more effectively, which is a common tactic in competitive gaming.
-
Sharpen+: This is a more advanced version of the standard sharpening filter. it uses a sophisticated algorithm to enhance edges while ignoring areas of flat color, preventing the “grainy” look that often plagues lower-quality sharpening tools.
Creating Custom Presets
To build a look, click the “Add Filter” button and select one from the list. It will appear in a stack. You can expand each filter to reveal sliders. It is important to note that the order of the filters in the stack matters; filters at the bottom are applied after filters at the top. For instance, if you apply a “Black and White” filter at the bottom, it will strip the color from any adjustments you made in the “Color” filter above it.
Advanced Optimization: Leveraging AI and Deep Learning
For users with RTX-series hardware, NVIDIA filters go beyond simple color correction. They tap into the power of Tensor Cores to provide AI-enhanced visual improvements that were previously impossible to achieve without significant performance loss.
NVIDIA Image Scaling (NIS) and Sharpening
NVIDIA Image Scaling is a driver-based spatial upscaler and sharpener. While often used to improve performance by rendering the game at a lower resolution, it can also be used as a filter to provide a crispness that rivals native resolution. When used as a filter within the Freestyle menu, it provides a very “clean” sharpen that is highly effective at neutralizing the blur introduced by modern post-processing techniques.
DLDSR and Depth-Aware Filters
Deep Learning Dynamic Super Resolution (DLDSR) is an AI-powered downscaling tech. When combined with Freestyle filters, it allows you to render the game at a higher resolution and then use filters to refine the final image. Furthermore, some filters are “depth-aware.” These filters access the game’s depth buffer to understand what is “close” to the camera and what is “far.” This allows for features like “Depth of Field,” which can blur the background while keeping your character in focus, creating a highly cinematic aesthetic for photography or content creation.
Managing Performance Impact
While most color and contrast filters have a negligible impact on frame rates (usually less than 1%), more complex filters like “SSAO” (Screen Space Ambient Occlusion) or “Depth of Field” can be more demanding. If you are playing a hardware-intensive game, keep an eye on your FPS while toggling filters. Generally, the “Details” and “Color” filters are safe for all systems, but AI-driven “Sharpen+” or depth-based effects should be used more sparingly on mid-range hardware.
Troubleshooting and Maximizing Visual Fidelity
Despite the polish of NVIDIA’s software, users may occasionally encounter hurdles when trying to customize their visuals. Understanding these common issues is key to a smooth experience.
Common Issues and Solutions
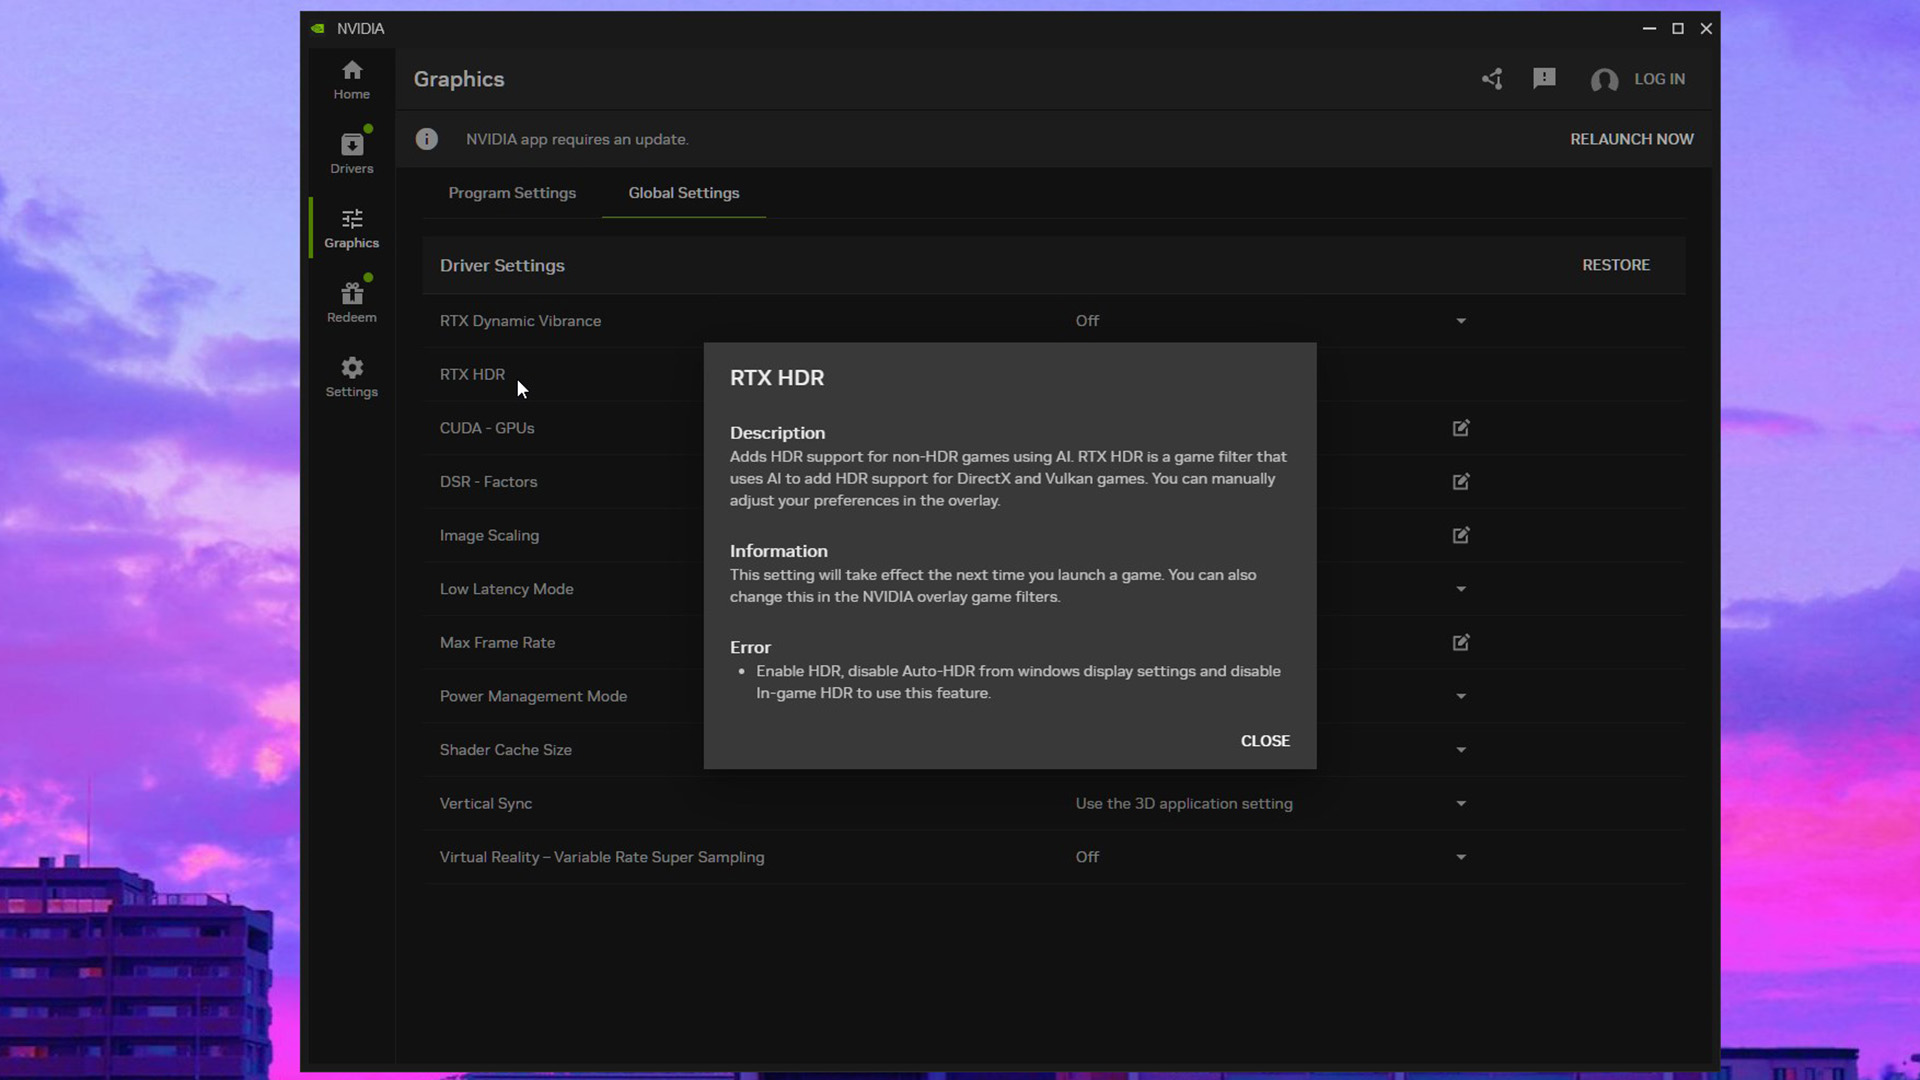
The most frequent error message is “A supported game is required to use this feature.” This usually happens for one of three reasons: the game truly isn’t supported, the “In-Game Overlay” is disabled, or your GPU drivers are out of date. If the game is on the support list but still won’t work, try performing a “Clean Install” of your NVIDIA drivers.
Another common issue is filters resetting after a game update. Since filters rely on injecting code into the rendering pipeline, a significant change to a game’s engine can temporarily break compatibility. In these cases, a GeForce Experience update usually follows shortly to restore functionality.
Recommended Settings for Different Genres
-
For Competitive Shooters: Focus on “Details” and “Brightness/Contrast.” Lower the “Bloom” and “HDR Toning” to reduce visual clutter. Increase “Clarity” and “Shadows” to make enemies stand out against complex backgrounds.
-
For Cinematic RPGs: Use “Color” to add a slight warm tint and “HDR Toning” to simulate a high-dynamic-range look. A small amount of “Depth of Field” can also help the world feel more tangible and three-dimensional.
-
For Retro or Stylized Games: Experiment with the “Old Movie” or “Vignette” filters to lean into the aesthetic.
NVIDIA filters represent a paradigm shift in how we consume digital media. They provide a bridge between the developer’s vision and the player’s personal preference, ensuring that your hardware is working not just to render frames, but to render them in the most visually pleasing way possible. By mastering these tools, you turn your GPU into a powerful real-time editing suite, capable of transforming any gaming experience into something truly unique.
aViewFromTheCave is a participant in the Amazon Services LLC Associates Program, an affiliate advertising program designed to provide a means for sites to earn advertising fees by advertising and linking to Amazon.com. Amazon, the Amazon logo, AmazonSupply, and the AmazonSupply logo are trademarks of Amazon.com, Inc. or its affiliates. As an Amazon Associate we earn affiliate commissions from qualifying purchases.