
The landscape of personal finance has undergone a radical transformation over the last decade. Gone are the days when opening a new bank account required a physical trip to a local branch, waiting in queues, and signing a mountain of physical paperwork. Today, financial institutions like JPMorgan Chase have streamlined their digital infrastructure to allow consumers to establish a robust banking relationship from the comfort of their own homes. Learning how to open a Chase bank account online is not just a matter of convenience; it is a step toward integrating your financial life into a high-speed digital ecosystem that offers security, accessibility, and sophisticated management tools.

The Strategic Advantage of Digital Onboarding
Choosing to open an account online allows you to review terms and conditions at your own pace, compare different account tiers without sales pressure, and immediately link your new account to other digital financial tools. Chase’s online application process is designed to be completed in as little as five to ten minutes, provided you have the necessary documentation and information ready. This efficiency is a hallmark of modern personal finance, where time-management is as valuable as money management.
Preparing for the Online Application Process
Before you navigate to the Chase website or download their mobile application, it is essential to gather the requisite information. Digital security is a top priority for major financial institutions, and Chase utilizes rigorous verification methods to ensure that your identity is protected. Being prepared ensures that your application is processed smoothly without triggers for manual review, which can delay the opening of your account.
Necessary Documentation and Personal Information
To comply with federal regulations and “Know Your Customer” (KYC) requirements, Chase requires specific pieces of information to verify your identity. You should have the following items at your side before starting the process:
-
Social Security Number: This is required for tax reporting and identity verification.
-
Government-Issued ID: A valid Driver’s License, State ID, or Passport is necessary. You will likely need to provide the ID number, expiration date, and issuing state.
-
Contact Information: This includes your physical residential address (P.O. Boxes are generally not accepted for the primary residence), a valid email address, and a mobile phone number.
-
Employment and Income Details: While not always a deciding factor for basic checking accounts, you may be asked for your current employer and an estimate of your annual income.
Determining Your Funding Source
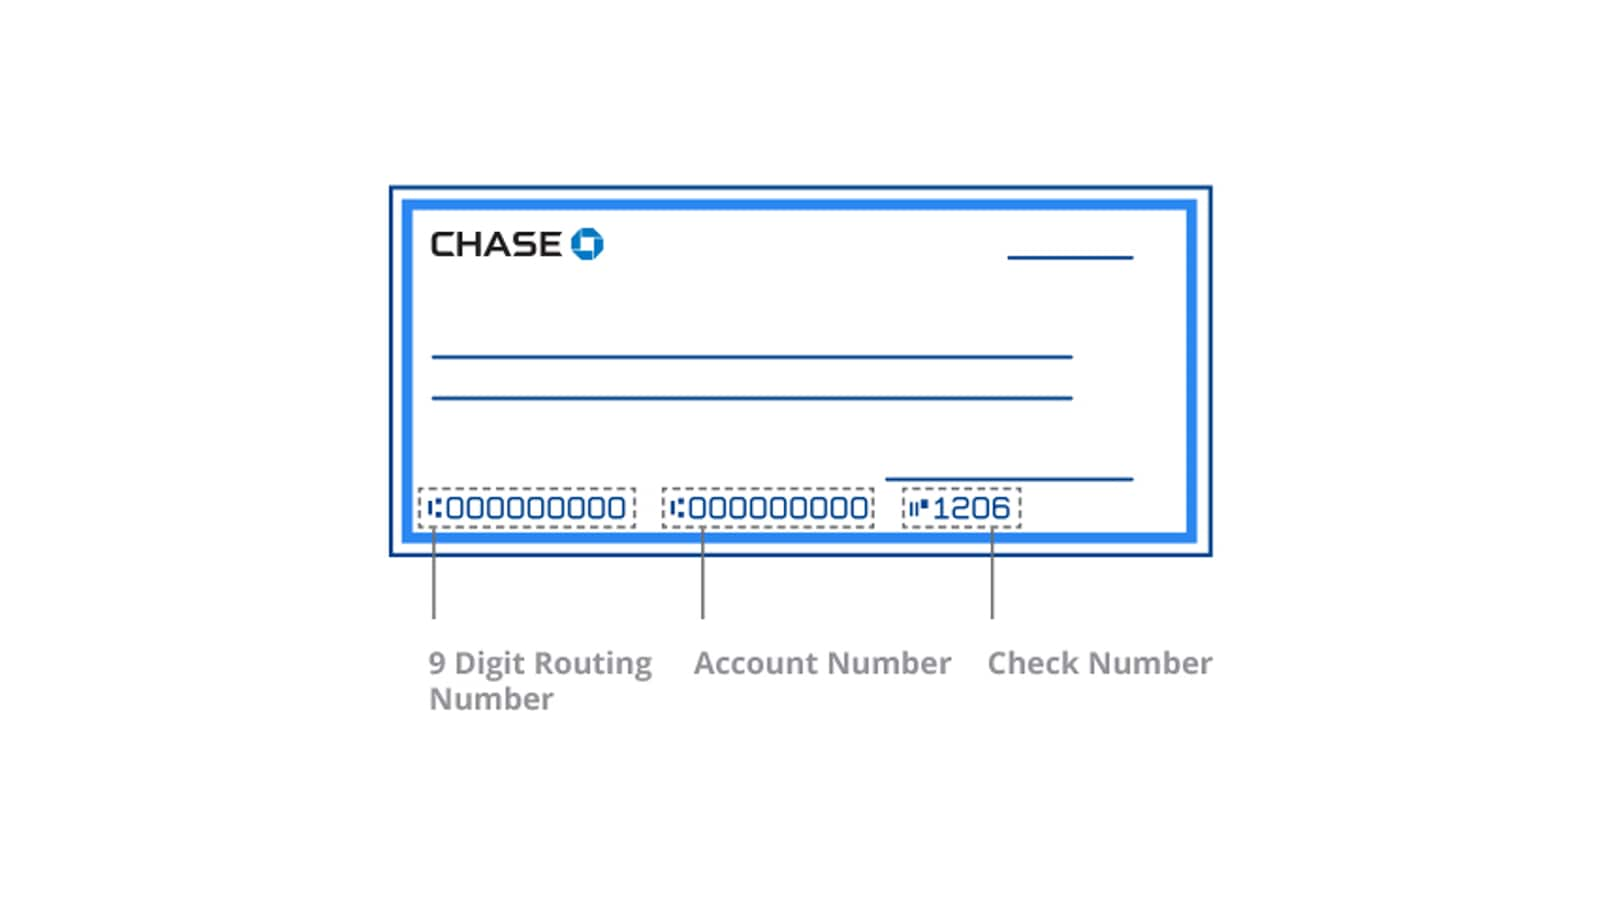
When you open an account online, you are often asked to make an initial deposit to activate the account. You can typically do this via an ACH transfer from an existing bank account at another institution. Have your current bank’s routing number and your account number ready. Alternatively, you may be able to use a debit card for the initial funding, though limits may apply.
Selecting the Right Chase Account for Your Financial Goals
Chase offers a variety of accounts tailored to different stages of a consumer’s financial journey. Selecting the right one is the most critical step in the online process, as it dictates the fees you might pay and the features you will access.
Chase Total Checking®
This is the most popular option for general banking needs. It offers access to over 15,000 ATMs and 4,700 branches. While it carries a monthly service fee, this fee is easily waived through qualifying activities such as having monthly direct deposits totaling $500 or more, or maintaining a minimum daily balance. For those looking for a standard, reliable hub for their daily transactions, this is the baseline choice.
Chase Sapphire℠ Checking
For individuals with a higher net worth or those who maintain significant balances across their Chase accounts, the Sapphire Checking tier provides a more premium experience. This account offers perks such as no ATM fees worldwide, higher withdrawal limits, and access to specialized customer service. To avoid the monthly service fee for this tier, you typically need to maintain an average beginning day balance of $75,000 or more in any combination of linked deposits and investments.
Chase Secure Banking℠
If you have had challenges with banking in the past or are looking for an account with no overdraft fees, Secure Banking is a strategic financial tool. It is a “checkless” account designed to help you spend only what you have available. It is an excellent entry-point for building a positive banking history while maintaining access to Chase’s digital tools.
The Step-by-Step Online Application Workflow

Once you have selected the appropriate account and gathered your documents, you are ready to begin the formal application. The interface is designed to be intuitive, but understanding the flow can help you navigate it more effectively.
Step 1: Initiating the Application
Visit the Chase official website and navigate to the “Open an Account” section. You will be presented with the various account types. Click “Open Account” on your chosen product. If you are an existing Chase customer (perhaps you already have a Chase credit card), you should log in first. This will pre-fill much of your information, making the process significantly faster.
Step 2: Entering Personal Data
The system will prompt you for your name, address, and Social Security Number. Ensure that the name you enter matches your legal identification exactly. Discrepancies in spelling or the inclusion of middle names can sometimes lead to an automated rejection or a request for physical documentation.
Step 3: Identity Verification Questions
As part of the digital security protocol, Chase may present you with a series of multiple-choice questions based on your credit history or public records. These might include previous addresses, vehicles you have owned, or names of people you may be associated with. These are “out-of-wallet” questions designed to ensure that the person applying is indeed you.
Step 4: Reviewing Terms and Consents
This is a critical phase where you will be presented with the Deposit Account Agreement and the Fee Schedule. It is vital to read these documents. Pay close attention to the requirements for waiving monthly fees, the rules regarding overdraft protection, and the timelines for funds availability. In the digital age, being an informed consumer means understanding the fine print of your financial contracts.
Step 5: Funding and Final Submission
After your identity is verified and you have agreed to the terms, you will be prompted to make your initial deposit. Enter your routing and account numbers from your external bank. Once the transfer is initiated, you will submit the application. In most cases, you will receive an immediate decision. If your application requires further review, Chase will provide a reference number and contact you within a few business days.
Optimizing Your Account Post-Opening
Opening the account is only the beginning. To truly leverage the power of a Chase account within your personal finance strategy, you must set up the digital tools that come with it.
Setting Up the Chase Mobile App®
The mobile app is the command center for your finances. Once your account is open, download the app and log in. You can set up biometric login (FaceID or Fingerprint) for added security. The app allows you to deposit checks via your camera, monitor transactions in real-time, and utilize “Chase QuickLook” to see your balances without even logging in.
Integrating with Zelle® and Real-Time Alerts
In the modern economy, the ability to move money quickly is essential. Linking your account to Zelle through the Chase platform allows for instantaneous peer-to-peer transfers. Furthermore, you should immediately configure your account alerts. Setting up notifications for low balances, large transactions, or international spending provides a layer of security that acts as an early warning system against fraud.
Transitioning Your Direct Deposit
To maximize the utility of your new account (and likely waive your monthly fee), you will need to move your direct deposit. Chase provides a pre-filled direct deposit form within their online portal that you can hand to your employer’s HR department or upload to your payroll provider’s website. Redirecting your primary income stream to your new Chase account centralizes your finances and allows for better budgeting and automated savings.
Strategic Financial Management with Chase Tools
A Chase bank account is more than just a place to store cash; it is a gateway to a broader suite of financial products. Once established, you can easily open a Chase Savings account to build an emergency fund, or explore investment options through J.P. Morgan Self-Directed Investing.
By integrating your checking account with these other services, you create a holistic view of your financial health. Chase’s “Budget” and “Spend” tracking tools automatically categorize your expenses, giving you data-driven insights into where your money is going. This level of transparency is essential for anyone looking to build wealth and maintain fiscal discipline in an increasingly digital world. Opening your account online is the first step toward a more organized, efficient, and secure financial future.
aViewFromTheCave is a participant in the Amazon Services LLC Associates Program, an affiliate advertising program designed to provide a means for sites to earn advertising fees by advertising and linking to Amazon.com. Amazon, the Amazon logo, AmazonSupply, and the AmazonSupply logo are trademarks of Amazon.com, Inc. or its affiliates. As an Amazon Associate we earn affiliate commissions from qualifying purchases.