
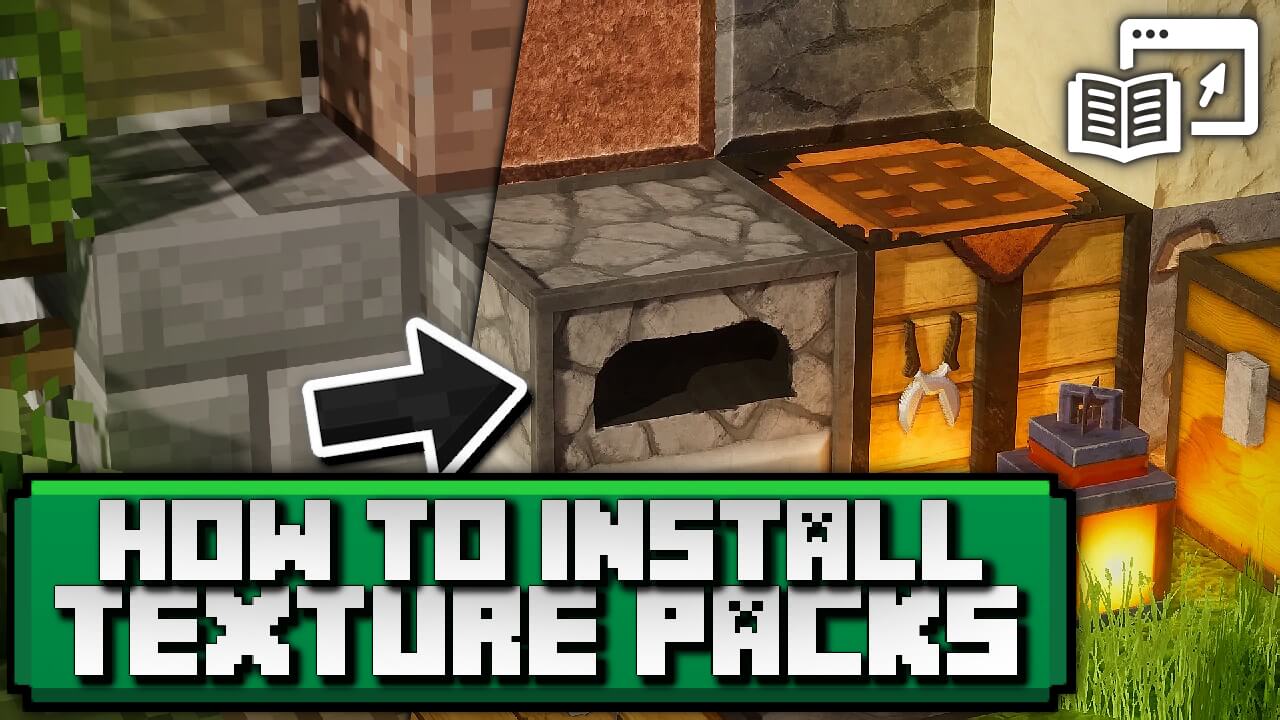
Minecraft, the beloved block-building sandbox game, owes much of its enduring appeal to its boundless capacity for customization. While the game’s default aesthetics are iconic, players often seek to personalize their experience, refresh their visual environment, or even enhance performance. This desire for transformation is most commonly fulfilled through “texture packs,” more accurately known in modern Minecraft as “resource packs.” These powerful additions allow players to overhaul nearly every visual and auditory aspect of the game, from the intricate details of individual blocks and items to the user interface, sound effects, and even character models.

For new and veteran players alike, navigating the world of resource pack installation can sometimes seem daunting. However, the process for Minecraft Java Edition is straightforward once you understand the core steps. This comprehensive guide will demystify the installation process, ensuring you can confidently transform your Minecraft world and unlock a new dimension of creativity and immersion. We’ll delve into what resource packs are, how to prepare for installation, a step-by-step walkthrough, and tips for optimizing your new visual experience.
Understanding Minecraft Resource Packs: More Than Just Textures
The term “texture pack” is a legacy term from older versions of Minecraft. While still widely used by the community, Mojang officially rebranded them as “resource packs” in version 1.6. This change reflects their expanded capabilities beyond merely altering textures.
What is a Resource Pack?
A resource pack is essentially a collection of files that modify the look and sound of Minecraft. Unlike mods, which alter the game’s core mechanics or add new features, resource packs primarily focus on aesthetic and auditory changes. They can contain:
-
Textures: The most common modification, changing the visual appearance of blocks, items, mobs, and environmental elements. Textures can range from photorealistic to cartoonish, medieval, futuristic, or anything a creator can imagine.
-
Models: Custom 3D models for blocks and items, offering more detail and complexity than simple flat textures.
-
Sounds: New sound effects for blocks breaking, mobs, footsteps, or even custom music.
-
Fonts: Different fonts for in-game text, chat, and menus.
-
Language Files: Allowing for unique terminology or themed text.
-
User Interface (GUI): Redesigns of menus, hotbars, inventory screens, and other graphical user interfaces.
The power of resource packs lies in their ability to completely reshape the game’s ambiance without altering its underlying gameplay.
Benefits of Customizing Your Minecraft Experience
Integrating resource packs into your Minecraft gameplay offers a myriad of advantages:
-
Aesthetic Variety: Tired of the vanilla look? Resource packs provide endless visual themes, allowing you to build in a medieval kingdom, explore a dystopian future, or simply enjoy a more vibrant or subtle color palette.
-
Performance Optimization: Some “lite” or “low-resolution” resource packs can actually improve game performance by using simpler textures, which demand less from your graphics card and CPU. Conversely, high-resolution packs (e.g., 256×256, 512×512) will require a more powerful system.
-
Enhanced Immersion: A well-crafted resource pack can dramatically increase immersion, aligning the game’s visuals with specific build themes, role-playing scenarios, or adventure maps.
-
Personalization: Minecraft is all about self-expression, and resource packs extend this to the game’s appearance, allowing you to tailor it precisely to your preferences.
-
Community Engagement: Exploring and supporting community-created resource packs connects you with the vast Minecraft modding and creative community.
Compatibility Considerations
Before diving into installation, it’s crucial to understand a few compatibility factors:
-
Minecraft Version: Resource packs are typically designed for specific Minecraft versions. While many older packs might partially work on newer versions, they often have missing textures or visual glitches. Always try to download a pack compatible with your current Minecraft Java Edition version (e.g., 1.20.x, 1.19.x). The pack’s download page will usually specify its compatibility.
-
Resolution: Resource packs come in various resolutions (e.g., 16×16, 32×32, 64×64, 128×128, 256×256, 512×512, sometimes even higher). The default Minecraft resolution is 16×16. Higher resolutions offer more detail but demand significantly more processing power and VRAM from your computer. Ensure your system can comfortably run a high-resolution pack to avoid severe lag or crashes.
-
OptiFine Integration: Many advanced resource packs, especially those with custom block models, connected textures (seamless textures across multiple blocks), emissive textures (glowing elements), or those designed to work with shaders, often require OptiFine. OptiFine is a performance-enhancing and graphics-modifying tool that extends Minecraft’s rendering capabilities. While not always mandatory, it’s highly recommended for the best visual experience with many modern packs.
Preparing for Installation: Essential Steps
A smooth installation process begins with proper preparation. Taking these preliminary steps will save you time and frustration.
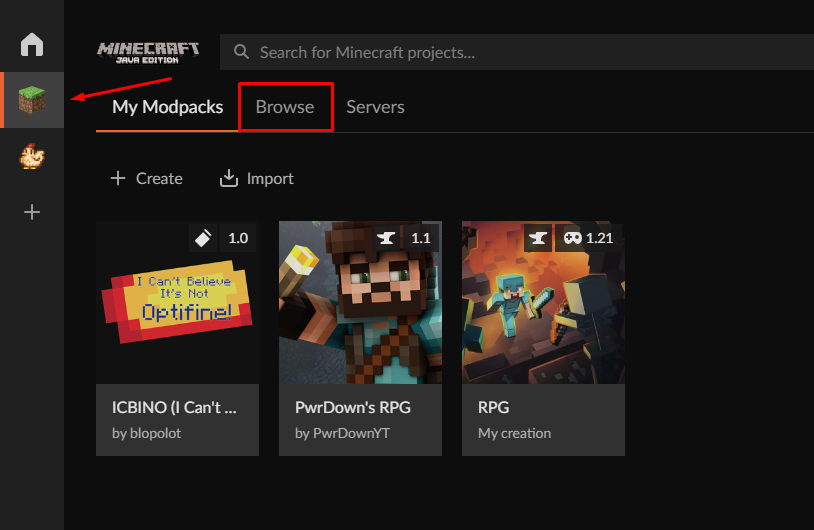
Locating and Downloading Resource Packs Safely
The first step is to find a resource pack that catches your eye. However, safety is paramount. Always download resource packs from reputable sources to avoid malware or corrupted files.
-
Recommended Sources:
-
CurseForge: A massive platform for Minecraft mods and resource packs, known for its rigorous moderation and direct downloads.
-
Planet Minecraft: Another huge community hub with a vast collection of player-created content, including resource packs.
-
Specific Resource Pack Websites: Many popular packs have their own dedicated websites, which are usually safe, but always verify the URL.
-
-
Download Format: Resource packs are almost always distributed as a
.zipfile. You should download this file as-is and NOT unzip it. Minecraft itself is designed to read the.ziparchive directly. If you download a.raror other archive format, you might need to extract the.zipfile from within it, but the final file placed in Minecraft should be a.zip. -
Beware of Suspicious Downloads: Avoid direct download links from unknown forums or sketchy websites. If a download prompts you to install an executable (.exe) or asks for strange permissions, close it immediately.
Understanding Your Minecraft Version
Before downloading a pack, verify your current Minecraft Java Edition version.
-
Launch the Minecraft Launcher.
-
On the main launcher screen, below the “Play” button, you’ll see your selected “Installation.” This usually displays the game version (e.g., “Latest release (1.20.1)”).
-
If you have multiple installations, select the one you intend to play with the resource pack.
Once you know your version, ensure the resource pack you download explicitly supports it.
Optional: Installing OptiFine for Enhanced Graphics
While not strictly necessary for every resource pack, OptiFine is an invaluable tool for maximizing Minecraft’s visual potential and is often required for high-resolution packs or shader support.
-
Download OptiFine: Go to the official OptiFine website (optifine.net). Download the version that matches your specific Minecraft Java Edition version (e.g., if you’re on 1.20.1, download OptiFine 1.20.1).
-
Install OptiFine: Once downloaded, run the OptiFine
.jarfile. It will typically open an installer window. Click “Install.” This will create a new Minecraft profile in your launcher. -
Select OptiFine Profile: Open the Minecraft Launcher, and before clicking “Play,” select the newly created “OptiFine” profile from the dropdown menu next to the “Play” button. Now, launch the game. OptiFine offers numerous graphics options, including shader support, which can be configured in your in-game video settings.
Step-by-Step Installation Guide for Minecraft Java Edition
With your resource pack downloaded and any optional preparations complete, you’re ready for the main event: installing the pack into your game.
Step 1: Download Your Chosen Resource Pack
As emphasized before, navigate to a reputable source (like CurseForge or Planet Minecraft), find the resource pack you want, and click the download button. Save the downloaded .zip file to an easily accessible location on your computer, such as your “Downloads” folder or desktop. Remember: do not unzip this file.
Step 2: Open Minecraft and Access the Resource Packs Folder
The easiest and safest way to locate Minecraft’s resource packs directory is directly through the game itself.
-
Launch Minecraft Java Edition. Ensure you’re running the correct version or your OptiFine profile if you installed it.
-
From the main menu, click on “Options…”.
-
In the Options menu, click on “Resource Packs…”.
-
At the bottom left of the Resource Packs screen, you’ll see a button labeled “Open Pack Folder”. Click this button.
This action will open a new window showing your computer’s resourcepacks folder. This is where all your installed resource pack .zip files reside.
Step 3: Transfer the Resource Pack File
Now that you have both the downloaded .zip file and the resourcepacks folder open, the next step is simple:
-
Drag and drop (or copy-paste) the
.zipfile of your downloaded resource pack directly into theresourcepacksfolder. -
Confirm that the
.zipfile is now present within that folder. Again, reiterate: do not extract or unzip the file. Minecraft expects the pack to be in.zipformat.
Step 4: Activate the Resource Pack in Minecraft
Once the .zip file is in the correct folder, you need to tell Minecraft to use it.
-
Return to your Minecraft game window (you should still be on the “Resource Packs” screen). You might need to click “Done” and then “Resource Packs…” again for the game to refresh the list, or sometimes it refreshes automatically.
-
On the left side of the screen, under “Available Resource Packs,” you should now see your newly added pack listed.
-
Hover over the icon of your desired resource pack. A small arrow button will appear on the right side of its icon.
-
Click the right-pointing arrow. This will move the resource pack from the “Available Resource Packs” column to the “Selected Resource Packs” column on the right.
-
Order Matters: If you have multiple resource packs active, their order in the “Selected Resource Packs” column determines priority. Packs higher up in the list (closer to the top) will override conflicting assets from packs lower down. For example, if Pack A changes stone texture and Pack B also changes stone texture, and Pack A is above Pack B, Pack A’s stone texture will be used.
-
Once your desired pack(s) are in the “Selected Resource Packs” column and ordered correctly, click the “Done” button at the bottom of the screen.
Minecraft will now take a moment to load the new textures and resources. You may see the game screen briefly go black or flicker as it reloads. Once it’s done, your world should reflect the changes from the activated resource pack!
Troubleshooting Common Issues
-
Pack Not Appearing:
-
Incorrect Folder: Ensure the
.zipfile is in theresourcepacksfolder (accessed via “Open Pack Folder” in-game). -
Not a .zip File: Double-check that the file is indeed a
.ziparchive and not another format. -
Corrupted Download: Try re-downloading the pack.
-
Game Not Refreshed: Sometimes exiting the “Resource Packs” menu and re-entering it helps.
-
-
Game Crashing/Lagging:
-
Incompatible Version: The pack might not be compatible with your Minecraft version.
-
High Resolution: Your computer might not have enough RAM or GPU power for a very high-resolution pack. Try a lower-resolution pack or reduce other graphical settings.
-
Corrupted Pack: A rare but possible issue. Try a different pack.
-
-
Textures Not Fully Loading/Glitching:
-
Incorrect Pack Order: If using multiple packs, their order might be causing conflicts. Experiment with rearranging them.
-
Missing OptiFine: Some advanced features (connected textures, custom models) in a resource pack require OptiFine to function correctly. Ensure OptiFine is installed and the OptiFine profile is selected.
-
Maximizing Your Visual Experience and Beyond
Installing a single resource pack is just the beginning. The Minecraft ecosystem offers even more ways to elevate your visual and gameplay experience.
Combining Resource Packs
One of the less-explored but powerful features of resource packs is the ability to layer them. You can activate multiple resource packs simultaneously in the “Selected Resource Packs” column. This allows for intricate customizations:
-
Base Pack + UI Pack: Use a detailed base resource pack for blocks and items, and then layer a separate, smaller pack on top that only changes your GUI or fonts.
-
Performance + Detail: Use a lightweight base pack, then add a small, specific pack on top for, say, custom sword textures, which might not be included in the base pack.
-
Artistic Overlays: Some packs are designed purely as overlays, adding subtle effects like custom skyboxes, foliage variations, or specific item textures without changing the entire game.
Remember that the top-most pack in the “Selected” list takes priority for any conflicting assets. Experiment with different combinations and orders to achieve your desired aesthetic.
Integrating Shaders for Next-Level Graphics
While resource packs change what things look like, shaders change how light interacts with them. Shaders introduce dynamic lighting, realistic shadows, waving foliage, detailed water reflections, volumetric clouds, and much more, transforming Minecraft into a visually stunning experience reminiscent of AAA games.
-
OptiFine Requirement: Shaders almost always require OptiFine to be installed and active.
-
Installation: Shaders are installed similarly to resource packs, but they go into a separate
shaderpacksfolder. You can access this folder viaOptions -> Video Settings -> Shaders -> Shaders Folderin Minecraft (after OptiFine is installed). -
Activation: Once placed in the
shaderpacksfolder, select your chosen shader pack from the in-game Shaders menu.
Combining a high-quality resource pack with a well-optimized shader pack can create breathtaking results, but be aware that shaders are extremely performance-intensive.
Exploring Further Customization
The world of Minecraft customization extends even further:
-
Data Packs: These are server-side or single-player modifications that change gameplay elements without requiring client-side mods. They can add custom advancements, recipes, loot tables, or even entire new dimensions.
-
Mods: For significant gameplay alterations, new items, creatures, or mechanics, “mods” are the way to go. These require mod loaders like Forge or Fabric and represent a deeper level of game alteration.
Each layer of customization offers a unique way to tailor your Minecraft experience, from subtle visual tweaks to fundamental gameplay overhauls.
Conclusion
Installing texture packs (or more accurately, resource packs) in Minecraft Java Edition is a simple yet incredibly rewarding process. By following these steps, you can unlock an entirely new dimension of visual and auditory enjoyment, transforming your familiar blocky world into anything you can imagine. From photorealistic landscapes to whimsical cartoon realms, the power to redefine your Minecraft aesthetic is now at your fingertips.
Remember to prioritize safety by downloading from reputable sources, ensure compatibility with your Minecraft version, and don’t shy away from experimenting with different packs and even combining them. Whether you’re seeking a fresh perspective, an immersive atmosphere, or a performance boost, resource packs are an essential tool in every Minecraft Java Edition player’s toolkit. So, go forth, explore the vast library of community-created content, and reshape your Minecraft adventure today!
aViewFromTheCave is a participant in the Amazon Services LLC Associates Program, an affiliate advertising program designed to provide a means for sites to earn advertising fees by advertising and linking to Amazon.com. Amazon, the Amazon logo, AmazonSupply, and the AmazonSupply logo are trademarks of Amazon.com, Inc. or its affiliates. As an Amazon Associate we earn affiliate commissions from qualifying purchases.