
In the rapidly evolving world of technology, our laptops have become indispensable tools, powering everything from professional endeavors to personal entertainment. Among the various components that contribute to a laptop’s performance and portability, the battery stands out as critically important. Over time, even the most robust batteries degrade, leading to reduced uptime, slower performance, and ultimately, the need for a replacement. For Dell laptop users, understanding how to install a new battery is a valuable skill that can significantly extend the life and utility of their device, saving both time and money. This comprehensive guide will walk you through the process, ensuring a smooth and successful battery replacement experience.
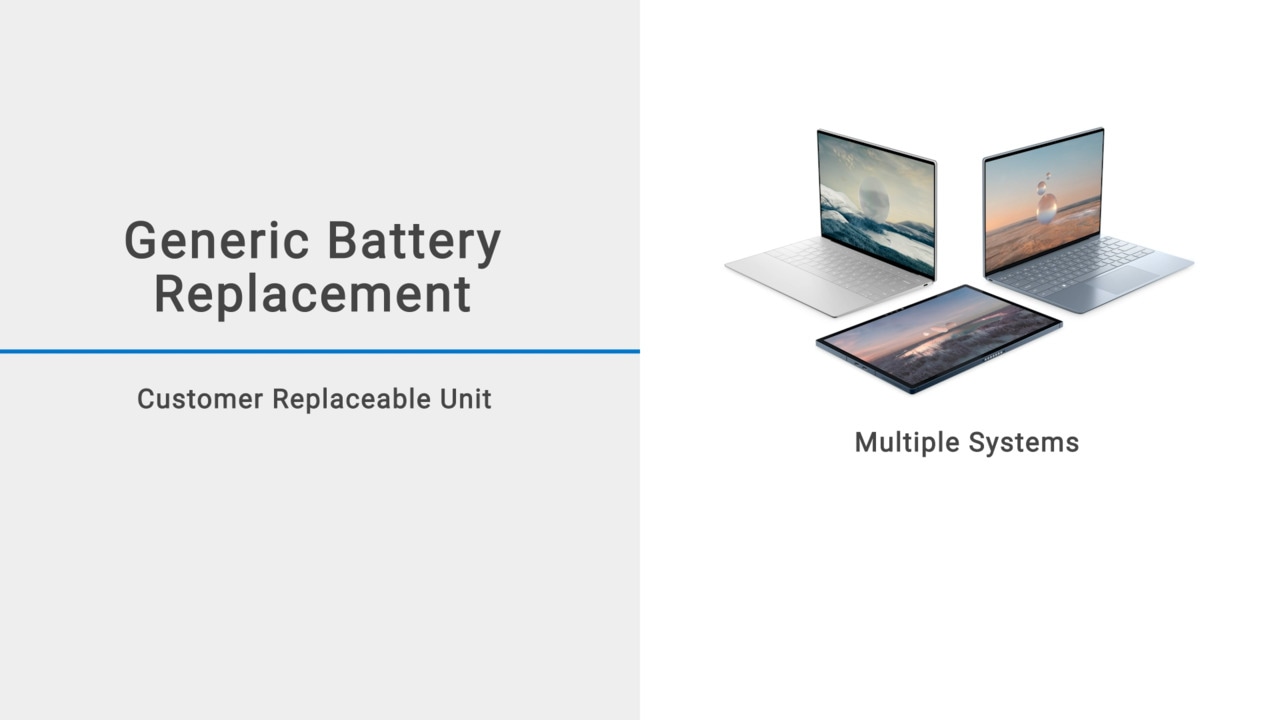
Why Replace Your Dell Laptop Battery? Understanding the Signs and Benefits
Before diving into the “how-to,” it’s essential to understand why a battery replacement becomes necessary and what benefits it brings. Recognizing the signs of a failing battery can help you act proactively, preventing potential disruptions to your workflow.
Common Signs of a Failing Battery
Modern lithium-ion batteries, while efficient, have a finite lifespan, typically rated for 300 to 500 charge cycles. As they approach and exceed this limit, their capacity to hold a charge diminishes. Key indicators that your Dell laptop battery is nearing its end include:
-
Significantly Reduced Battery Life: The most obvious sign. If your laptop used to last 4-6 hours on a charge but now barely manages an hour or two, battery degradation is likely the culprit.
-
Sudden Shutdowns: Your laptop might unexpectedly power off even when the battery indicator shows a significant remaining charge (e.g., 20-30%). This often indicates the battery’s inability to deliver consistent power.
-
Slow Performance While on Battery: Some operating systems and hardware components reduce performance when a degraded battery is detected to conserve power, making your laptop sluggish when unplugged.
-
Battery Not Charging or Charging Slowly: The battery might refuse to charge past a certain percentage, or take an unusually long time to reach full capacity.
-
Swollen Battery: A critical and dangerous sign. If you notice a bulge in your laptop’s casing, keyboard, or trackpad, or if the battery itself appears swollen, cease use immediately. Swollen batteries pose a fire risk and must be handled with extreme care and replaced promptly.
-
“Battery Service Recommended” Message: Operating systems like Windows or Dell’s own diagnostic tools often provide warnings when the battery health has significantly deteriorated.
Benefits of a New Battery
Replacing a worn-out battery offers several immediate and long-term advantages:
-
Restored Portability: The primary benefit is regaining the freedom to work or entertain yourself without constantly being tethered to a power outlet.
-
Improved Performance and Stability: A healthy battery ensures consistent power delivery, which can prevent performance throttling and unexpected shutdowns.
-
Extended Laptop Lifespan: A new battery can breathe new life into an aging laptop, allowing you to continue using it productively for several more years before needing to invest in an entirely new device.
-
Enhanced User Experience: No more anxiety about your laptop dying mid-task. A reliable battery contributes significantly to overall user satisfaction.
Longevity and Performance Expectations
A new, quality replacement battery should restore your Dell laptop’s battery life to near-original levels. However, it’s crucial to manage expectations. Factors like screen brightness, CPU usage, background applications, and even ambient temperature all influence actual battery runtime. With proper care, a new battery should provide optimal performance for 1-2 years, gradually degrading thereafter.
Before You Begin: Essential Preparations and Safety
Battery replacement, especially for internal batteries, requires careful preparation. Skipping these initial steps can lead to compatibility issues, damage to your laptop, or even personal injury.
Identifying Your Dell Laptop Model and Battery Type
Dell offers a vast array of laptop models, and battery compatibility is highly specific.
-
Locate Your Service Tag: This is usually found on a sticker on the underside of your laptop or within the BIOS/UEFI settings. Dell’s support website (support.dell.com) allows you to enter this tag to view your laptop’s exact specifications, including the original battery part number.
-
Check Existing Battery (If Accessible): If your current battery is external, simply remove it and note any part numbers (e.g., “Type: XYYZ”, “DP/N: ABCDEFG”) printed on it. For internal batteries, you might need to open the laptop to find these details if the service tag doesn’t provide sufficient information.
-
Note Battery Voltage and Capacity: Ensure the replacement battery matches the voltage (V) and capacity (Wh or mAh) of the original. Mismatched voltage can damage your laptop.
Sourcing the Right Replacement Battery (OEM vs. Third-Party)
Once you have the correct battery model number, you have two primary options for sourcing:
-
OEM (Original Equipment Manufacturer) Battery: Purchased directly from Dell or an authorized reseller. These are guaranteed to be compatible and meet Dell’s quality standards. They are typically more expensive but offer peace of mind and often come with a warranty.
-
High-Quality Third-Party Battery: Available from reputable aftermarket manufacturers. These can be significantly cheaper. Caveat Emptor: Be extremely cautious. The market is flooded with low-quality or counterfeit batteries that may not last long, pose safety risks (overheating, swelling), or even damage your laptop. Look for sellers with excellent reviews, certifications (e.g., CE, RoHS), and a clear return policy. Avoid no-name brands or excessively cheap options.
Gathering Necessary Tools
The tools required vary depending on whether your battery is external or internal.
-
For External Batteries: No special tools are usually needed.
-
For Internal Batteries:
-
Small Phillips-head Screwdriver: The most common tool for laptop disassembly. Ensure you have various small sizes (e.g., PH00, PH0).
-
Plastic Pry Tool (Spudger) or Guitar Pick: Essential for gently separating plastic clips and prying open the laptop case without scratching it. Avoid metal tools for prying.
-
Anti-Static Wrist Strap (Recommended): Prevents electrostatic discharge (ESD) which can damage sensitive internal components.
-
Clean, Well-Lit Workspace: Crucial for visibility and organization.
-
Small Container or Magnetic Mat: For keeping track of tiny screws.
-
Crucial Safety Precautions
Safety is paramount when working with electronics, especially batteries.
-
Power Down and Disconnect: ALWAYS completely shut down your laptop and unplug it from the wall adapter.
-
Disconnect Peripherals: Remove any USB devices, external monitors, or other accessories.
-
Static Electricity: Use an anti-static wrist strap. If you don’t have one, periodically touch a grounded metal object (like a radiator) to discharge static from your body. Avoid working on carpeted surfaces.
-
Handle Batteries Carefully: Never puncture, crush, or bend a battery. If a battery is swollen, handle it with extreme caution and dispose of it properly at an authorized recycling facility.
-
Document: Take photos or videos as you disassemble your laptop. This will be invaluable during reassembly.
Step-by-Step Guide: Replacing an External Dell Laptop Battery
External batteries are the easiest to replace. Dell’s newer models predominantly feature internal batteries, but many older or specific business models still utilize external designs.
Power Down and Disconnect
-
Shut Down: Ensure your Dell laptop is completely powered off, not just in sleep or hibernation mode.
-
Unplug: Disconnect the AC power adapter from the laptop.
-
Remove Peripherals: Disconnect any external devices.

Locating and Releasing the Battery Latches
-
Flip the Laptop: Carefully turn your laptop over so the bottom panel is facing upwards.
-
Locate Battery Bay: The external battery typically occupies a distinct bay, often near the hinge or at the back edge.
-
Identify Latches: There are usually one or two small latches or sliders. One might be spring-loaded and needs to be held open, while the other might slide to an unlocked position. Some models might have a single latch with a lock/unlock icon.
-
Release and Remove: Slide or press the latches to release the battery. Gently pull the old battery out of its bay. It should slide out easily once unlocked.
Installing the New Battery
-
Align New Battery: Take your new replacement battery and carefully align its connectors and grooves with the battery bay opening.
-
Slide Into Place: Gently slide the new battery into the bay until it clicks securely into place.
-
Engage Latches: Ensure the latches snap back into their locked position to prevent the battery from accidentally dislodging.
Initial Power-Up and Testing
-
Flip Back Over: Turn your laptop right-side up.
-
Connect AC Adapter: Plug in the AC power adapter.
-
Power On: Press the power button to start your Dell laptop.
-
Check Battery Status: Once Windows loads, check the battery icon in the system tray. It should show that the battery is present and charging. Allow it to charge to 100%.
Step-by-Step Guide: Replacing an Internal Dell Laptop Battery
Replacing an internal battery is more involved as it requires opening the laptop’s chassis. Follow these steps meticulously.
Pre-Disassembly Considerations
-
Work Surface: Ensure you have a clean, flat, well-lit surface.
-
Organize Screws: Use a magnetic mat or small containers to keep track of screws. Note that screws often vary in size and length; putting them back in the wrong place can cause damage.
-
Reference Material: Have your laptop’s service manual (downloadable from Dell’s support site using your service tag) or a reliable video tutorial open on another device.
Opening the Laptop Case (Detailed Steps for Common Dell Models)
The exact method varies by model, but general steps apply:
-
Remove All Visible Screws: Carefully remove all screws from the bottom cover of your laptop. Pay attention to any screws hidden under rubber feet or stickers. Dell often uses captive screws that remain attached to the cover even after loosening.
-
Carefully Pry Open the Case:
-
Start at an edge or corner where the seam between the bottom cover and the main chassis is visible.
-
Insert a plastic pry tool or guitar pick into the seam.
-
Gently slide the tool along the edges, slowly disengaging the plastic clips that hold the cover in place. Be patient and apply even pressure. Avoid using excessive force, which can break the clips.
-
Once all clips are disengaged, lift the bottom cover away. Some models might require sliding the cover slightly before lifting.
-
Disconnecting and Removing the Old Battery
-
Locate the Battery: The internal battery is typically a flat, rectangular pack, often secured with screws and connected to the motherboard via a cable.
-
Disconnect the Battery Cable: This is a crucial step for safety. Locate the battery connector on the motherboard. It’s usually a small, multi-pin connector. Gently pull the connector STRAIGHT UP or SLIDE IT OUT from its socket. Never pull by the wires. Use your plastic pry tool if necessary to gently leverage it. Once disconnected, the laptop is safe to handle internally.
-
Remove Battery Retaining Screws: Identify and remove all screws that secure the old battery to the laptop chassis. These are often distinct from the bottom cover screws.
-
Lift Out Old Battery: Once all screws are removed and the cable is disconnected, you can carefully lift the old battery out of its bay. If it’s slightly stuck, it might be due to adhesive strips; gently pry it up with your plastic tool.
Installing and Connecting the New Battery
-
Place New Battery: Carefully place the new replacement battery into the empty battery bay, ensuring it aligns correctly with the screw holes and the connector.
-
Secure with Screws: Reinsert and tighten the retaining screws to secure the new battery in place. Do not overtighten.
-
Connect Battery Cable: Carefully align the new battery’s connector with the socket on the motherboard. Gently push it STRAIGHT DOWN or SLIDE IT IN until it is firmly seated. Double-check that it’s fully connected.
Reassembling the Laptop
-
Replace Bottom Cover: Carefully align the bottom cover with the chassis. Start by pressing down along the edges to re-engage the plastic clips. You should hear satisfying clicks as they snap into place.
-
Reinsert Screws: Replace all the screws you removed from the bottom cover. Remember your organization strategy to ensure each screw goes into its original hole.
-
Final Checks: Ensure there are no gaps in the casing and all screws are present and snug.
Post-Installation Tips and Battery Care
With your new battery installed, a few final steps and ongoing practices can optimize its performance and longevity.
Calibrating Your New Battery
While not strictly necessary for modern lithium-ion batteries, a calibration cycle can help the operating system accurately report battery percentage.
-
Full Charge: Charge the new battery to 100%.
-
Discharge: Use the laptop on battery power until it completely shuts down due to low battery.
-
Full Charge Again: Charge the laptop back to 100% without interruption.
This process helps the battery’s internal fuel gauge and your operating system synchronize.
Best Practices for Extending Battery Life
-
Avoid Extreme Temperatures: Heat is the enemy of lithium-ion batteries. Avoid leaving your laptop in direct sunlight or in a hot car. Conversely, extremely cold temperatures can also impact performance.
-
Optimal Charge Range: Modern batteries are healthiest when kept between 20% and 80% charge. While it’s okay to charge to 100% and discharge fully occasionally for calibration, constantly topping off or running to 0% can accelerate degradation.
-
Reduce Screen Brightness: The display is a major power consumer. Dimming your screen significantly extends battery life.
-
Manage Background Apps: Close unnecessary applications running in the background.
-
Adjust Power Settings: Use your operating system’s power management settings to optimize battery usage (e.g., enable battery saver mode, adjust sleep times).
-
Keep Drivers Updated: Ensure your Dell laptop’s drivers, especially power management and chipset drivers, are up-to-date.
-
Clean Fans: Overheating can degrade battery health. Regularly clean your laptop’s cooling vents to ensure efficient airflow.

Troubleshooting Common Issues
-
Battery Not Detected: Double-check that the battery cable is firmly connected to the motherboard. If it’s an external battery, ensure it’s securely latched. Try restarting the laptop.
-
Battery Not Charging:
-
Verify the AC adapter is working and plugged in correctly.
-
Check Dell’s power management software for any settings that might be preventing charging.
-
If possible, test with another compatible Dell AC adapter.
-
Ensure the battery connector is clean and free of debris.
-
-
Battery Drains Quickly: Review your power settings, running applications, and screen brightness. Calibrate the battery if you haven’t already.
Replacing your Dell laptop battery is a practical and empowering repair that can significantly extend the life of your device. By following these steps and observing proper safety protocols, you can confidently undertake this task, enjoying renewed portability and performance from your trusted Dell machine.
aViewFromTheCave is a participant in the Amazon Services LLC Associates Program, an affiliate advertising program designed to provide a means for sites to earn advertising fees by advertising and linking to Amazon.com. Amazon, the Amazon logo, AmazonSupply, and the AmazonSupply logo are trademarks of Amazon.com, Inc. or its affiliates. As an Amazon Associate we earn affiliate commissions from qualifying purchases.